

At the Security Office, run Parachute.exe instead of giving up the Data Diver; follow the vent route through the Music Man rematch, Pizzeria gates, Murray Mansion puzzle, and final escape.
This route covers the Parachute.exe ending, one of Secret of the Mimic's three finales. It is the longer of the two standard endings and opens a secret area after you return from the Tunnels with the Mimic blueprints.
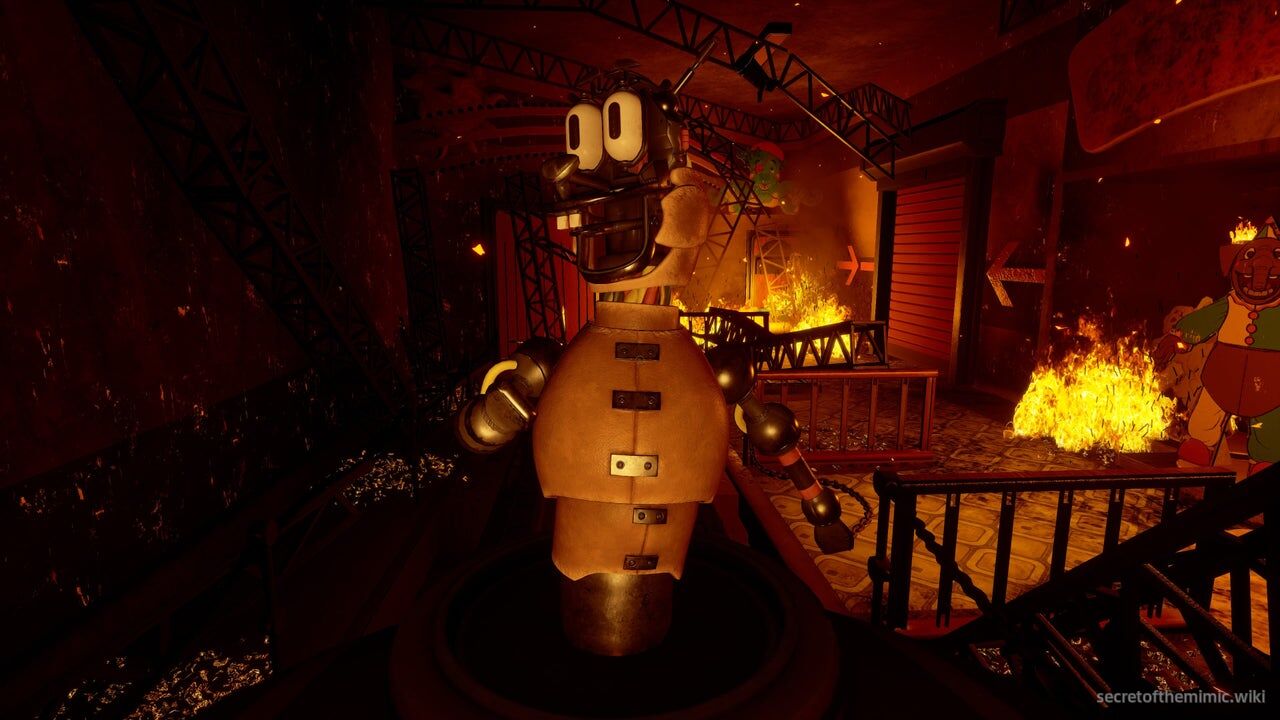
Use the Endings Guide to open either of the other two finales, or the main walkthrough if you need to revisit an earlier segment. This route is long, so use the section links below to move between its major set pieces.
Parachute.exe Ending
After leaving the Tunnels and returning to the Security Office, the Dispatcher contacts you through the receiver and says the mission is complete. To begin Parachute.exe, do not follow his instructions.
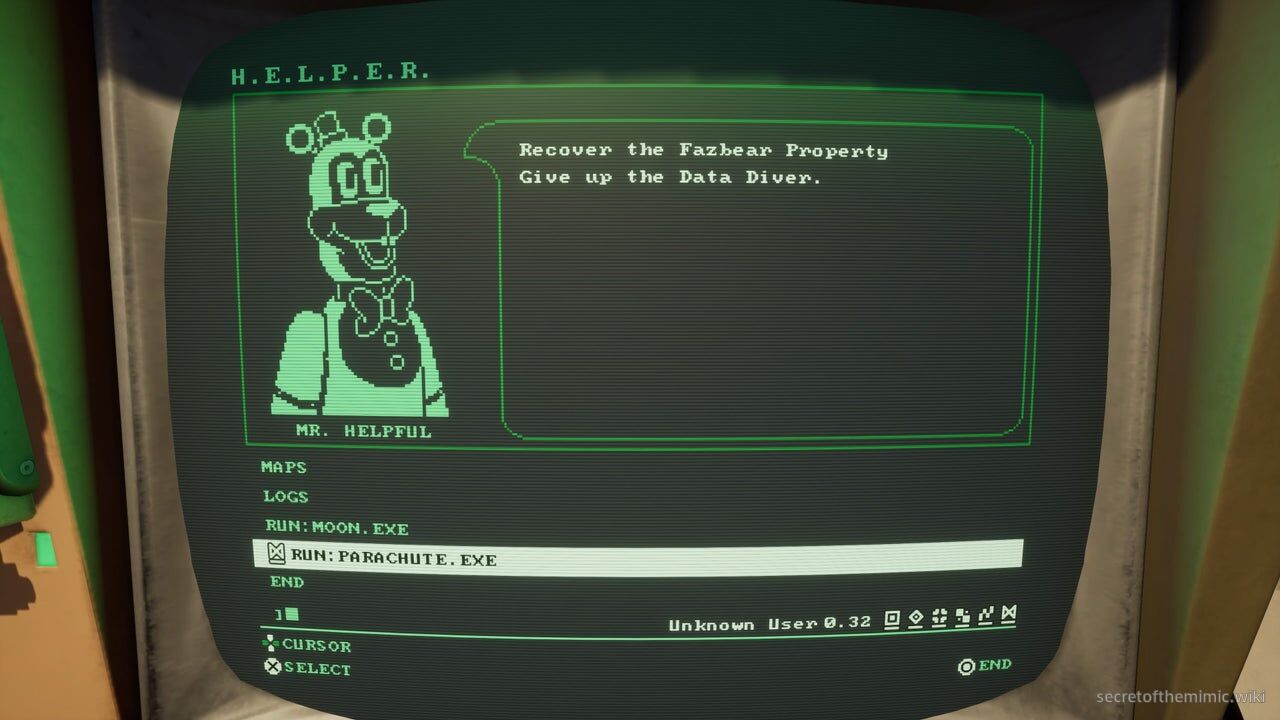
Use the office terminal instead. Executive clearance makes the previously greyed-out Run: Parachute.exe command available; run that command.
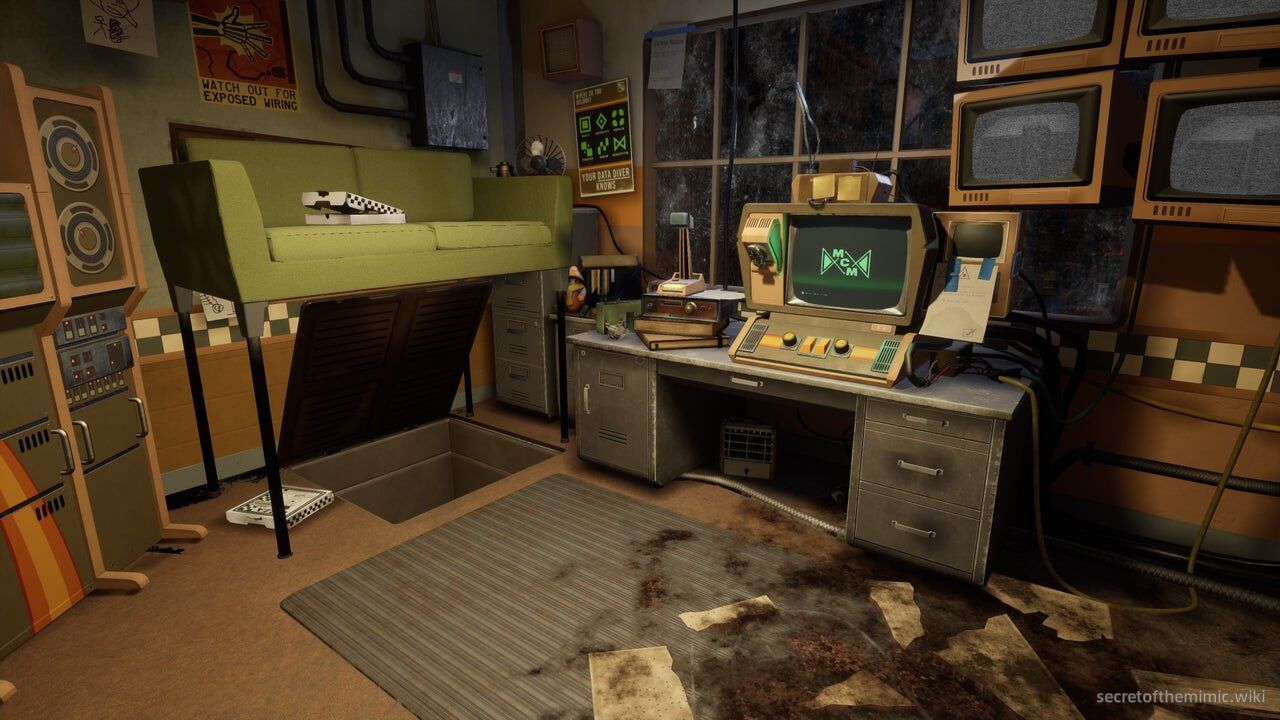
When you leave the terminal, the couch on the left has risen to reveal a vent below it. The Dispatcher now demands the Data Diver immediately and offers a full day off in exchange.
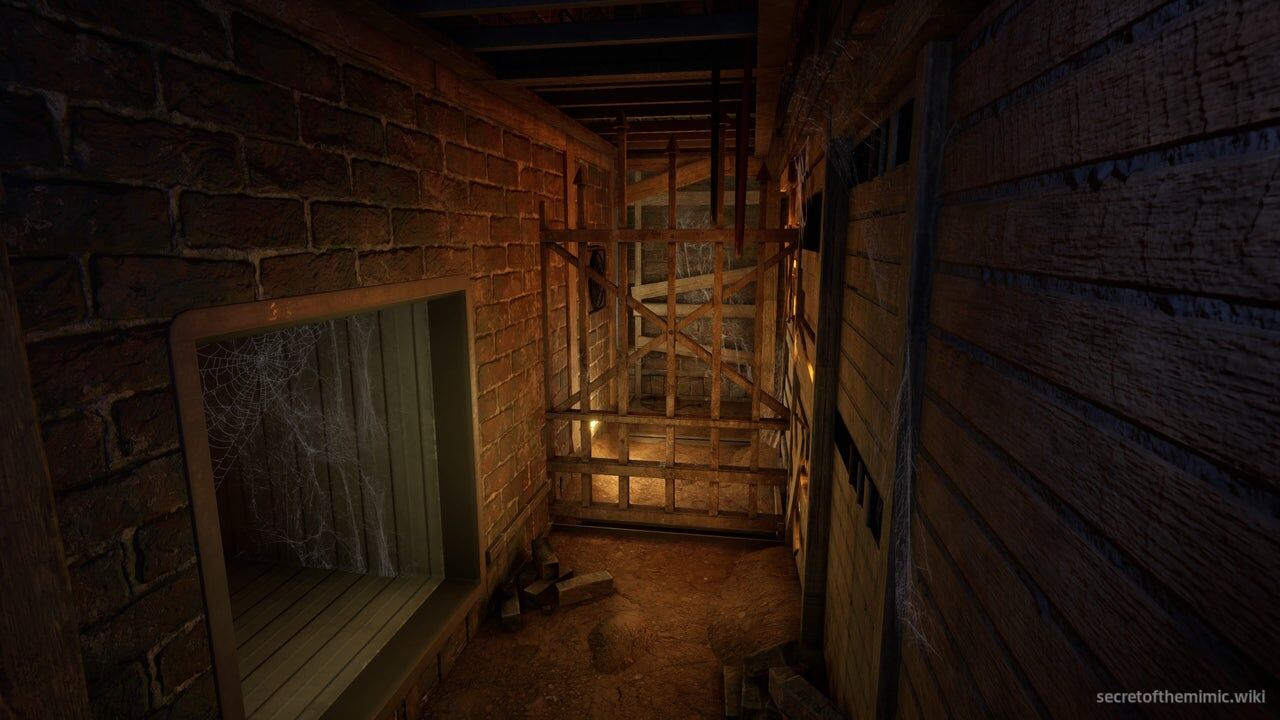
Ignore the demand and enter the vent. Follow the crawlspace while the Dispatcher's taunts make clear that it is not a Fazbear dispatcher. The route is self-correcting: if you choose a wrong branch, vents close and gates rise to force you back toward the correct path.
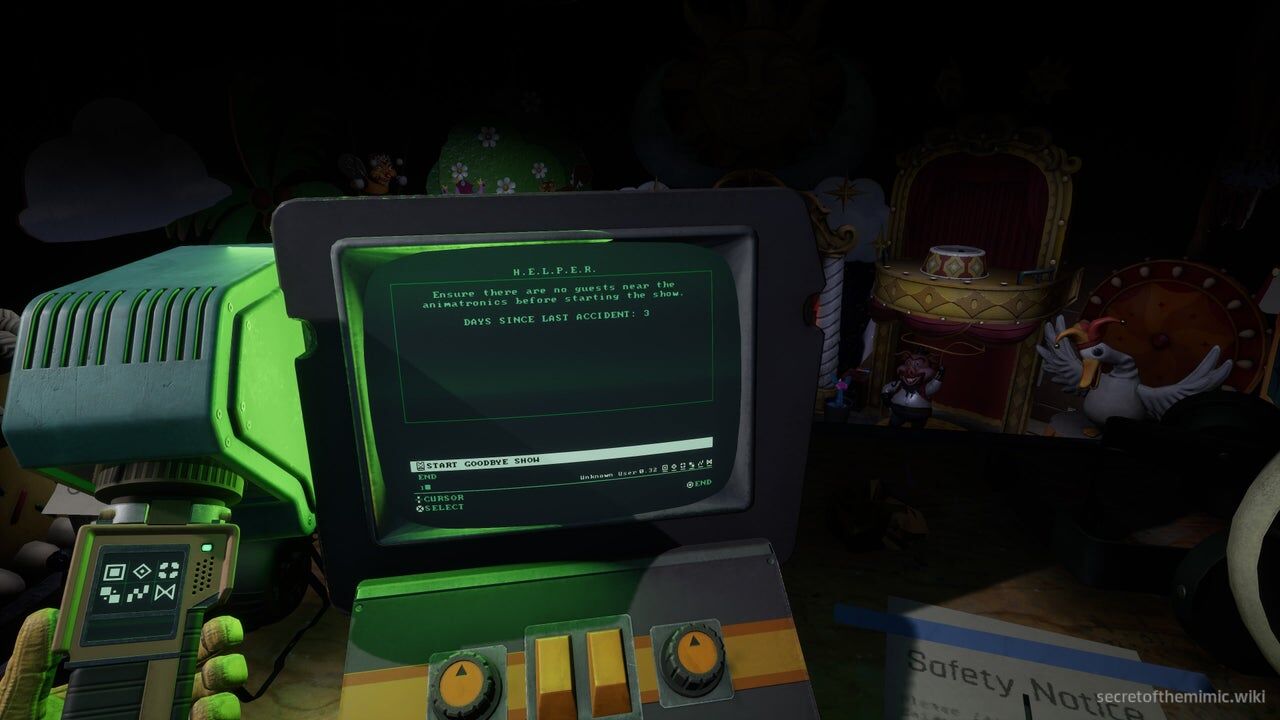
Continue through the crawlspace until you emerge on the hanging walkway above the Welcome Show stage. Use the terminal in the middle of the walkway and select Goodbye Show.
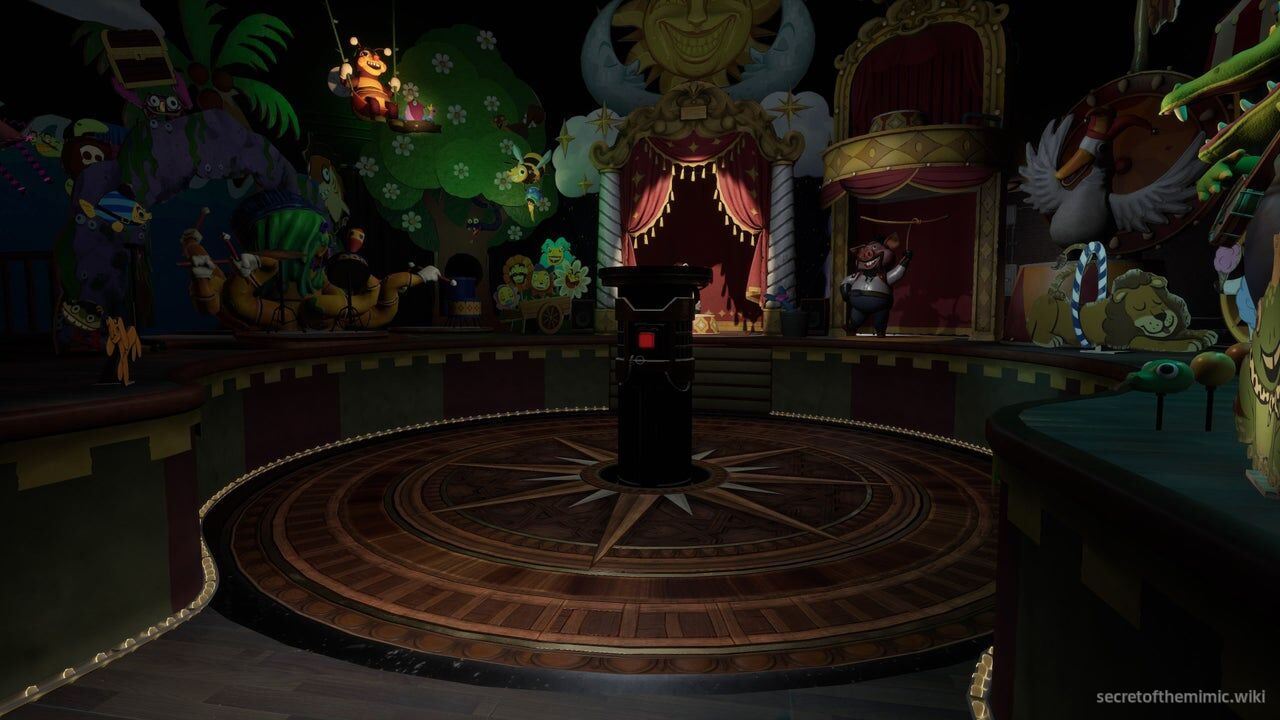
The performers begin their goodbye song and a large black cylinder rises from the sundial below. Take the elevator on the right side of the walkway down to the stage, then press the cylinder's red button.
Music Man Rematch
The circular floor is a secret elevator that descends deep below the facility. Note the levers around its edge: they are essential to the next encounter.
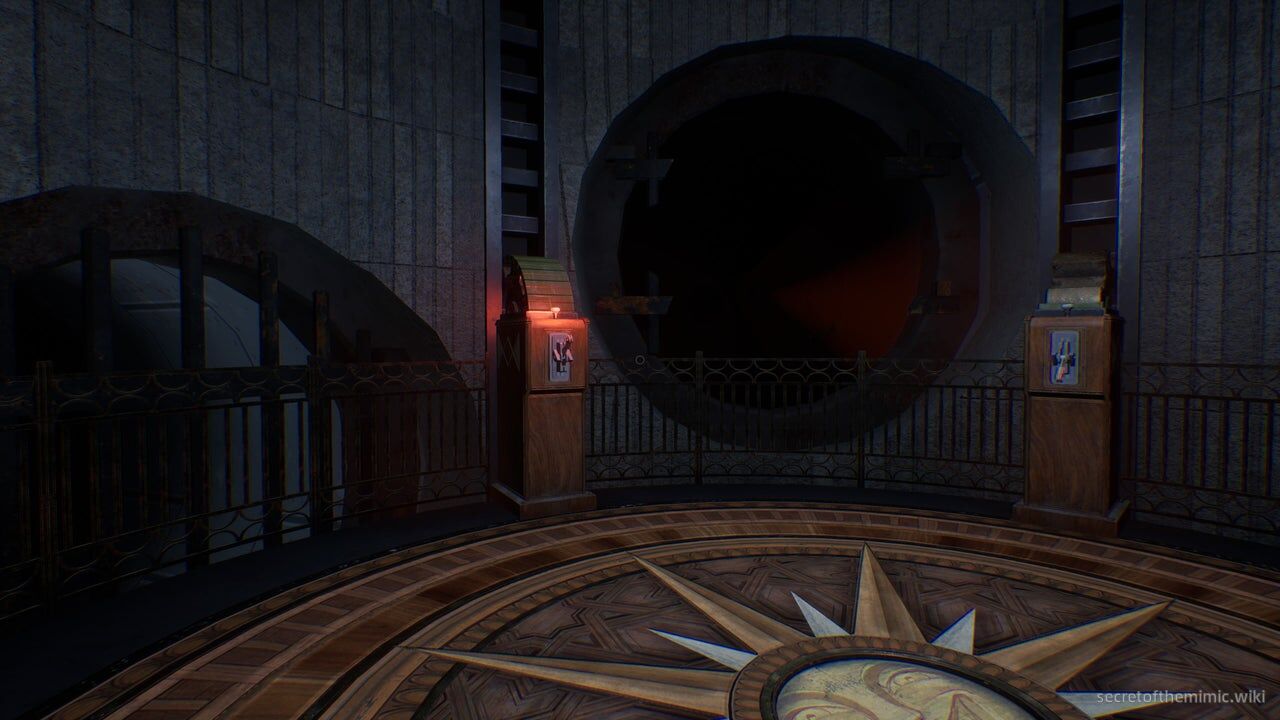
The elevator eventually stops and begins to beep. Find the lever with a flashing red light above it, then pull that lever.
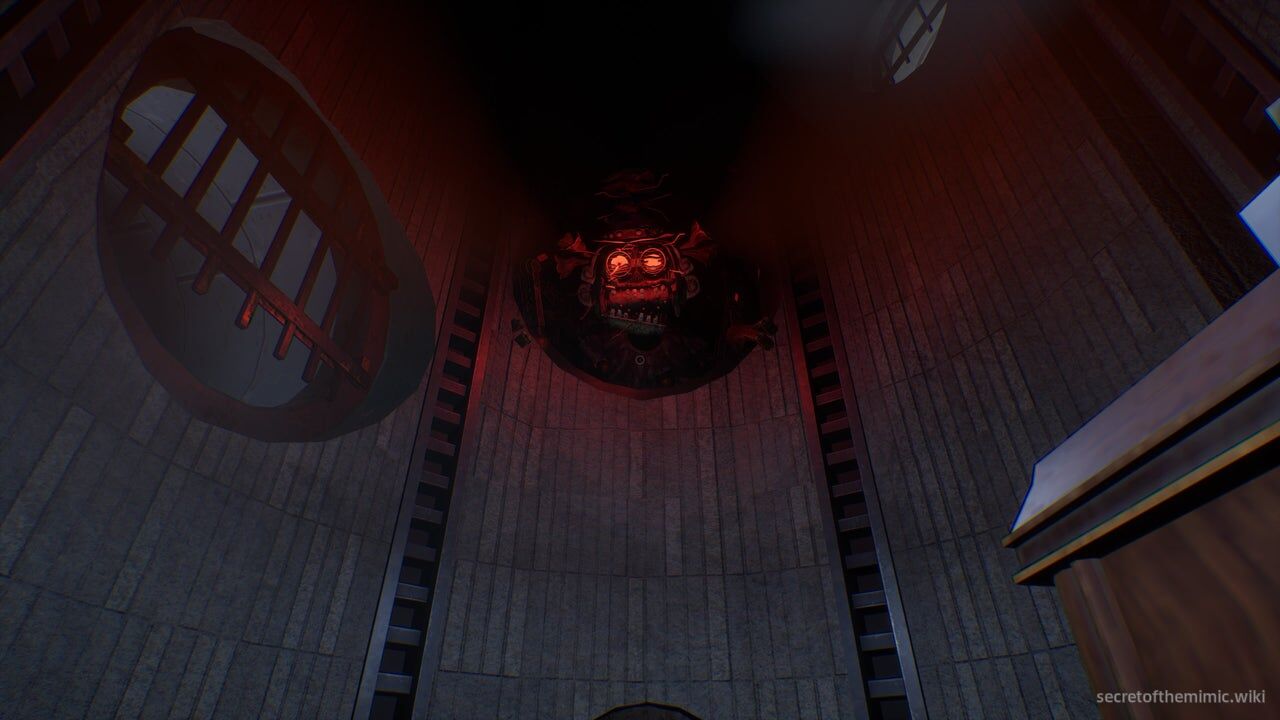
Pulling the lever brings Music Man out of a nearby pipe. Still damaged from the earlier fight, he crawls down the elevator shaft after you. The encounter is short, but he steadily closes the distance as the elevator descends.
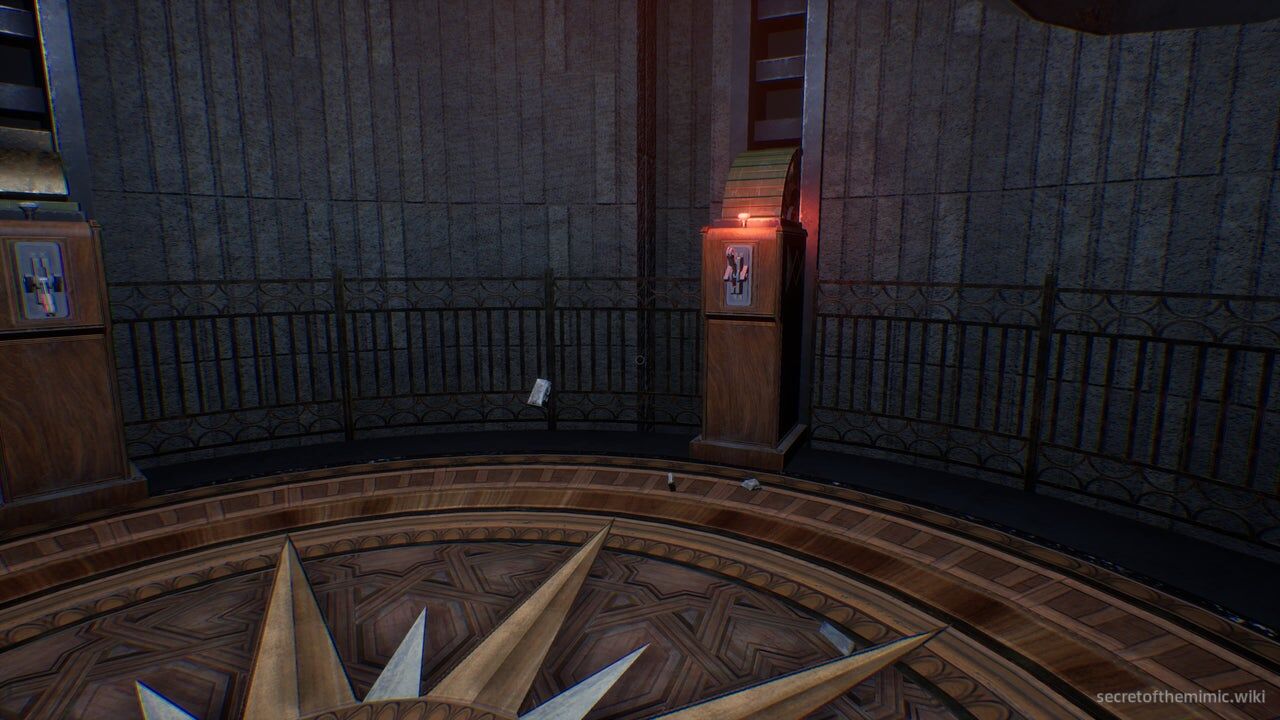
Whenever the elevator stops, locate the beeping lever marked by a flashing light and pull it to restart the descent. After the first few malfunctions, two marked levers must be pulled. Find both quickly and prioritize the levers over Music Man; keeping the elevator moving is the objective.
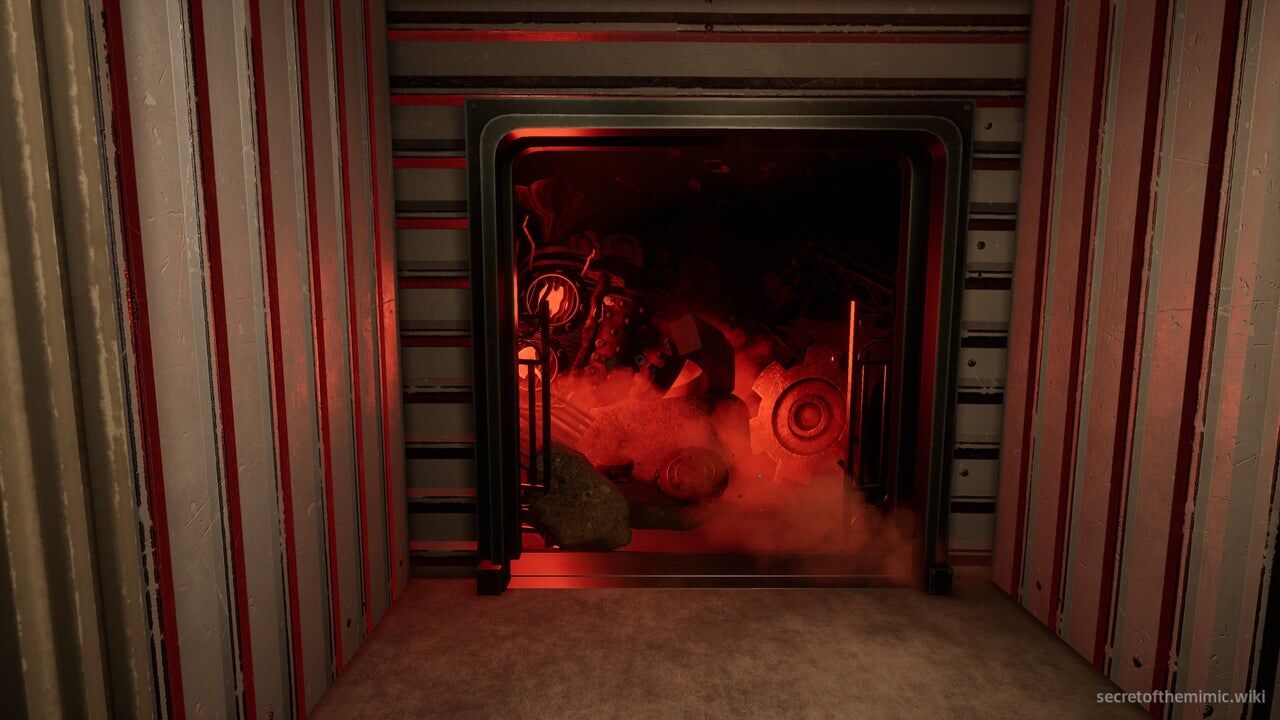
At the final stop, an open doorway appears at the bottom of the shaft. Run through it; Music Man crashes down behind you and is buried under rubble again.
Pizzeria Boss Fight
With Music Man dealt with, open the red shutter on the right using the Data Diver to enter the R&D floor. Follow the next corridor to its end, open the second Data Diver door, and enter the large warehouse.
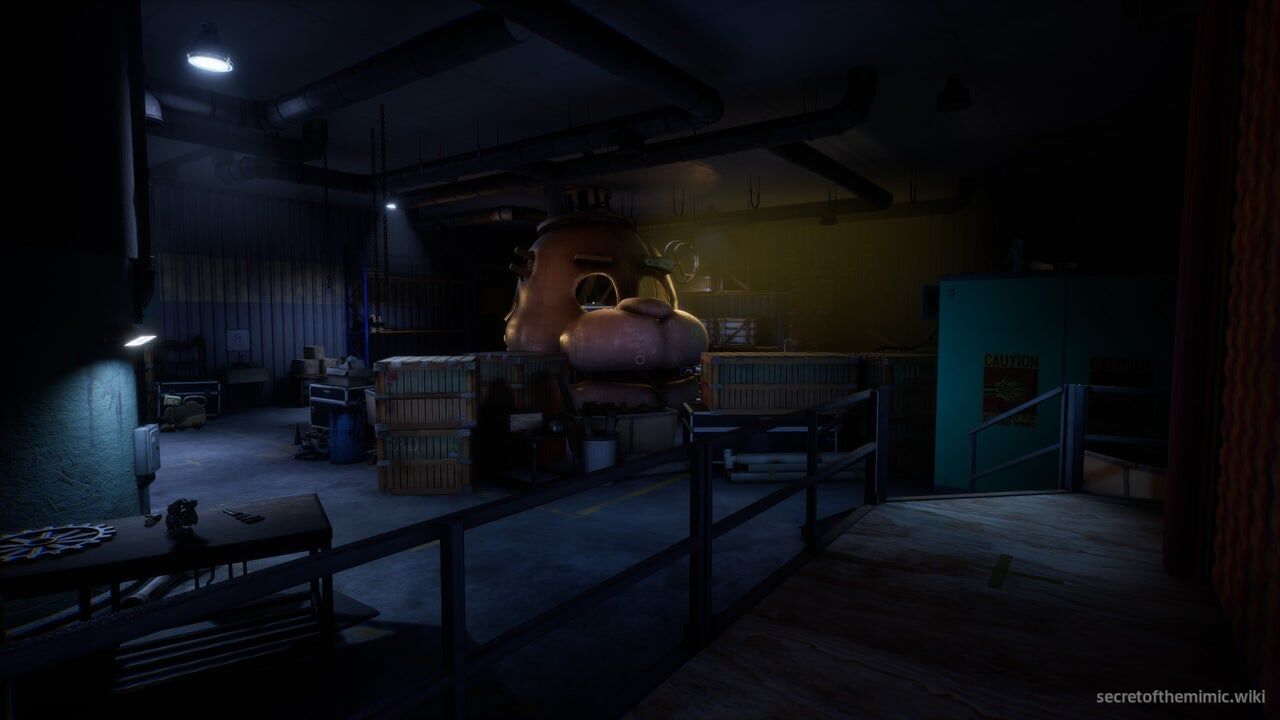
Once you're inside the warehouse, the Dispatcher will contact you again. Listen to his pleas as you round the corner and see a giant Freddy Fazbear head in the middle of construction. Walk towards the Freddy head and climb inside it to find a generator. Activate this generator and, through Freddy's eyehole, you'll see a curtain open.
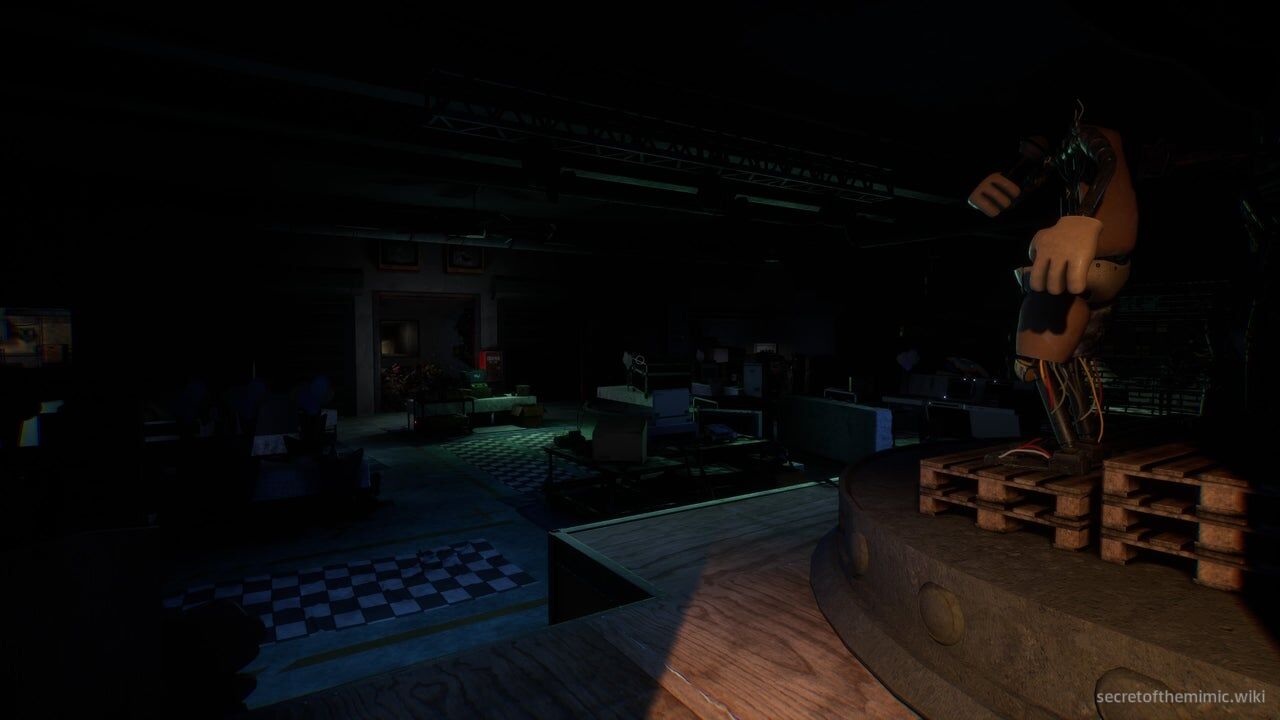
Go through the curtain into the dark room and use the desk terminal in its centre. Run the command that turns on the showlights, revealing a prototype Freddy Fazbear's Pizza still under construction.
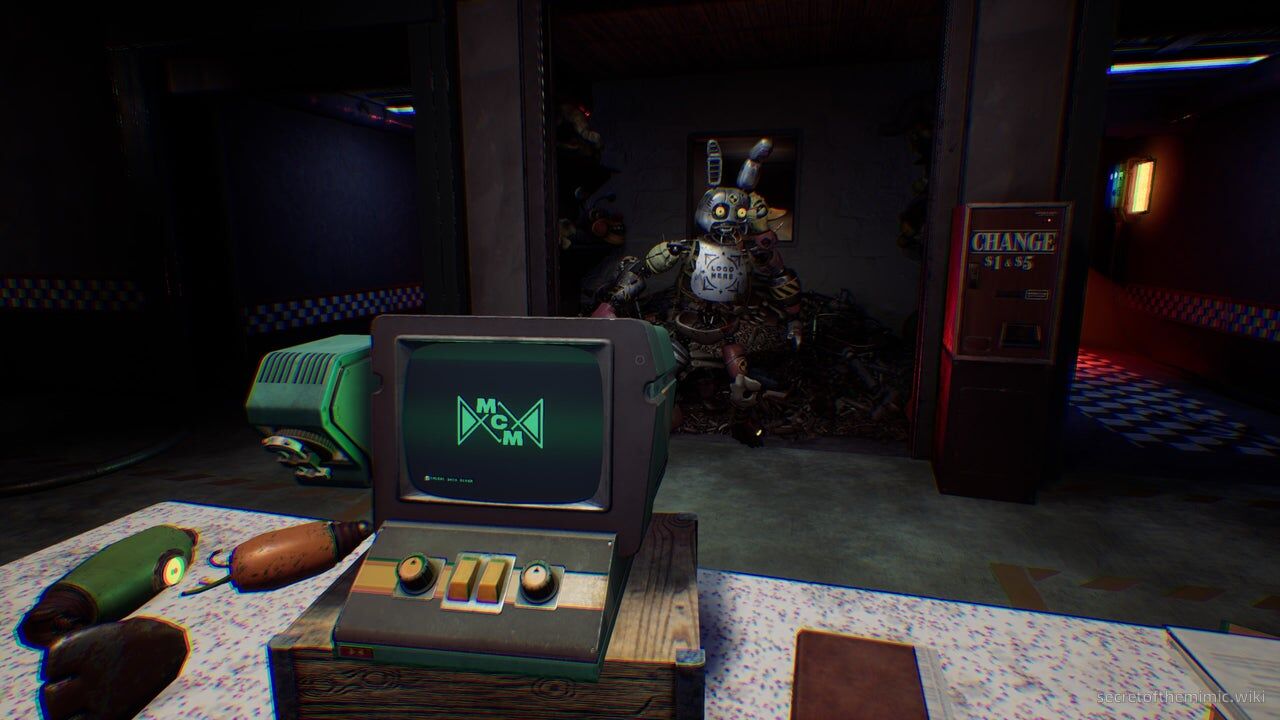
Before you can investigate further, animatronic parts ahead assemble into a large composite of Fazbear characters. This is the Mimic's final form for the encounter; evade it to continue.
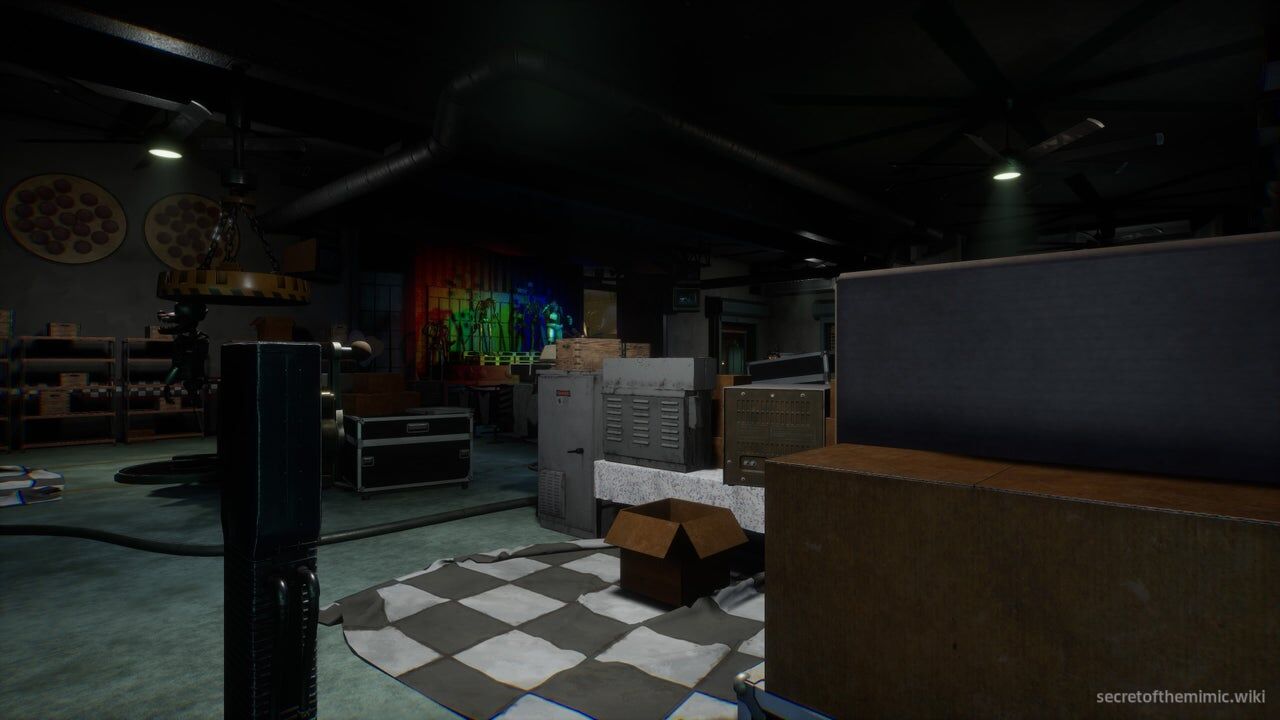
In what's a really neat idea for a battle, we're essentially playing the inverse role from the original Five Nights at Freddy's game. Whoever is pretending to be the Dispatcher is currently held up in the office, trying to prevent us from getting inside, and we are trying to overload the power to break through the doors and get to them. And what's the best way to break into a security office in a haunted pizzeria? Well, it's to be an animatronic lingering outside the doors, of course!
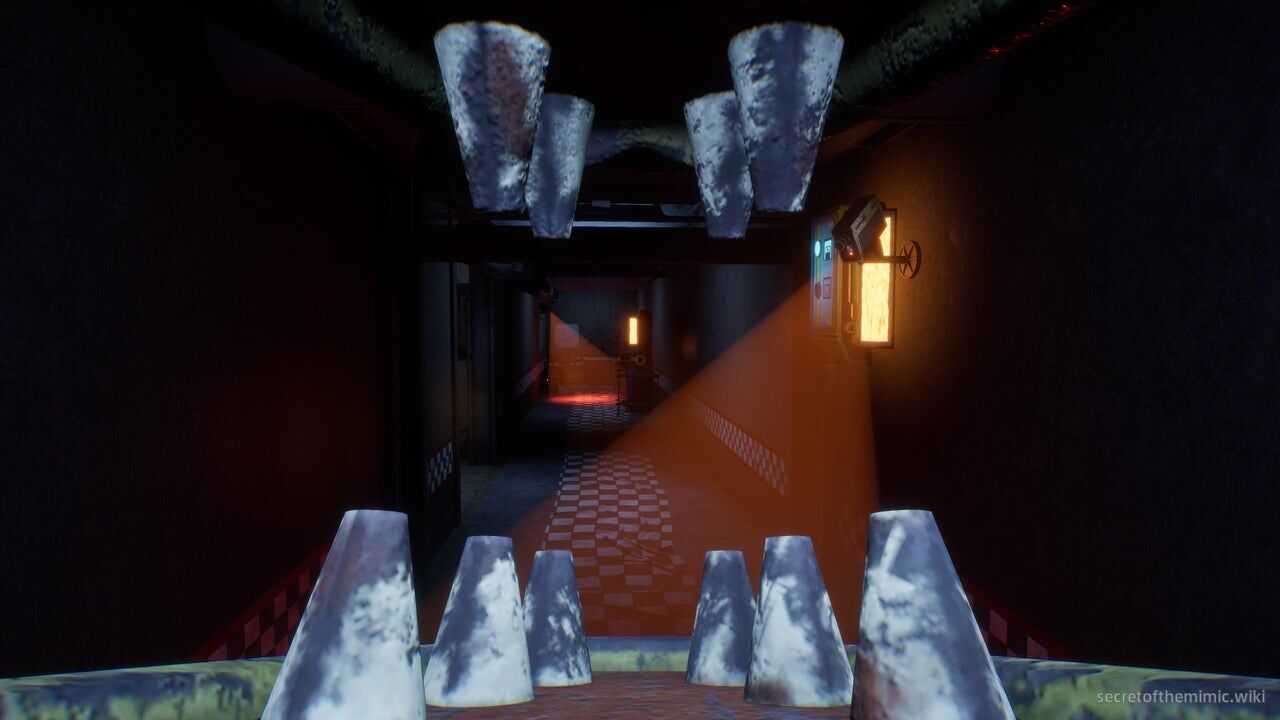
The arena's objective is straightforward. Opposite the stage are two corridors leading to the security office. Each corridor has two red ground lights; standing in one lowers a gate and blocks that corridor's route to the office.
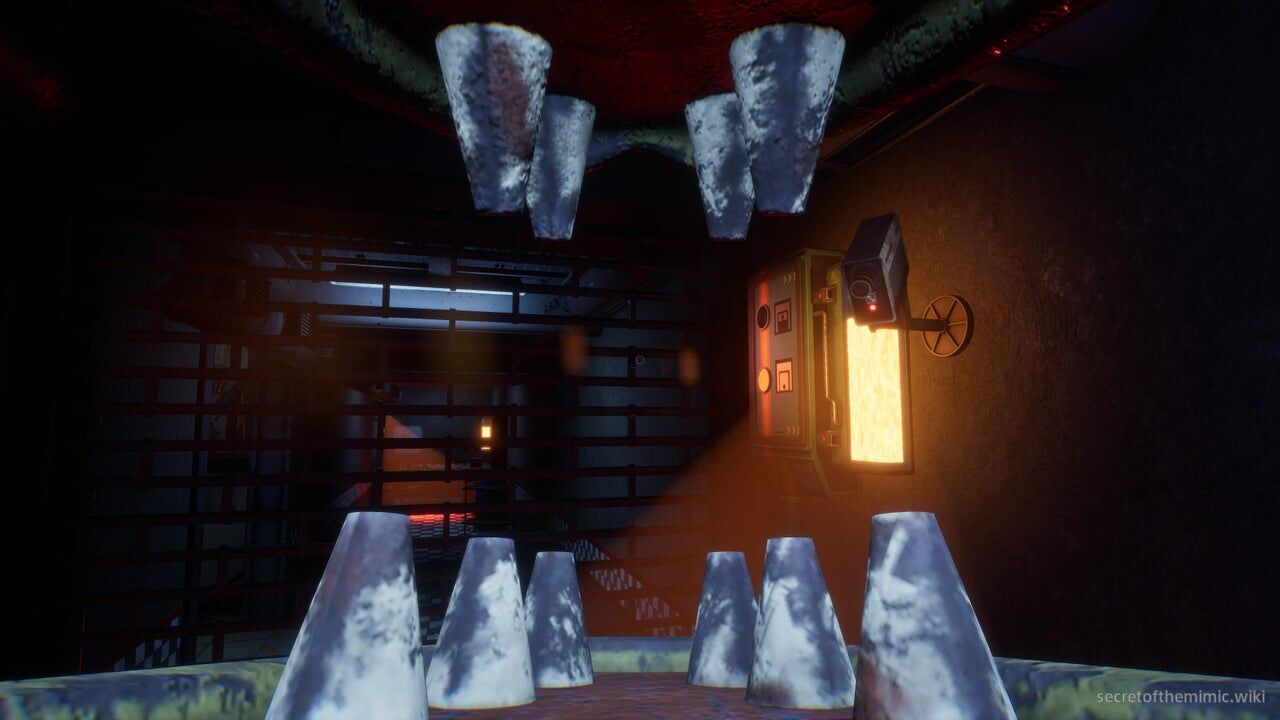
Lowering the gates is the intended strategy. The Dispatcher spends power to close each one; when that power reaches 0%, the system overloads and the office doors open. Check the orange wall light beside each gate for the remaining power percentage. You must keep the first lights blocked, then reach the deeper lights beyond the closed corridors.
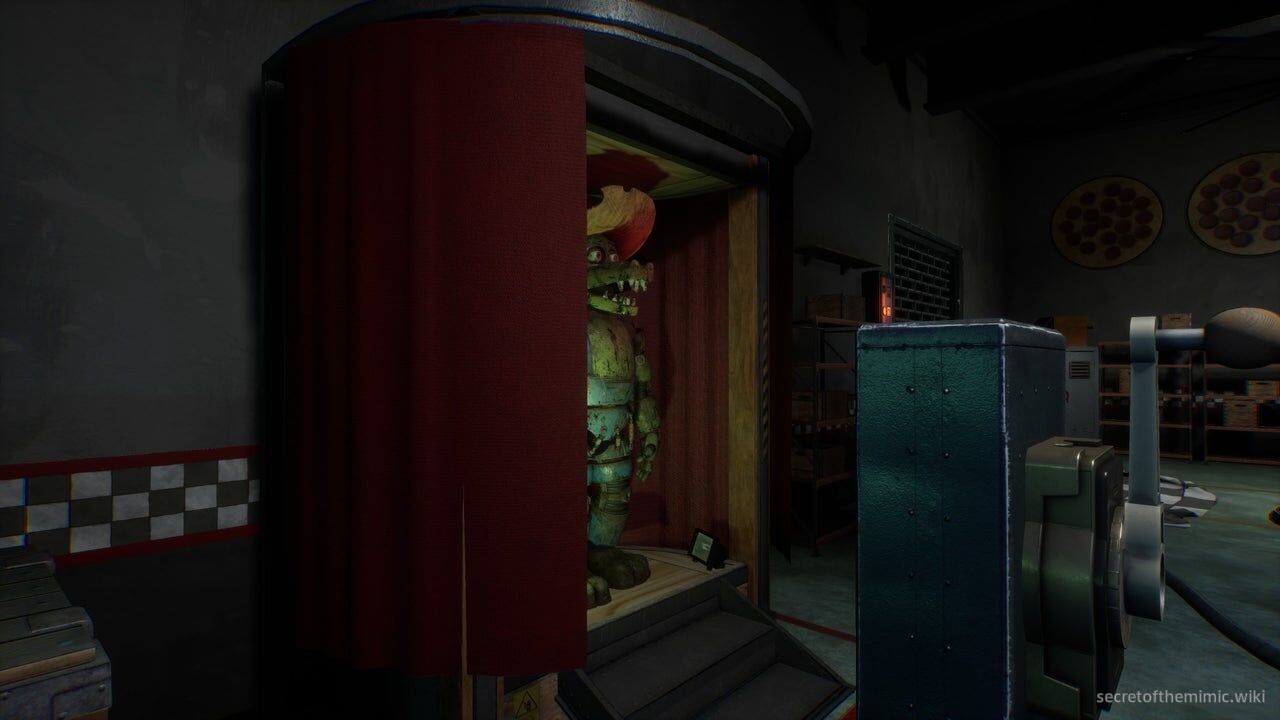
In the central pizzeria area, you'll find two red curtains that can be opened with cranks. On the other side are springlock animatronic suits that we can hop into. The first is a Monty Gator suit in the back right-hand corner, right next to the Foxy animatronic.
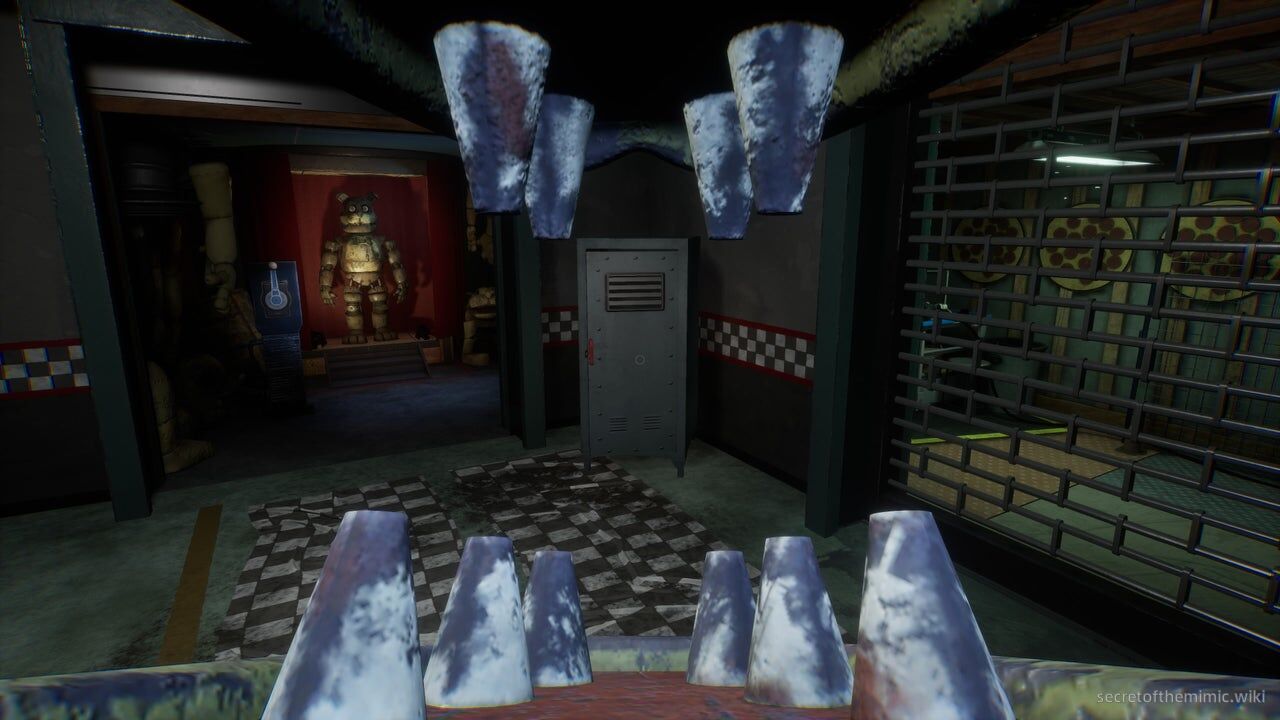
The second is in the bottom left-hand corner, through a doorway to the left of the locked gate next to the Chica animatronic. It's a dog springlock called Bub.
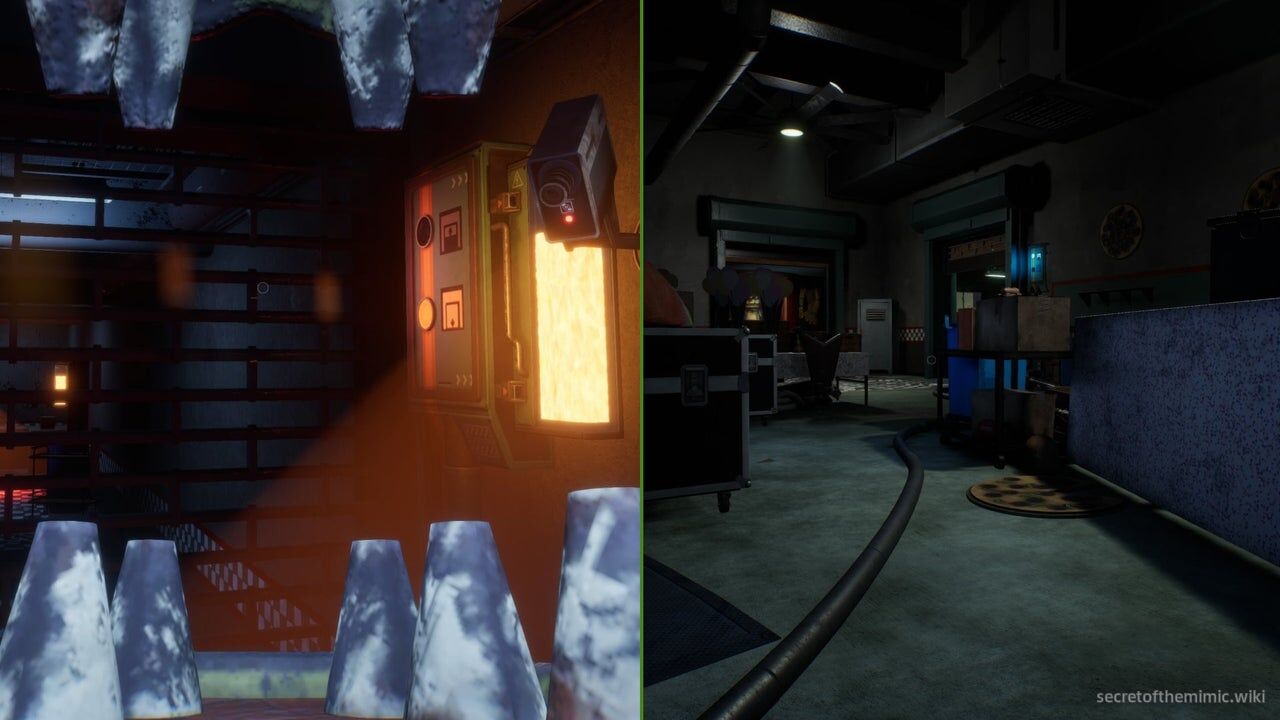
Use the springlock suits to occupy the red lights, then exit and leave each suit in place to keep the matching gate closed. The first two lights do not overload the power by themselves, but each opens its matching locked gate: the left light opens the left gate, and the right light opens the right gate.
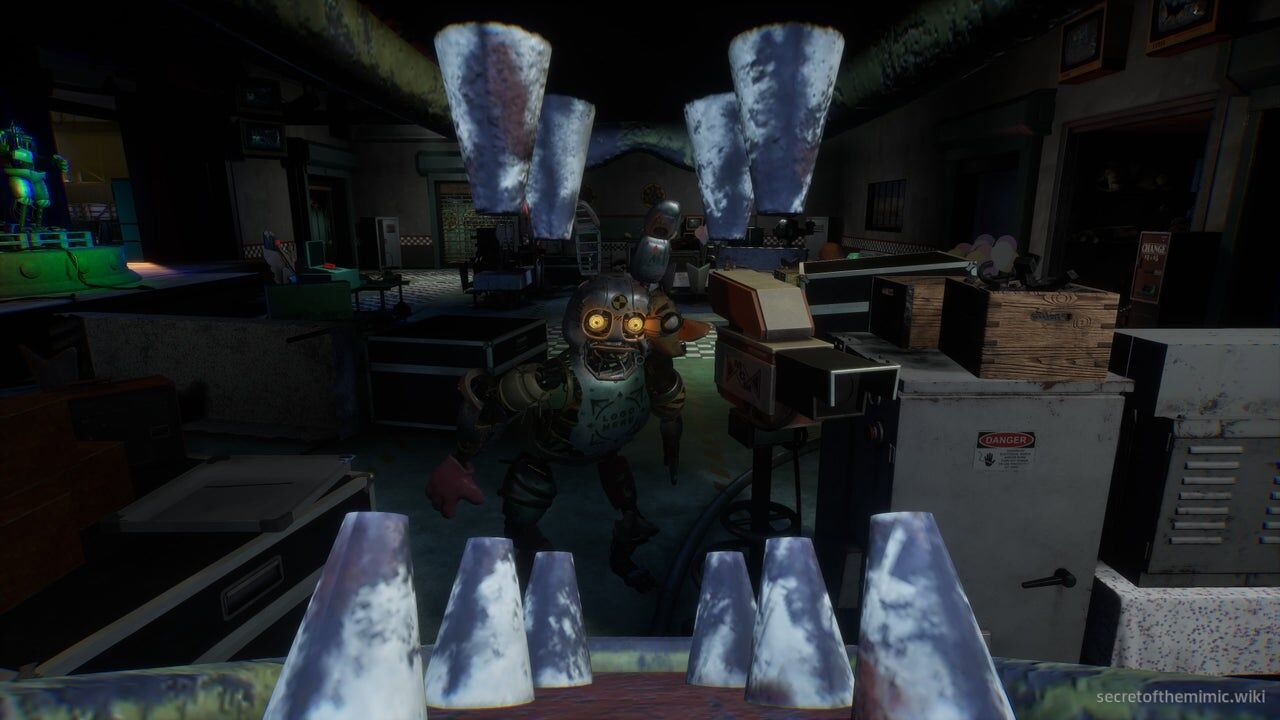
For each side, enter a springlock suit, place it on the first light, leave the suit there, then use the newly opened gate to reach the deeper area. The Mimic roams the pizzeria and is most dangerous while you unlock the suits or travel to and from the gated areas. It cannot attack while you are inside a springlock suit, making those moments safer.
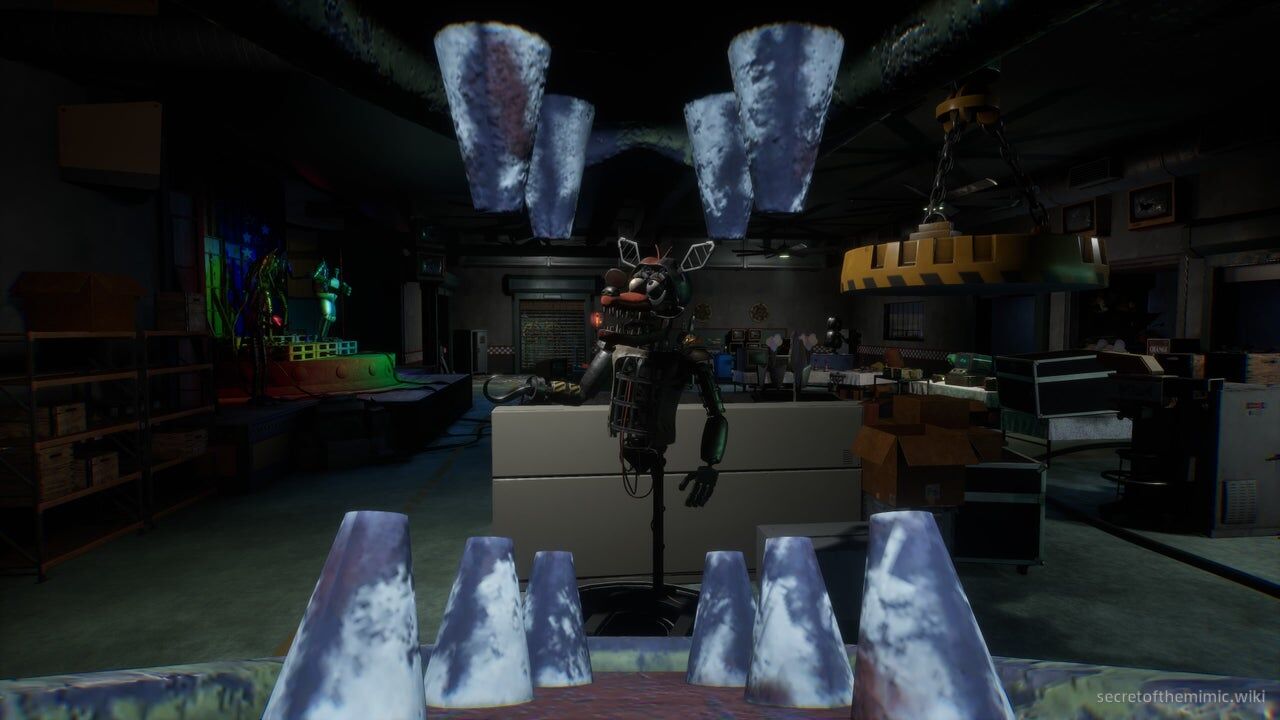
The prototype animatronics are the main hazard because they can draw the Mimic to your position. Foxy is in the pizzeria's bottom-right corner and Chica is in the top-left. Sneak past them to avoid revealing yourself, or deliberately trigger one to pull the Mimic away before you explore a gate.
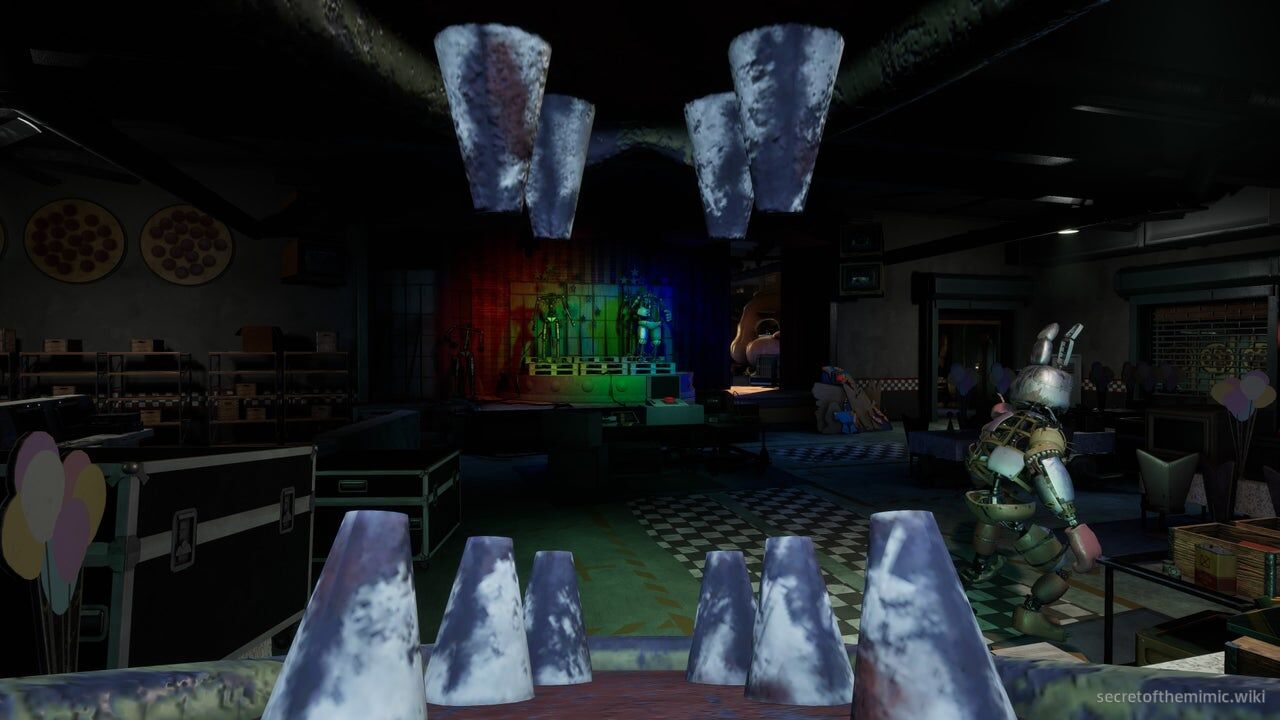
Before placing a suit on a red light, use the suit to trigger the prototype animatronic on the opposite side of the room from the gate you intend to open. The noise draws the Mimic away, giving you time to park the springlock suit, exit it, and enter the chosen corridor without interference. Use the route instructions below for each corridor.
The Left Gate
The left gate is the more dangerous route because of the animatronic along it. After filling the first light on the left path, circle around to the opened gate and enter the long corridor with a prototype Bonnie at the end.
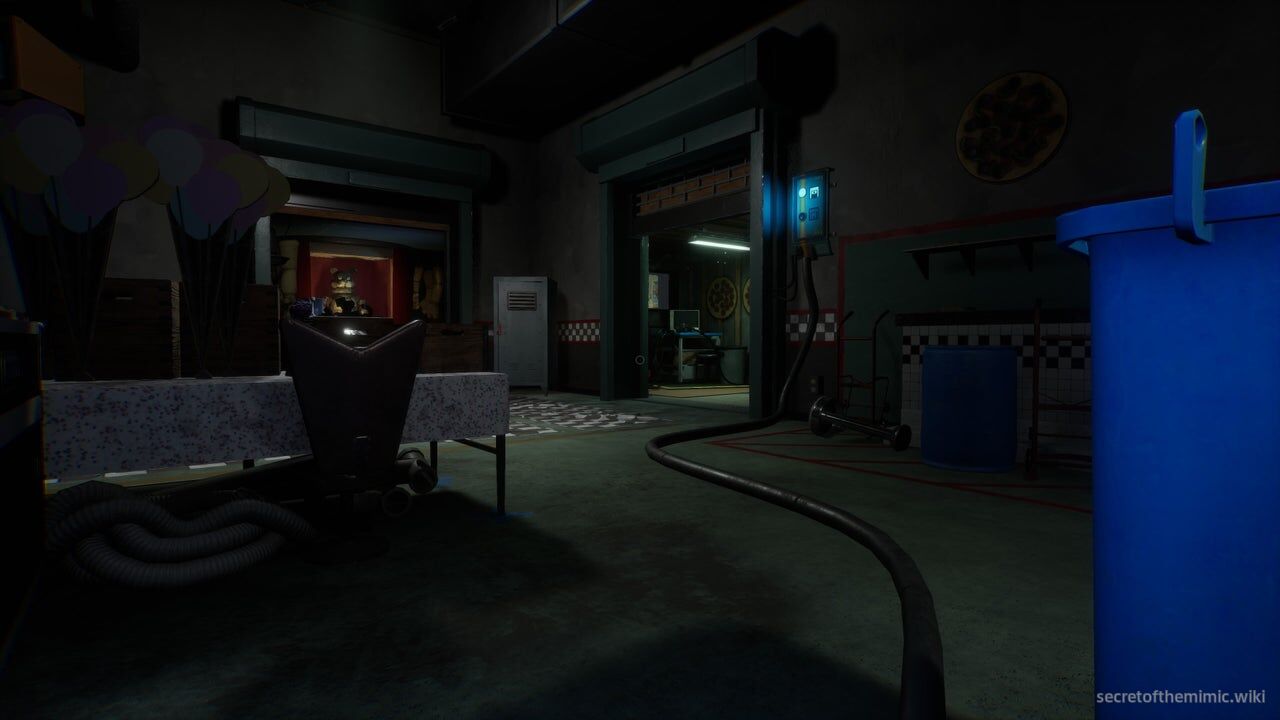
Beside Bonnie is a boarded doorway you must crawl under, but passing Bonnie alerts the Mimic. Wait until it is exploring the other side of the pizzeria, sprint down the corridor, and crawl through the opening. Cross the bathroom to reach the vent behind the walls, then follow that route to a second vent.
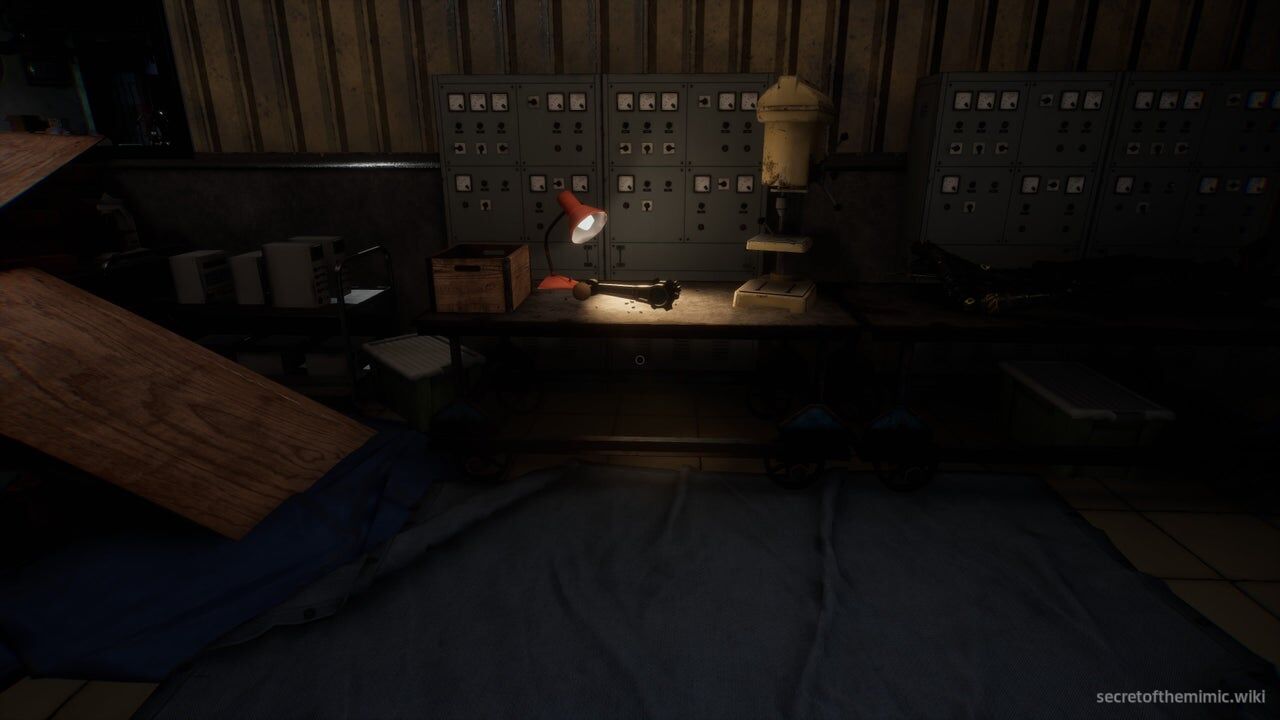
Pass through the second vent and you'll emerge in a workshop. Once you drop down, you'll see an animatronic curtain identical to the ones containing Bub and Monty Gator to your left. Grab the crank from the desk on your right and bring it around to this curtain.
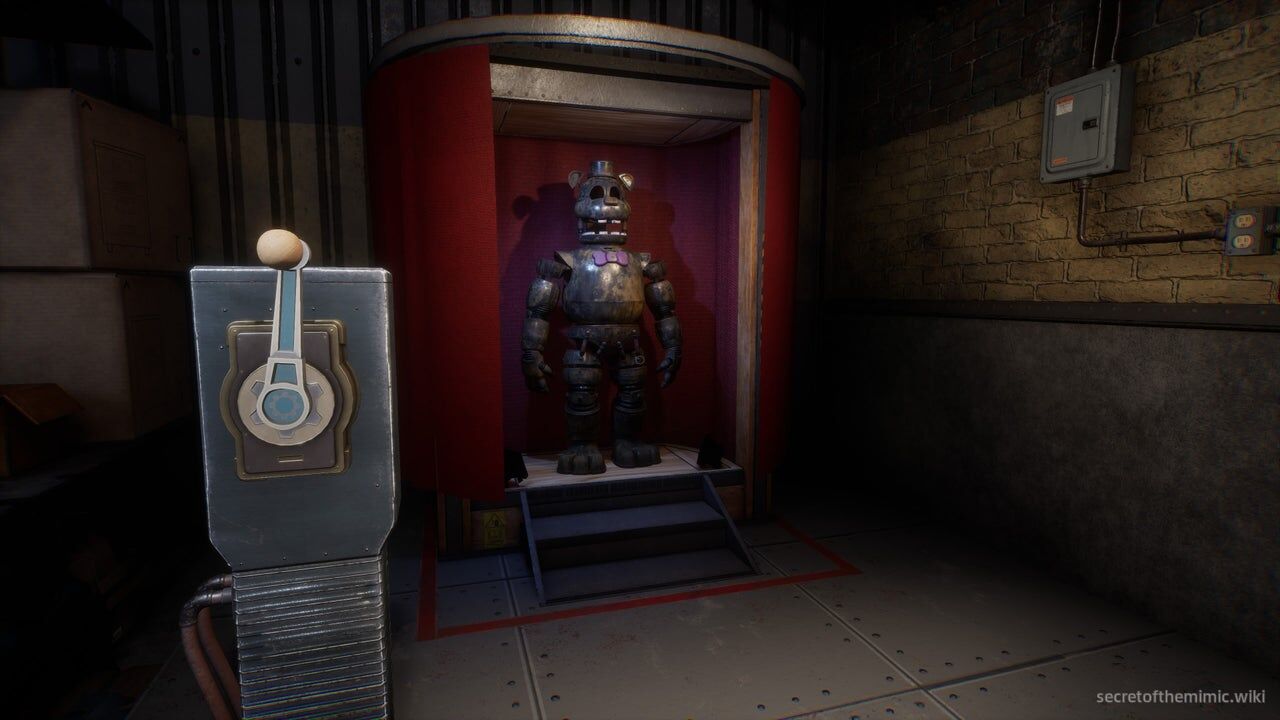
Insert the crank in the empty slot to the left of the curtain and turn it to reveal the prototype Golden Freddy springlock suit. Enter it, leave through the workshop door, and follow the left light corridor to the second red light directly outside the office. Park Golden Freddy on that light to drain the remaining power.
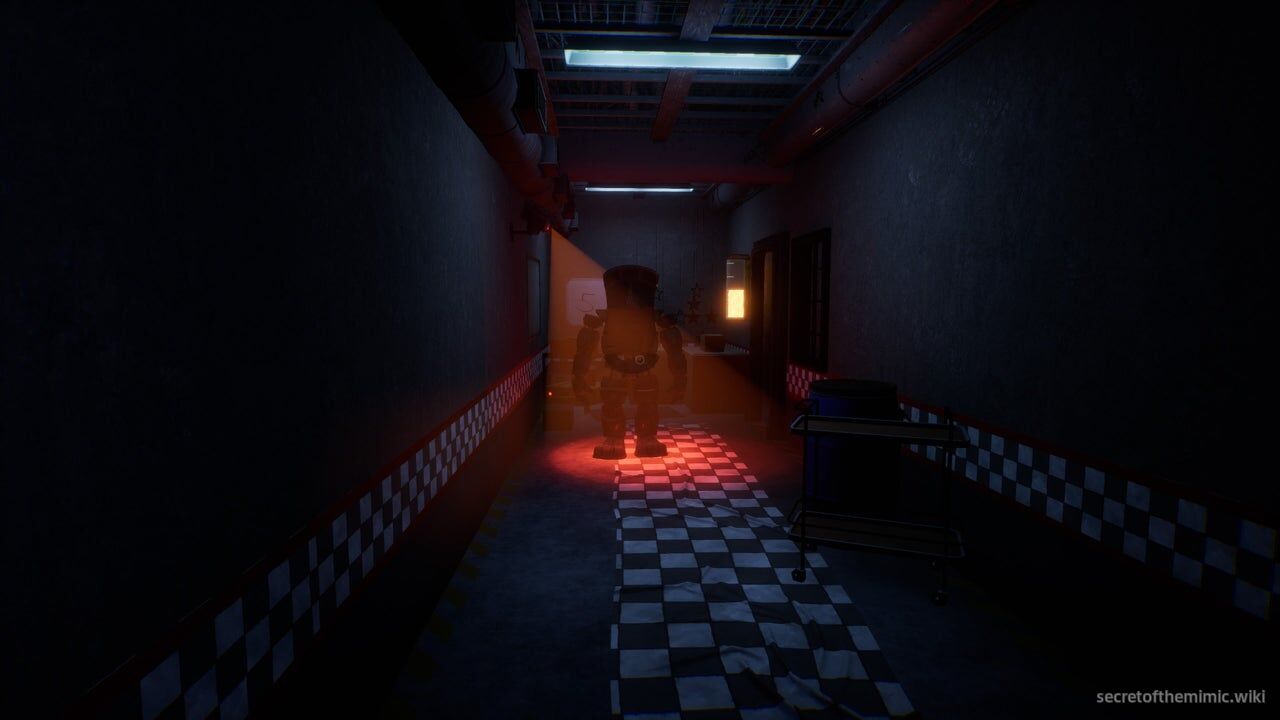
When you're done, pop out the suit and re-enter the workshop. You'll see a ramp on your left that leads out of the window and back into the pizzeria, so use it to return to the central room.
The Right Gate
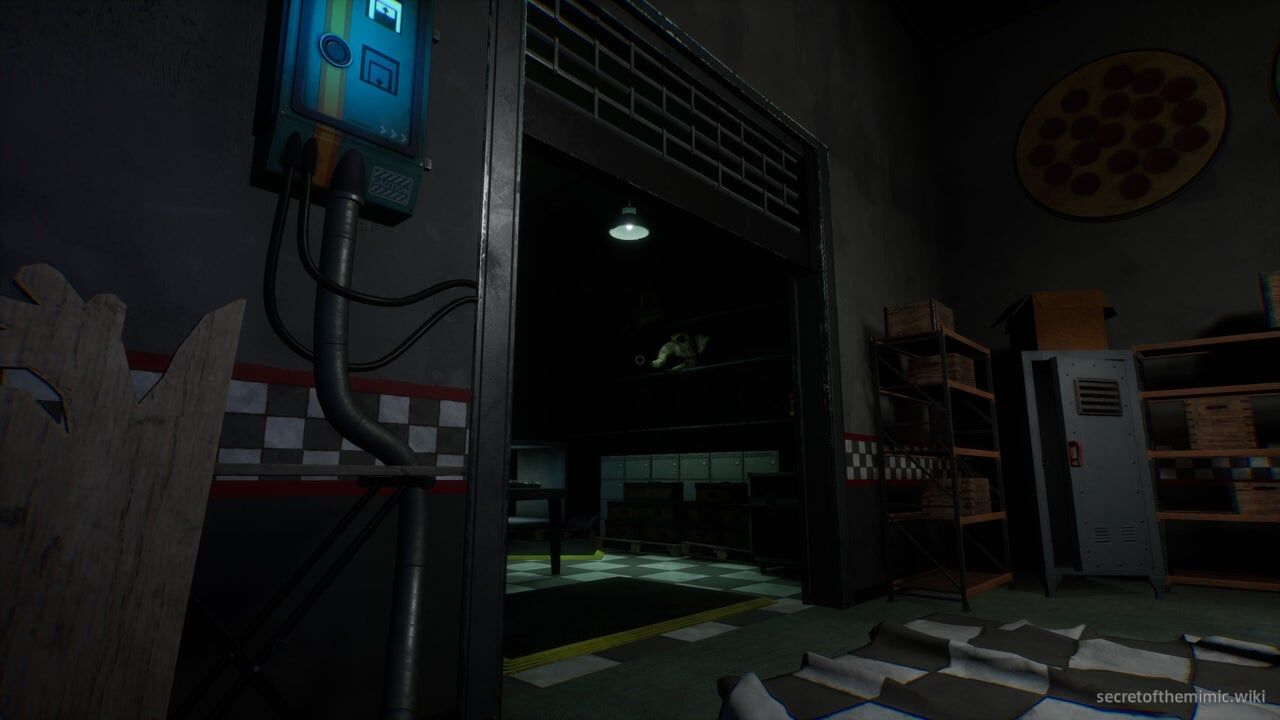
The right gate is simpler and less dangerous. After filling the first light on the right path, exit the animatronic, circle around to the gate, and enter the small costume area. The ventilation shaft is in its back-right corner.
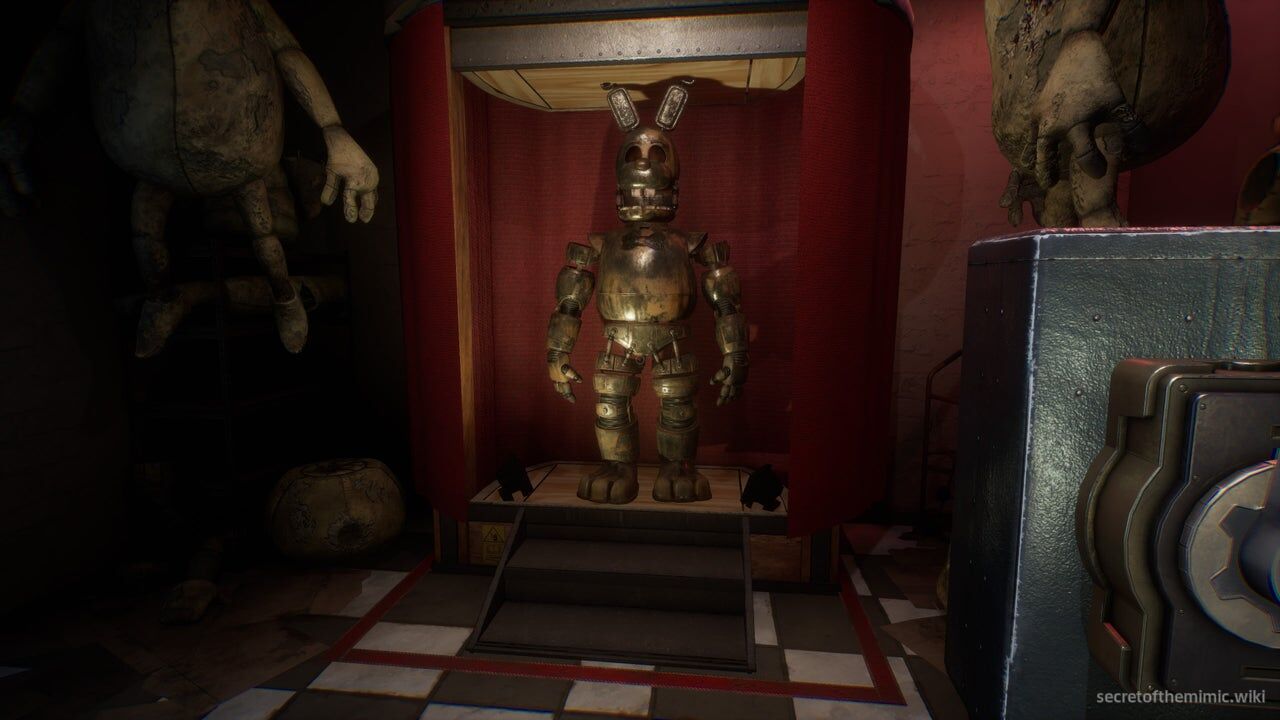
Crawl through the shaft to reach the next animatronic curtain. Turn its crank to reveal the prototype Spring Bonnie suit. Enter the suit, take it into the corridor, and follow the path to the end to occupy the second red light.
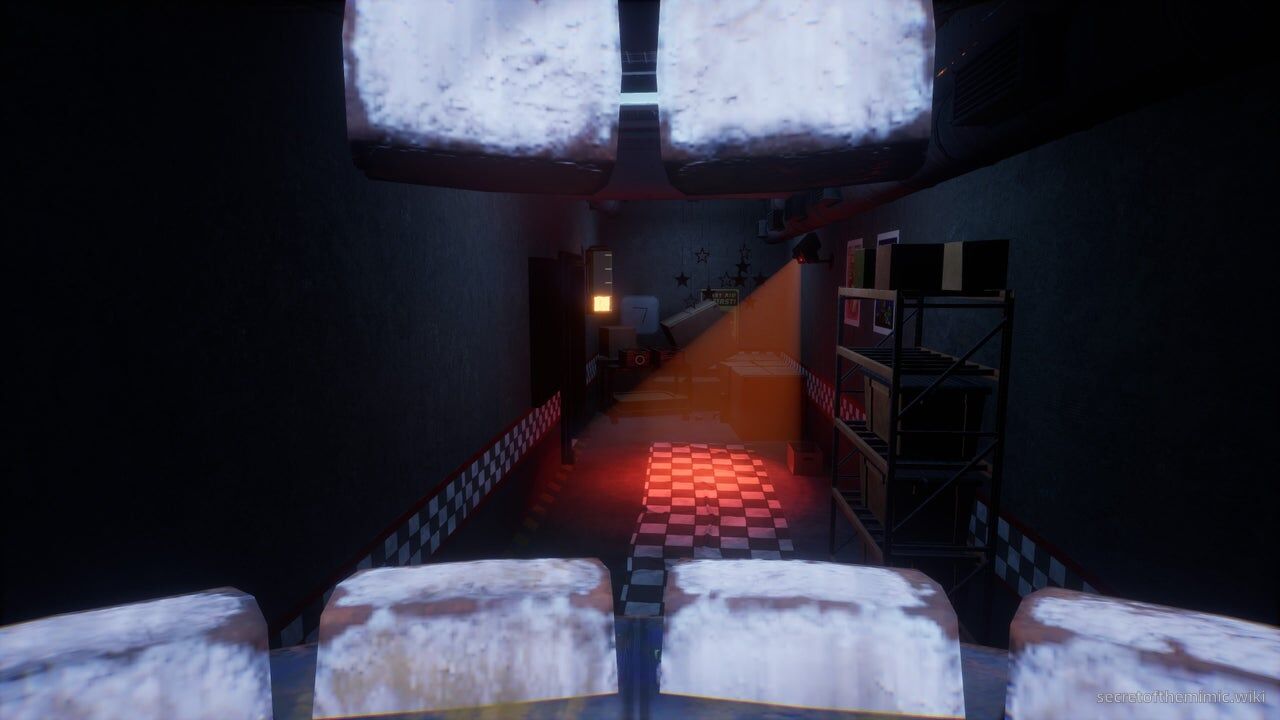
This reduces the power to 0% and opens the office doors. Exit the Spring Bonnie suit and enter the office to end the fight.
The Murray Mansion
Inside the office, you learn that the Dispatcher's voice was being imitated by M1, an AI designed to mimic Murray's late wife, Fiona. M1 is now contained in a giant computer unit beneath the Murray Costume Manor.
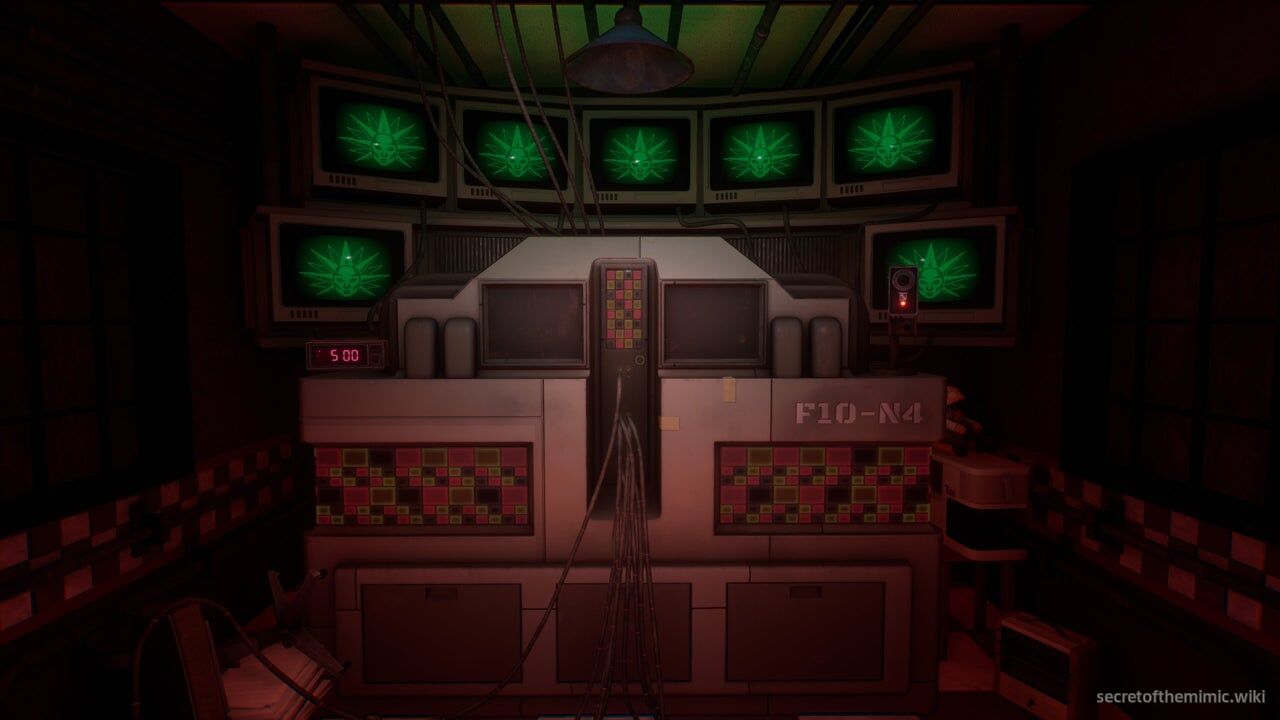
Computer Fiona explains that Murray left the family and sealed himself in the mansion, so she has not heard from him for a long time. She asks Edwin to repair M2—the Mimic you have faced throughout the game—and opens the door behind you toward the mansion. When the conversation ends, turn around and follow the newly opened path.
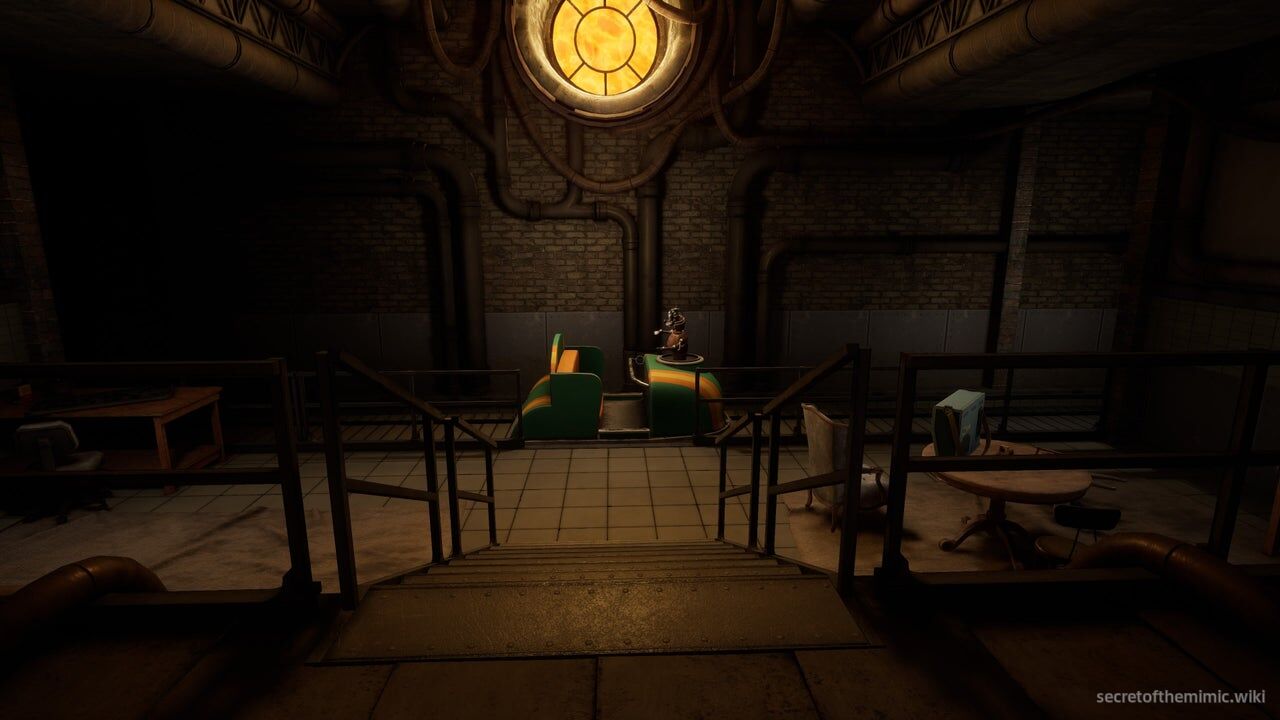
The path leads to a cart fitted with a prototype Mr Helpful. Board it to ride to Murray's mansion while Mr Helpful "updates" you. When the ride ends, leave the cart, enter the elevator ahead, and take it up to the Murray family home.
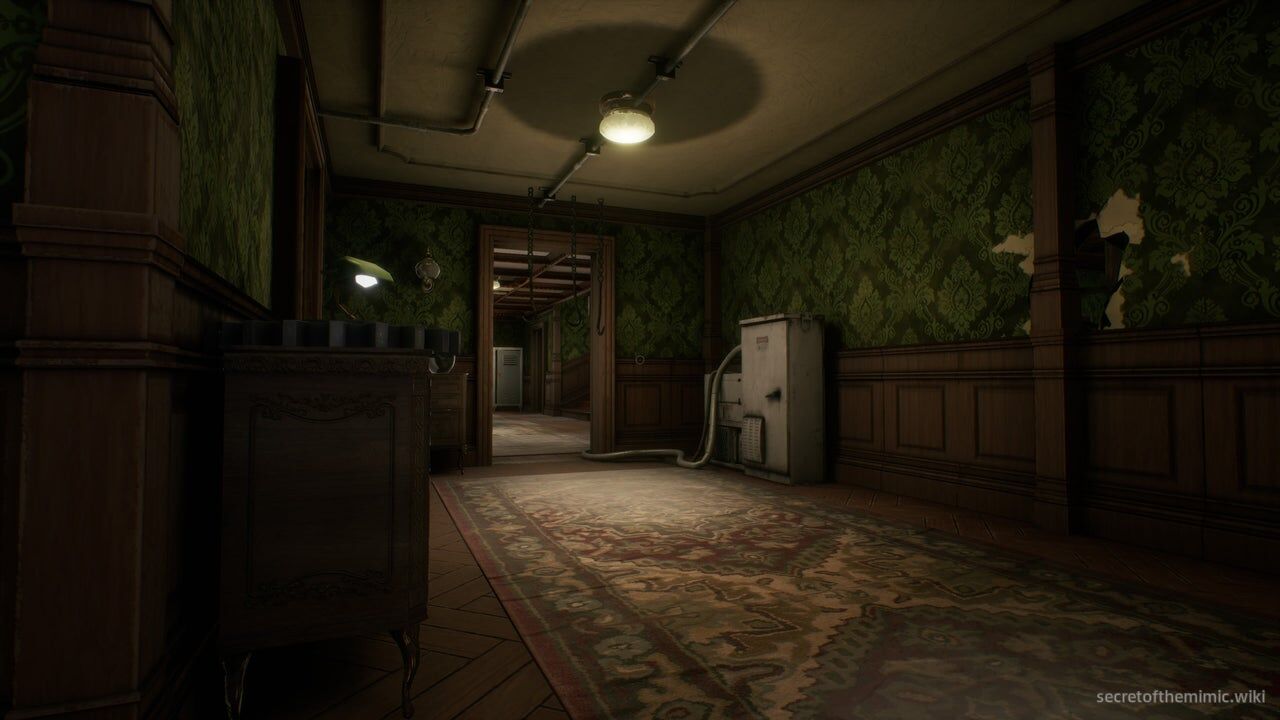
As you arrive, leave the elevator and follow the stairs up to the ground floor of the mansion. You'll find a Data Diver door here, so insert it and crack the door open. As you step into the dilapidated house, you'll be treated by the beautiful, transcendent noise of gargantuan Mimic feet pitter-pattering down the halls.
Final Boss Encounter
Inside the house, the final puzzle encounter begins: find the code for the locked attic door while evading the Mimic.
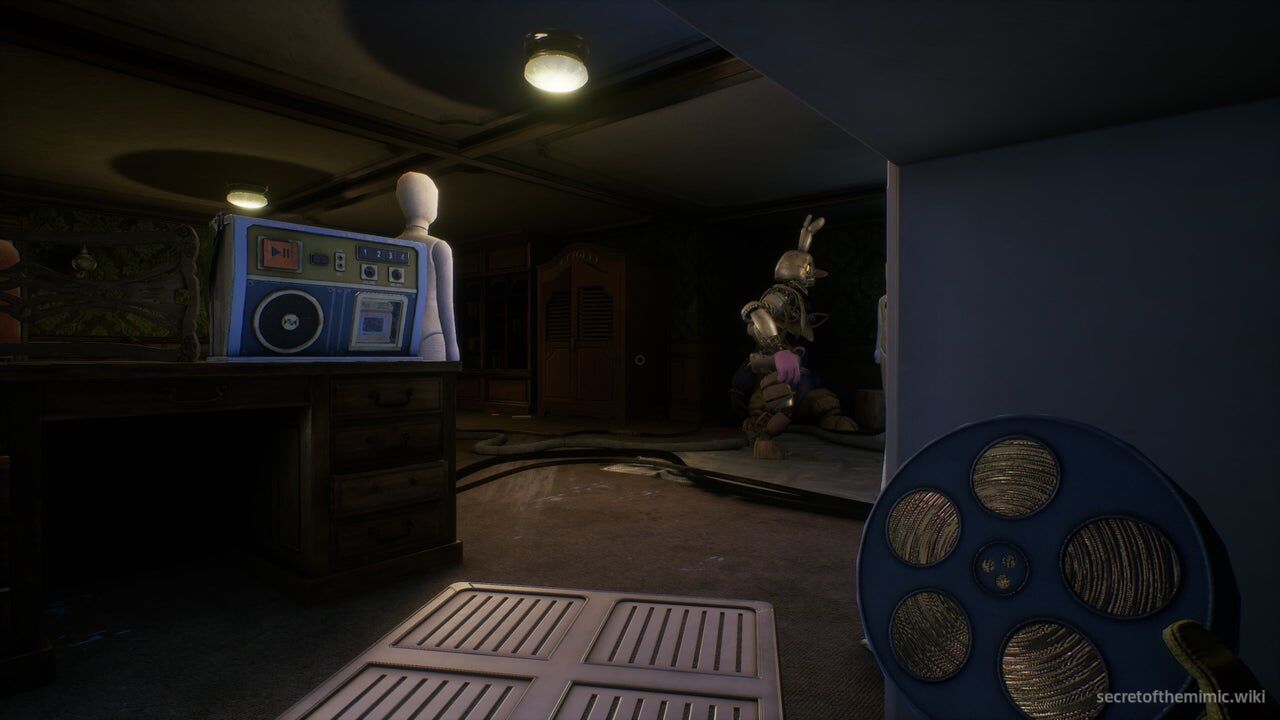
This section is arguably the toughest battle against the standard Mimic in the game, not because he's adopted any new moves or abilities, but purely because the house is full of narrow corridors and it's really tricky to keep on top of where the Mimic is while he's patrolling.
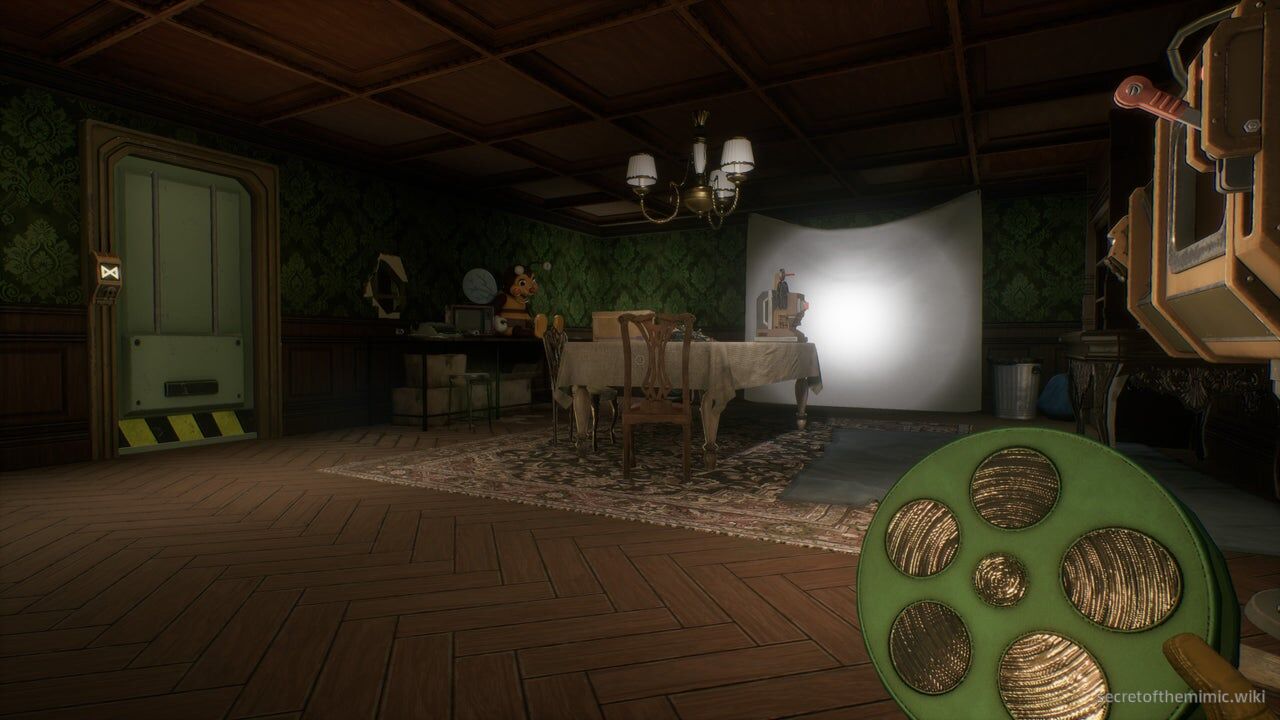
There's two floors here, with a kitchen, a living room, a study and a side room on the lower floor and then a bedroom, a play room, a second study and the locked attic on the upper floor. However, the most important room is directly ahead of us when we enter the area. Through the shutter across from the entrance is a dining room with a projector on the table.
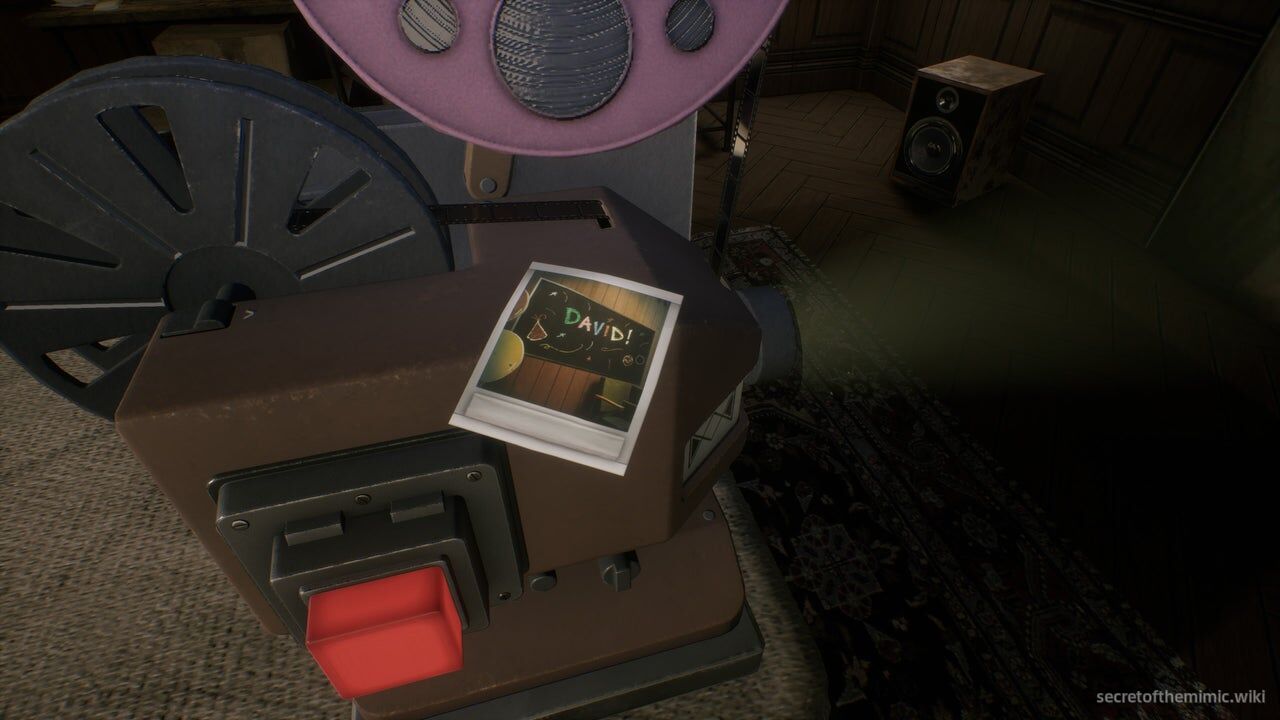
The projector provides the attic-door code. The combination is randomized each playthrough. On top of the projector is an image of David's name on a blackboard, with every letter in a different colour; those colours correspond to coloured tapes in bolted lockers across both floors.
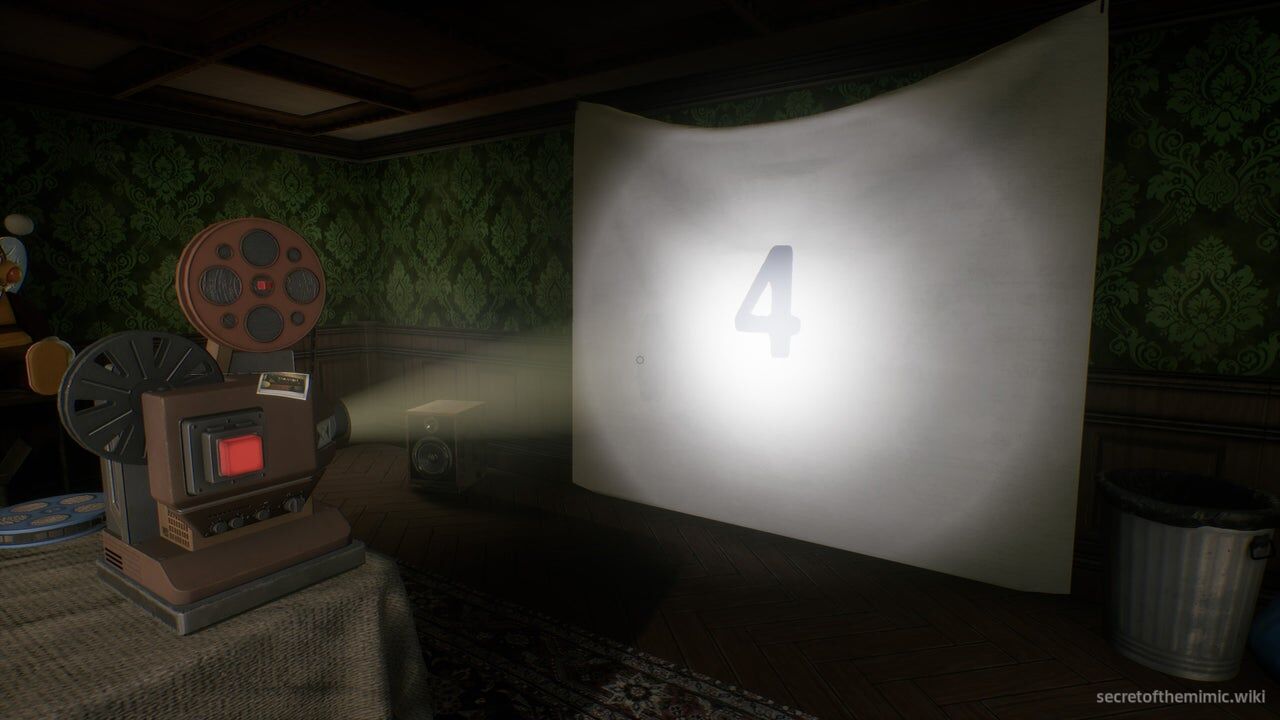
Each tape shows a memory from David's birthday and ends with a number. Record those numbers, then arrange them according to the projector image's coloured-letter order. The tape locations follow below; first, use the mansion's layout to manage the Mimic safely.
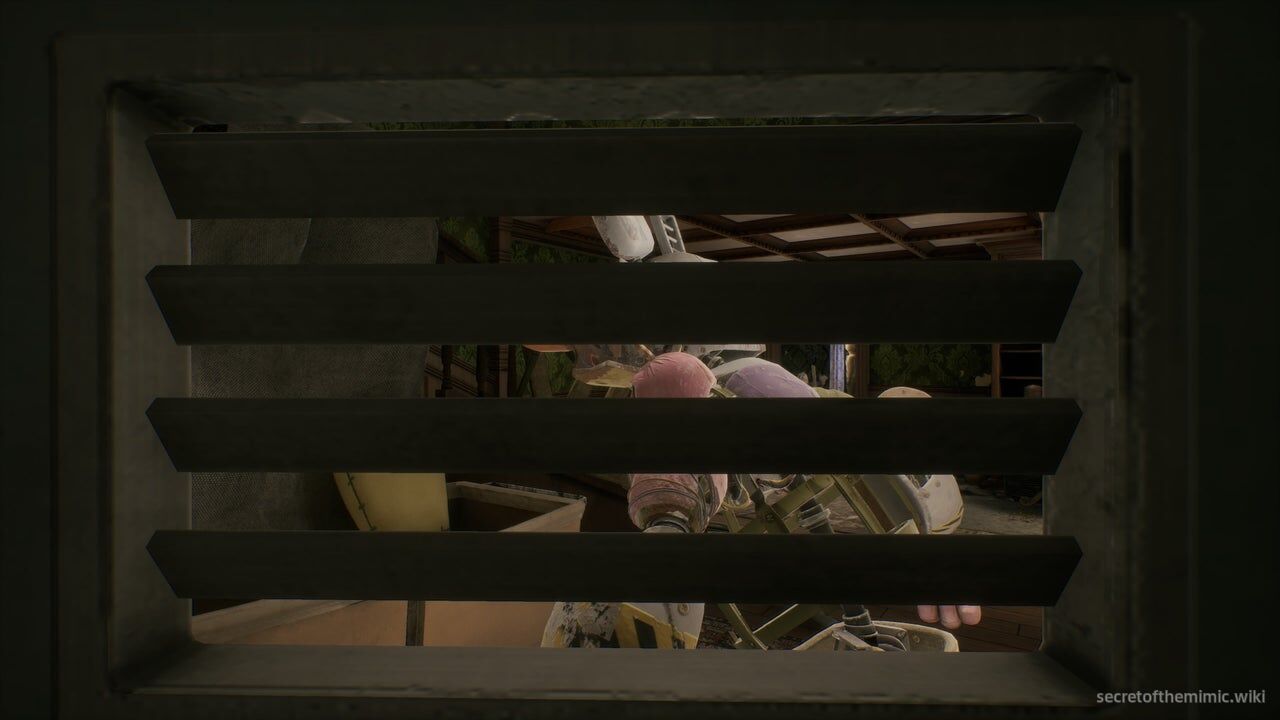
This house is a ridiculously Mimic-friendly little area. There are sound lures everywhere, whether that's mannequins or chains above pretty much every doorway. There are several dead ends for him to trap us in. And the fact that there are two floors means it's very hard to tell whether he's above you or right behind you. So, let's cover how to use this environment to elude him.
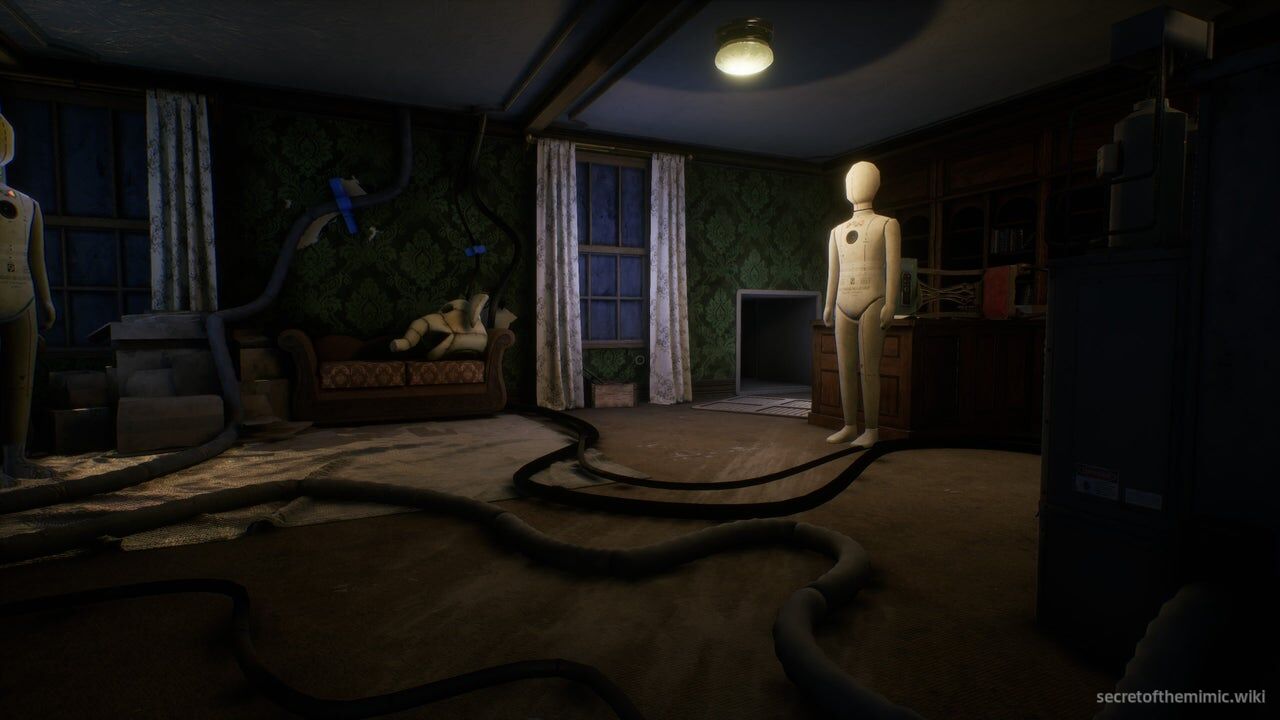
First off, there are three vents in this section, which you should use to your full advantage. The first is in the ground-floor study, behind the group of mannequins, and it'll lead you around to the living room. Both the living room and the study are full of sound lures, so this vent can be a phenomenal way to get upstairs without him noticing. Simply trigger a mannequin in the study, hop into the vent, wait for him to investigate, and then loop around and sneak past the study door to reach the stairs.
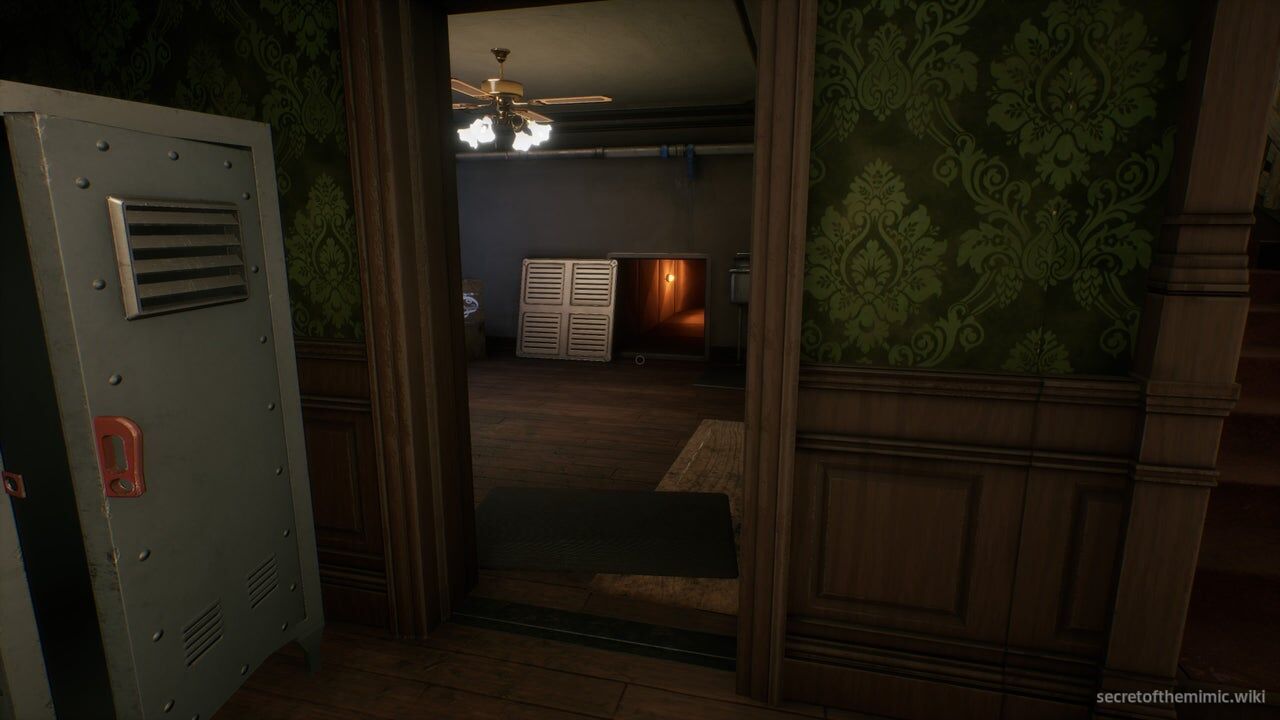
The second vent is mostly just used to get one of the five tapes, which I'll cover later, but it's in the ground-floor side room. While you won't be in there much, it can help a lot mid-chase if you need to get away. If the Mimic spots you in the centre of the living room, bolt into this vent and sit and wait for him to leave.
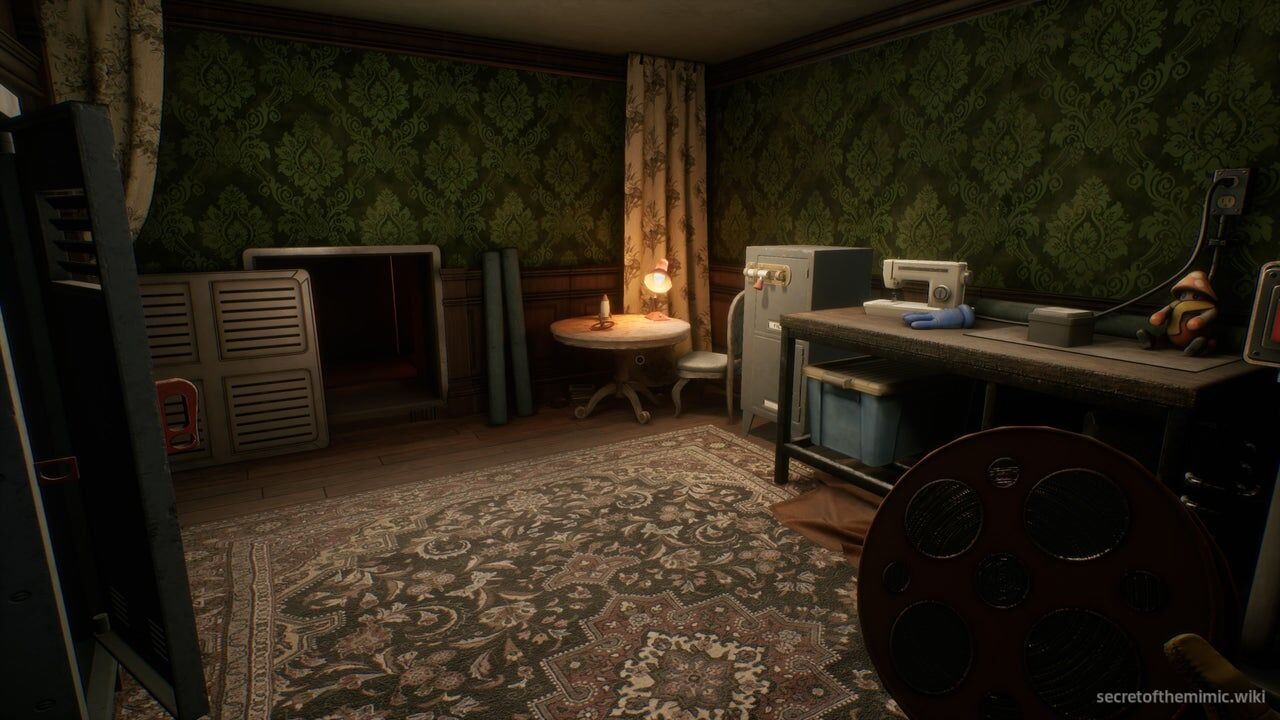
The third and final vent is upstairs, and it is, no joke, the holy grail of vents. It connects to both the upper floor study and the play room, while also giving you a side exit which drops down onto the stairs. Combine that with the fact that the playroom and the upper study both have an abundance of sound lures, and it means you can easily send the Mimic to either room, then drop back down to the stairs and have a good chunk of time unopposed to explore the ground floor. Let me tell you. Truly a world-class horror game vent.
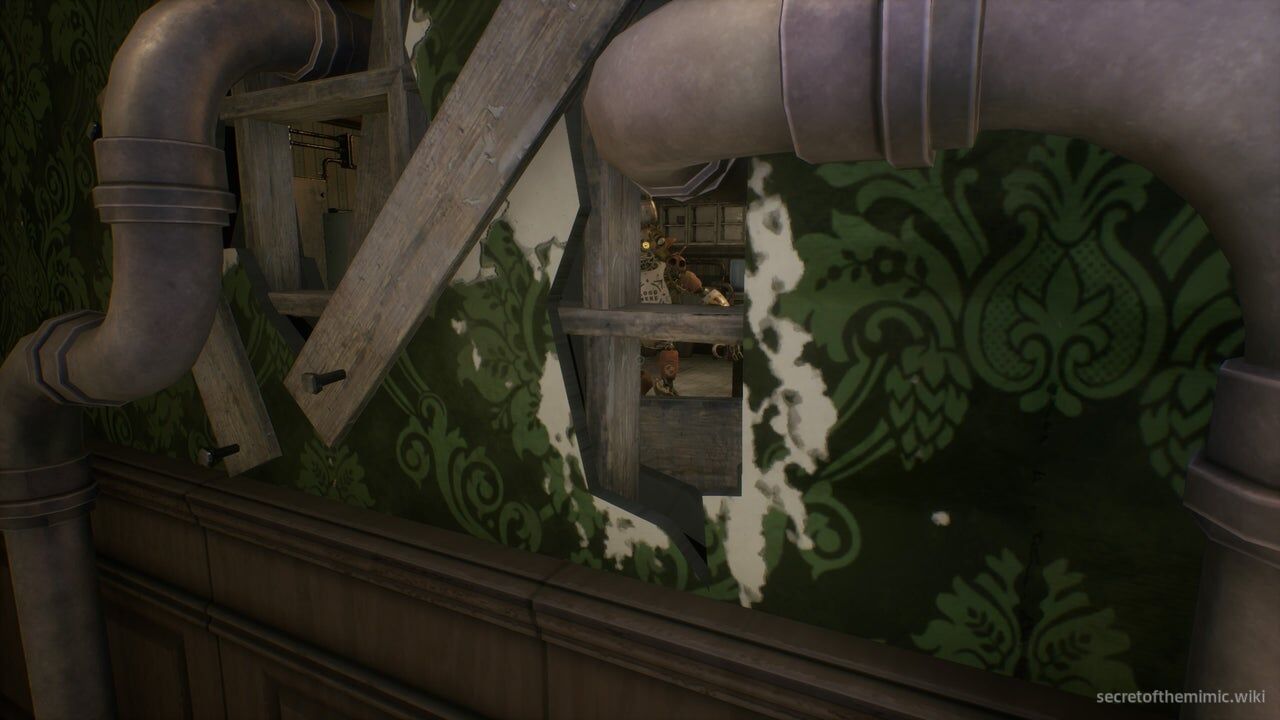
The projector dining room is completely safe, so treat it as your hub. Find one tape, return it to this room, and reset before searching for the next; you cannot carry every tape at once.
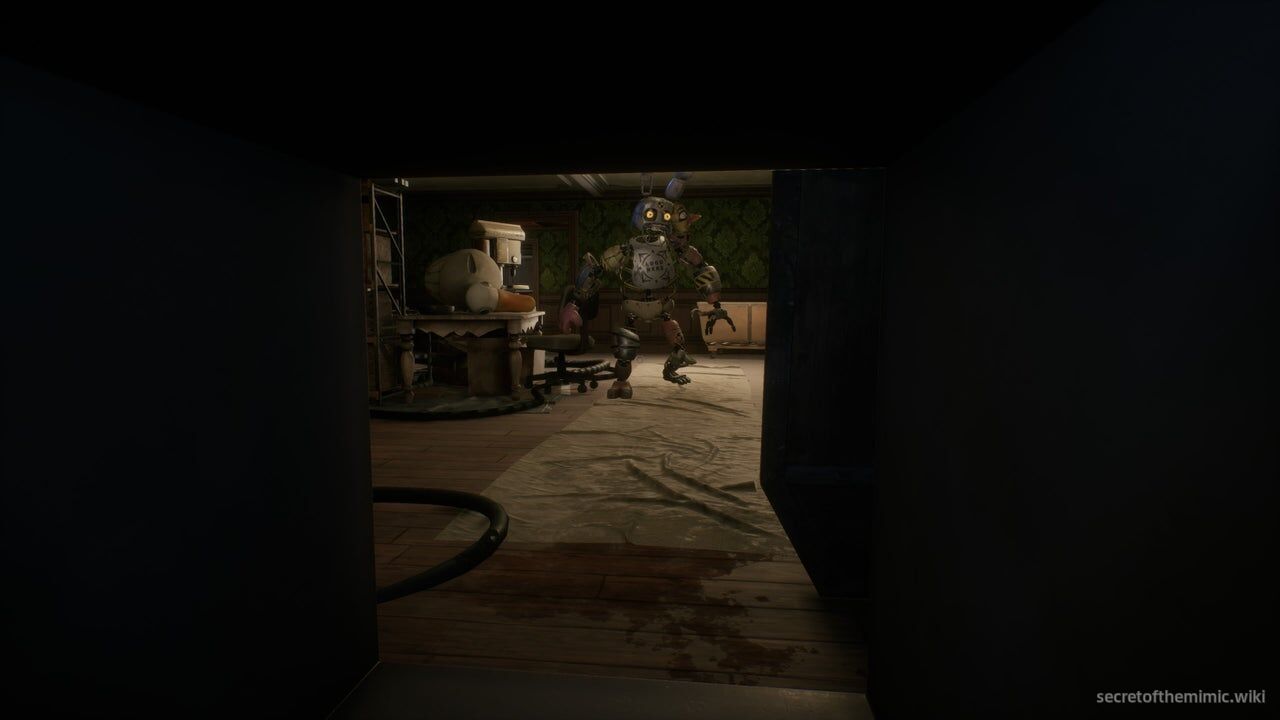
Meanwhile, you should try to keep tabs on the Mimic as much as possible. He'll roam around constantly, mostly sticking to the ground floor. Crossing the living room is when you're going to be most in danger, as he particularly loves camping this room and the study, and considering that's the centre of the house and the study door opens into the living room, it makes navigating past him a very risky manoeuvre. Whenever you intend to cross the living room, use a sound lure in the study and then loop around to the living room using the vent before trying to cross.
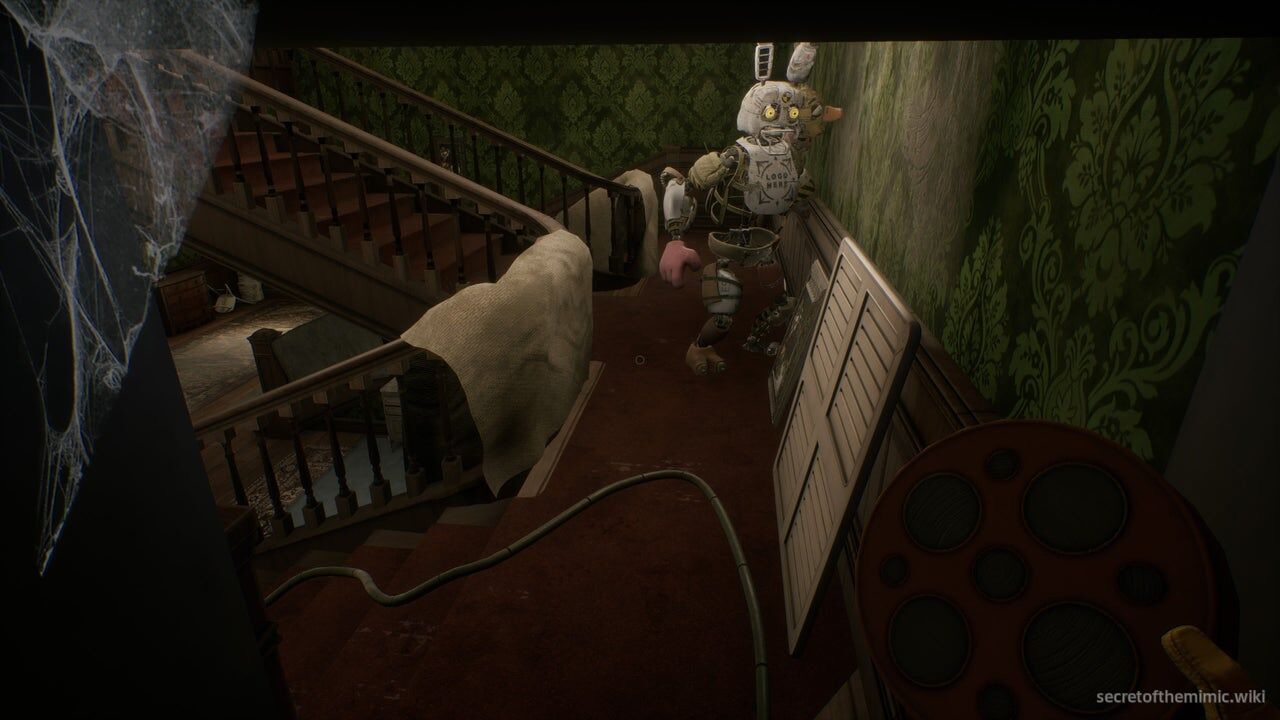
Use the usual Mimic rules throughout the mansion: stay low to remain quiet, avoid the chains hanging in doorways, and avoid initiating a chase. Apply the evasion tactics learned earlier as you collect the tapes below.
The Green Tape
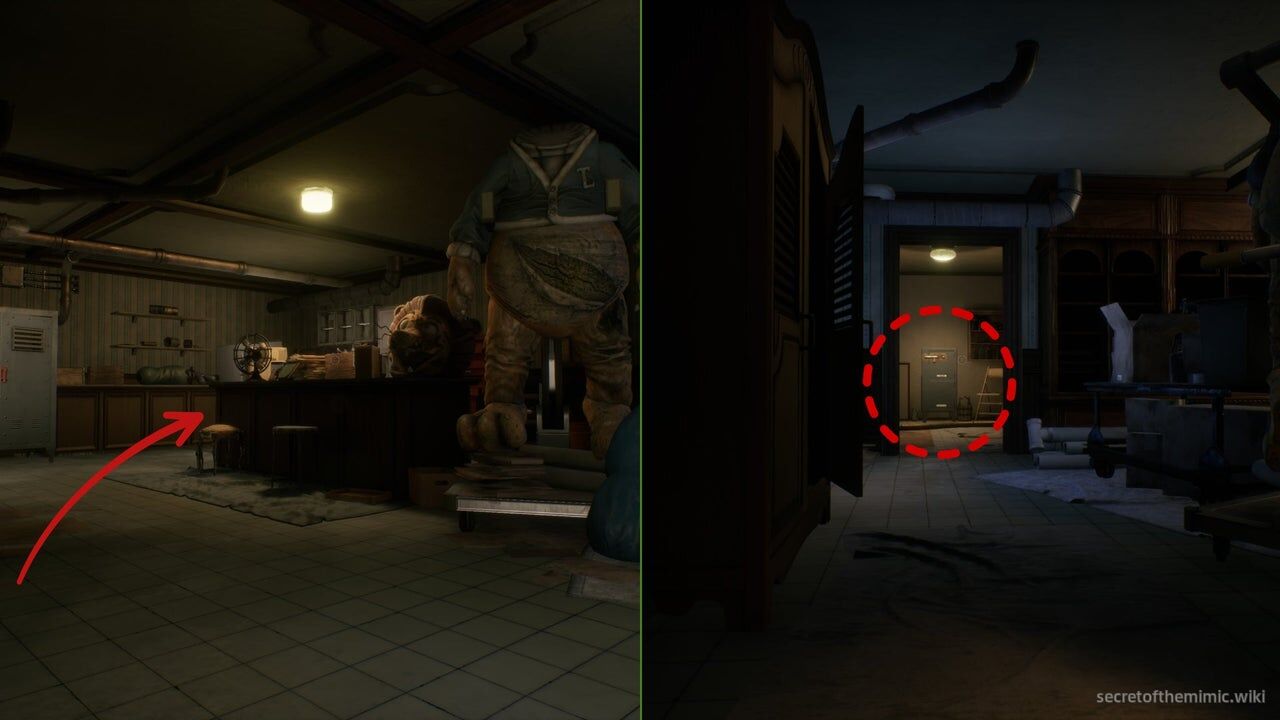
The Green Tape can be found in the kitchen on the ground floor. If you look behind the counter with the lion head on top of it, you'll see a narrow path leading to the film reel locker.
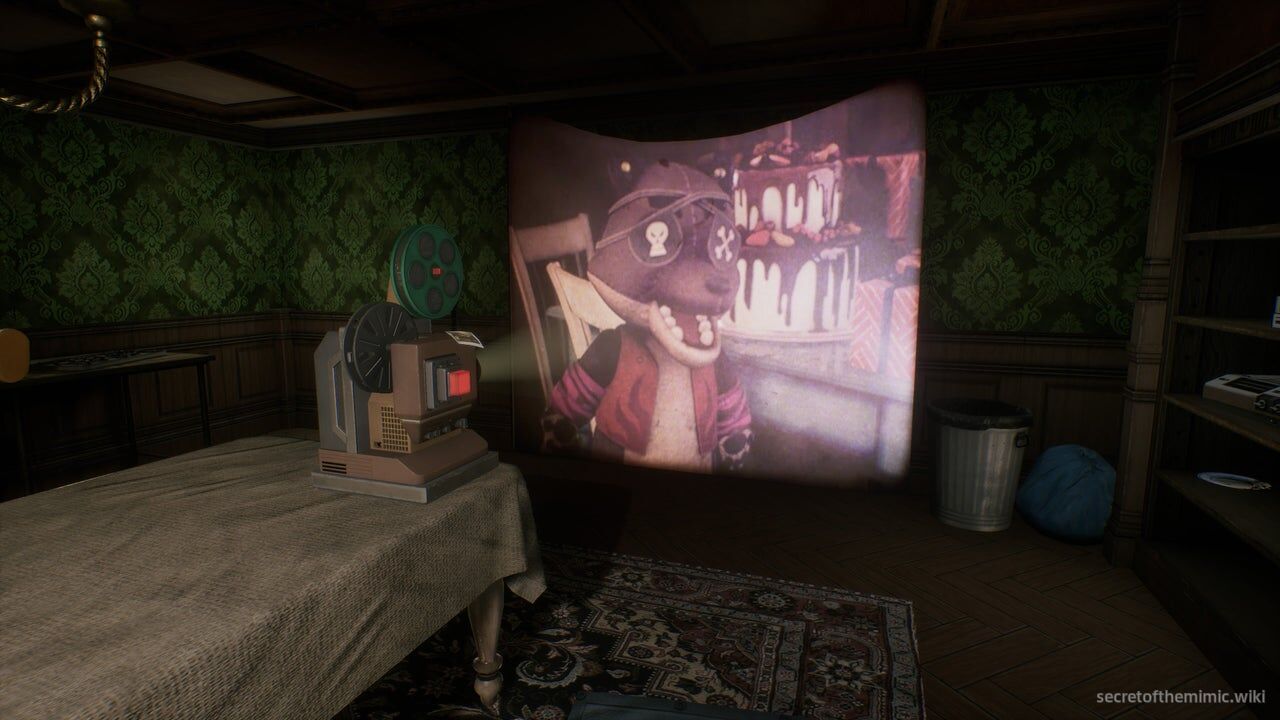
Wait for the Mimic to patrol the living room, then quickly push down here, grab the film and bring it back to the dining room. Slot it in to watch a clip of David as a baby, then note down the number that follows it.
The Pink Tape
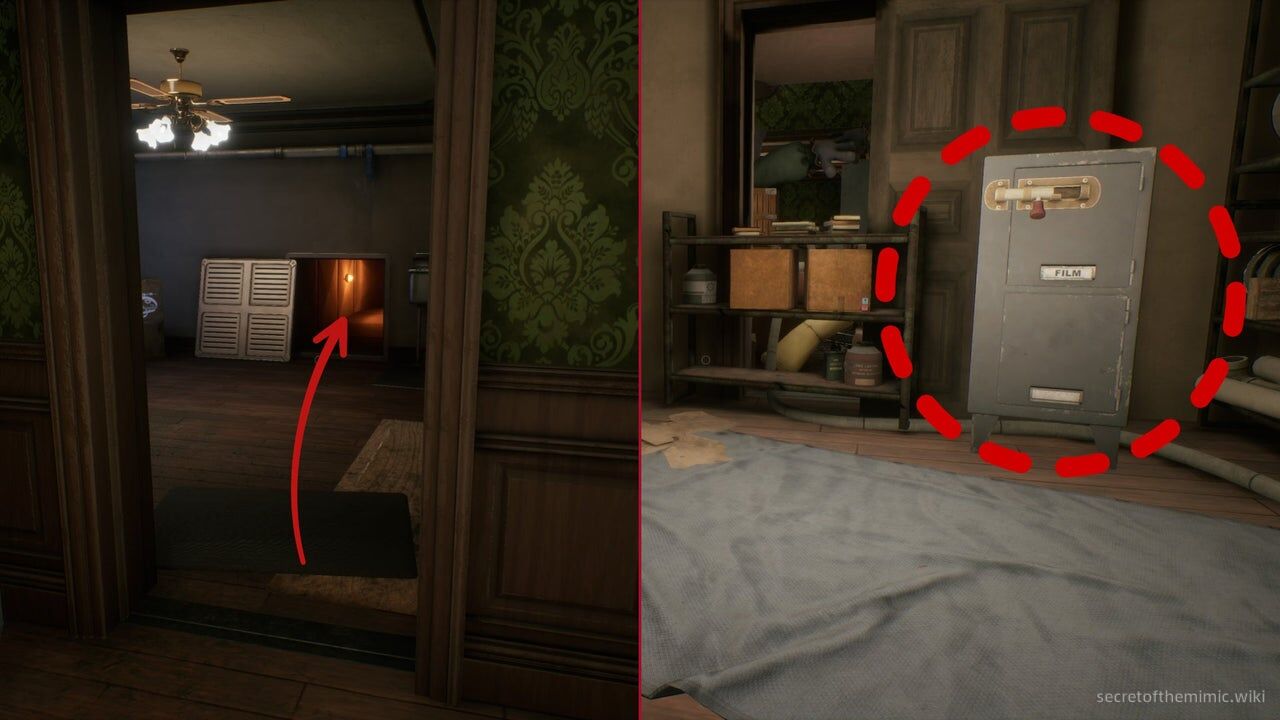
The Pink Tape is found in the ground floor side room, to the left of the staircase. Enter the vent when you make it inside and follow it to the end. It'll take you to a small, blocked-off closet with the tape locker inside.
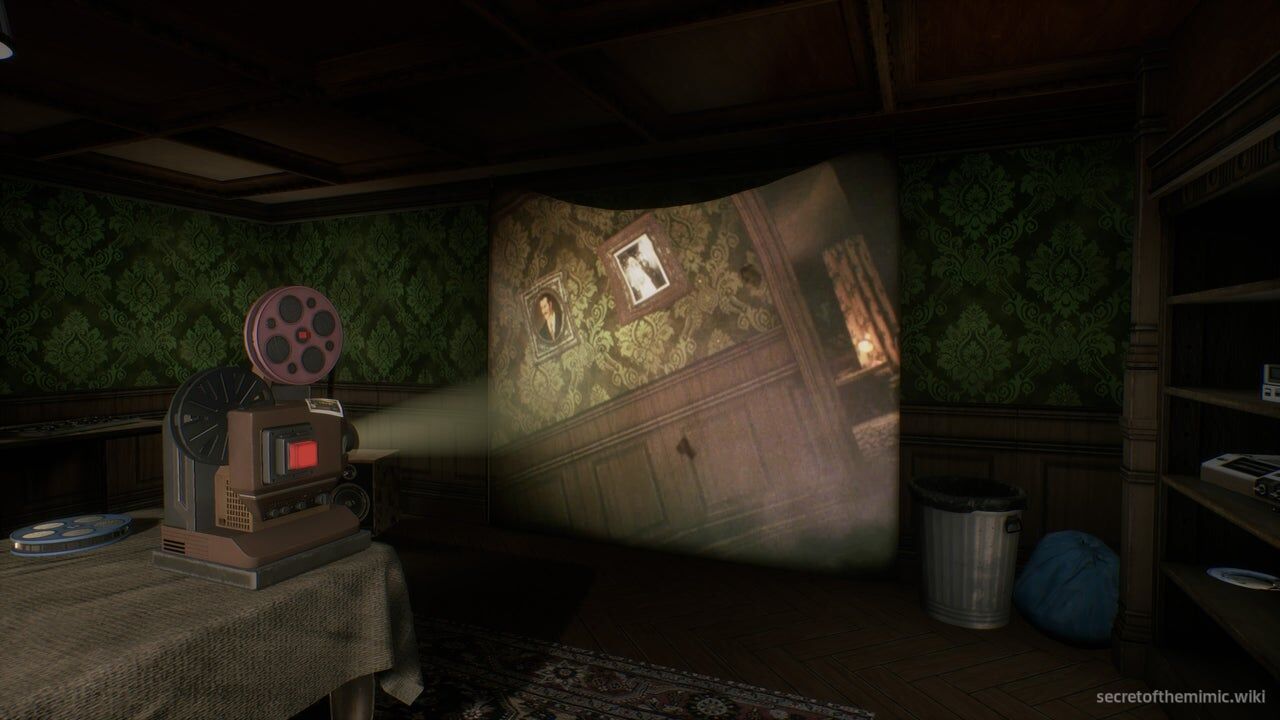
Grab the tape and bring it back to the dining room to watch a video of Fiona begging Edwin to come join David's second birthday party. Now, note down the number that follows it.
The Blue Tape
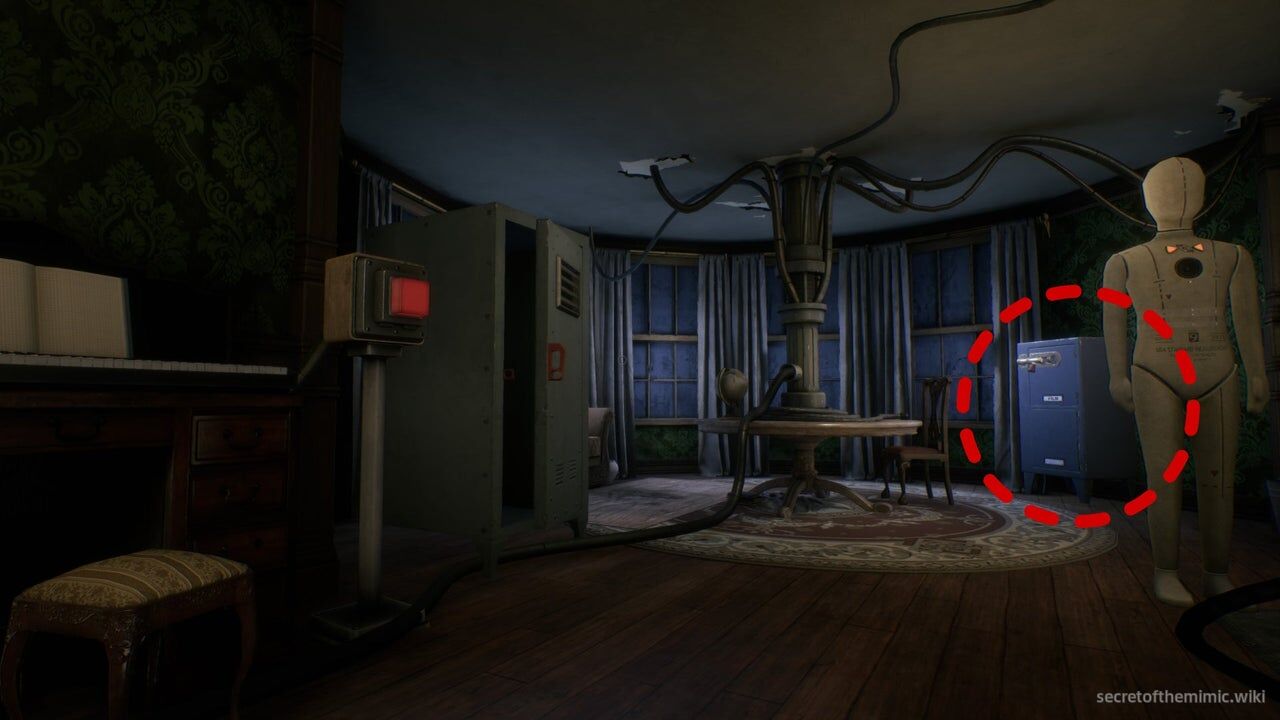
The Blue Tape is found in the living room, with the locker located behind the circular table in the corner. Be careful of the mannequin nearby as you sneak up to the locker and crack it open.
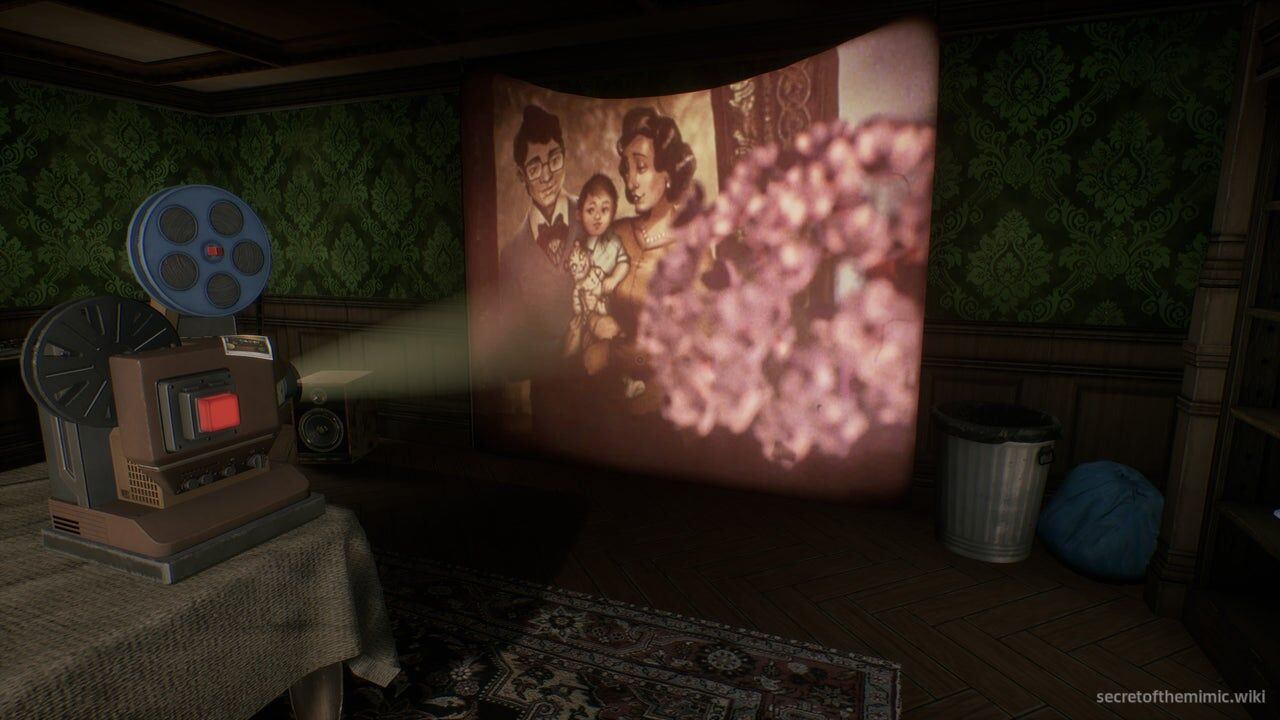
Take it back to the dining room and you'll watch a video of David's tragedy-filled third birthday. Note down the number that plays directly after the clip.
The Red Tape
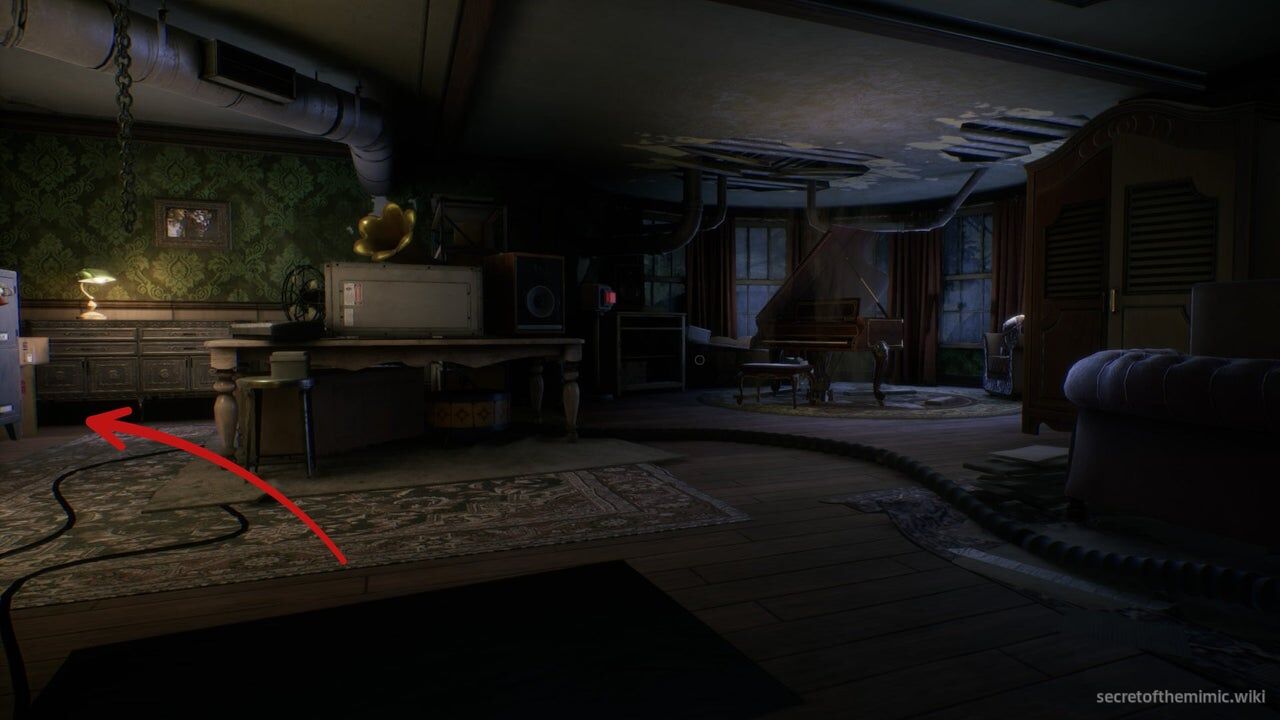
The Red Tape can be found in the master bedroom with the grand piano on the second floor. When you reach the top of the stairs, it's on your right. On the left-hand side of this room, beside the table with the grammar phone, you'll see the locker.
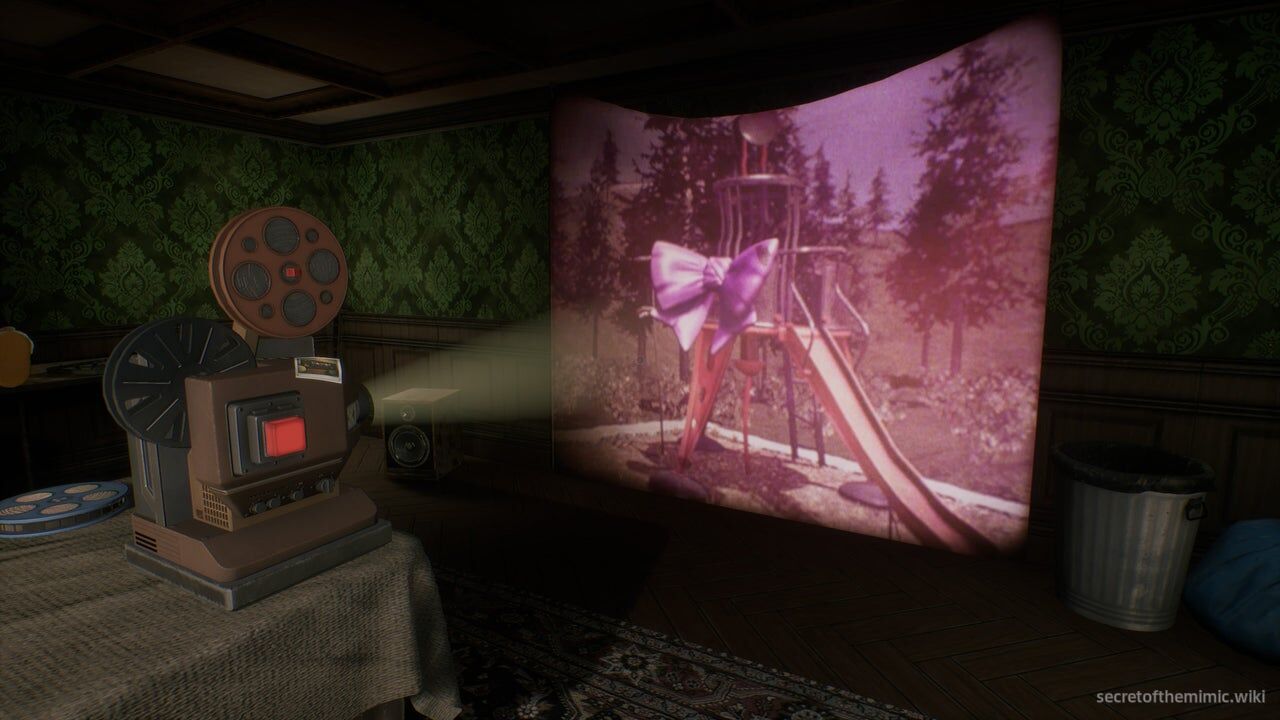
Open it up to get the tape and take it back to the Dining Room to see a clip of David getting a brand new slide for his fourth birthday... which Fiona is... somehow... still around for. That's peculiar, huh? While you're thinking about the implications, make sure to jot down the number after the clip.
The White Tape
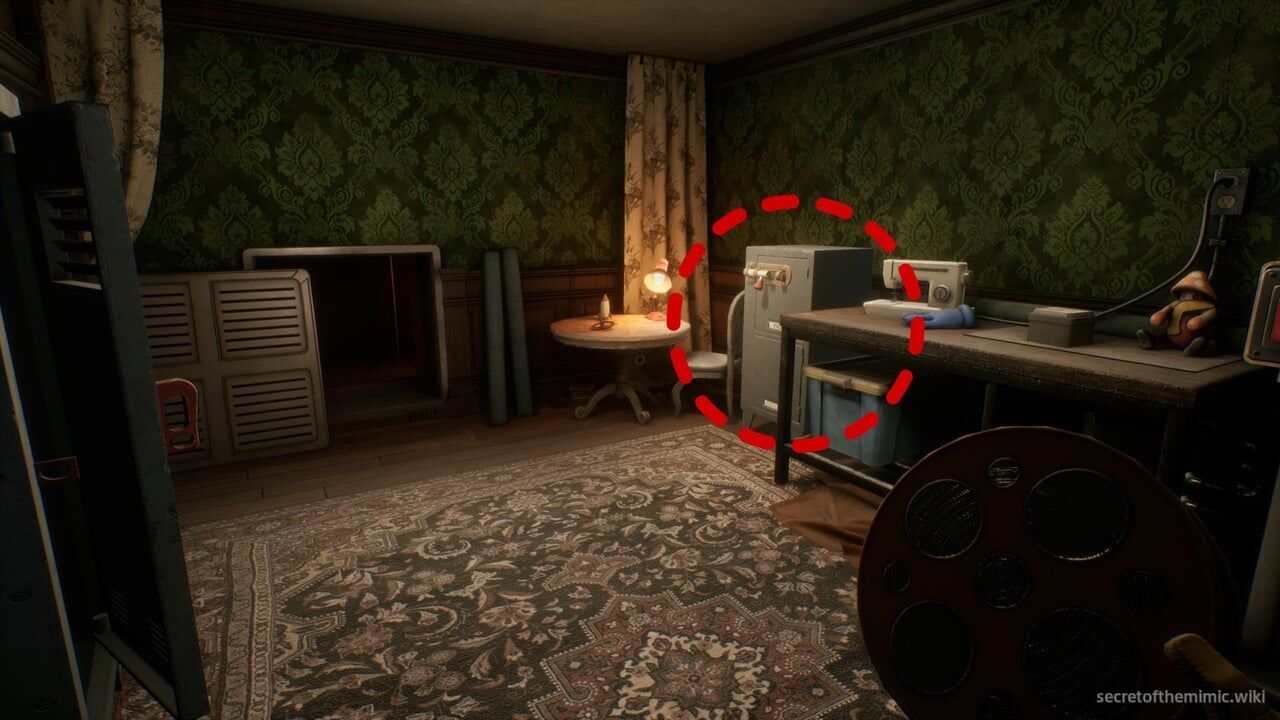
The final White Tape can be found in the second-floor study, which is directly opposite the locked door to the attic. You'll find the tape locker next to a circular table with a red valve on it.
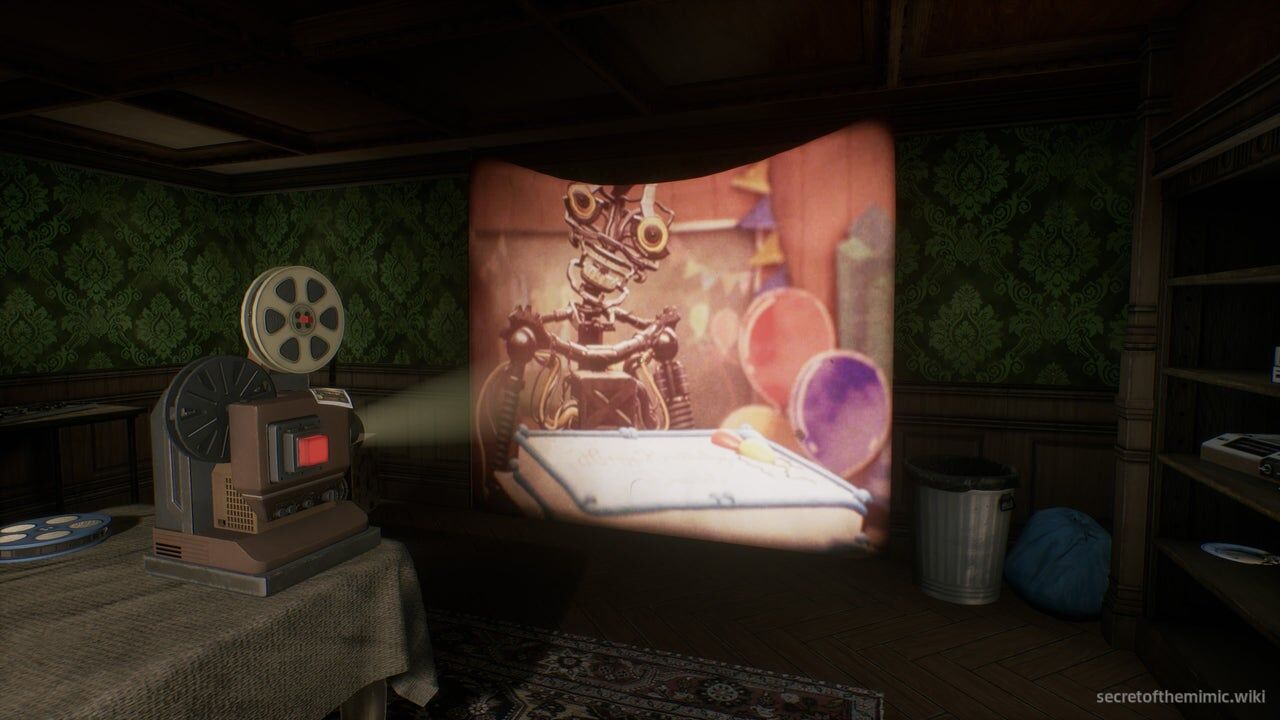
Take this one down to the projector to watch a video that suddenly explains Fiona's magical resurrection... oh, and also it's David's fifth birthday. You know what to do. Note down that number!
Entering The Code
Take the number shown at the end of each coloured tape and assemble the code in the order indicated by the coloured letters in the projector image.
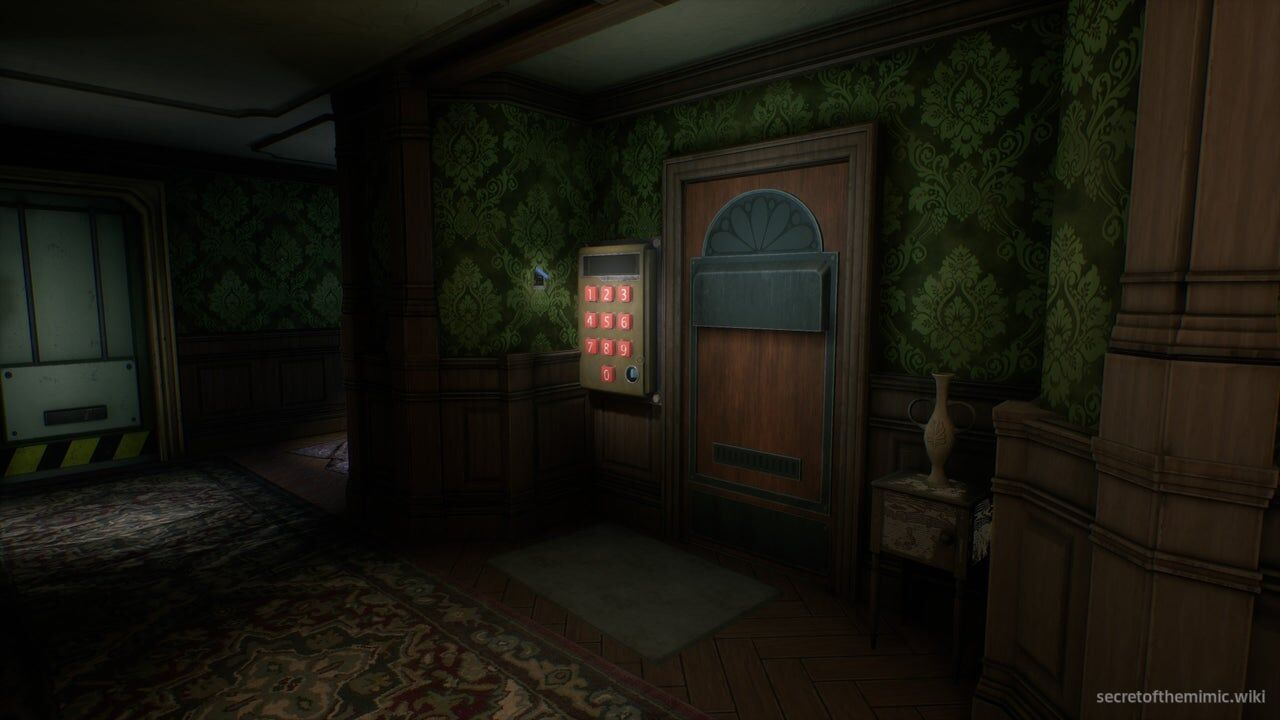
The colour order is green, pink, blue, red, then white. Put the recorded numbers into that sequence, then carefully return upstairs to the keypad lock.
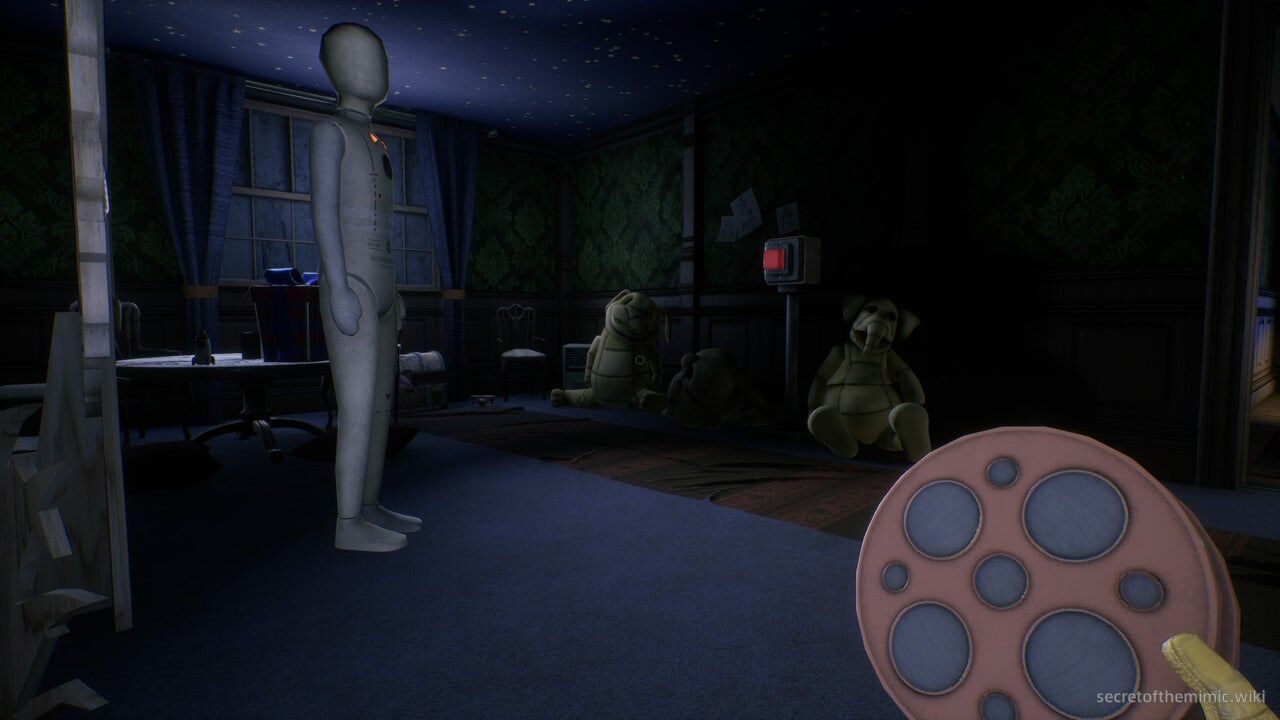
Punch in your assembled code and, hopefully, the door should unlock for you. Head inside and begin climbing the stairs to the attic to end the boss encounter.
Escaping The Mansion
At the top of the stairs, explore Murray's attic, then take the steps on the left to reach the remains of Edwin's home office.
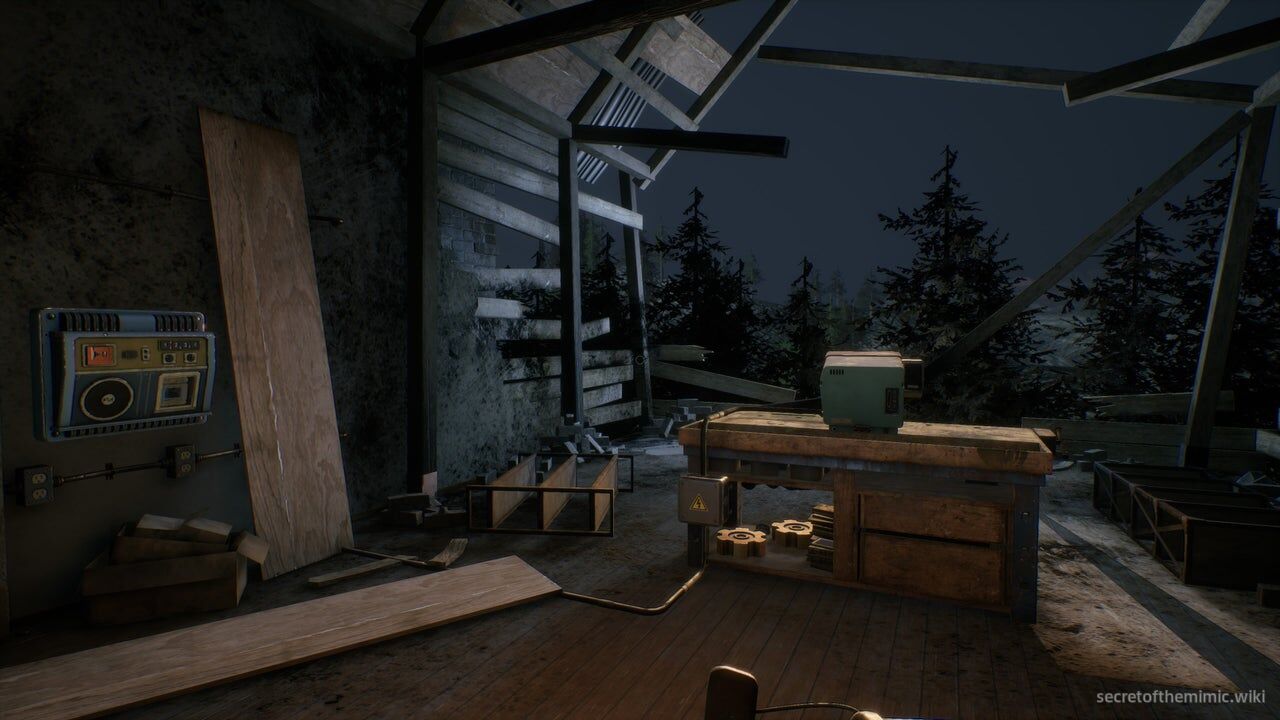
If you activate the tape on the wall here, we'll learn exactly why this room is in such a state as well as some clues towards how Edwin's story ultimately ended. Access the computer on the desk when the tape is done, and you'll see a set of commands. The two most interesting ones are redacted, but we can open the Surveillance Room, so go ahead and crack it open.
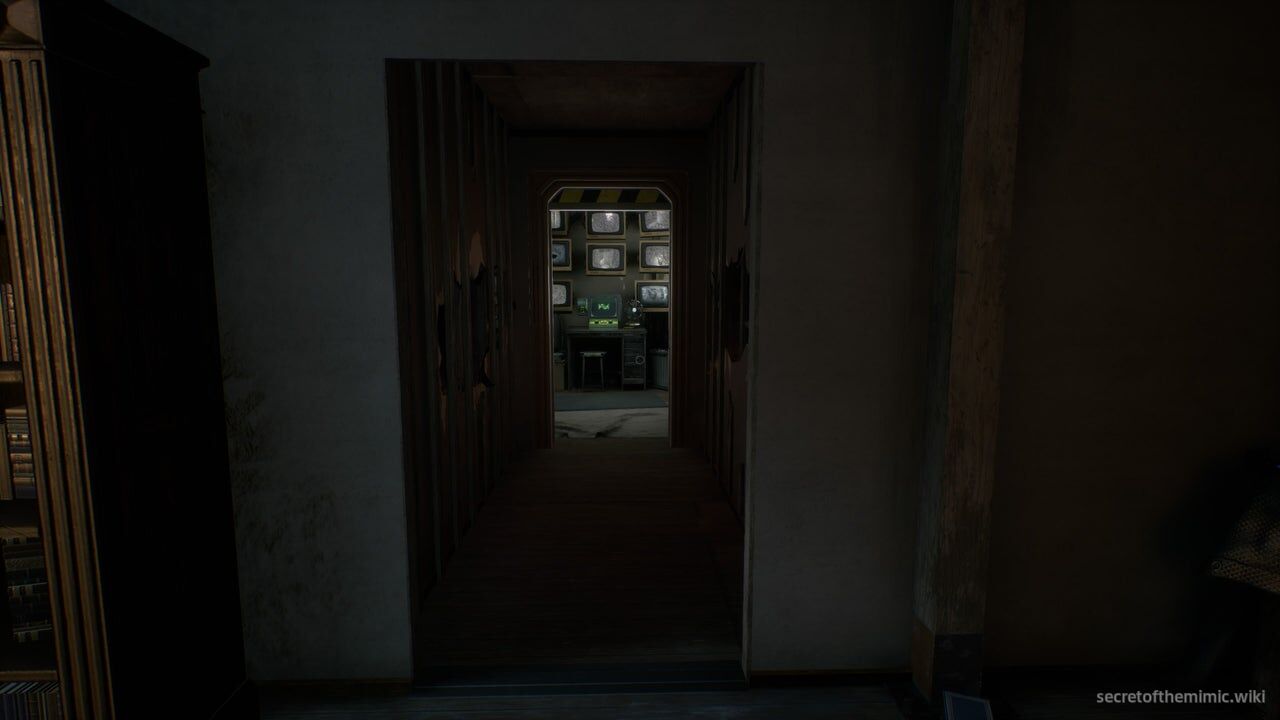
Opening the Surveillance Room exposes a secret corridor on the left. Follow it to the surveillance room, use its terminal, and run the Cradle.exe command.
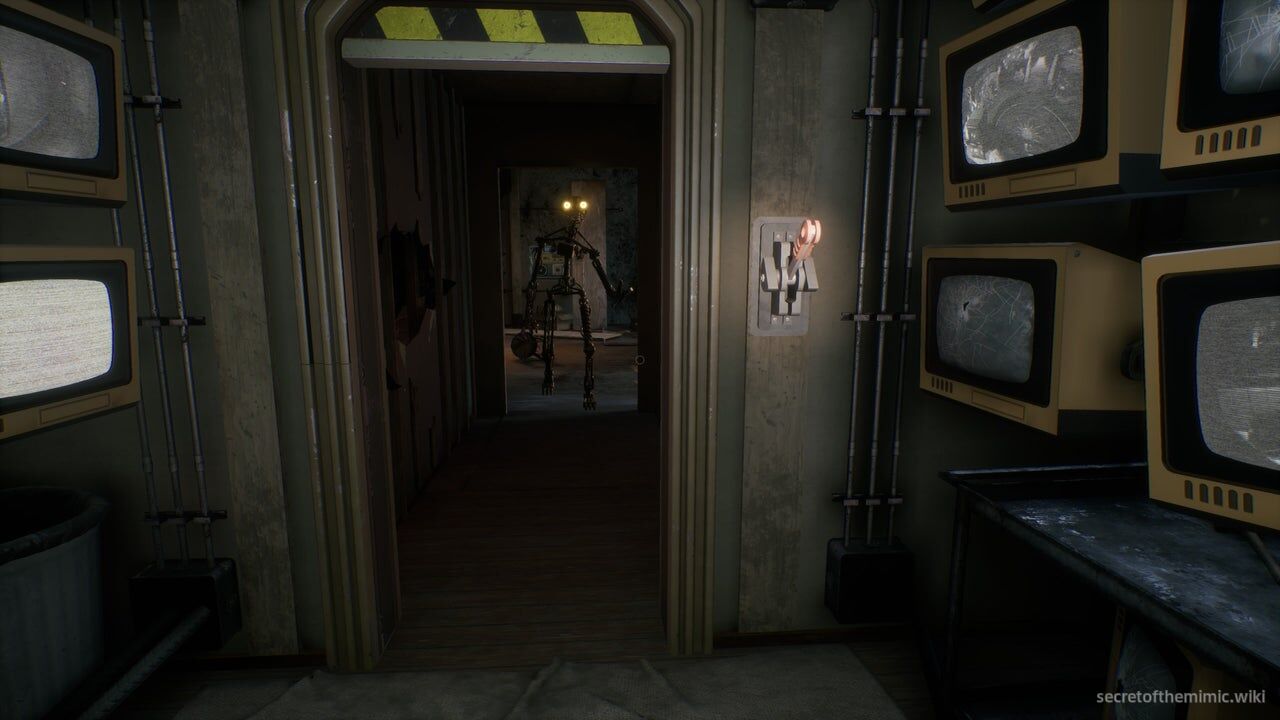
You'll be booted out of the terminal, so swivel around to the exit and, there he is! The Mimic has finally stopped playing dress up and is showing off his whole "Prototype C3PO in Phantom Menace" look in all its glory. He'll charge down the corridor, so try and pull the trick we did in the last surveillance room by activating the lever next to the door to block him.
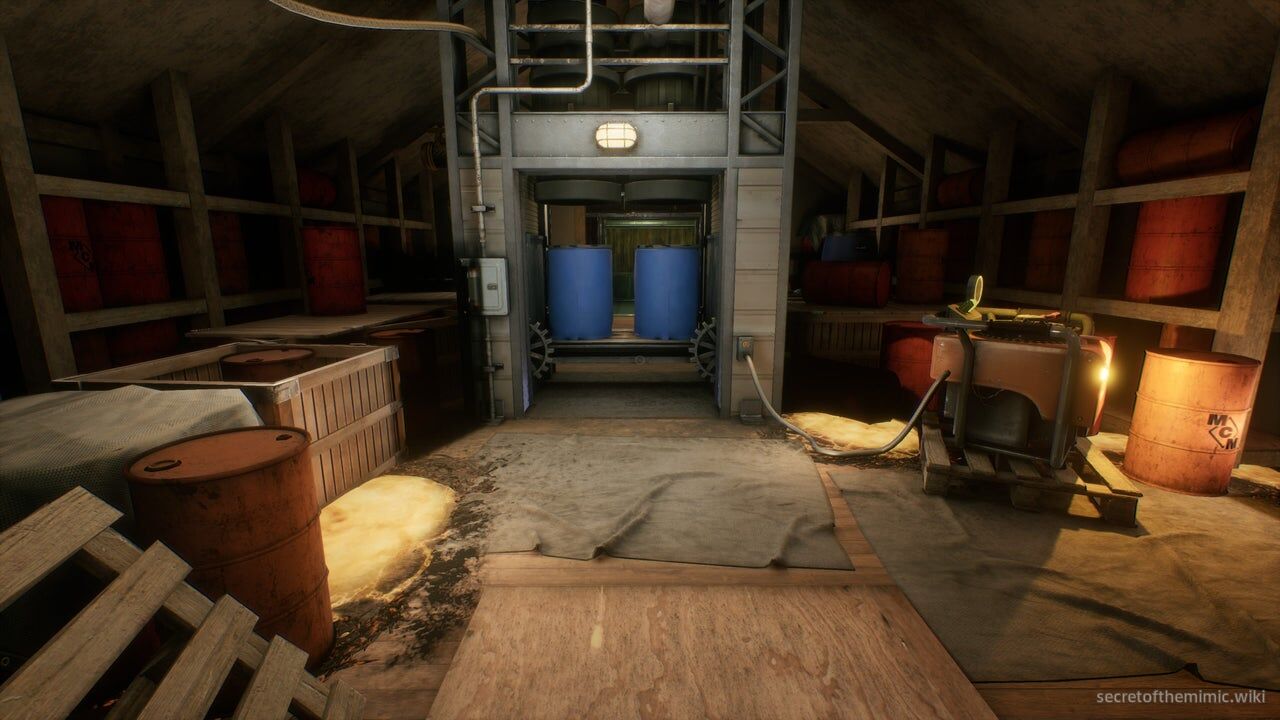
Unfortunately, he's not letting us pull that trick on him again. He'll catch the door, and begin prying it back open. Look to your left and you'll see a passage has opened, so start following the steps leading down to it. When you reach the bottom, you'll notice that there's a pallet with some blue barrels perched on top blocking our path.
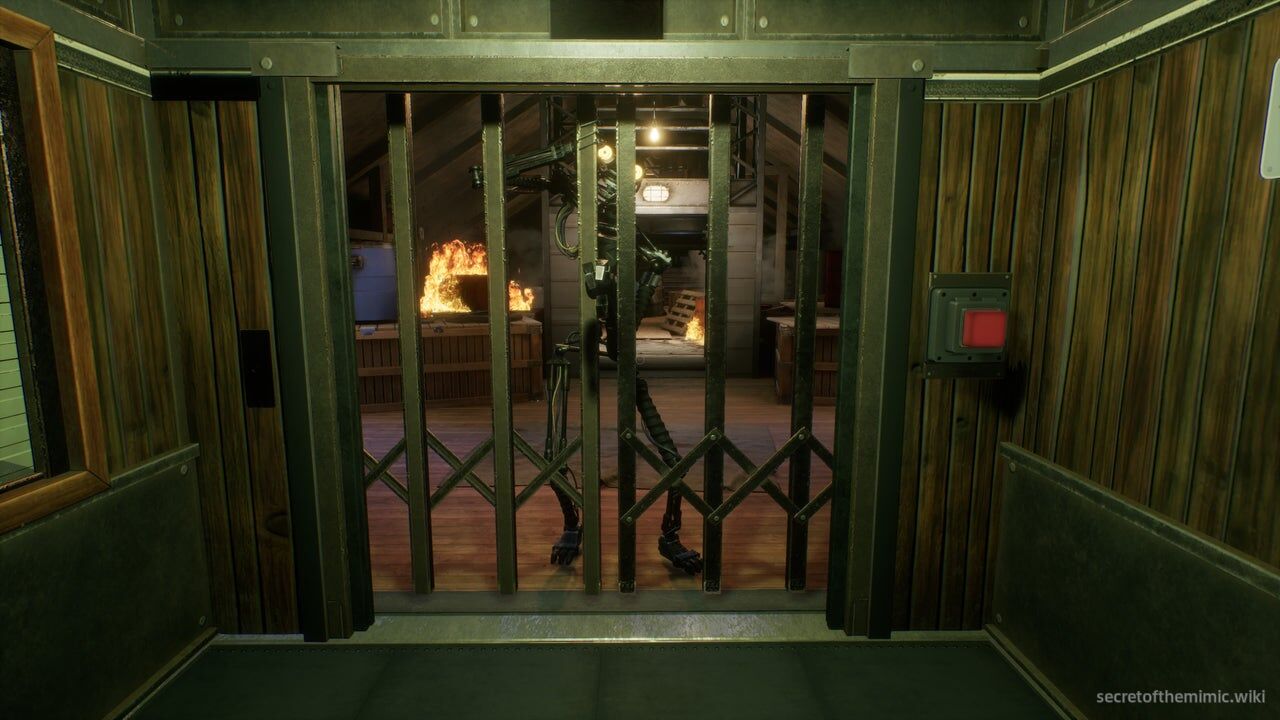
Beside the pallet is a generator. Activate it while the Mimic is forcing the door open, then run beneath the pallet into the elevator ahead and press its button. The Mimic reaches for you, but the elevator lets you escape.
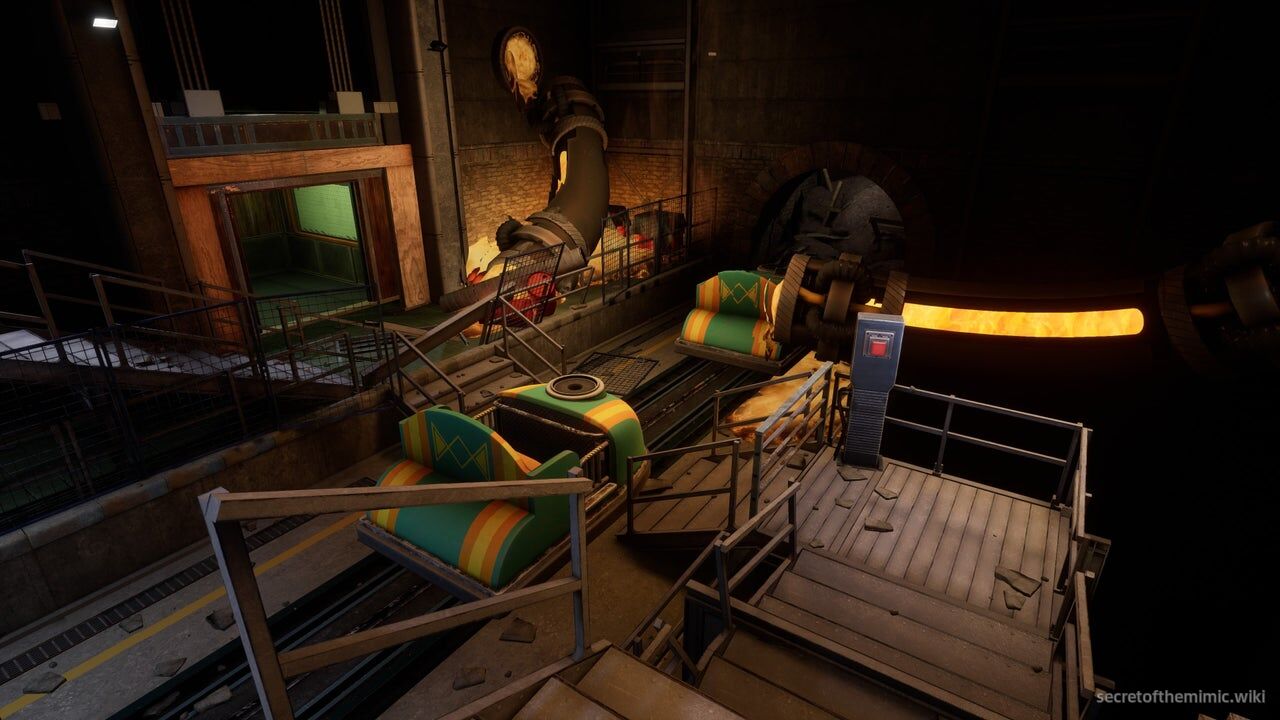
As the elevator descends, Fiona will talk to us, thinking we're Edwin. She'll beg us to fix the Mimic so she can have her son back. Let's just ignore all of that for now. When the elevator reaches the bottom floor, it'll crack open in front of the track we originally used to access the mansion.
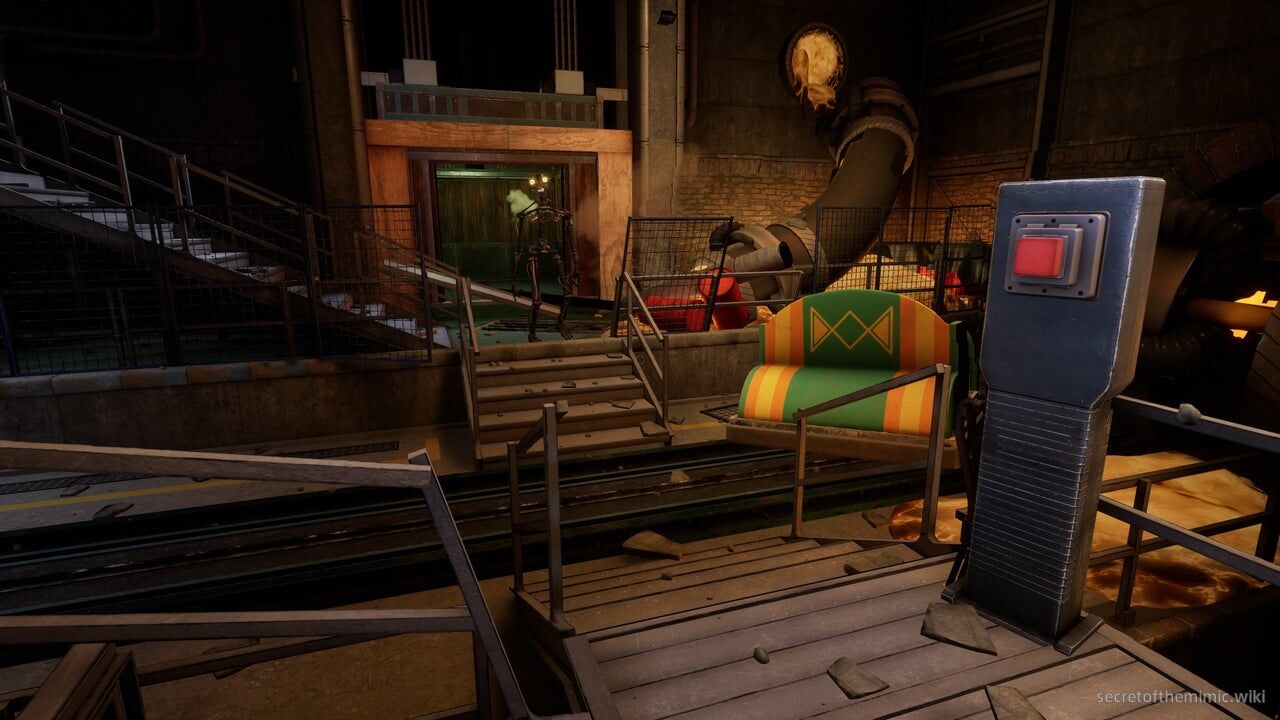
Run up the stairs and around to the other side of the walkway, then drop down and press the red button. It'll cause the carts blocking the path to ram into the nearby wall, clearing the way. But before we can start moving, the Mimic will drop down the elevator shaft and begin pursuing us again.
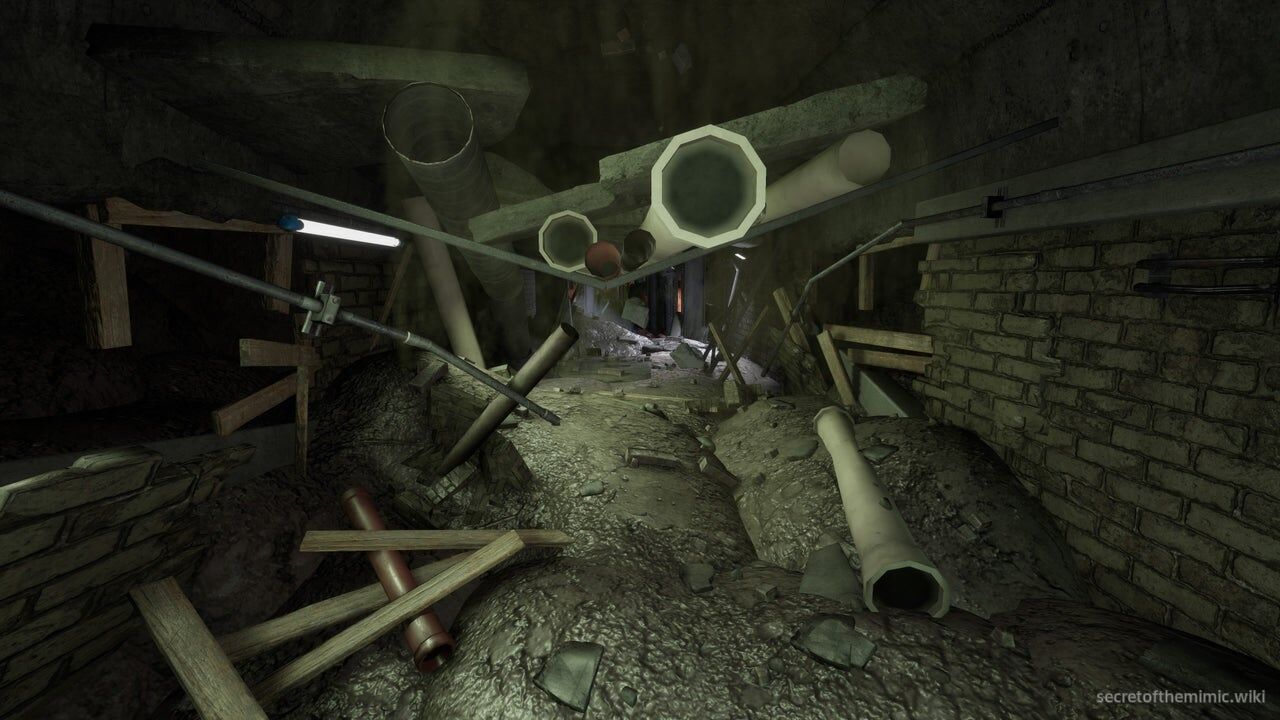
Wait for the bar blocking your path to lower, then step onto the path and begin running left, heading in the direction of the Costume Manor. Keep sprinting forward until you reach a set of pipes you can crawl under. Duck under them and follow the tunnel until you emerge on another section of track.
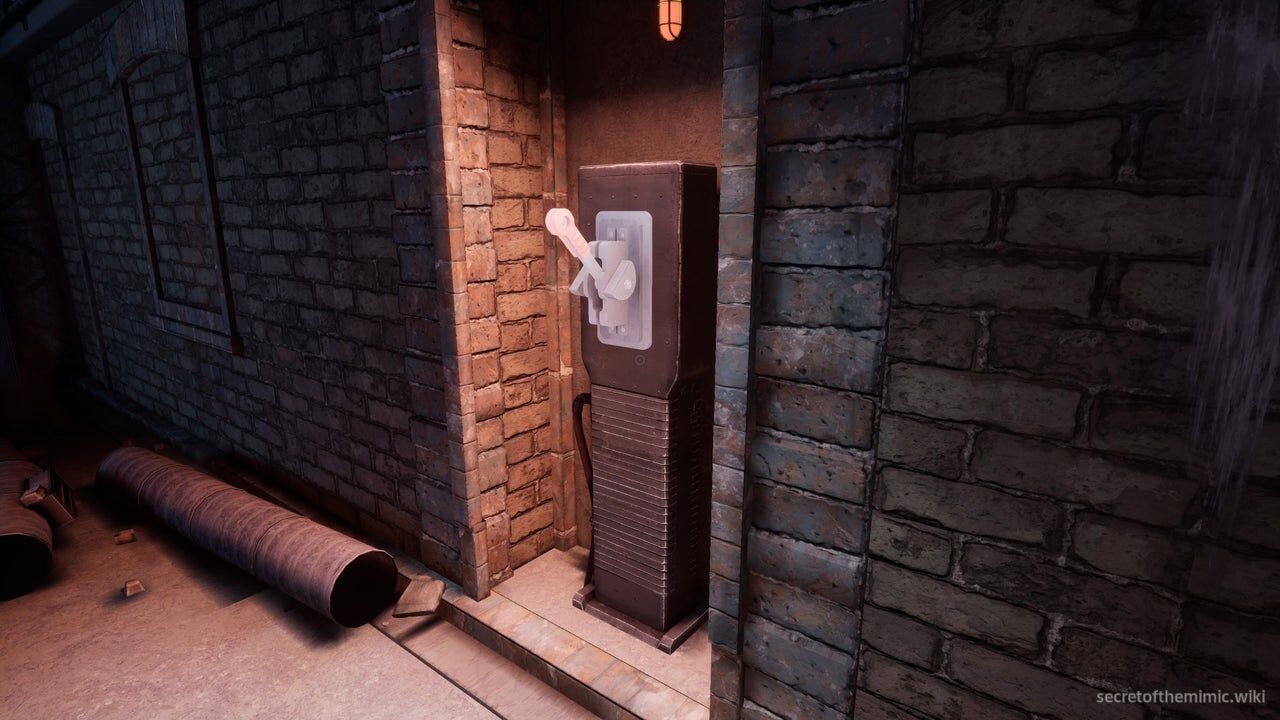
Once you're up on your feet, quickly look to your right and you'll spot a lever. Pull it and then look to your left, and you'll see a gate open. Head under the gate and follow the path into a control room.
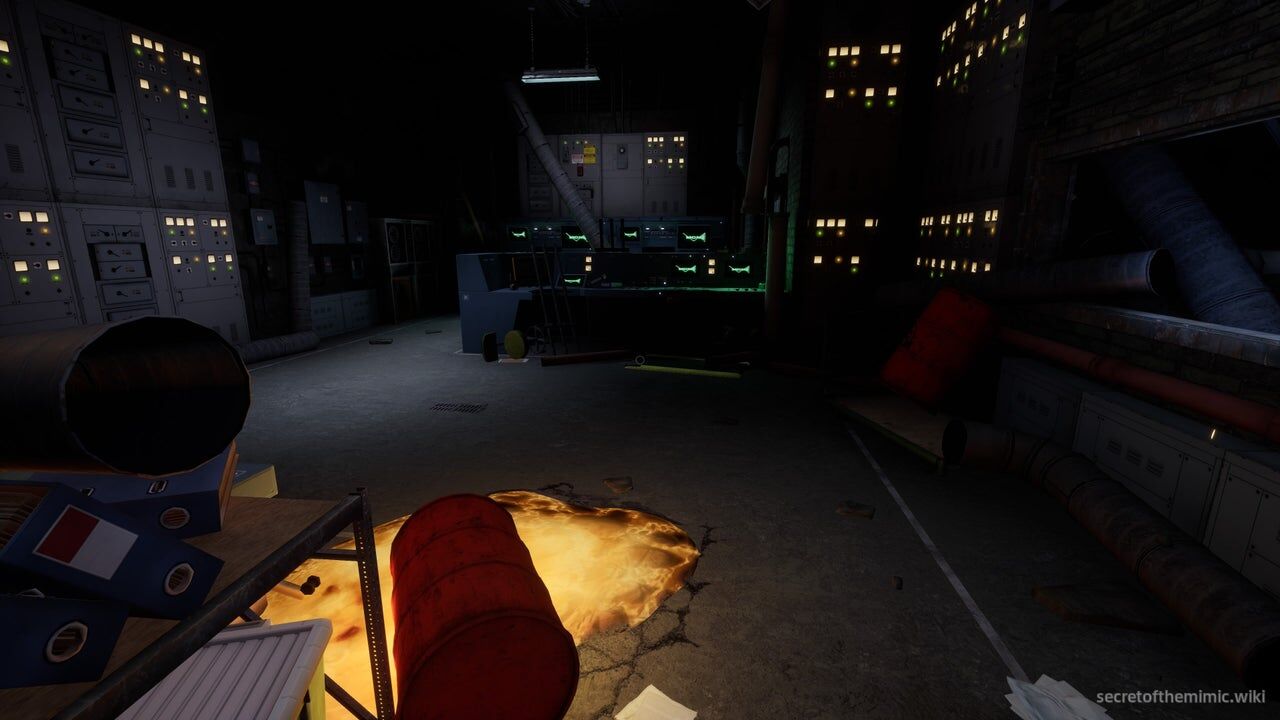
This is another room with a lever-activated door, so book it around the first console on the path and you'll spot a lever beside it. Pull it, then keep following the path through the now-open gate. Continue pushing forward, heading out into the central tunnel and then into a side passage on your right.
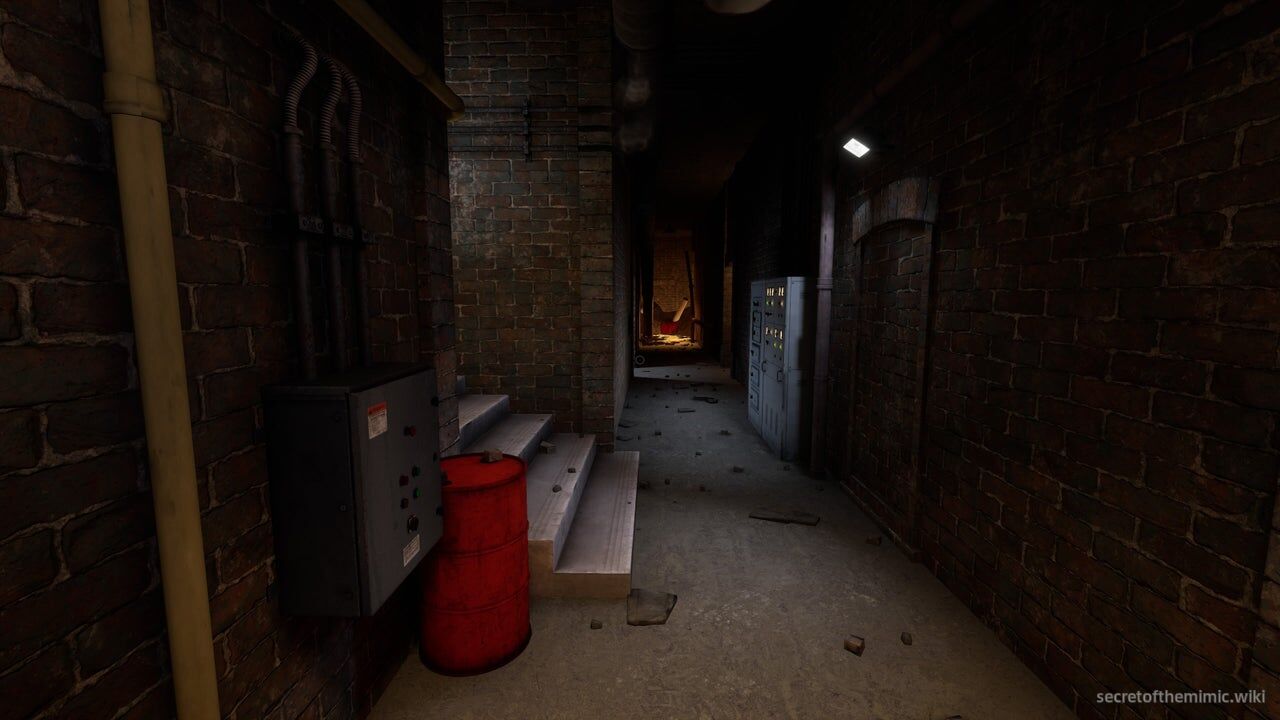
As you push down the corridor in front of you, the Mimic-controlled contraptions we saw while descending in the elevator will rush at you from directly ahead, so take the second door on your left and loop around until you exit back out onto a path. Take a right here and then another left up some steps.
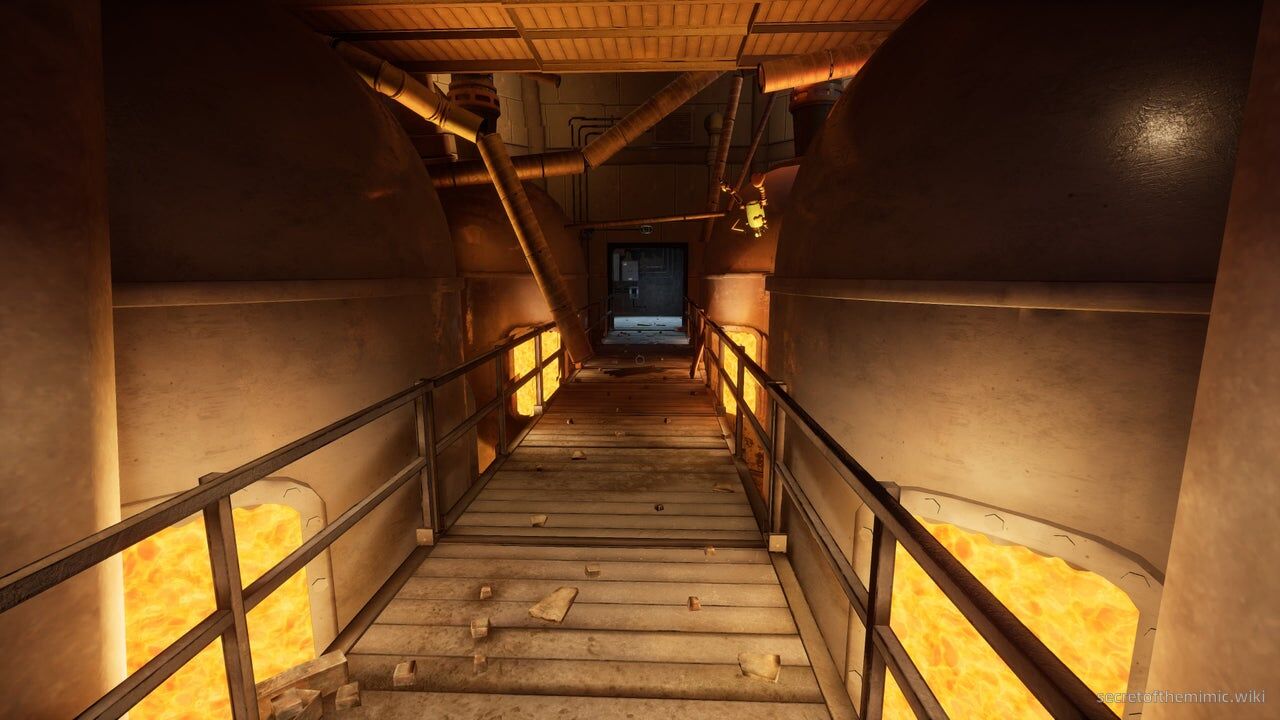
You'll wind up on a bridge leading past several vats of molten liquid. Pass over it and through the doorway ahead to find a set of stairs you can climb. Head up them and, at the top, pull the lever on your right to open the door on your left.
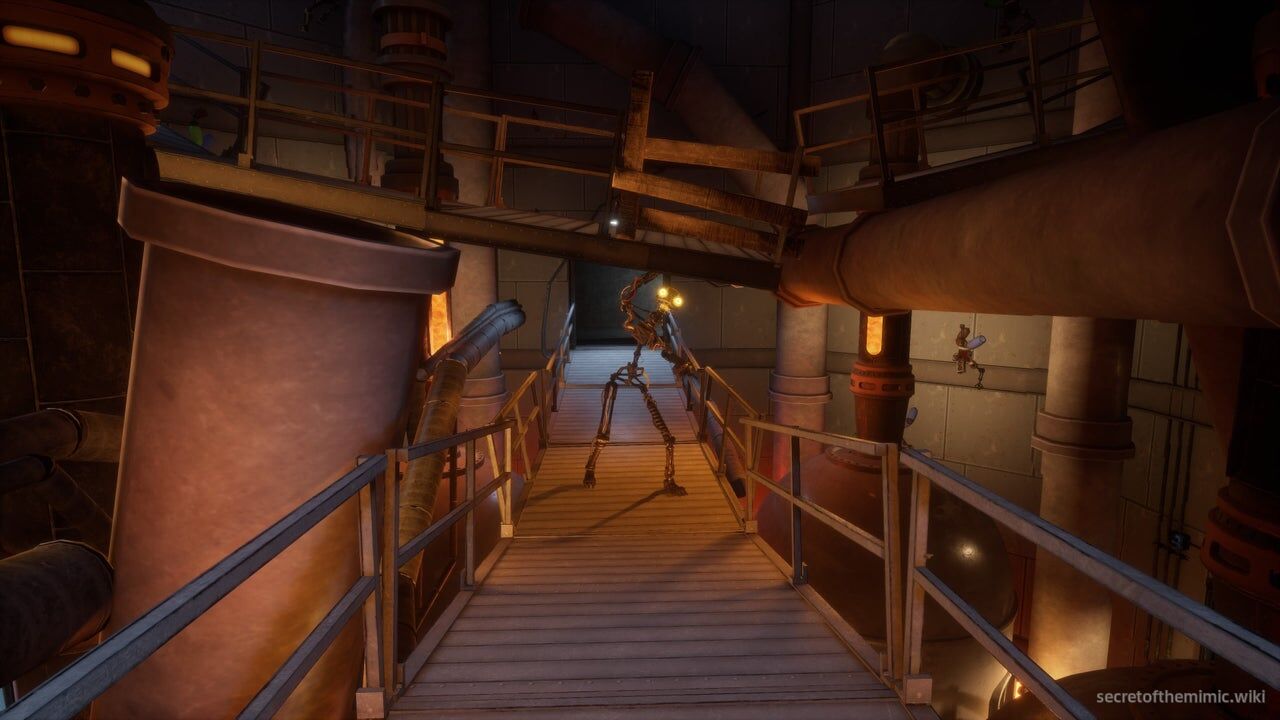
Push through the door and it'll take you to a second bridge. As you begin crossing it, the Mimic will drop down, cutting you off. As he walks towards you, he'll be crushed by a falling walkway, dropping into the pit below. When he's gone, the fallen walkway will create a new path, so run up it.
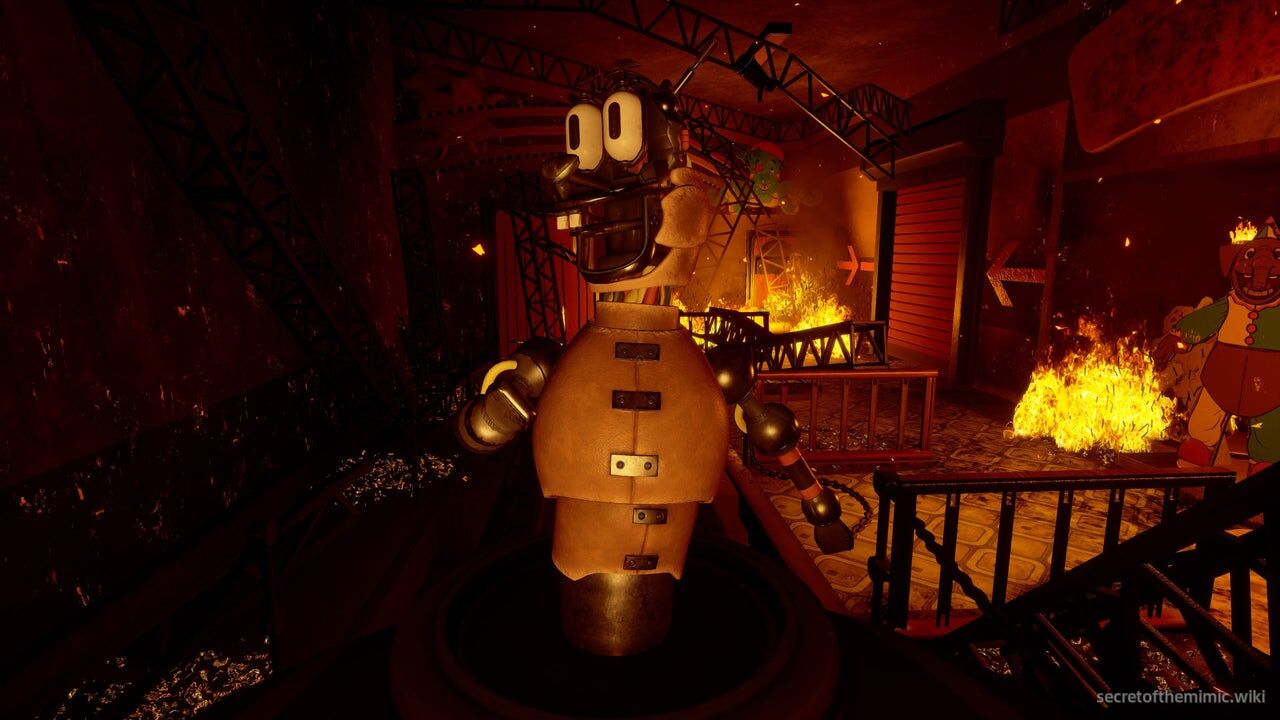
In the next room, you'll find a fallen ventilation shaft you can crawl through to reach a long crawlspace. Move through it, and then you'll wind up at a Mr Helpful cart. Step inside and let it take you to the exit of the facility.
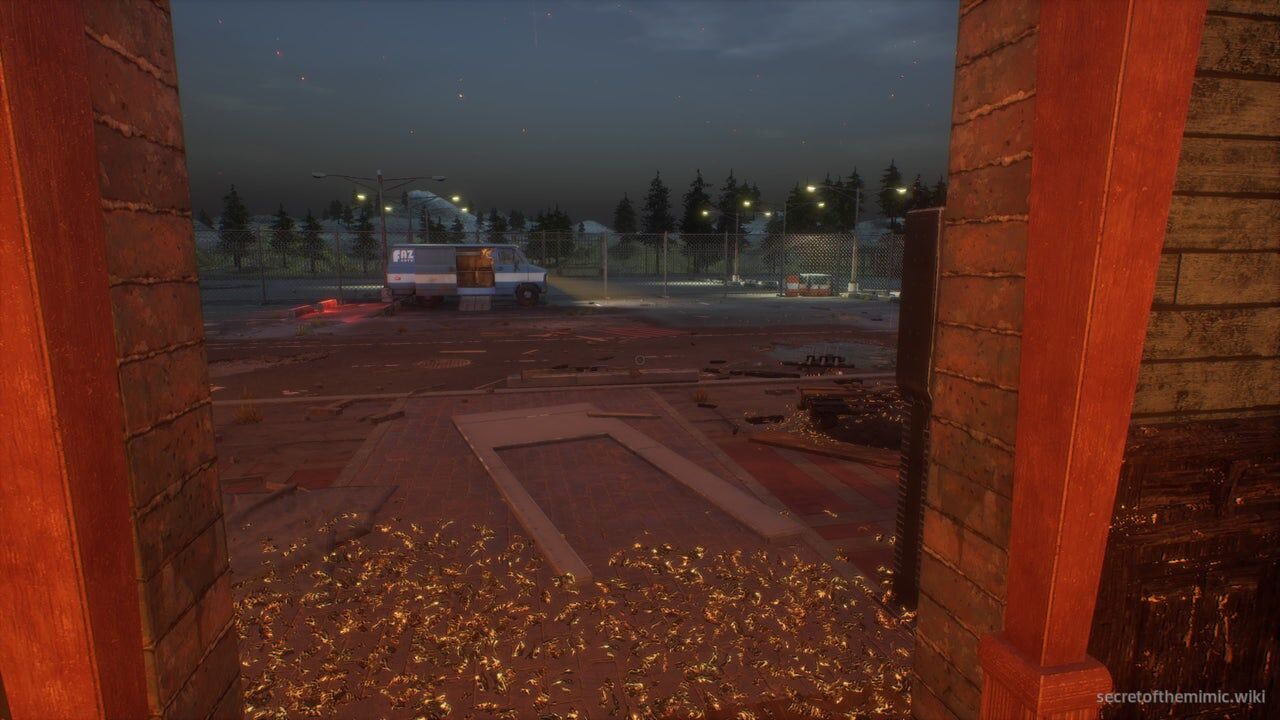
After leaving the cart, follow the route through the burning remains of the building to the outside. Mimic-controlled contraptions surround the van, so sprint to it; entering triggers the final cutscene.
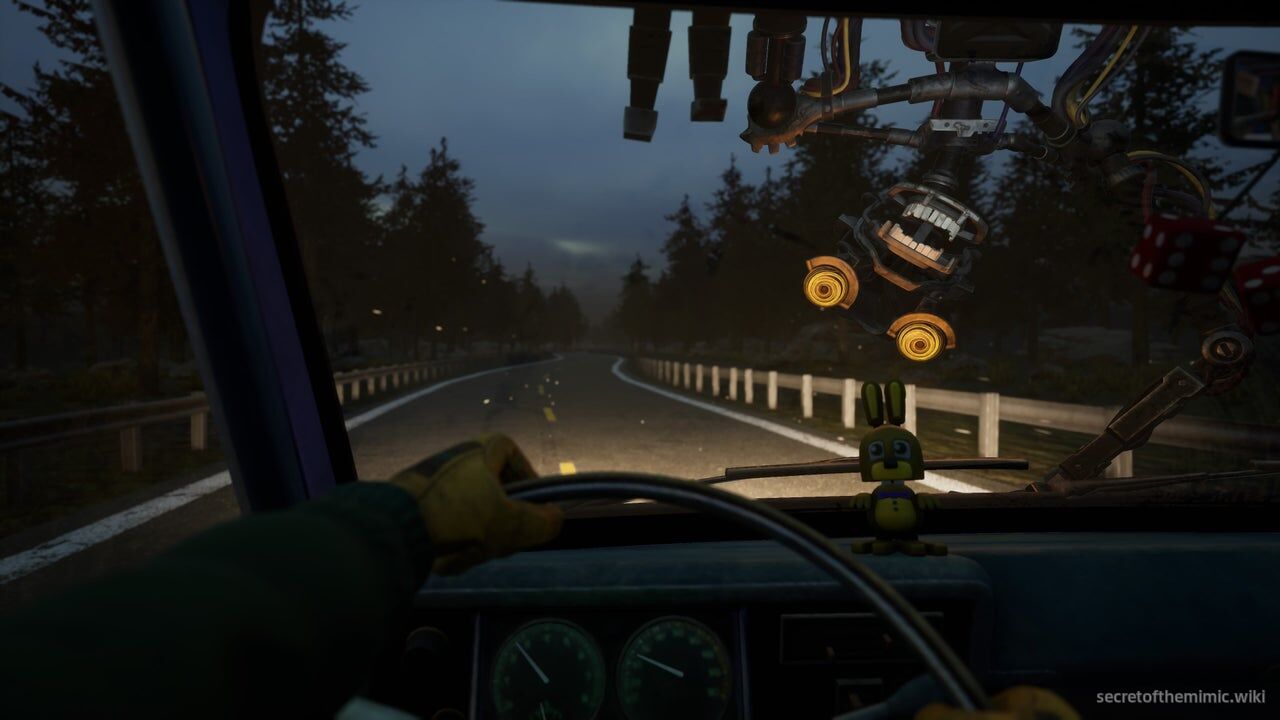
After the final cinematic, you return to the menu and receive the option to begin New Game Plus. That mode begins the requirements for the Secret Ending if you want to investigate the remaining mysteries.