

Follow the tunnel to the elevator, sprint across the collapsing platforms, open all three crawlspace hatches, trap Jackie at the shutter, and power the generator to reach the vent.
With Jackie now hot on our tail, it's time to take on Five Nights at Freddy's: Secret of the Mimic's first true boss encounter. This walkthrough provides all the tips and tricks you need to evade the Mimic, solve every puzzle, and find any and all key items you need to continue your adventure.
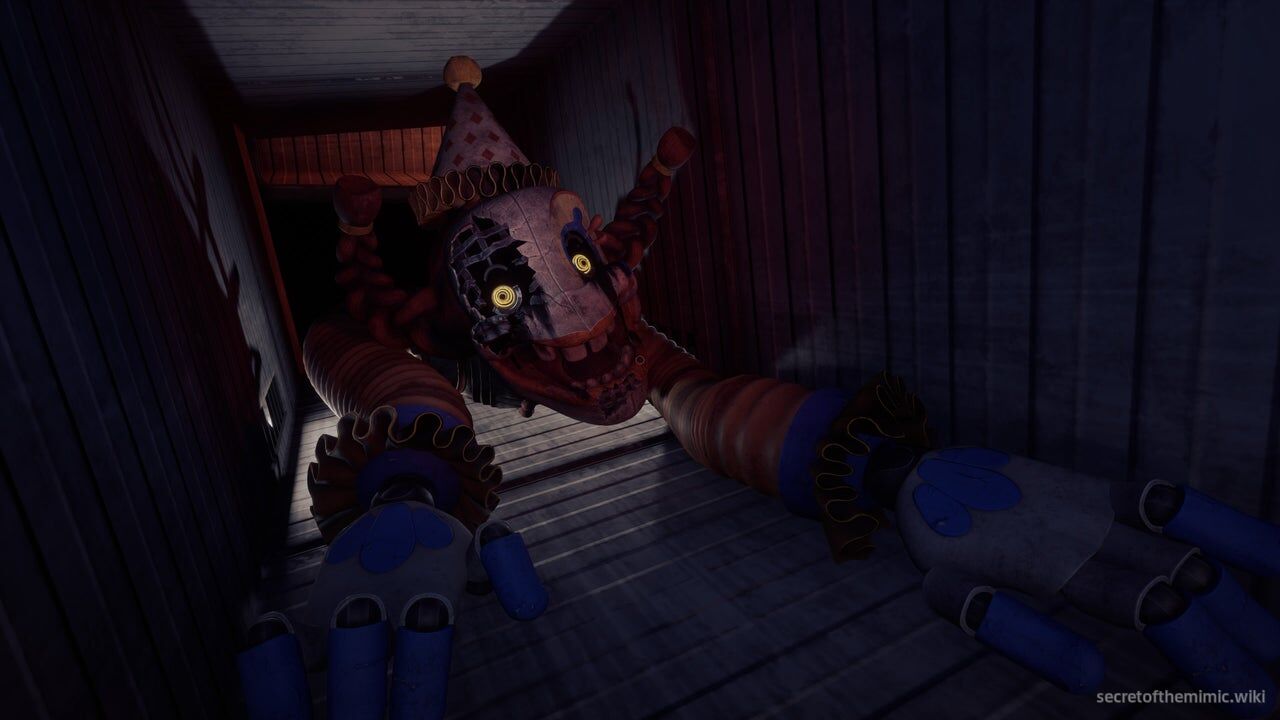
This next segment picks up where we left off last time, as we recover from our fall and face off against Jackie in a game of cat and mouse. If you're looking for a specific segment of this battle, use the links below to skip through each major section:
Navigating The Tunnels
After recovering from our fall from the manager's office, we'll pick ourselves back up in a long tunnel, as we hear Jackie make it evidently clear she's not done with us just yet. Keep moving forward, following the passage until you climb some steps and are face to face with some metal bars.
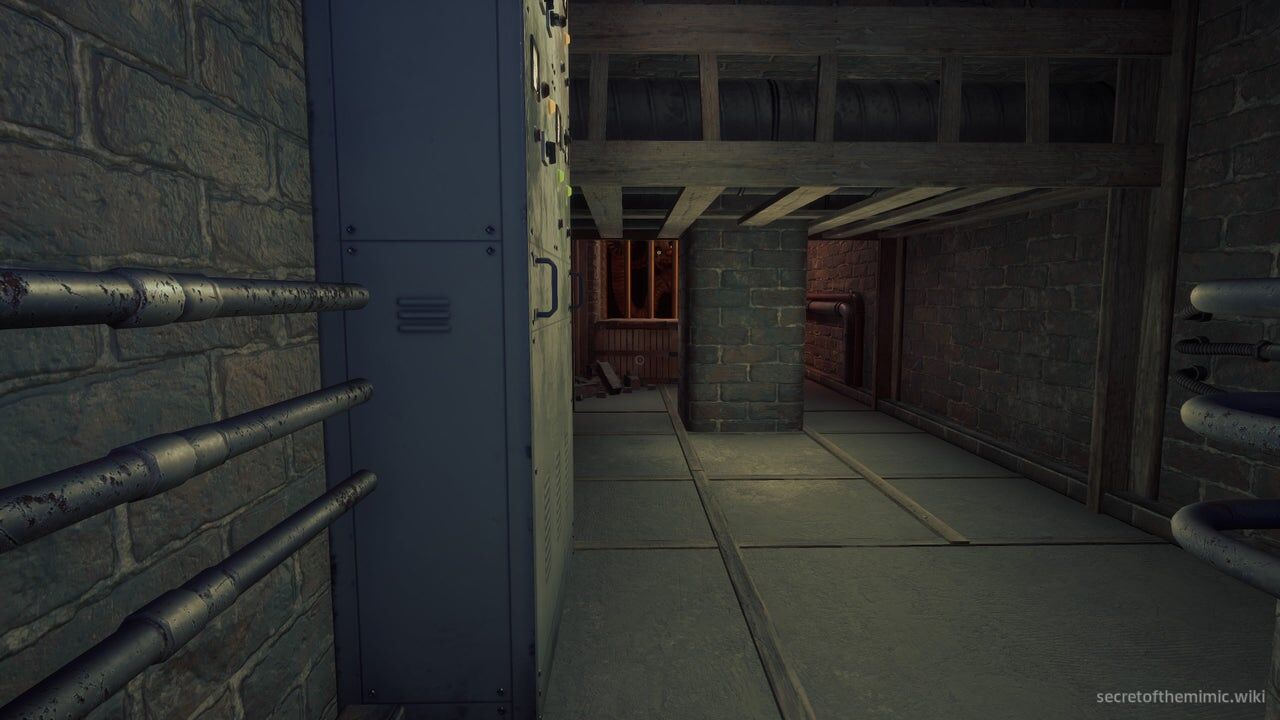
Jackie will climb past, taunting us on the other side of the bars. Take a left here and squeeze through the crawl space ahead. Keep following the path, and you'll run into Jackie again behind a second set of steel bars. Ignore her and keep moving through the tunnels until you find a locked gate.
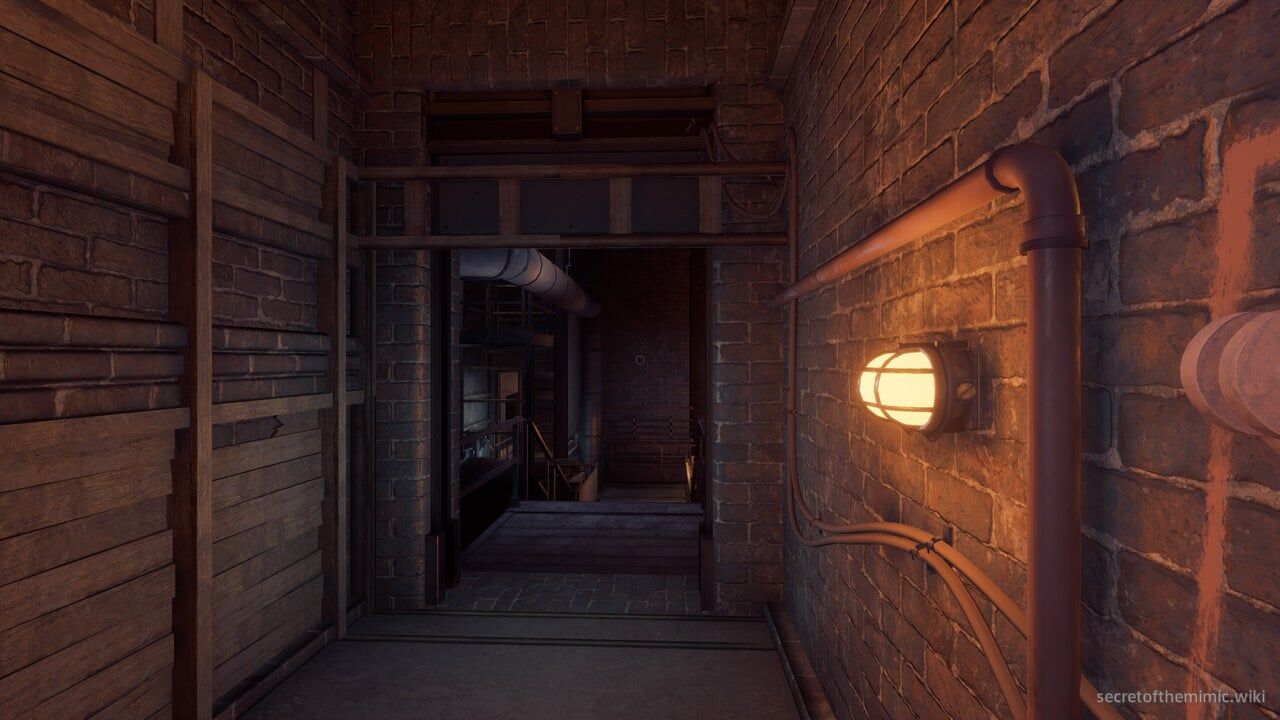
Activate the lever to the right of the gate to open it, allowing you to descend some steps to a walkway. Continue forward and follow the path around until you reach an elevator. Prepare yourself, and then step inside and throw the lever to turn it on.
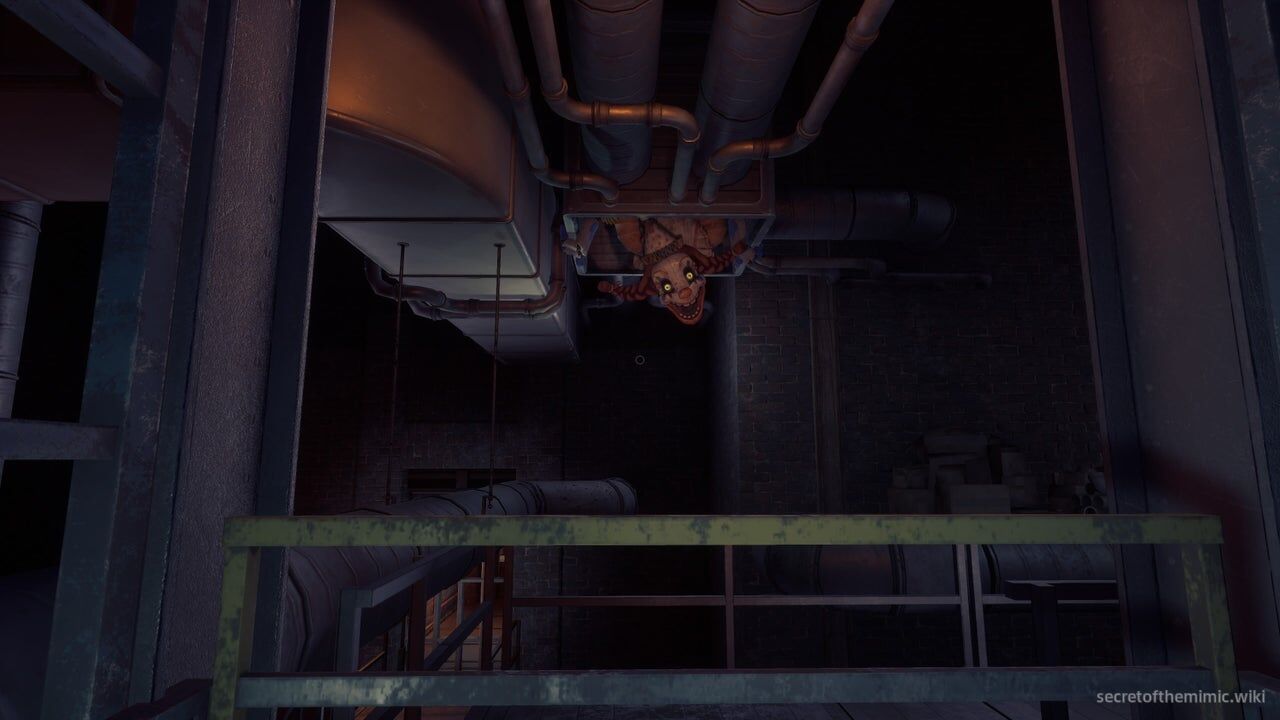
As you rise up, you'll see Jackie slowly emerge from a ventilation shaft on the ceiling, spotting you and then immediately beginning a chase.
Jackie Chase
As soon as you're free from the elevator, you have one directive: run. Jackie is going to chase you, and in this opening stretch, all she's concerned with is making you fall to your doom. She'll pull at platforms, and after a few seconds, rip them apart, causing you to plummet down.
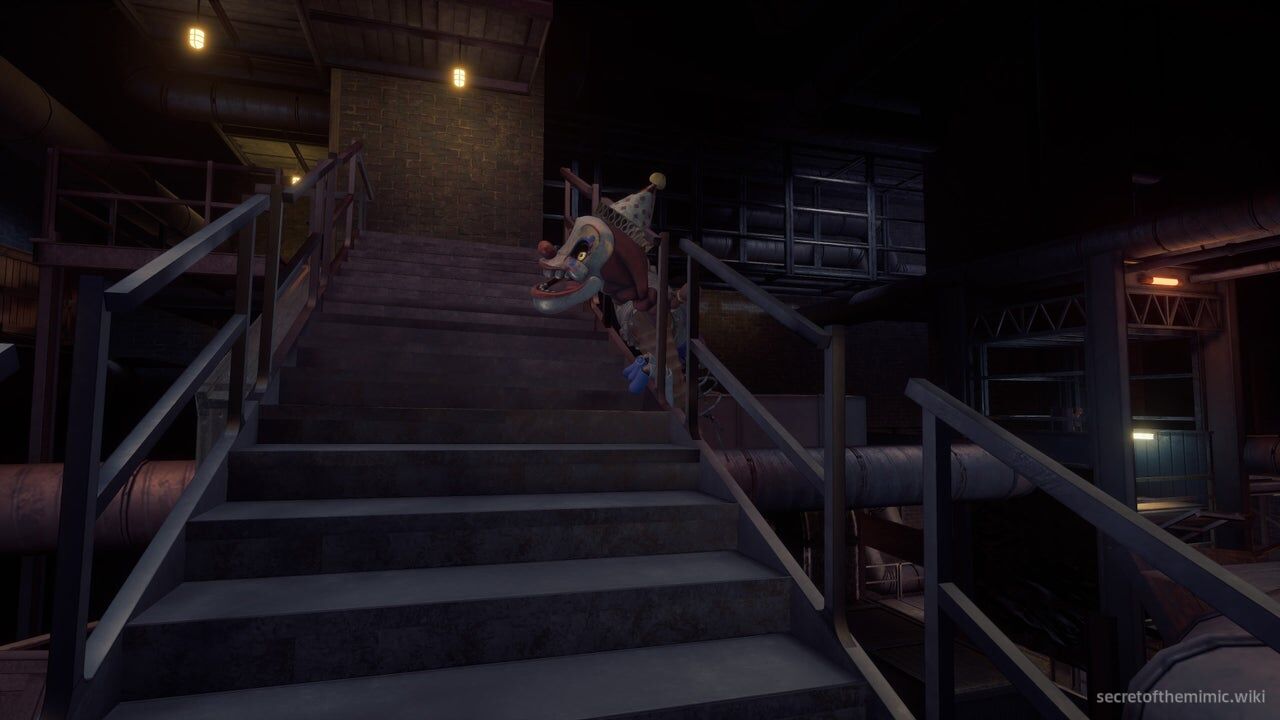
So, as soon as you're off the elevator, sprint as fast as you can following the linear path ahead. It'll take you across a walkway, around the corner, and up the stairs. Don't worry too much about Jackie's hands or her placement in relation to you right now. If you run directly into her, she can kill you, but she won't grab you or move towards you just yet. In the second half of this chase, she'll close in for the kill, but for this section, she's purely obsessed with making you fall.
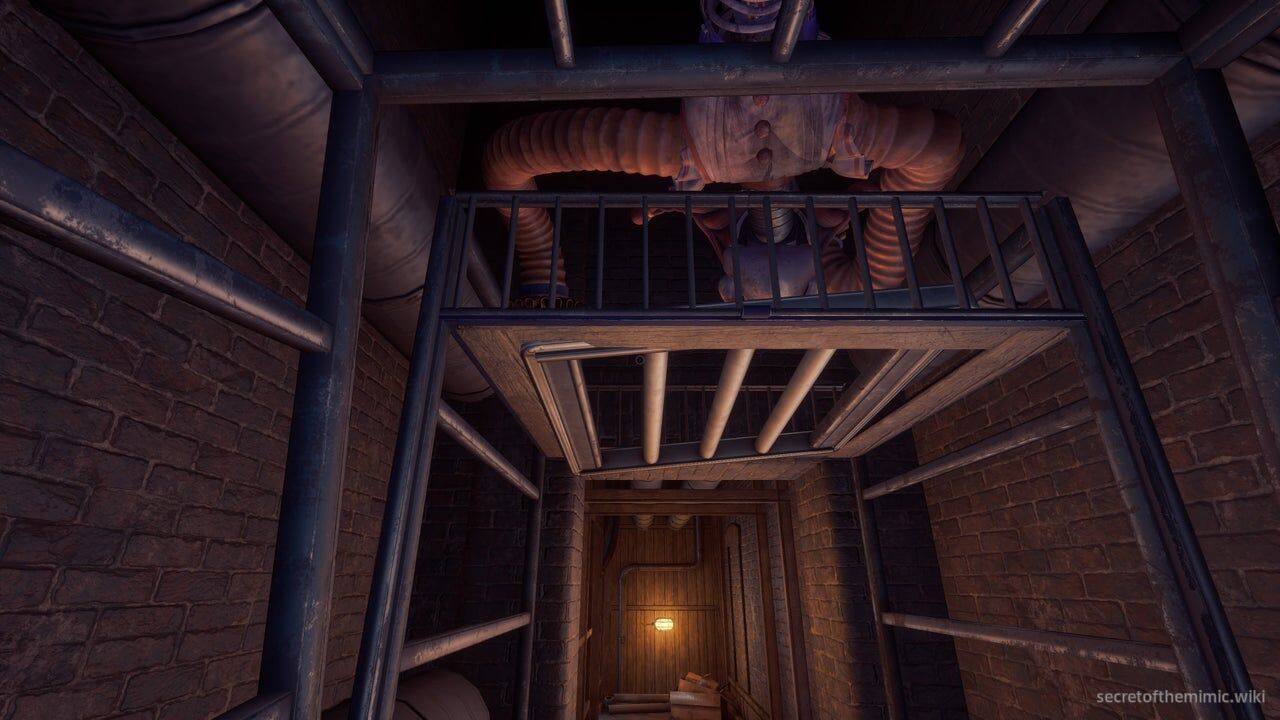
After following the route up the stairs, you'll emerge on a long, shuddering steel walkway. Sprint down it and, at the end, Jackie will climb on top of the cage above the walkway and fall through it, breaking her way down so she's right behind you. From this point onwards, she's closing in, so we'll want to keep tabs on exactly where she is.
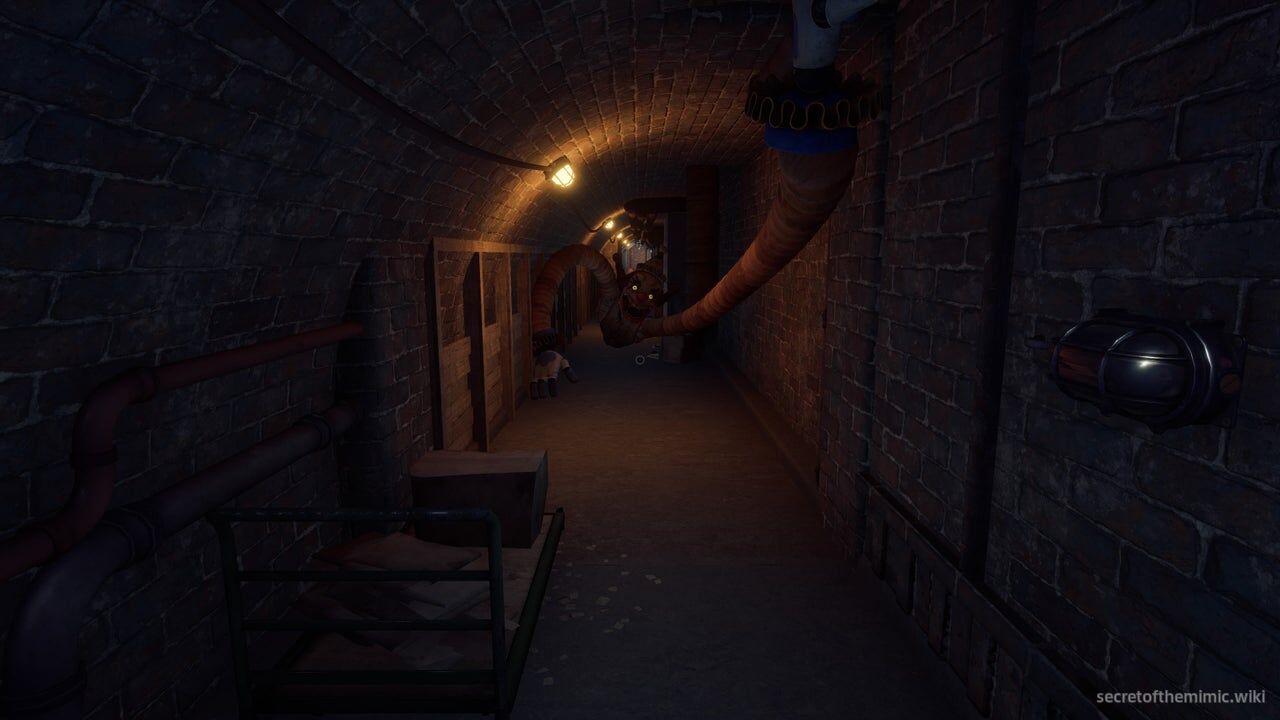
Sprint down this corridor as she drags herself closer to you. Don't worry, she can't grab you at long range despite the fact her arms are constantly reaching out in front of you.
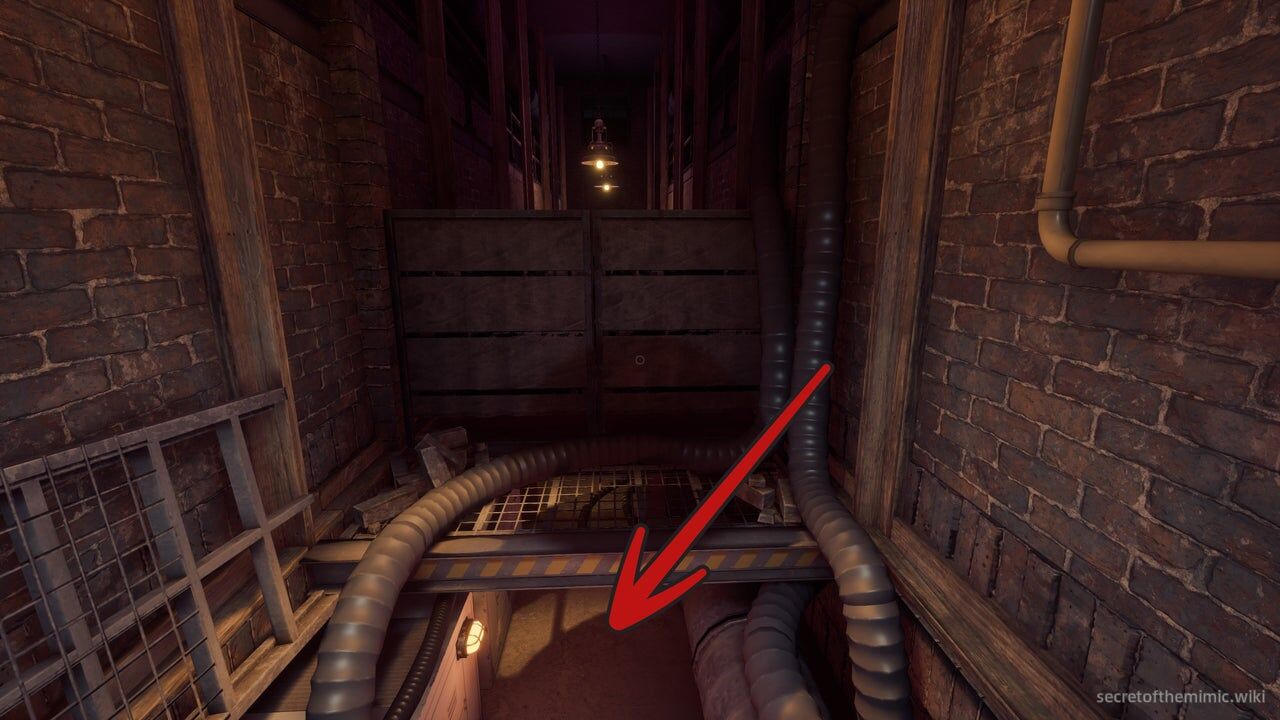
Just keep sprinting until you turn a corner and see the entrance to a long crawlspace directly in front of you. Drop down, crouch and begin moving through it.
Crawlspace Showdown
Once inside the crawlspace, we're going to have to activate some hatches in quick succession to progress while Jackie stalks us, so we'll want to be quick but precise here.
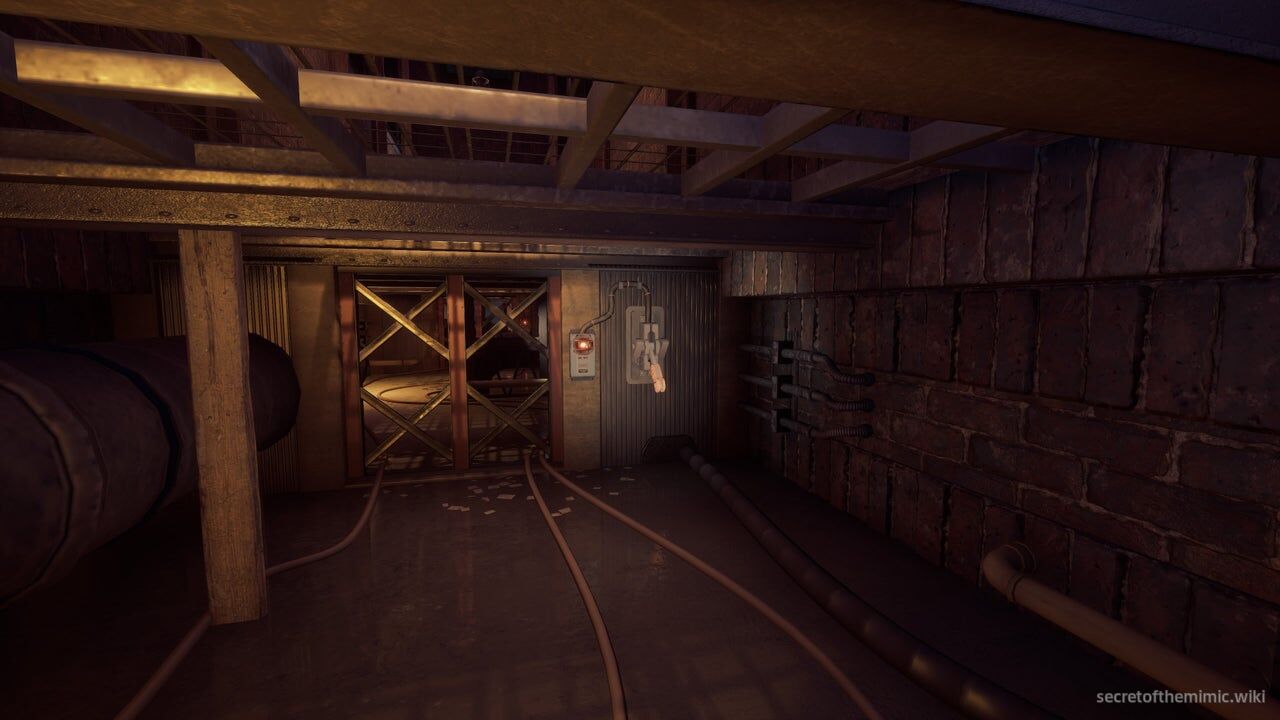
She'll consistently break through each section of the fence above us, so we can't linger for too long. The first stint of the crawlspace is relatively simple. You'll see a locked hatch in front of you beside a red light. To the right of this red light is a wire connecting to a lever. Throw the lever, and the first hatch will spring open, allowing you to crawl through it.
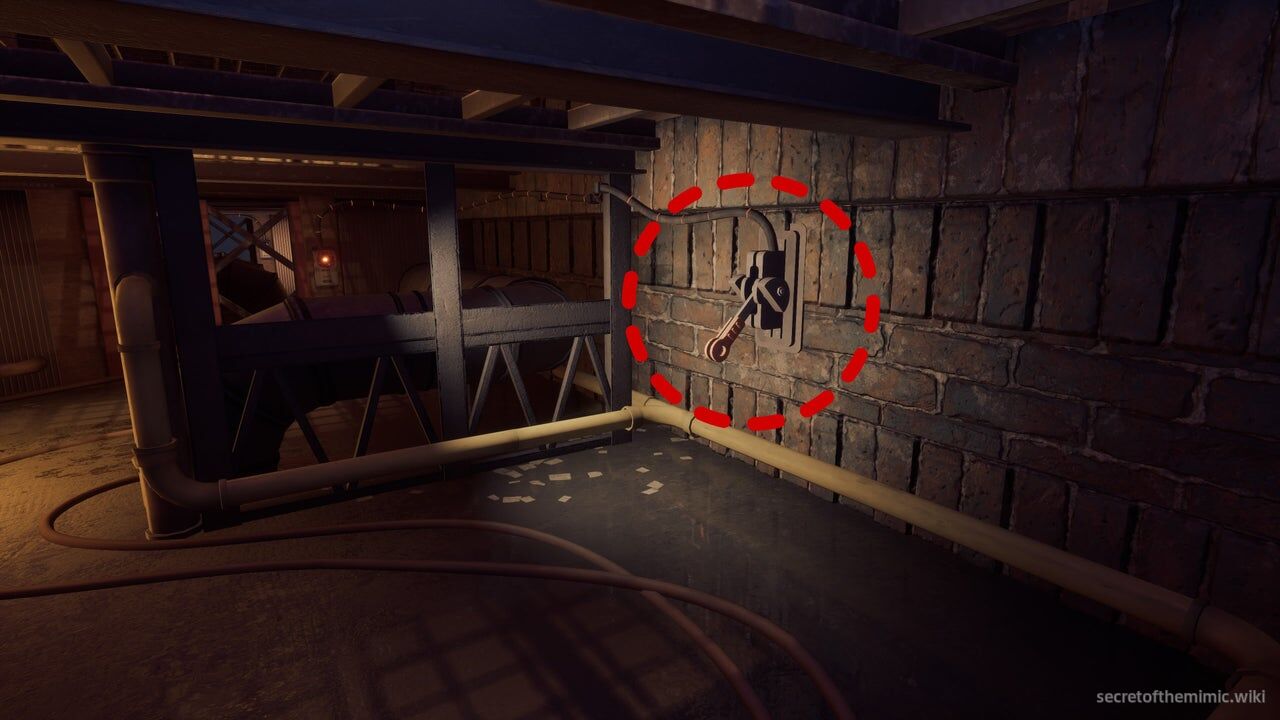
As soon as you're through, you'll find yourself in a second, similar stint of crawlspace. However, the lever is no longer next to the hatch. Look directly to your right. You'll see the second lever is beside where you enter. Throw this lever and then circle around to the second hatch at the back of the area and crawl through.
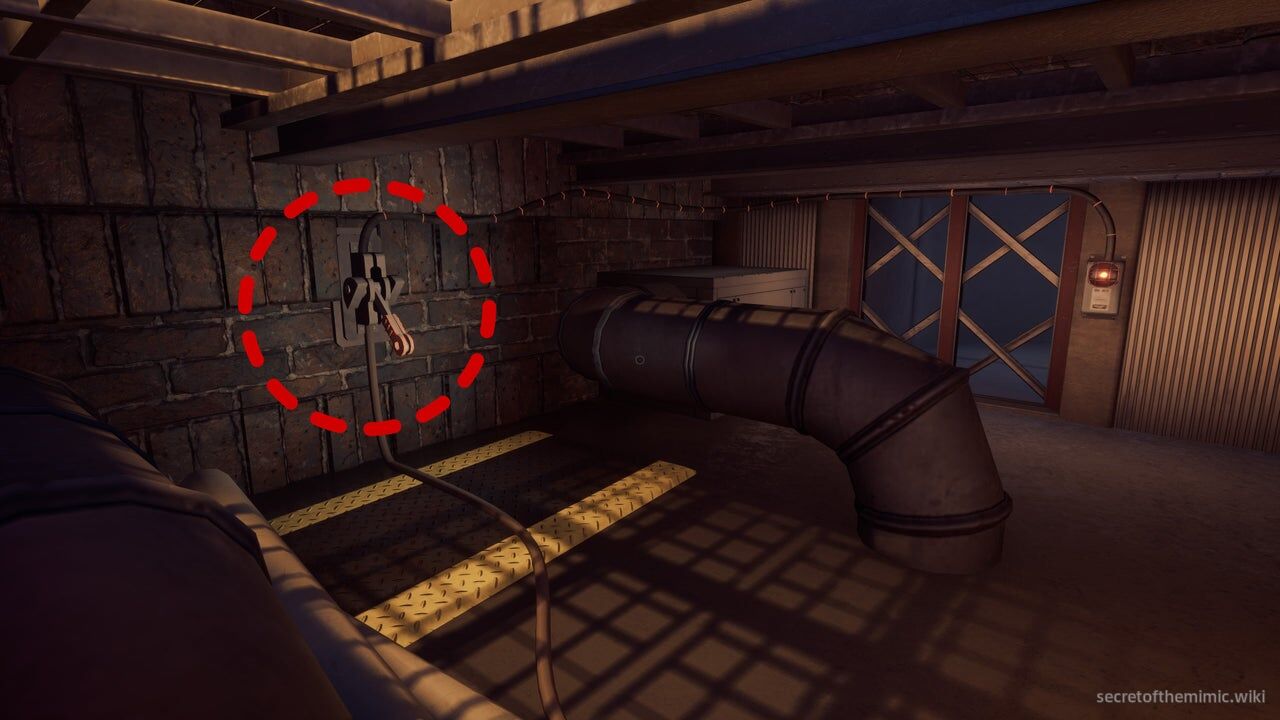
This third crawlspace stint is similar again, except this time, the lever is between the pipes on the left-hand side of the crawlspace. Move between them, throw the lever, and then escape out of the final hatch and into a vent.
Trapping Jackie
This vent will lead you to a small storage room. Once you land, proceed up the ramp in front of you towards the archway ahead.
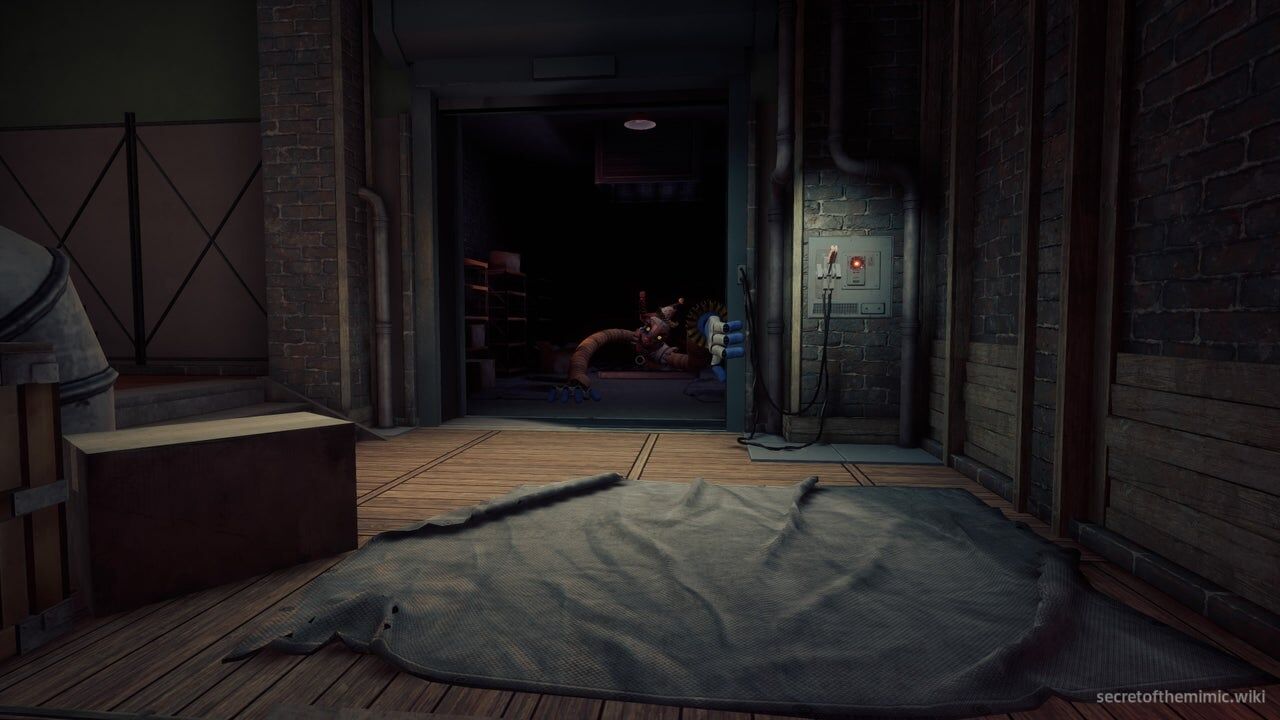
As you do, Jackie will drop down on the opposite side of the archway, pulling herself towards you. Sprint towards the archway and then grab the lever to the right of it.
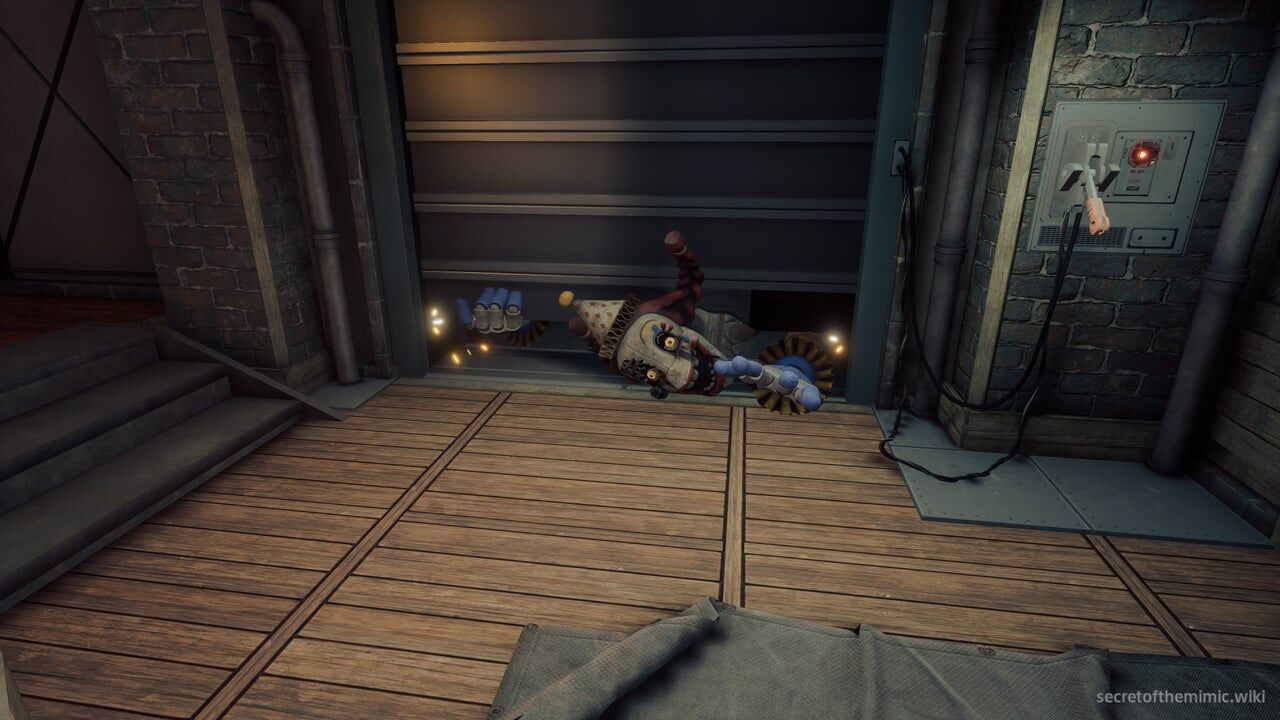
Pull it down to trap Jackie in the shutter, leaving her immobilised. Now, take a left and follow the path until you see a generator next to a ventilation shaft.
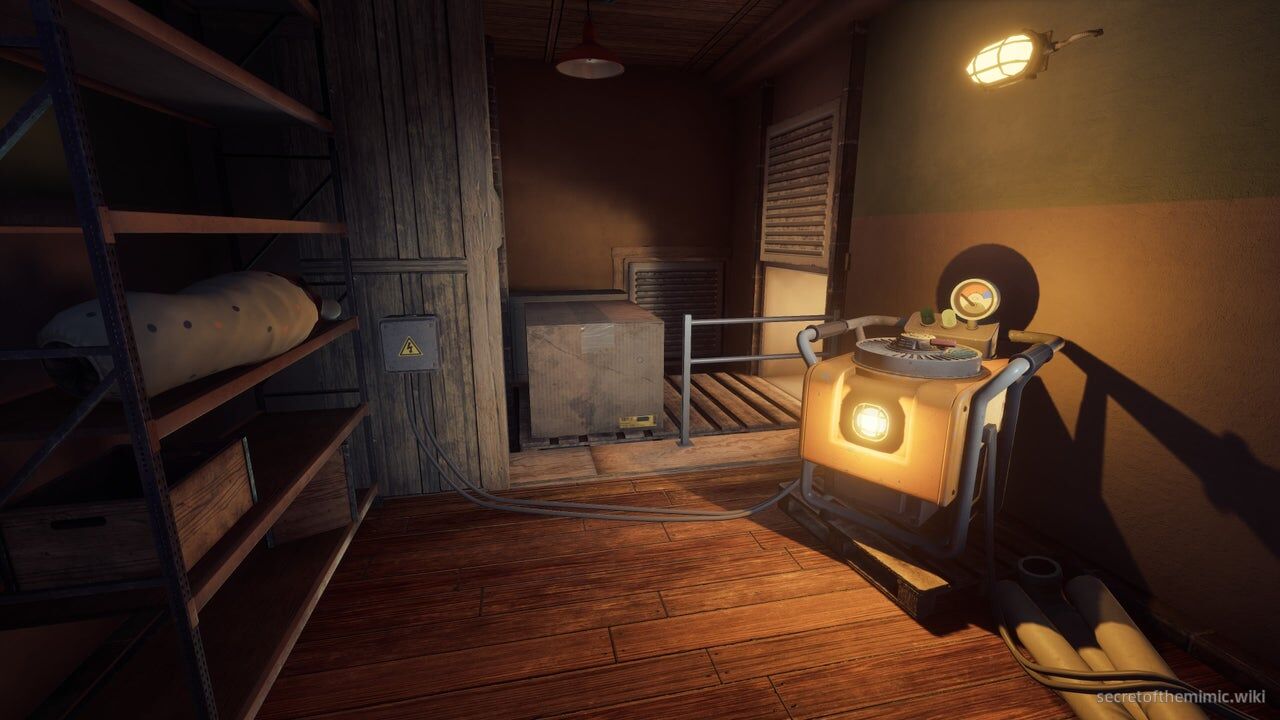
Power this generator up, and the way through the ventilation shaft will be cleared, allowing you to climb into it and escape Jackie... for now.
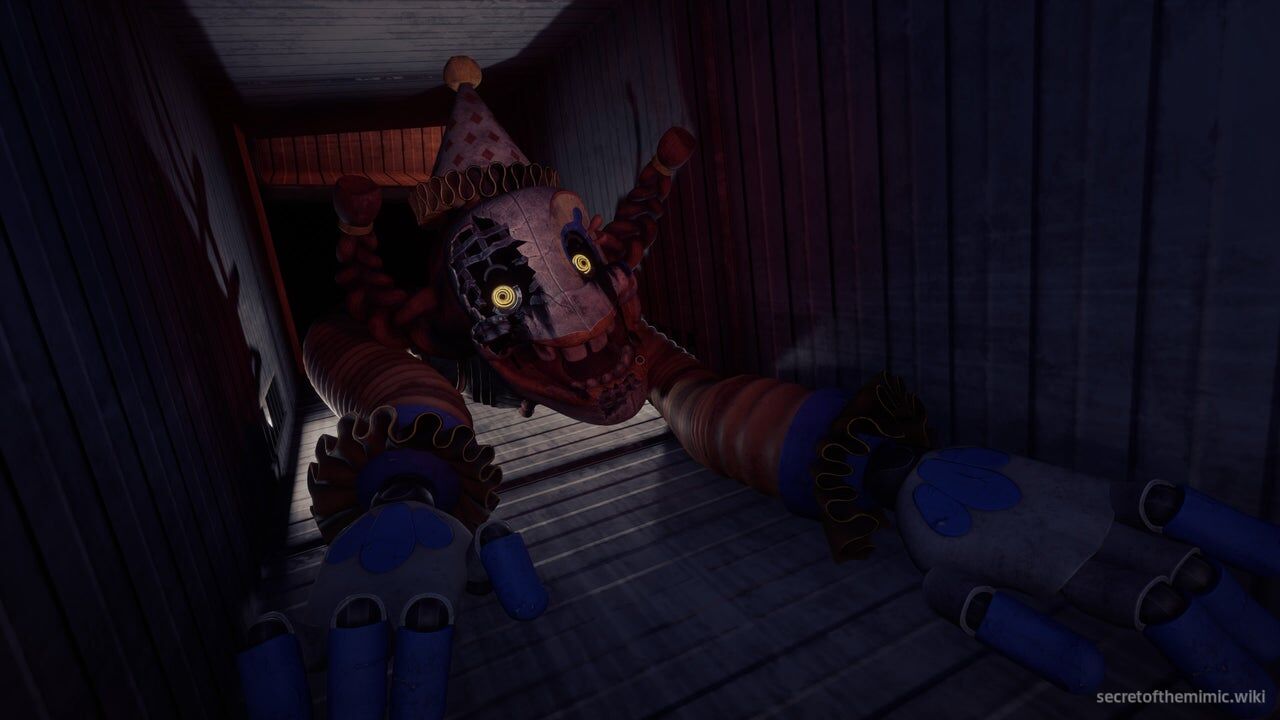
Follow the ventilation shaft and, eventually, the floor will fall from under you, sending Arnold down into another ventilation shaft where he'll hear the music from Jackie's box. Keep following the route, and you'll trigger a cinematic, as Jackie approaches, attempting to attack before sending you both falling out of the ventilation shaft.
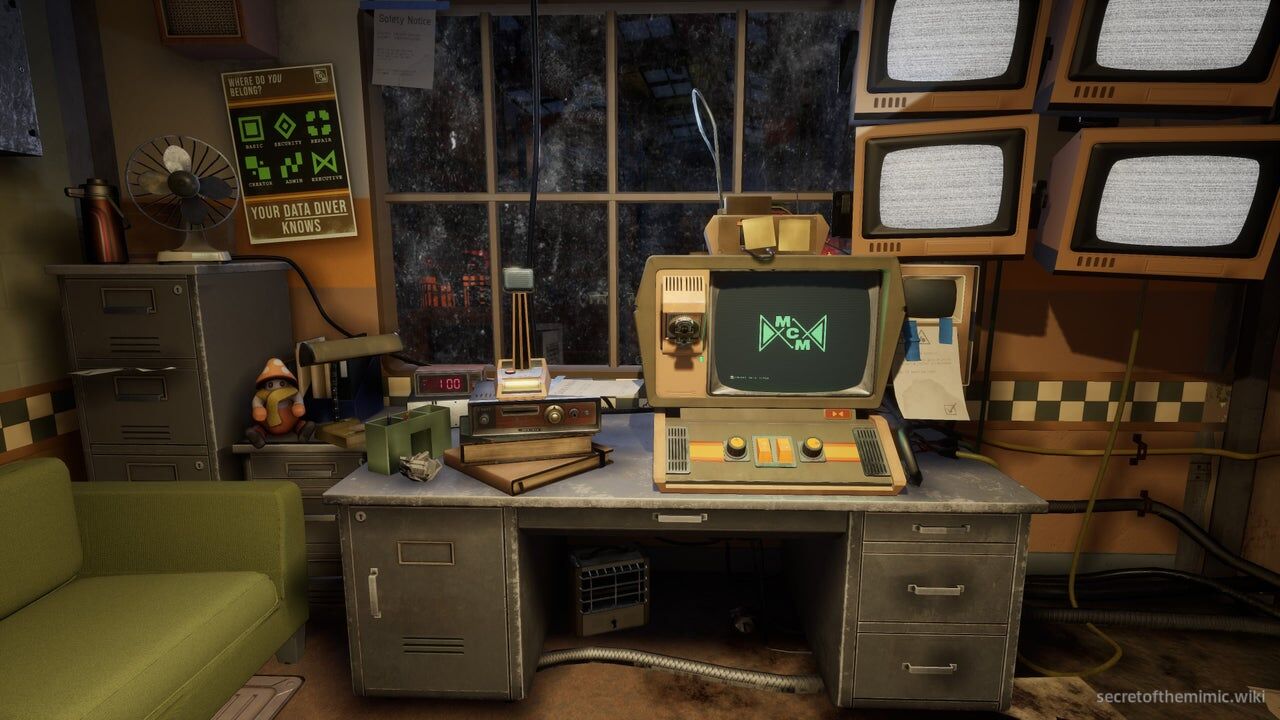
When the cinematic is over, Jackie is gone, and you get back to your feet in the Security Office on Floor 1, hearing the familiar voice of the Dispatcher over the receiver. Next is The Big Top Showroom.