

Collect the springlock head, both arms, and both legs in the Workshop; assemble and energize the suit; repair the backstage generator; then move the three catwalk tiles into the right column and shoot the final bridge target.
With Music Man officially buried in the stairwell, it's time for us to get back to Secret of the Mimic's central mission, as Arnold begins hunting for his fourth Data Diver upgrade. This walkthrough provides all the tips and tricks you need to evade the Mimic, solve every puzzle, and find any and all key items you need to continue your adventure.
This chapter will take us to the Workshop and eventually the Theater, where we'll battle against the Mimic as we attempt to build our very own springlock suit. If you're looking for a specific segment of this chapter, use the links below to skip through each major section:
Heading to The Theater
Following his throwdown with Music Man, Arnold will pick himself back up in the corridor at the bottom of the stairwell. When you're ready, leave the corridor and you'll emerge right outside the Security Booth.
Head inside and speak to the Dispatcher via the receiver. He'll tell you that, despite the whole almost dying thing, we're doing a bang-up job and are one step closer to capturing the Mimic. Our next objective is to head to the Theater to get our hands on another Data Diver upgrade.
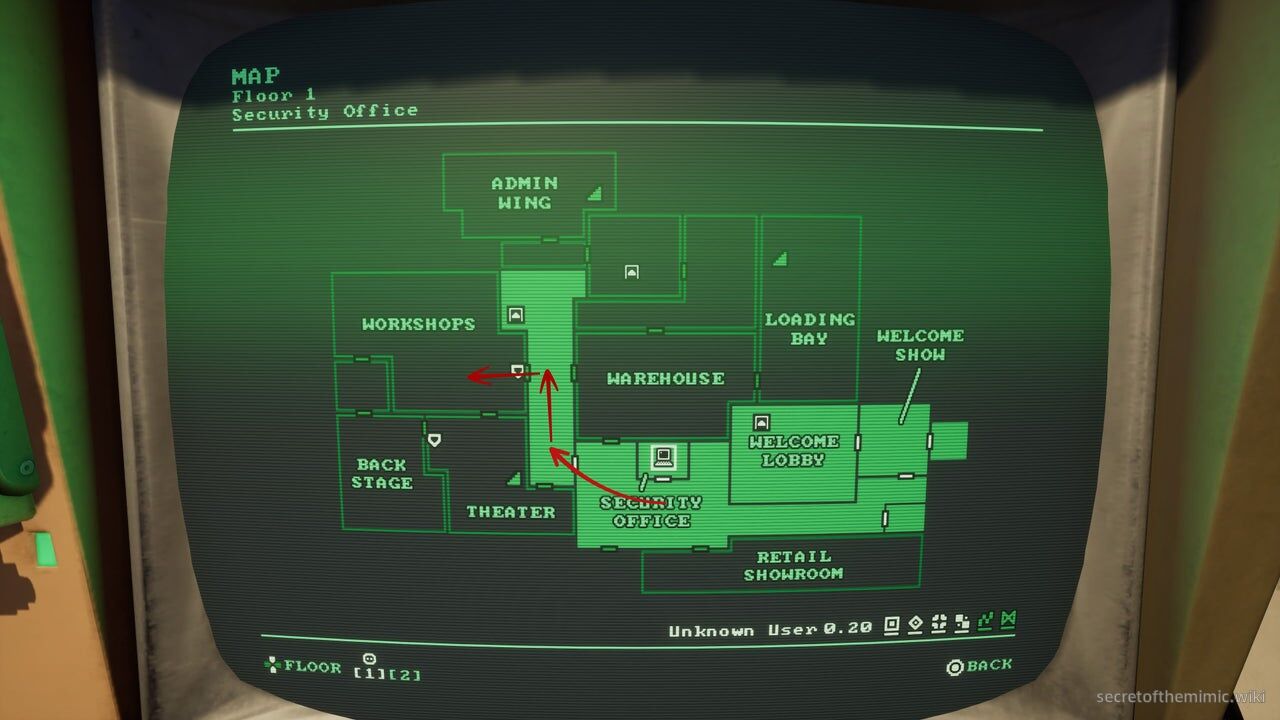
The Dispatcher will let us know that we have to use the Workshops to find a path to the Theater, and we can reach them via the Main Hallway. I've marked the route on the map above. When you're ready to get moving, step out of the Security Office and take a right, heading to the Main Hallway.
Now that we have Creator Clearance, we can snag a collectable while we're here in the Main Hallway. As soon as you enter, look to your right to see a closet we can crack open with the Data Diver. Inside is the Ranger Army Knife, so make sure to grab and stash it before we head to the Theater.
The Workshops
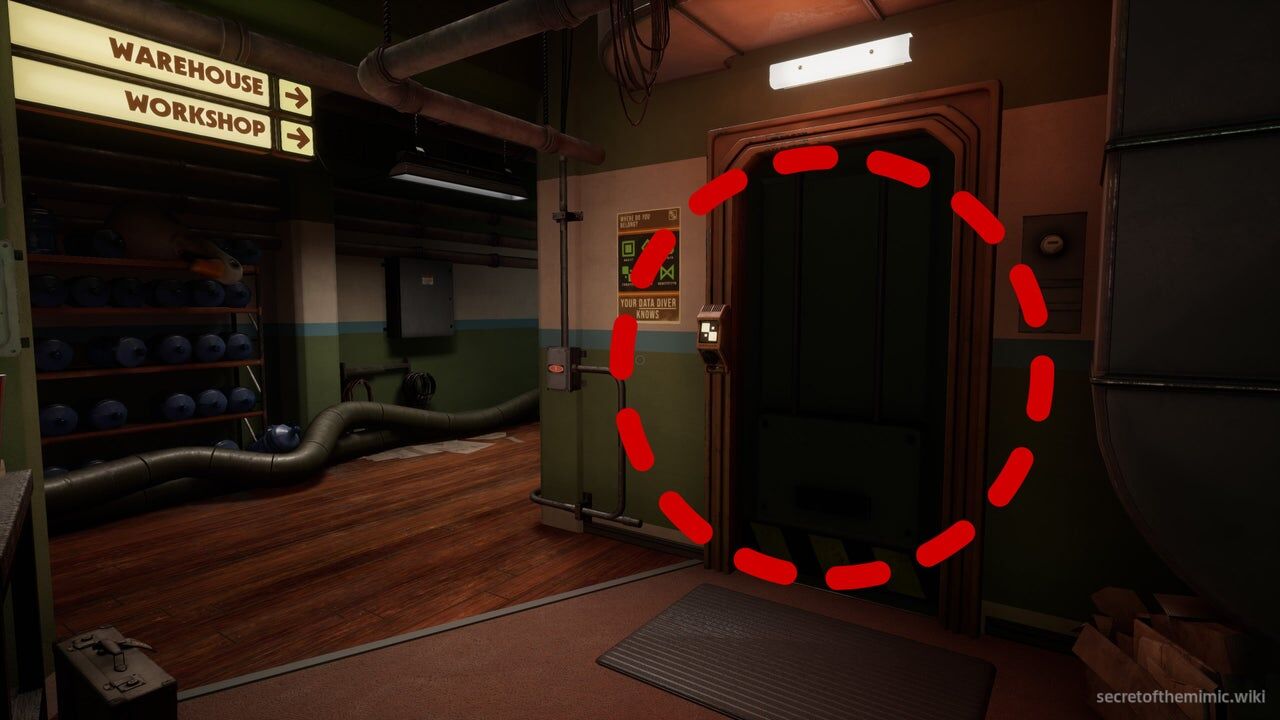
Once you arrive in the Main Hallway, follow the corridor to the right until you reach the centre of the passage. If you look on the left-hand side here, you'll see the entrance shutter to the Workshop. Use the Data Diver to unlock the shutter and step inside.
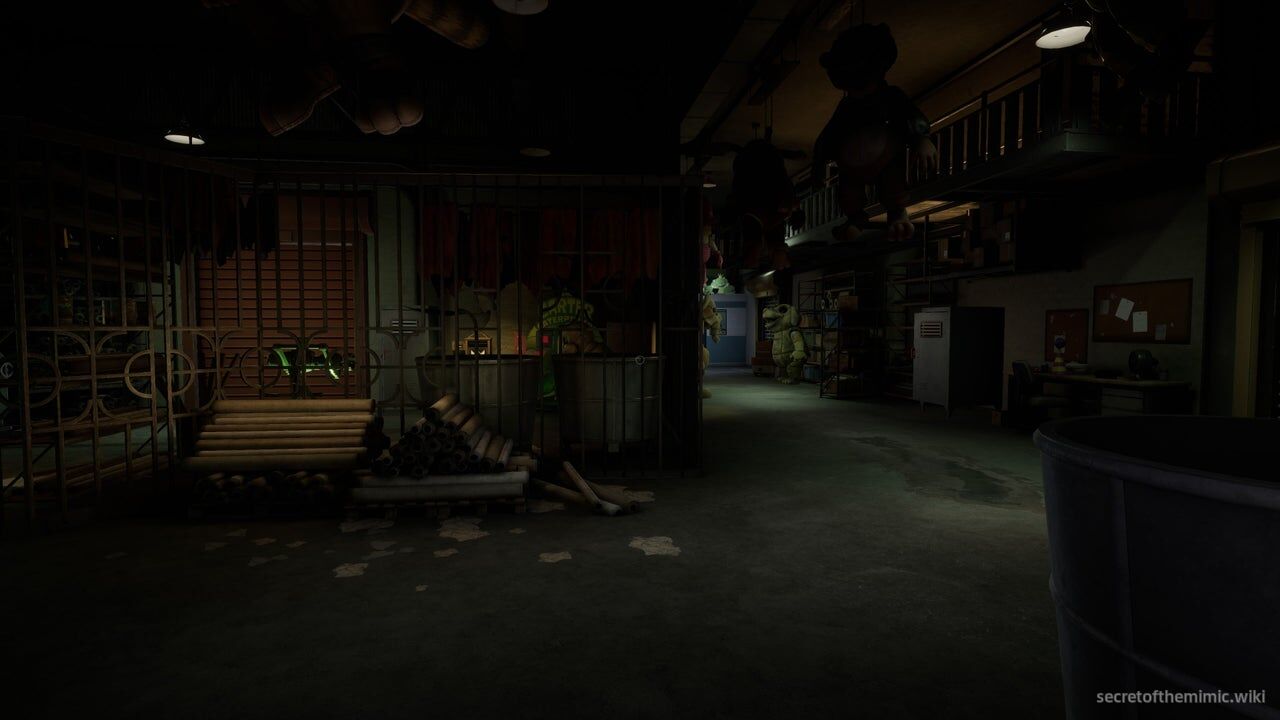
Instantly, this place has a healthy smattering of bad vibes and a hearty helping of horrifying costumes the Mimic could eventually stuff himself into. For now, though, it's Mimic-free. Follow the route ahead and make your way through the automatic doors at the end of the path.
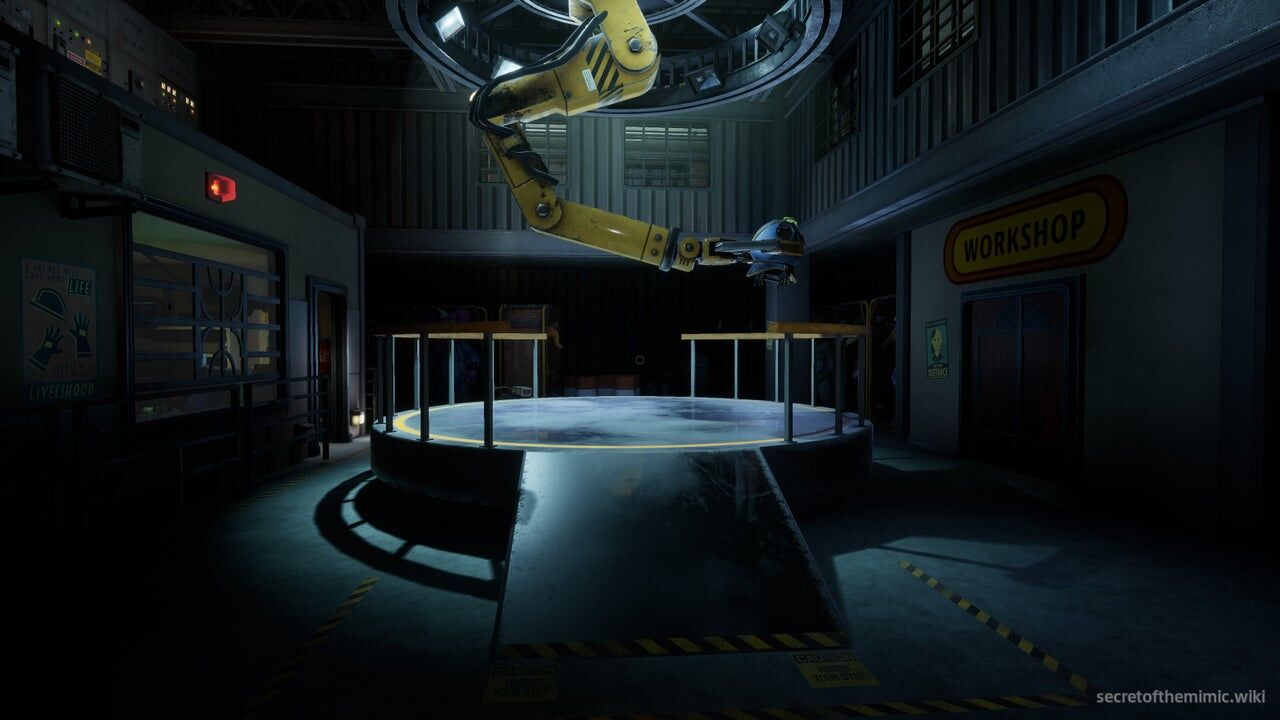
They'll take you to an engineering bay, where the Dispatcher will tell you that we need a suit to proceed into the Theater. Enter the office at the back of this engineering bay and plug the Data Diver into the Mrs Helpful unit opposite the entrance. She'll inform us that, specifically, we need to put together a Springlock Suit to earn access.
Building The Springlock Suit
Now we have our objective, let's get cracking. Opposite Mrs Helpful is a terminal next to a window looking out over the engineering bay. Plug your Data Diver into the terminal, and you'll see the top option on the monitor is to "Start Assembly."
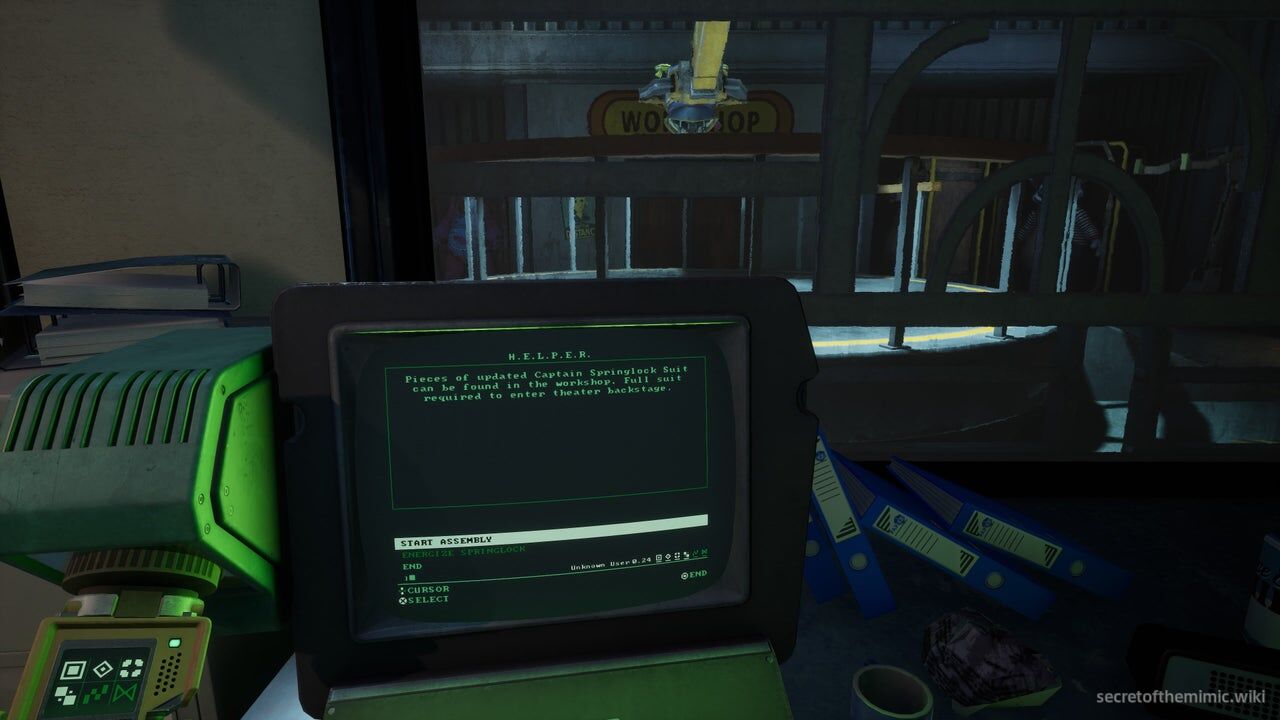
When we choose this option, the crane in front of the window will start moving the suit before an error message pops up saying it needs additional parts to proceed with assembly. We'll have to go and find the suit parts individually, with Mrs Helpful letting us know they're dotted around the Workshop.
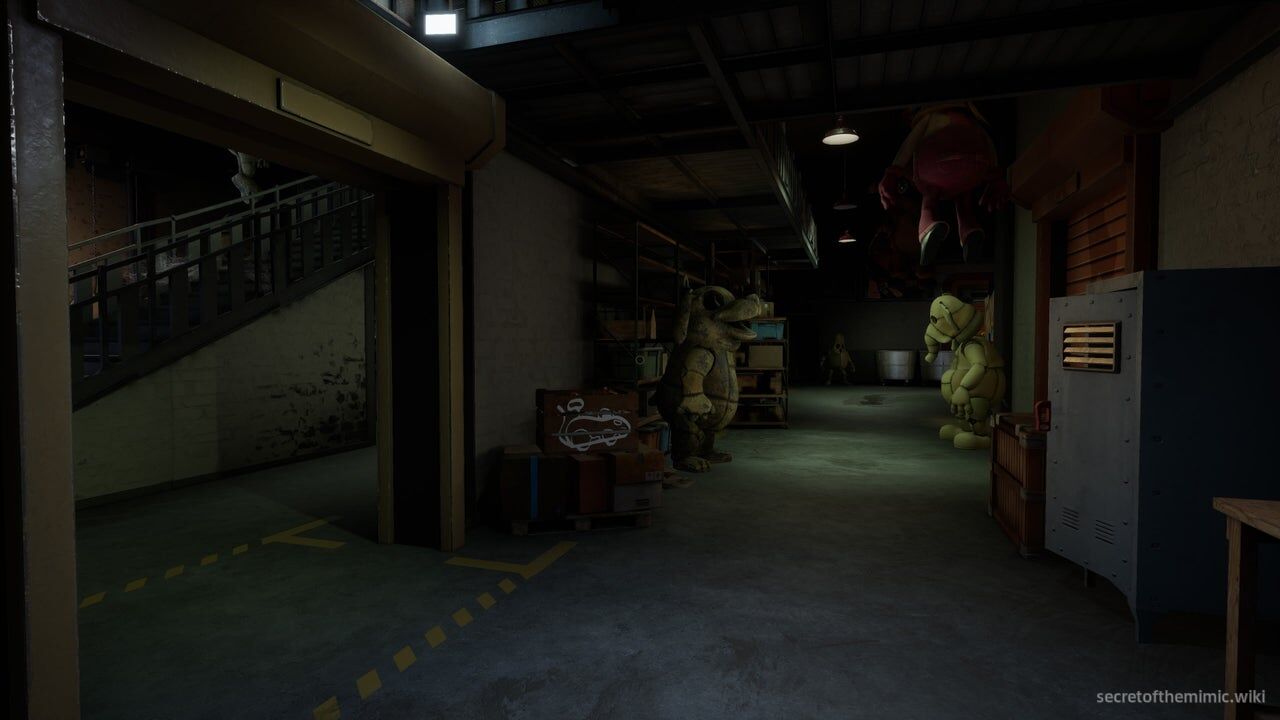
When you're ready, leave the engineering bay. You'll immediately notice that the door to your left is now open, providing access to Murray's workshops. Let's cover this section from a general perspective before I hone in on where to find the individual suit parts. As you might've guessed, considering this workshop is a heaven for homicidal robots who love occupying colourful costumes, the Mimic is going to be joining us here.
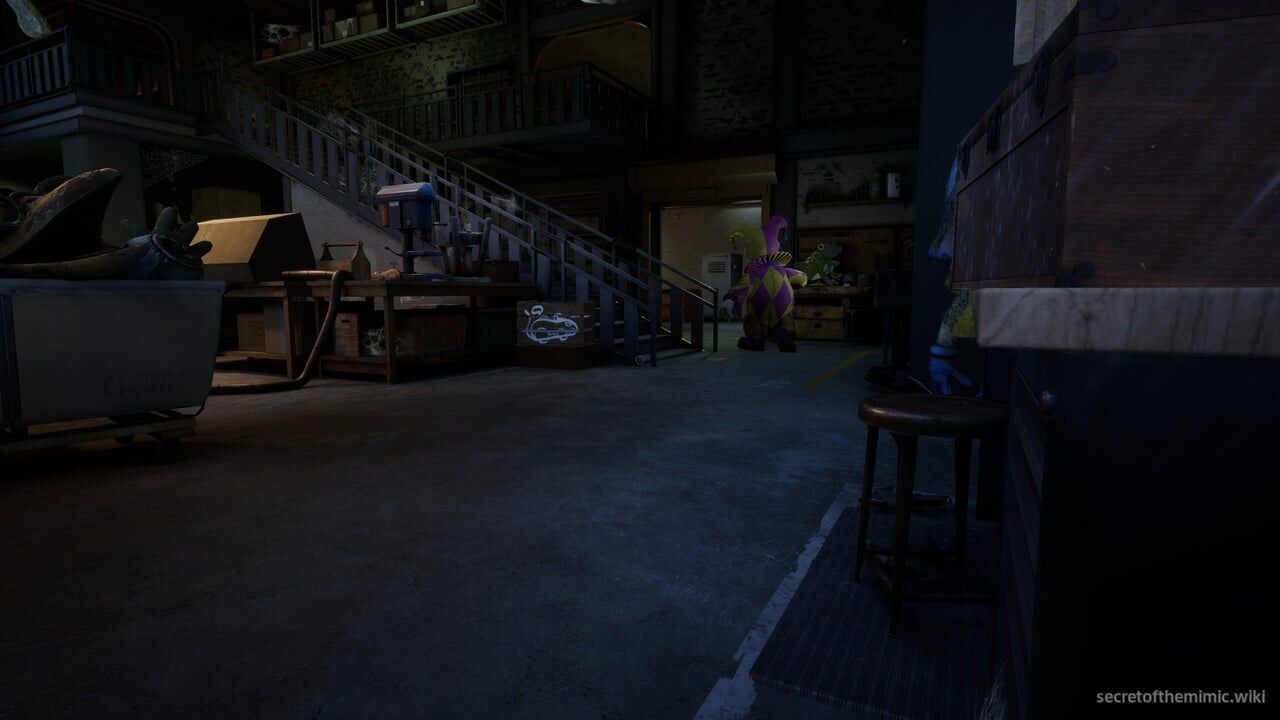
In some ways, it's a relatively simple threat to evade in such a big area. It'll mostly stroll back and forth slowly around the ground floor, searching for you before ambling its way up the stairs and around the balcony. If you have a set of headphones, you should be able to track it through noise alone, as it thuds around the environment. However, the biggest hazard in this section is the fact the Mimic has a lot of costumes to change into and they're present in every section of the workshop. It hasn't been too detrimental to our objectives so far, but it's worth mentioning that the Mimic doesn't need to interact with costumes to possess them. It'll simply teleport into a new costume to get around the map whenever it feels like changing position.
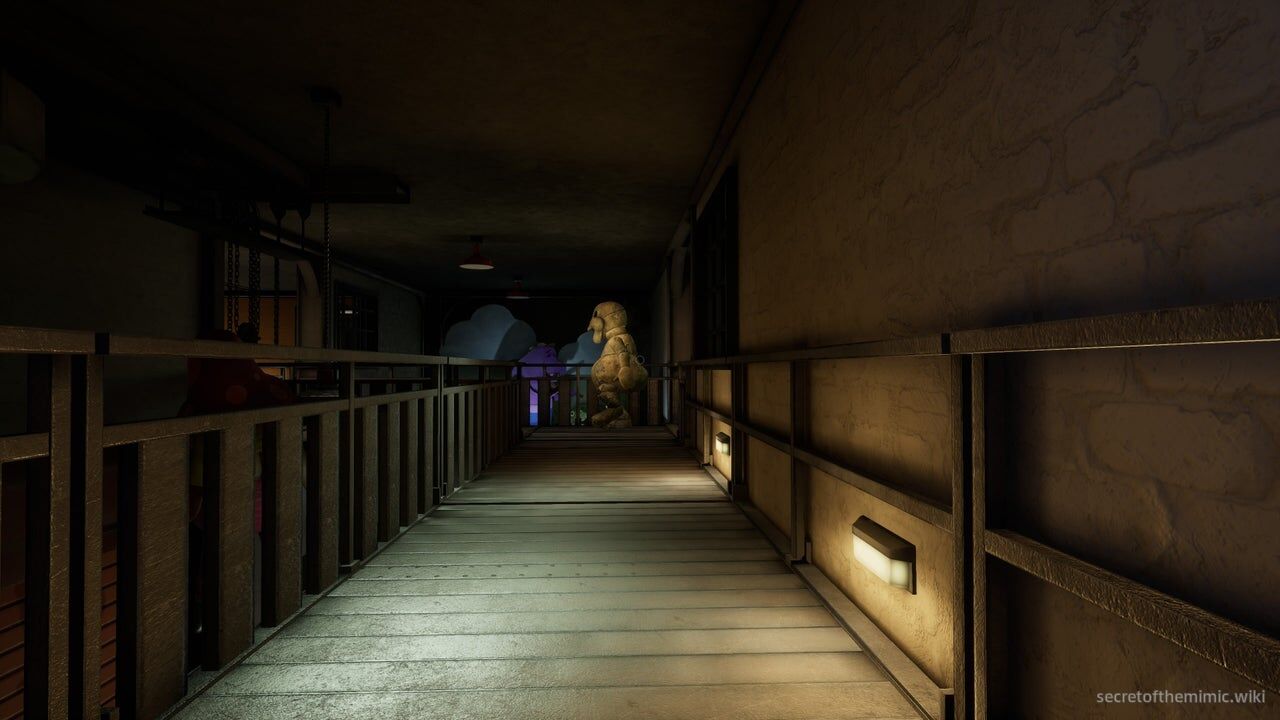
This can make dealing with it unpredictable. On my first run, I went to grab a part just for it to teleport into a costume directly in front of me and send me to the gameover screen in two seconds flat. It's not too much of an issue because, for each springlock part you return, you'll get a checkpoint, so you won't lose much progress. That being said, it means you'll have to be cautious and listen out for the loud sound cue that plays when the Mimic spawns. Once it does, try and find a safe vantage point to figure out where it's moved to. From my testing, it also seems as though, once you enter the engineering bay, it despawns and then respawns shortly after you return to the workshop, so always be extra careful when you first enter the area.
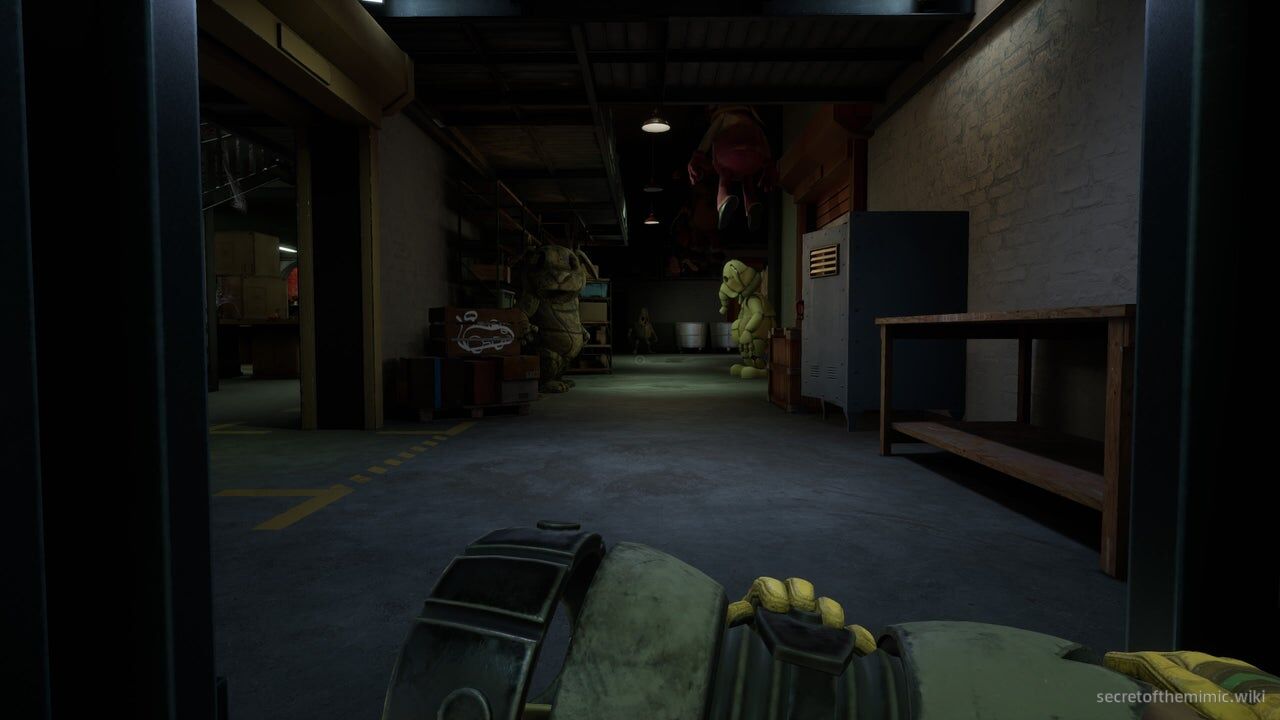
On that note, the workshop appears to be a safe zone that the Mimic can't breach. He may be dastardly, but our chrome buddy would never tarnish the sanctity of the safe area. Through my tests, the Mimic doesn't appear to be able to get in, so don't worry about sprinting back if it's hot on your tail. On that same note, don't be too precious about the Springlock parts if it does see you. Drop them and run, as they'll weigh down your escape, and it'll catch you quickly. It's better to hide in the engineering bay or a locker until it begins to patrol again before returning for the part.
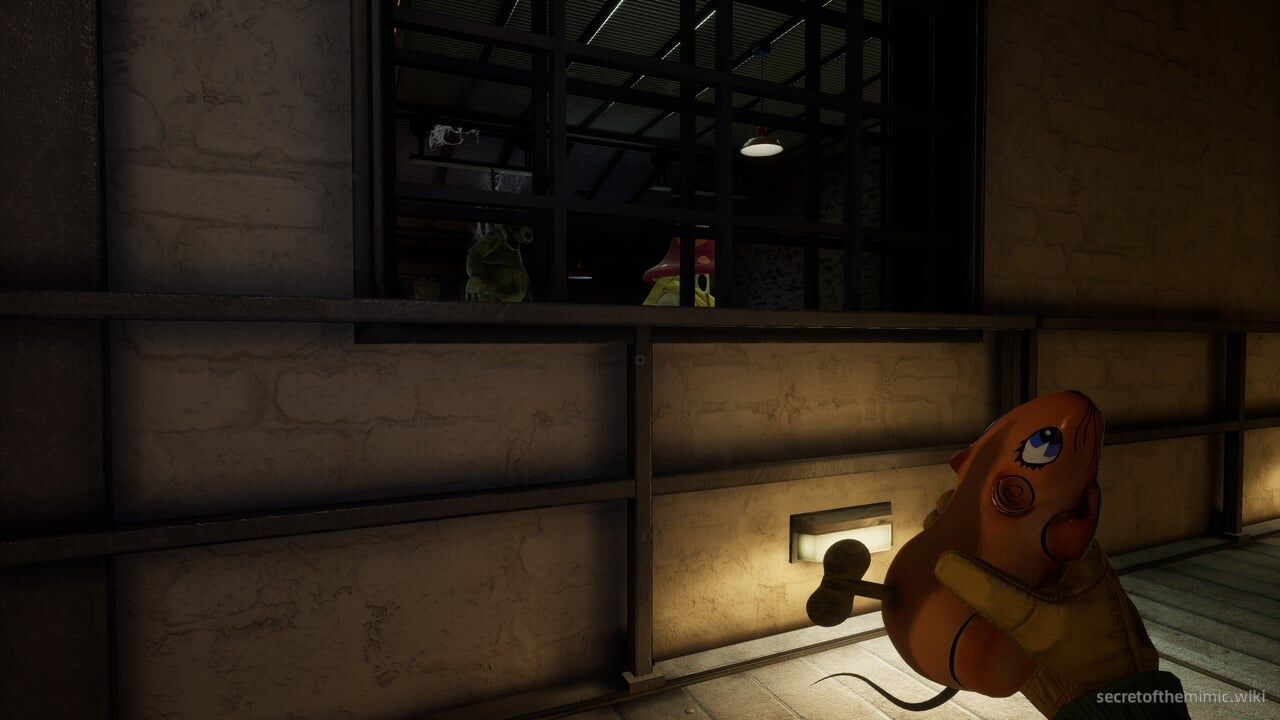
Finally, noise is both your biggest enemy and your greatest ally here. Try not to sprint unless absolutely necessary, and be aware of dangling chains suspended from the ceiling. Walking into these chains will make noise, and the Mimic will haul its way over to wherever you are as quickly as it can. You can avoid chains by crouching and walking beneath them. These chains can be a blessing, though. If The Mimic is in your way, and you know that the route it'll take to investigate the noise can be circled around, you can very easily set up traps to remove it from your path by knocking into a set of chains. Of course, there are wind-up mice all over the workshop too, so if The Mimic is closing in and you need an easy out, don't be afraid to launch a mouse in the opposite direction to bait it away.
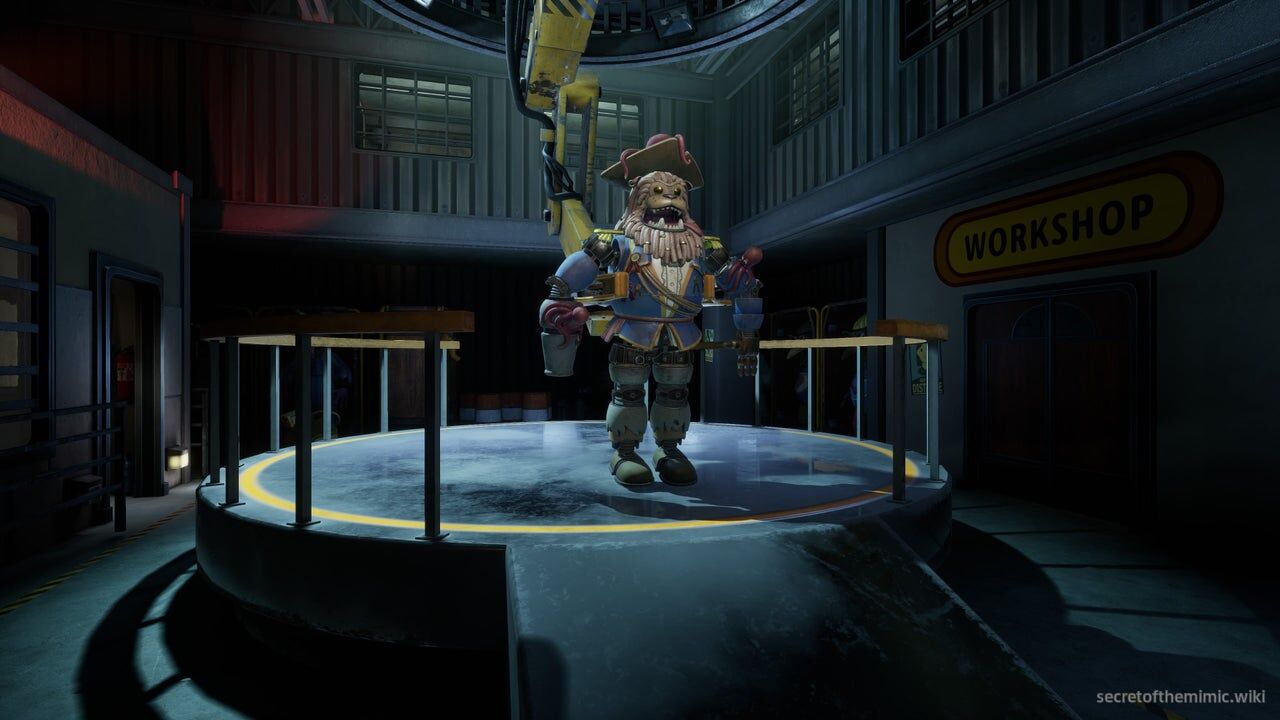
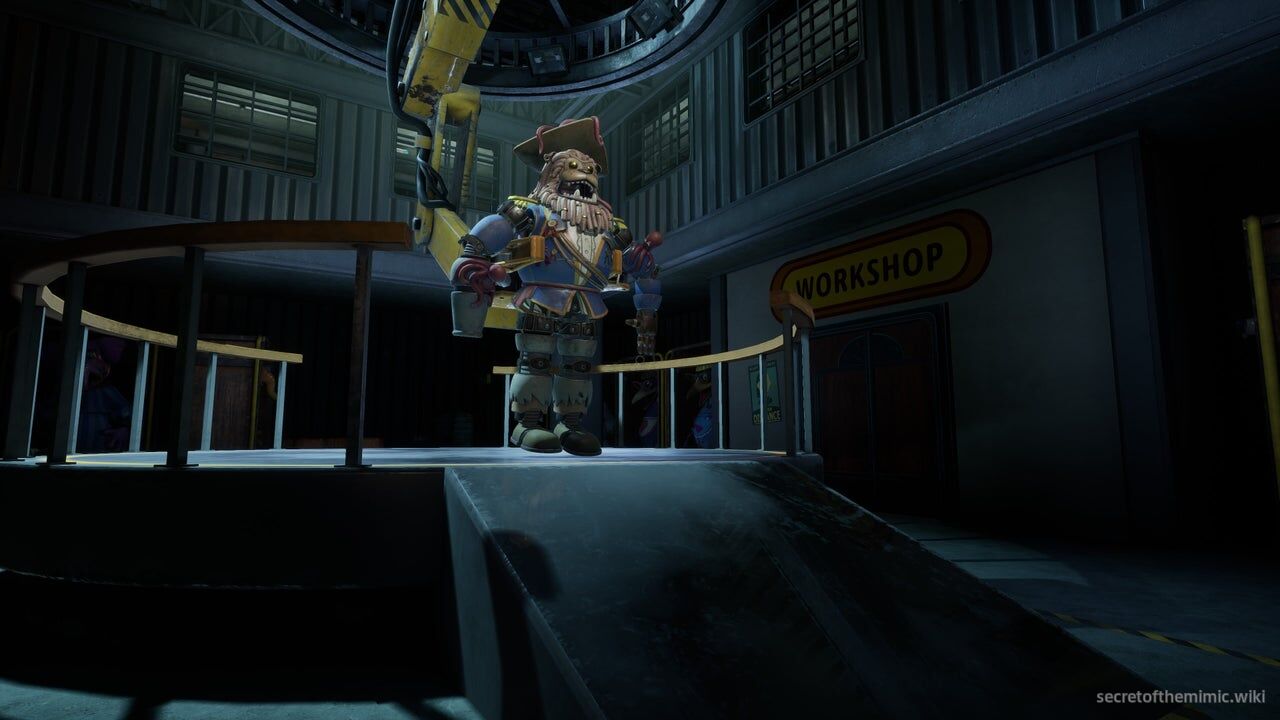
Other than that, the general gist of this segment is to find five parts to attach to the Springlock suit. A head, two arms, and two legs. You can attach them by approaching the suit while holding a part and interacting with it. By the time you're done, it should look like the suit in the image above. So, let's cover how to find each part and get cooking on our fresh springlock look...
The Head Location
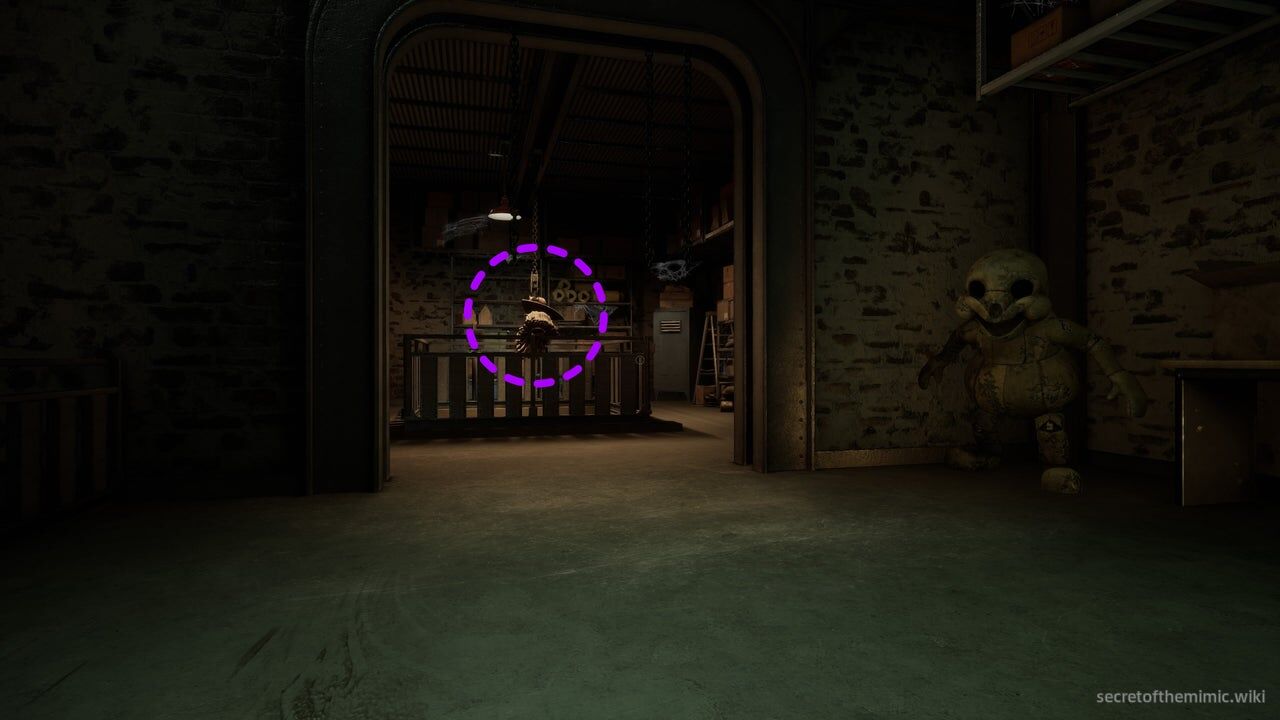
To find the head, as soon as you enter the workshop, go up the stairs to your right and, directly in front of you, you'll see the head hanging from a chain beyond a wooden railing. Cross to the opposite side of the railing and you'll see a crank.
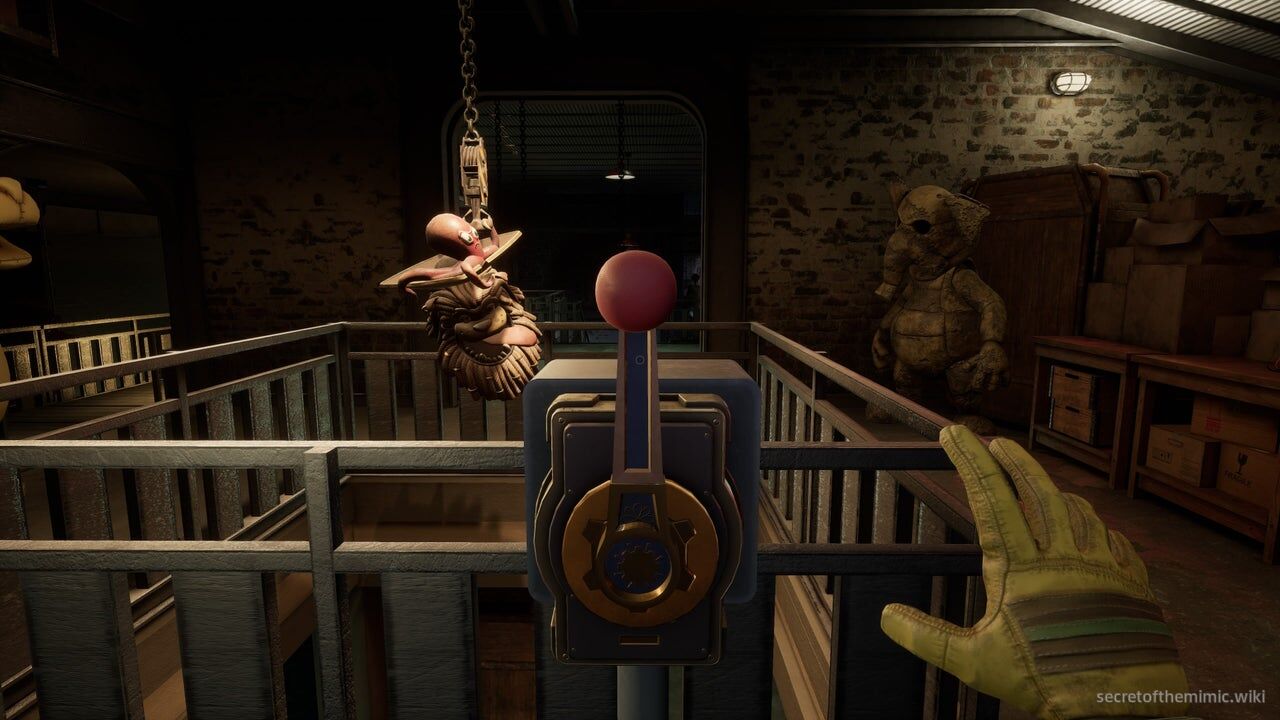
Wind the crank to lower the head to the ground floor, then carefully avoid the Mimic as you descend the stairs and cross to the area where the head is now suspended. Pull it off the chain, then return to the engineering bay and attach it to the suit.
The Left Arm Location
As for the left arm, it's hung from a hook in front of the wall opposite the staircase on the ground floor of the workshop.
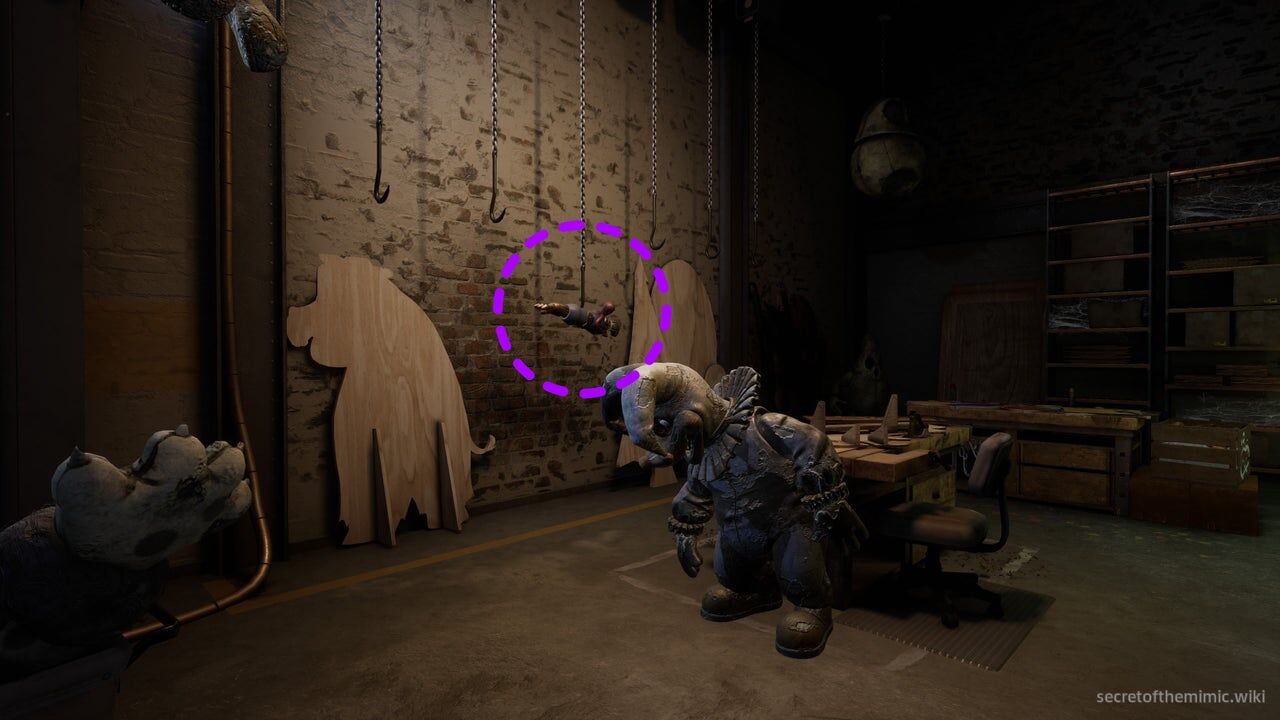
It'll be directly in front of where you first enter at the start of the setpiece, just behind a jester suit standing next to a DIY bench. Grab it off the hook and then walk it back to the engineering bay to secure the second part of the outfit.
The Left Leg Location
The left leg is through the archway on your left when you first enter the workshop. It's in the area with the locker right next to the bottom of the nearby staircase. You'll see it sitting on a metal stand illuminated by a green light.
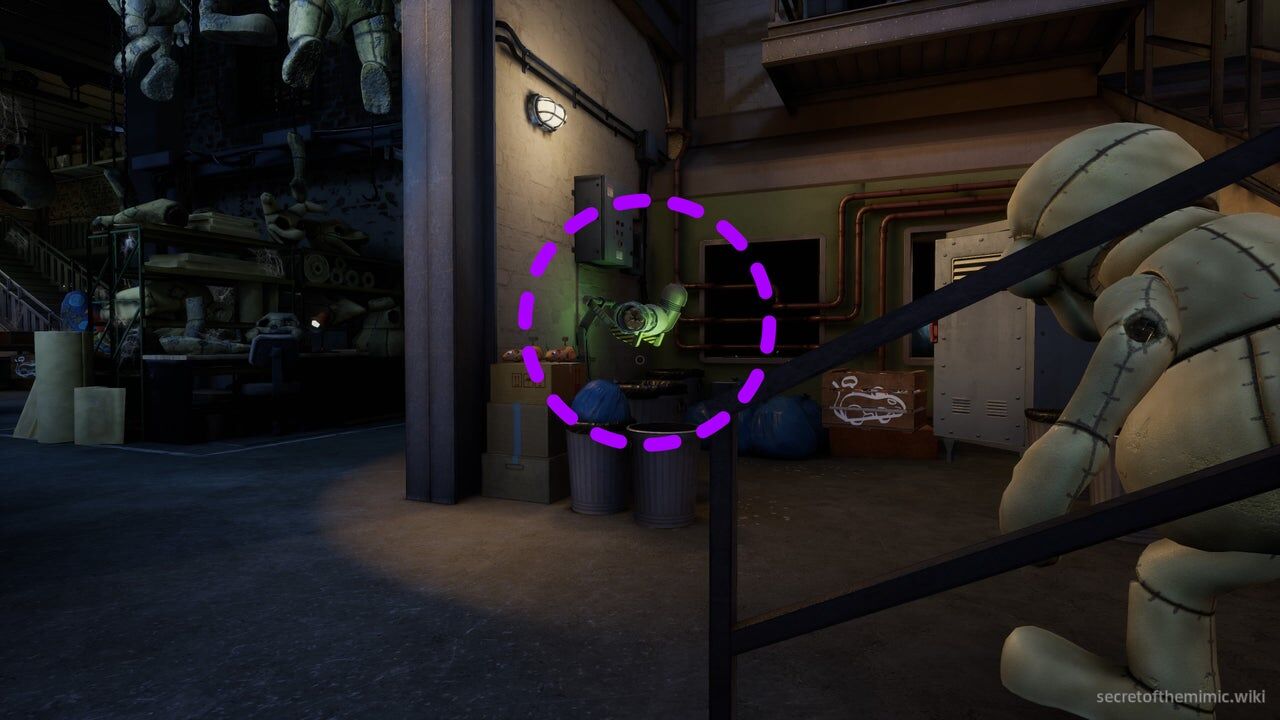
Take it off the stand and return it to the engineering bay to secure the third part of the outfit.
The Right Arm Location
The Right Arm is in an area you'll have to unlock to reach. Enter the workshop, head up the stairs, and then cross to the balcony out of the doors to your right. There, you'll see a second set of stairs leading down to a second workshop.
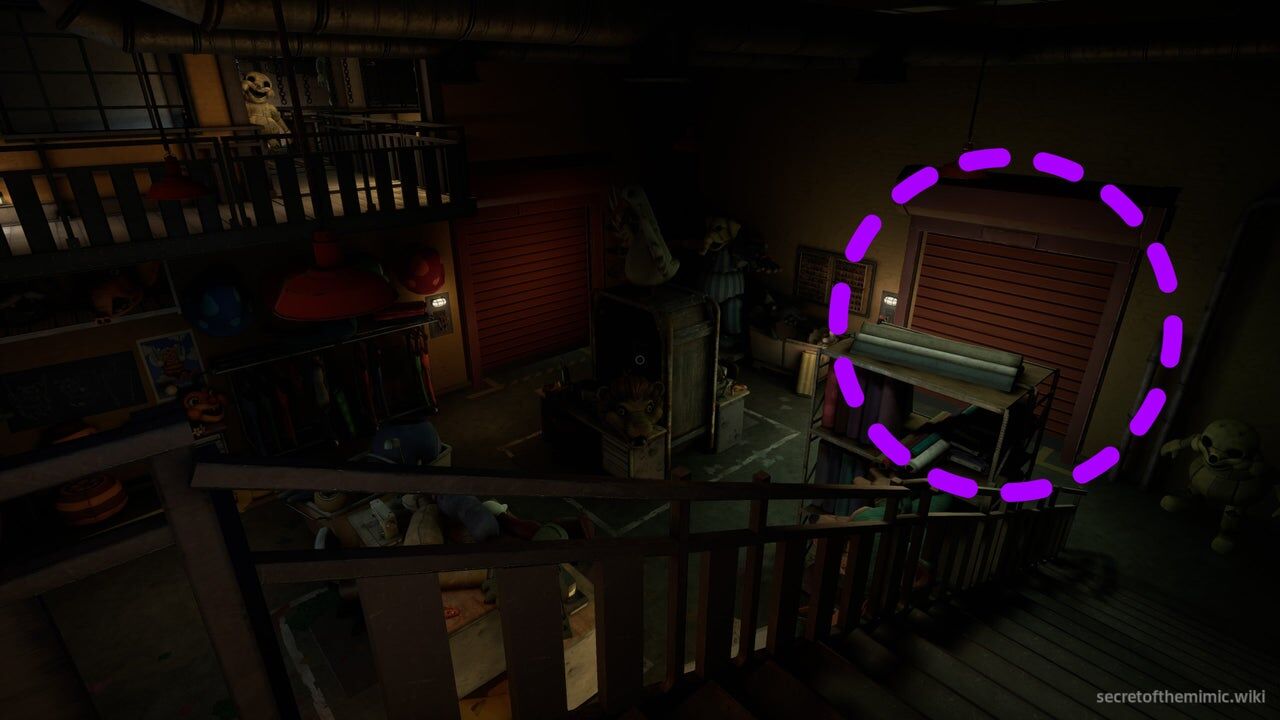
Descend the stairs and, at the bottom, you'll see a red shutter ahead of you with a lever you can pull to open it. It's circled in the picture above. Open the shutter and you'll emerge in the gated off area we saw when we first entered the Workshops from the Main Hall.
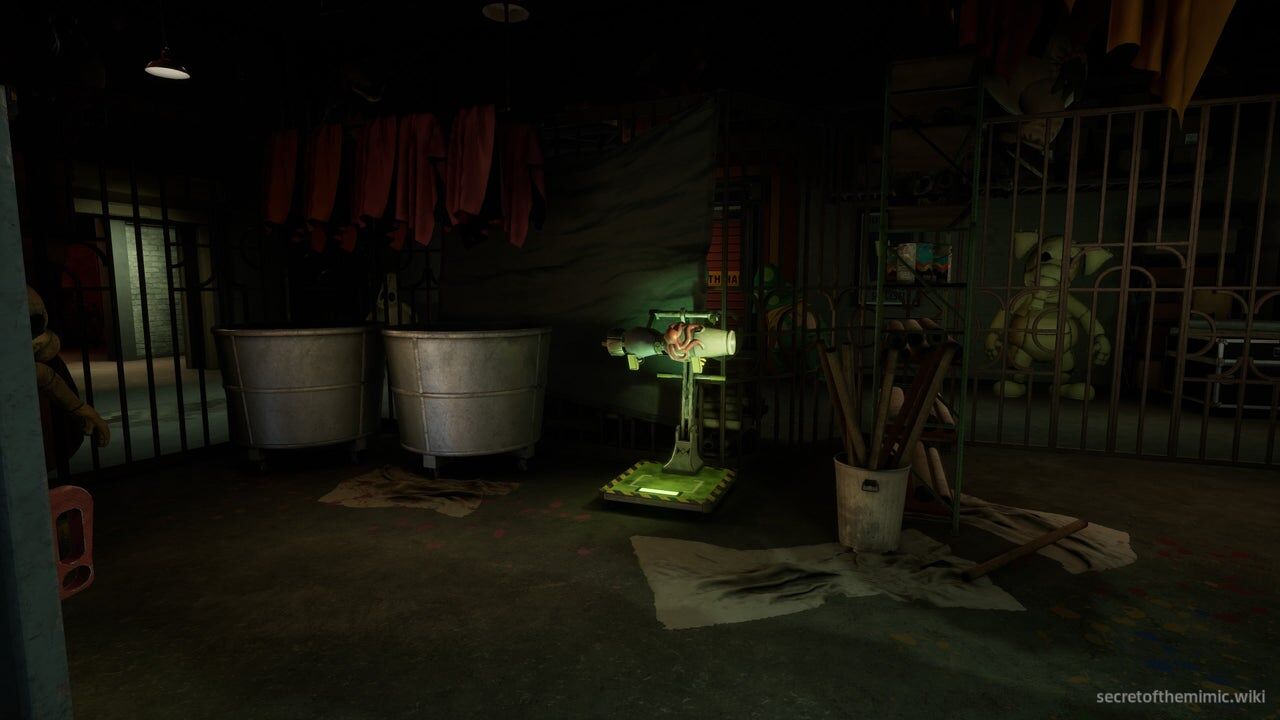
Directly ahead of you here, you'll see the arm on a metal stand illuminated by a green light. Grab it and make your way back to the engineering bay to secure the fourth part.
The Right Leg Location
When the right arm is secure, return to the same workshop area where you found it. If you look at the right-hand side of the staircase leading down to the second workshop, you'll spot the right leg on a metal stand next to a sewing station.
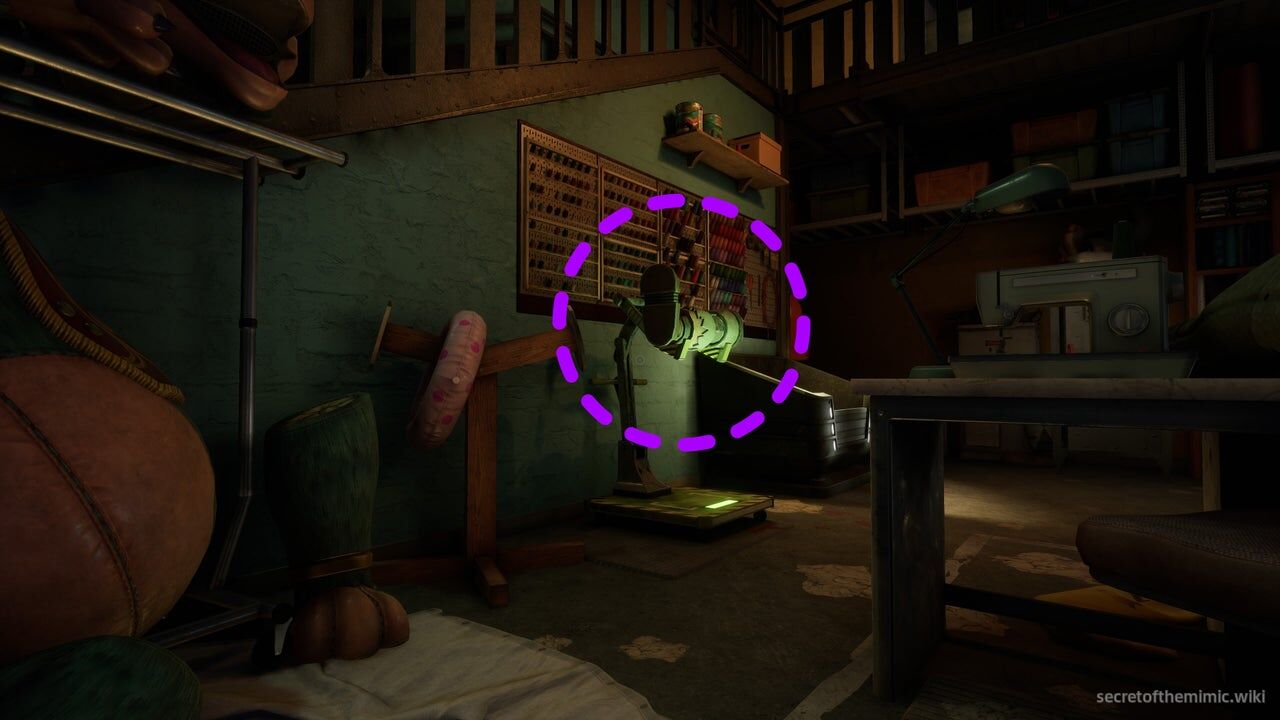
Grab it, and then return back to the engineering bay to secure the fifth and final part of the Springlock Suit. With that, we're ready to suit up.
Fixing The Power Backstage
Head back to the terminal in the engineering bay office, unlock it with the Data Diver, and choose the option to "Energise the Springlocks." When that's done, head over to the suit.
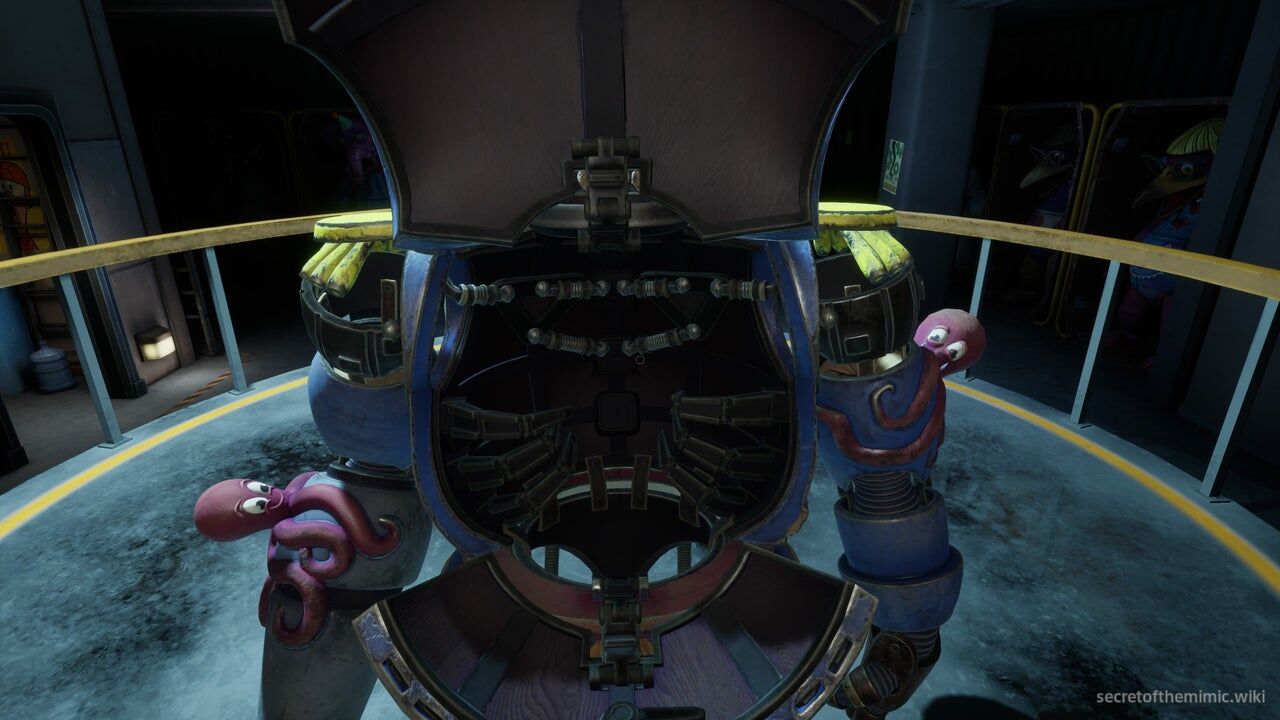
When you interact with it, Arnold will pop it open, climb inside, and we'll be ready to access the stage. The whole "suiting-up" process seemed relatively easy. He should give William Afton a tutorial on not letting springlock suits trap you into an eternal hell of pain and suffering. Regardless, we're now ready to go to the stage.
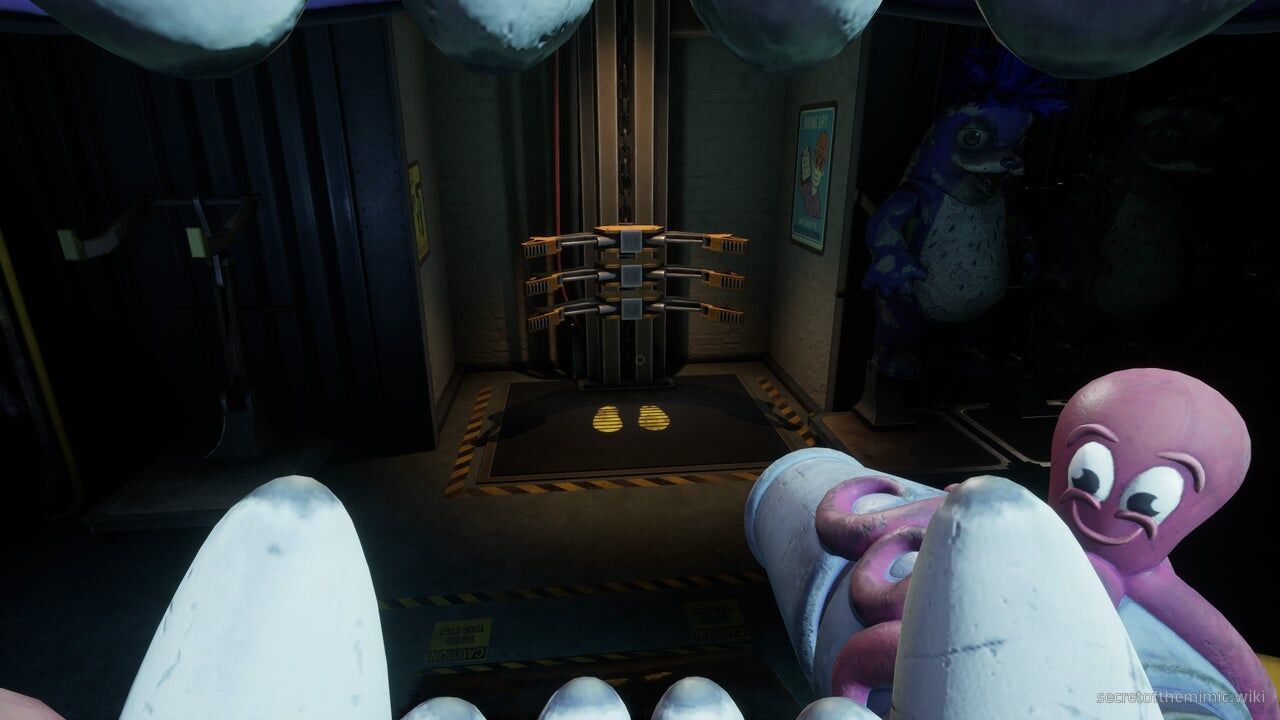
Proceed forward towards the black mat with yellow footprint marks directly in front of you. This is one of several springlock elevators, which we'll be using to get around while in the springlock suit. Walk onto it and it'll lift you up, taking you to a props and costume area. When you regain control, move forward, and you'll notice the electricity in the room cuts out.
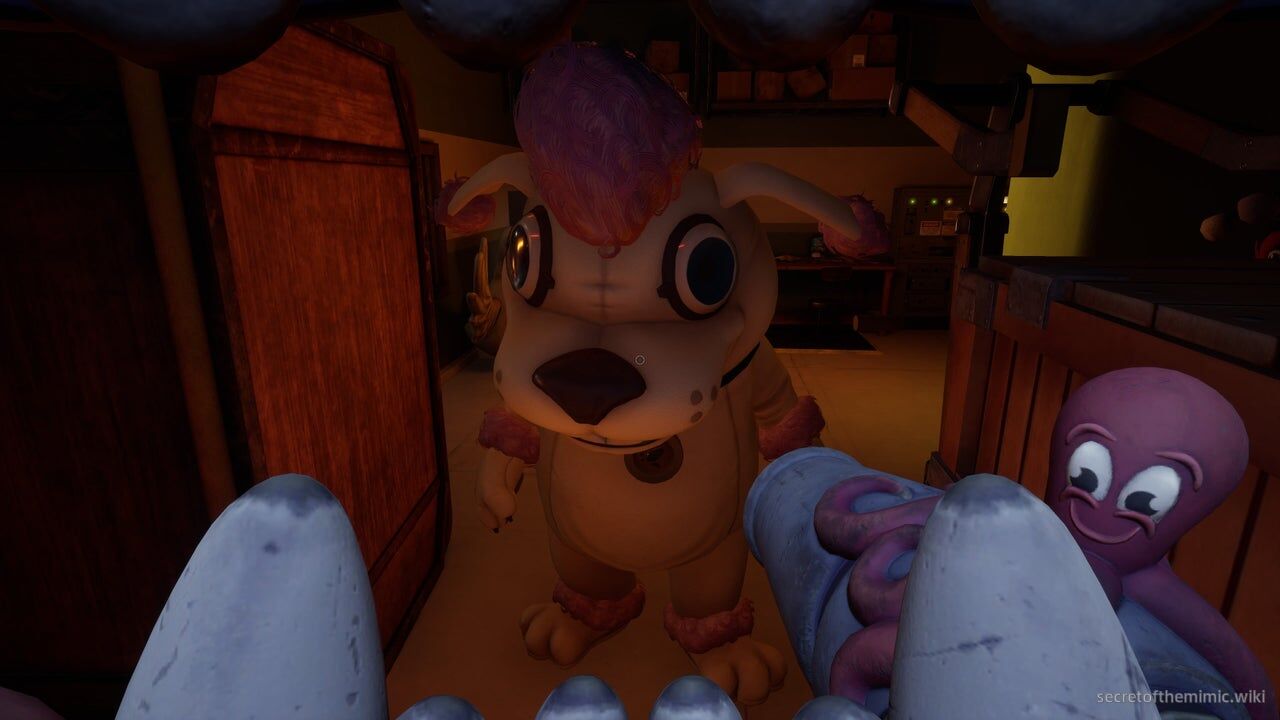
We'll have to fix the power before we can proceed to the next backstage area. Keep following the corridor and, jumpscare, The Mimic will sprint around the corner in a dog costume. However, because we're rocking our springlock threads right now, he's actually friendly towards us. Which leads us to the main mechanic for this section. This springlock suit functions almost exactly like Glamrock Freddy in Security Breach. While we're in the suit, the Mimic won't attack us. We can exit the suit at any time, allowing us to interact with doors or complete puzzles. In essence, we have to switch between both forms to stay hidden while also completing objectives. And right now, our objective is to fix the power.
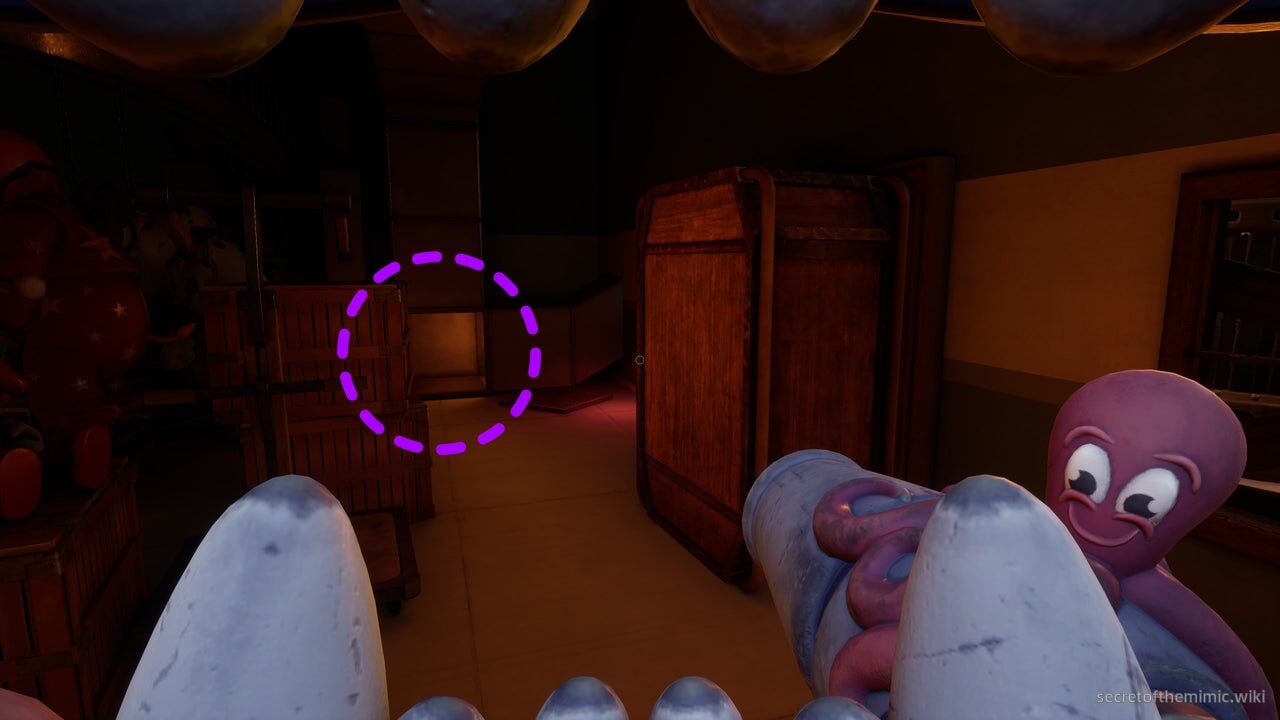
To reach the power puzzle, you'll want to proceed through the archway the Mimic came out of when he jumpscared us. It'll lead you to a room full of hanging mascot outfits. Follow the path around the costumes until you reach the ventilation shaft circled in the image above. Eject from the suit and crawl through the vent until you reach the generator.
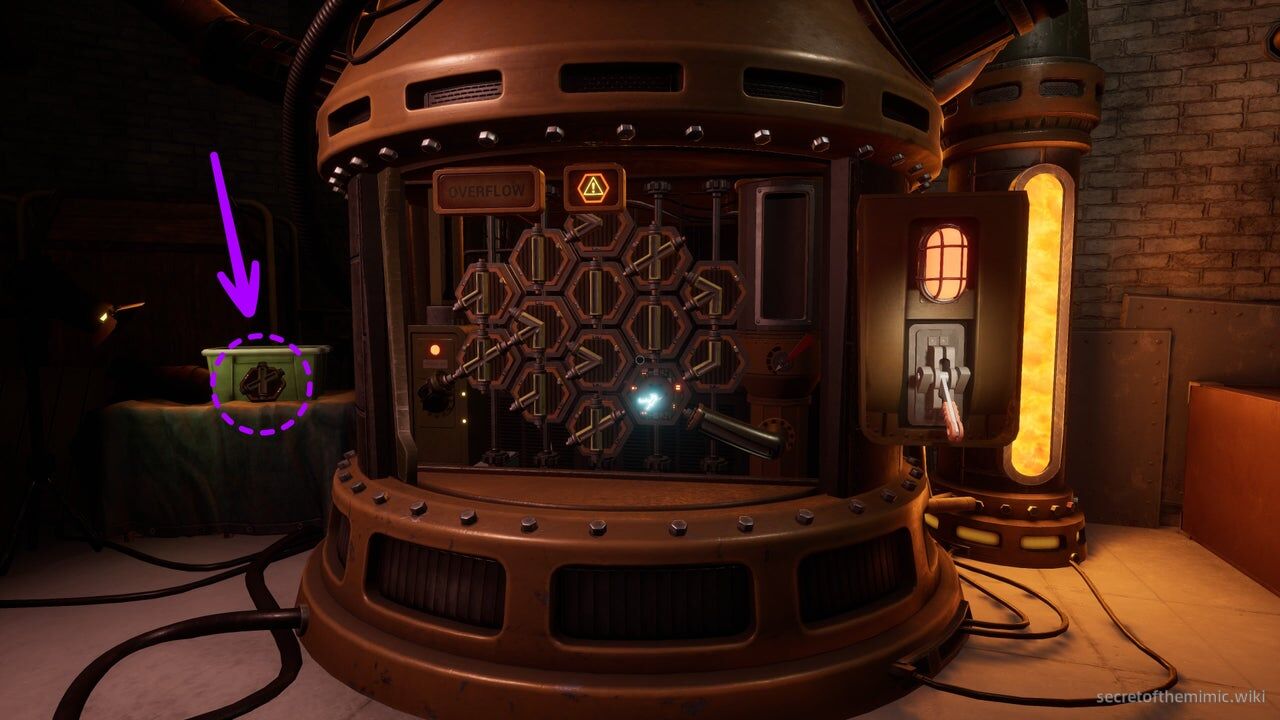
Crack the generator open and you'll notice something peculiar. The tile closest to the nozzle is missing. You can find it on the table directly to the left of the generator. Its location is circled in the image above. Slot it into the empty slot and then complete the puzzle as usual.
Generator Puzzle Solution
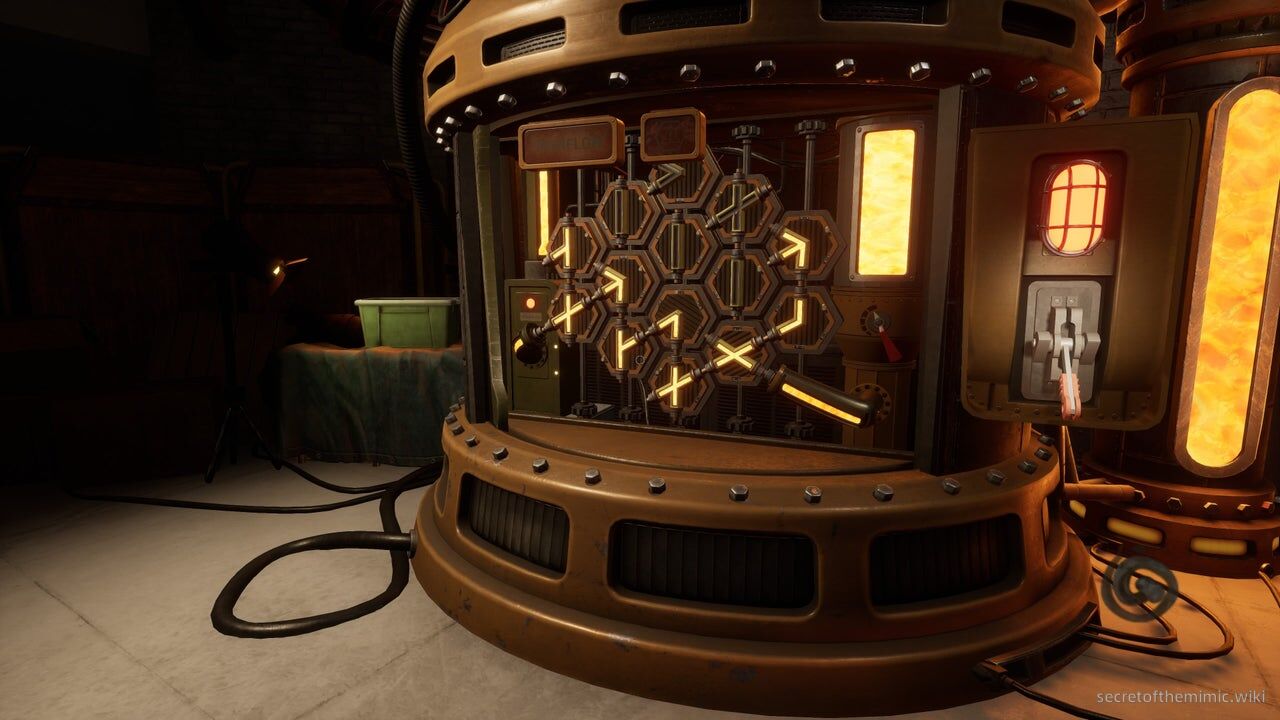
Once it's connected, the power will flicker back to life. But the euphoria of a job well done will quickly dissipate as a realisation dawns on you. As it turns out, we can't go back through the ventilation shaft we used to get here. Instead, we have to crawl under the shutter on the opposite side of the power room.
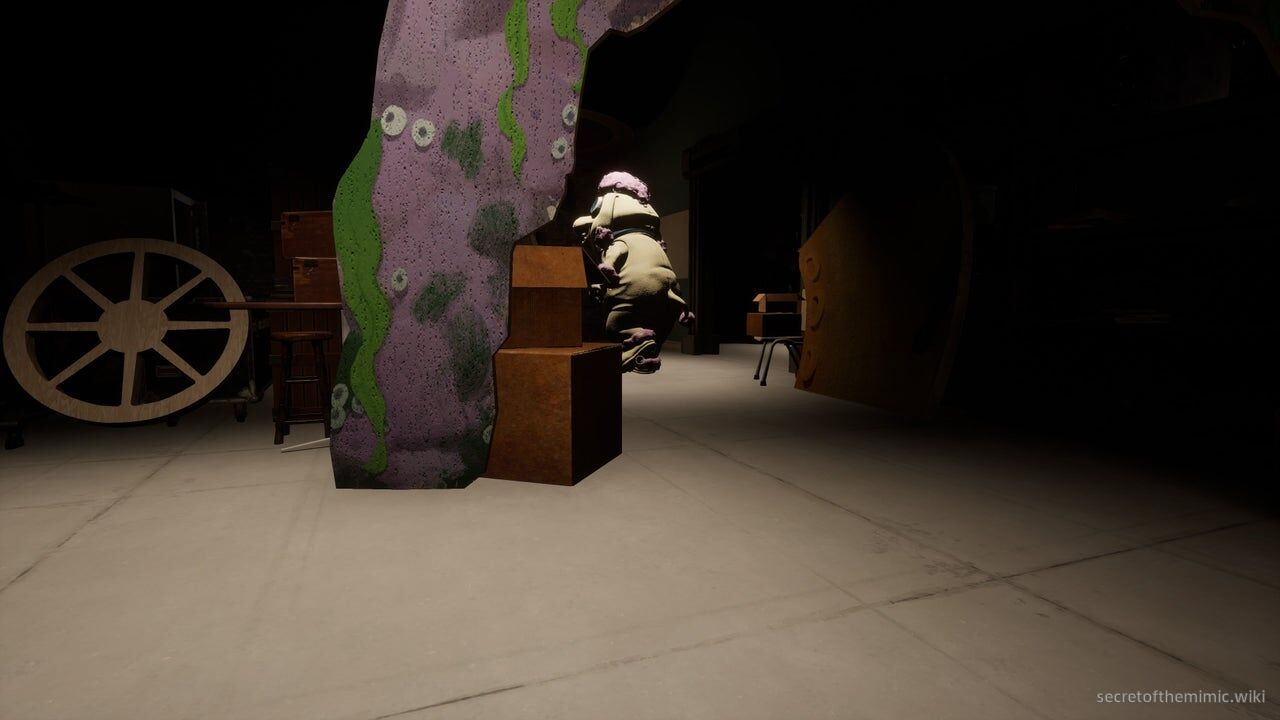
That means we'll have to make our way all the way back around to the springlock suit at the ventilation shaft without having our frontal lobe chomped by the Mimic. Luckily, our eternal stalker is a little more predictable than usual during this setpiece. It'll mostly walk a set path that starts at the springlock elevator we arrived on, leads up the corridor to the second springlock elevator, and then moves through into the room with the hanging mascot outfits. When it reaches the endpoint of this room, it'll turn and walk all the way back to the first elevator and start the process again.
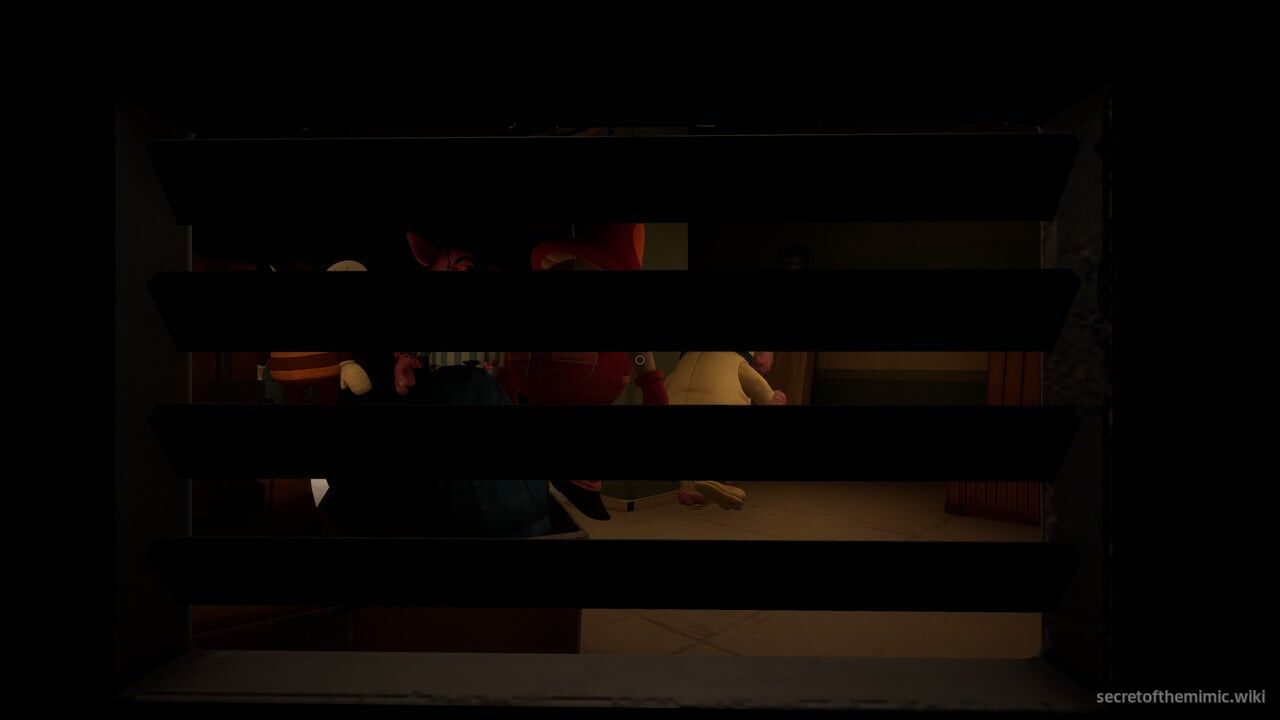
That means the easiest way to get past it is to wait for it to come down to the springlock elevator directly outside the shutter and begin its patrol, then follow behind it at a distance. If it makes any sudden movements, there are various lockers dotted along the sides of the path it follows, so dip inside one and wait for it to return to the route.
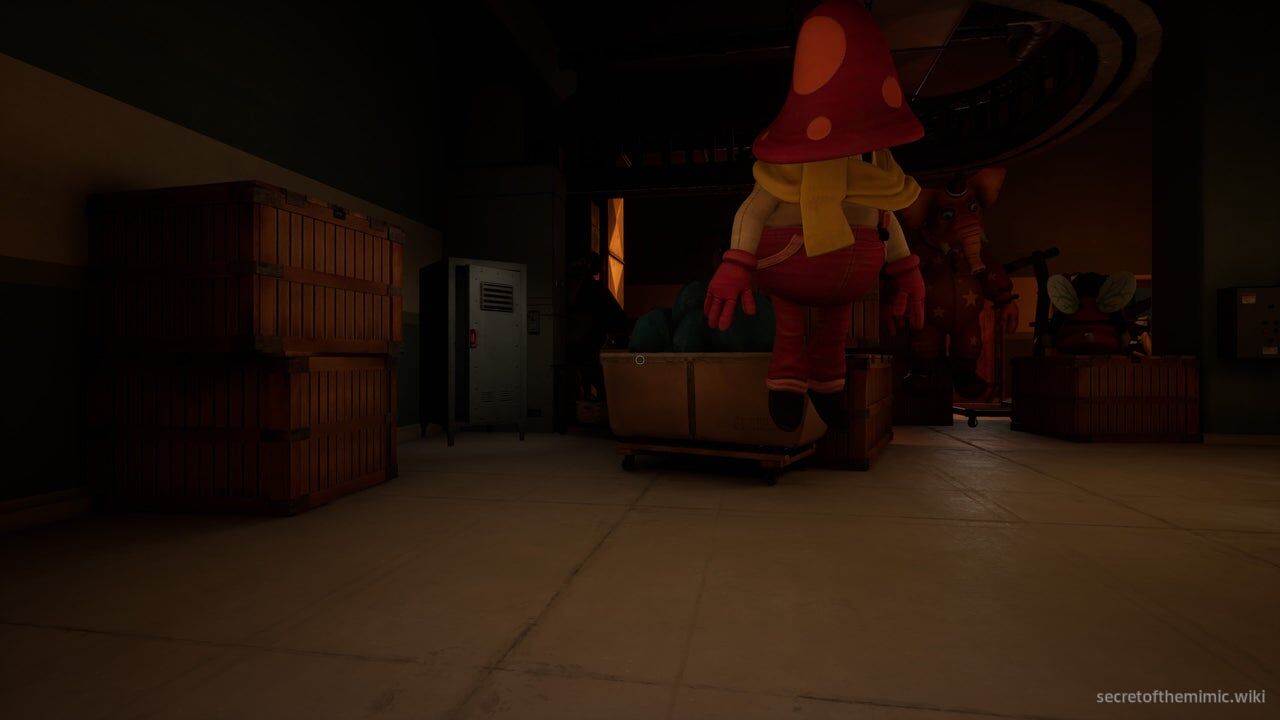
Keep following it until it enters the hanging mascot outfit room, and then look for a locker in here. Be extra careful when you reach this point. The Mimic can see you beneath the hanging costumes, so if you're too close to it, there's a chance you'll have to run and hide to avoid getting caught. Dip inside the first locker you find (it should be on the corner of the first bend in the path) and wait for the Mimic to reset its patrol route. When it walks past, dip out of the locker, return to the springlock suit, and then head for the springlock elevator directly next to the entrance to the hanging mascot outfit room.
Starting The Puppet Show
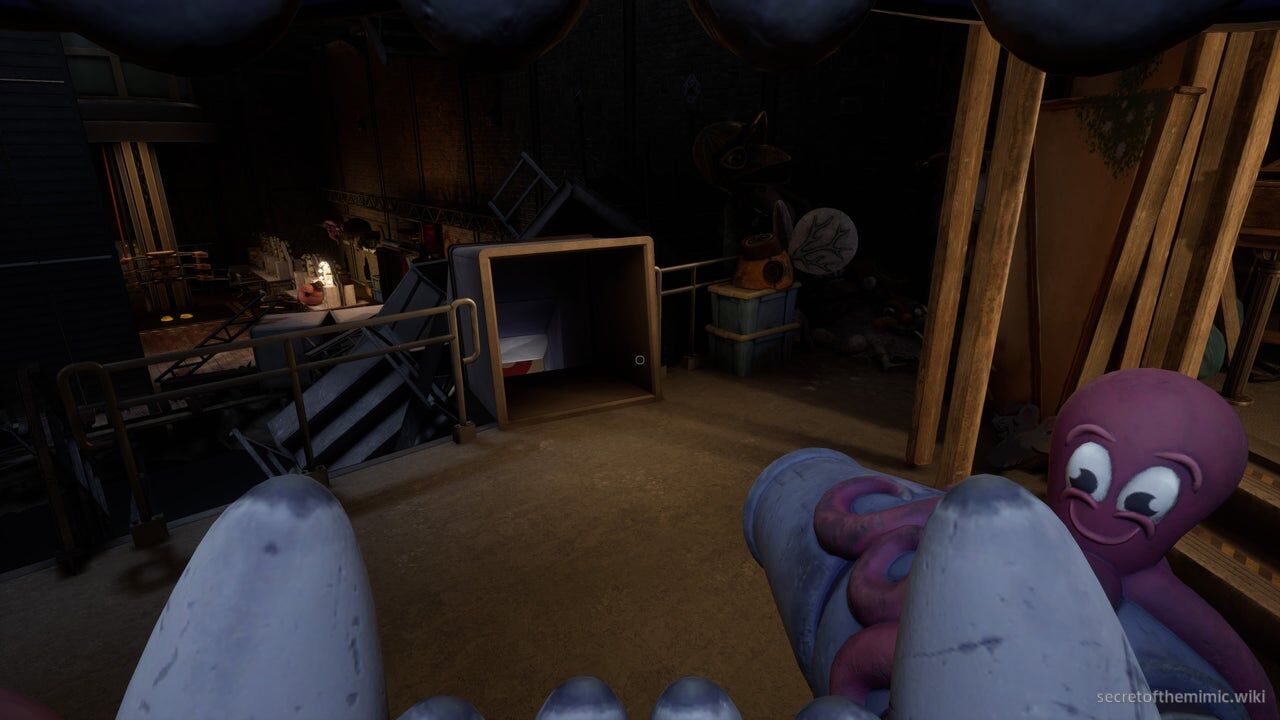
It'll take you to the next backstage area. Once you arrive, you'll be safe from Mimic-related casualties, so feel free to hop out of the suit and use the nearby office if you need to. When you're ready to get moving, look for the fallen ventilation shaft directly opposite the entrance to the office.
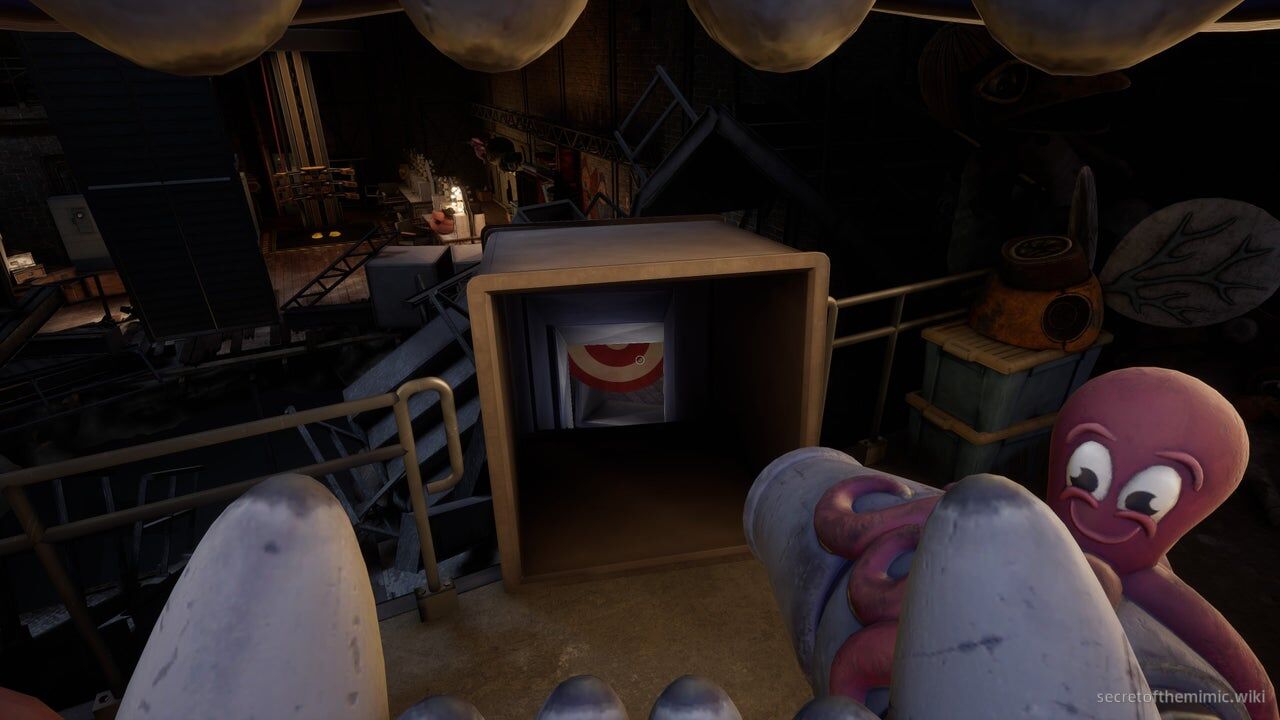
Inside this ventilation shaft, you'll spot a red target blocking the path through it. Hop into the springlock suit and shoot a projectile at the target to unblock the path, then crawl through it until you reach the walkway on the other side. When you arrive, the intercom will play a voice-over of Edwin Murray selling his theater productions to prospective buyers. On this side of the studio, you'll see a springlock elevator. We need to reach this elevator, meaning we need to somehow lower the bridge between our walkway and the walkway the springlock suit is on.
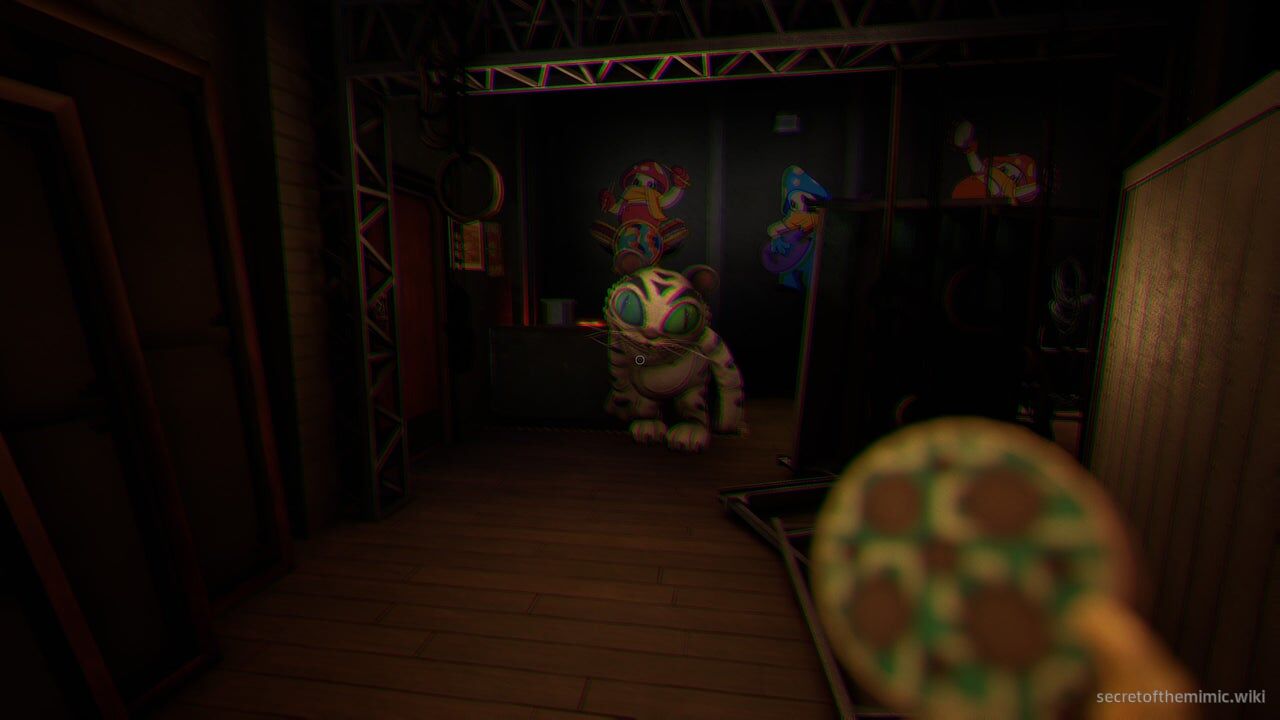
When you're ready to move on, continue following the path and duck under the fallen ventilation shaft blocking the stairs. When you're through, continue following the route, and you'll be jumpscared, as a white tiger suit appears out of nowhere briefly and then disappears. I'm sure that's just an unexplainable hallucination and nothing we need to worry about...
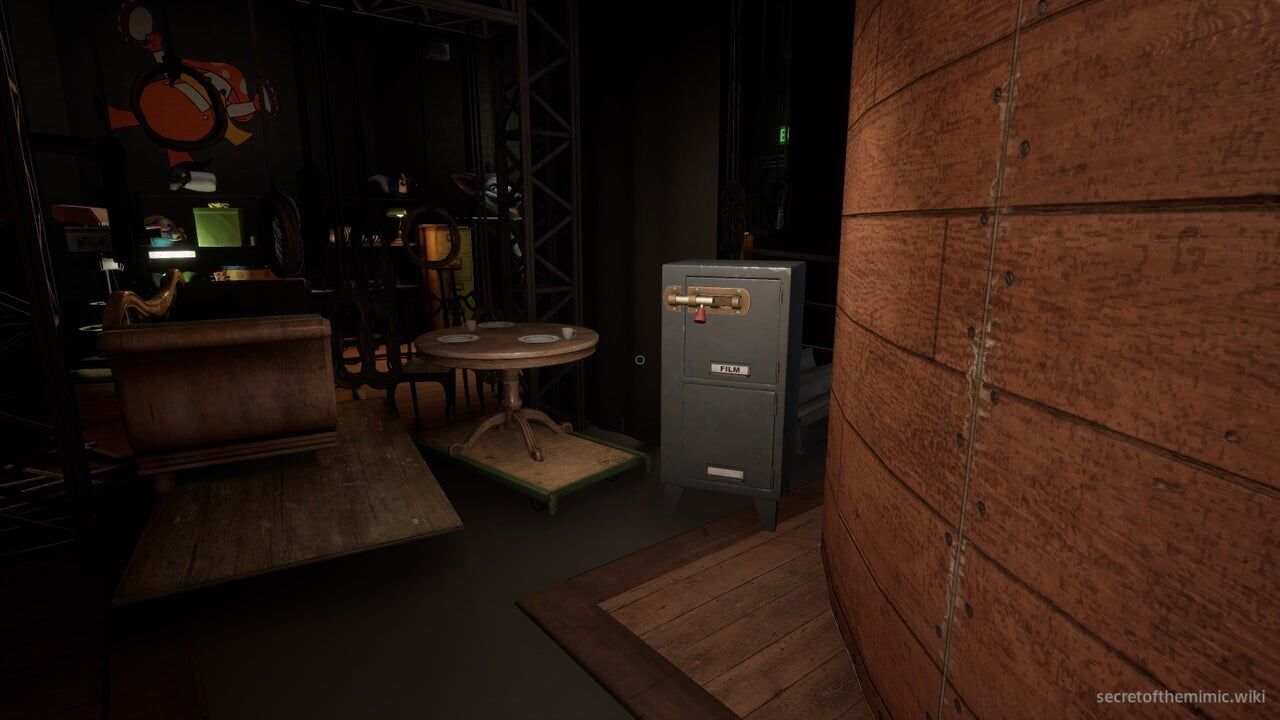
On your right here, you'll see a filing cabinet locked with a bolt. Open it up and, inside, you'll find the Mycelian Music Machine film reel. Grab it and then head down the path where we just saw the white tiger. Ominous noises and the sound of David talking will emanate throughout the area, but just ignore it. We're not in any real danger for the moment.
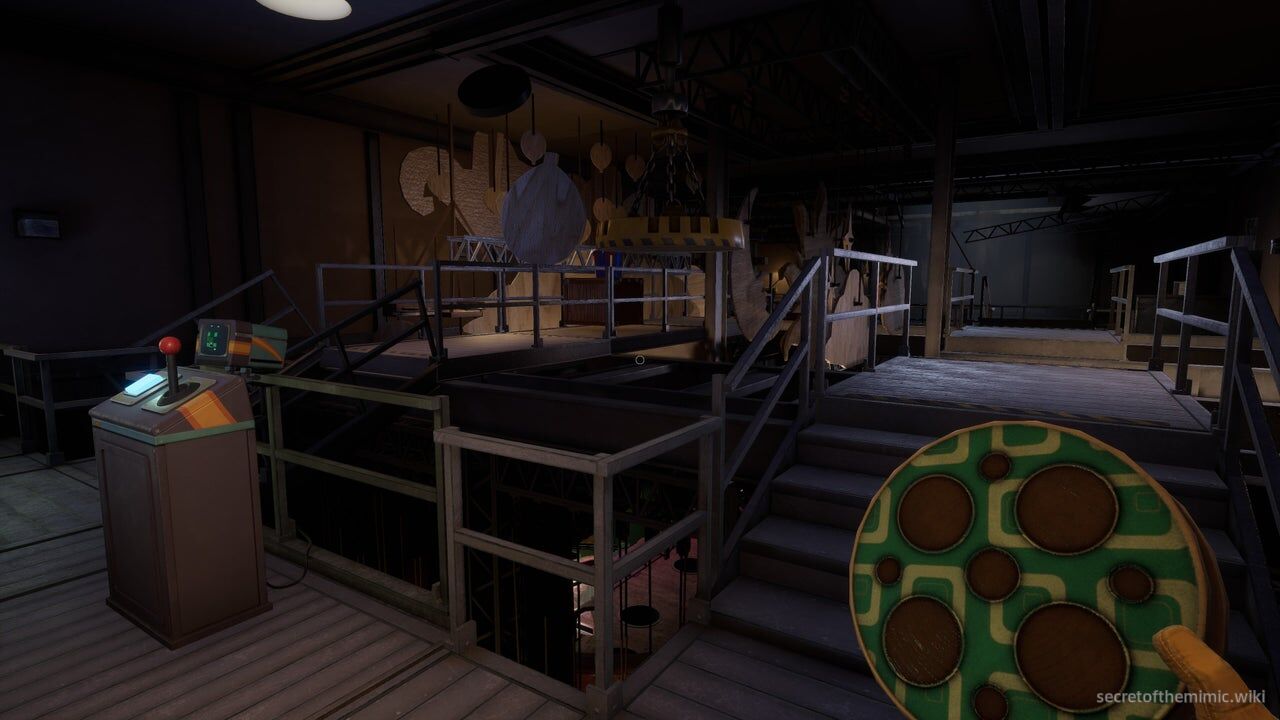
At the end of this path, you'll see a lift with a lever directly ahead. Step onto it, throw the lever, and you'll rise up to the metal catwalk above.
Catwalk Puzzle Solution
When we reach the catwalk, we'll see that the path across the walkway is currently incomplete. We'll need to slot together the jumbled pieces of the catwalk to create a path across. Access the crane directly in front of you when you step off the lift, and it'll allow you to control the large magnet in the centre of the catwalk.
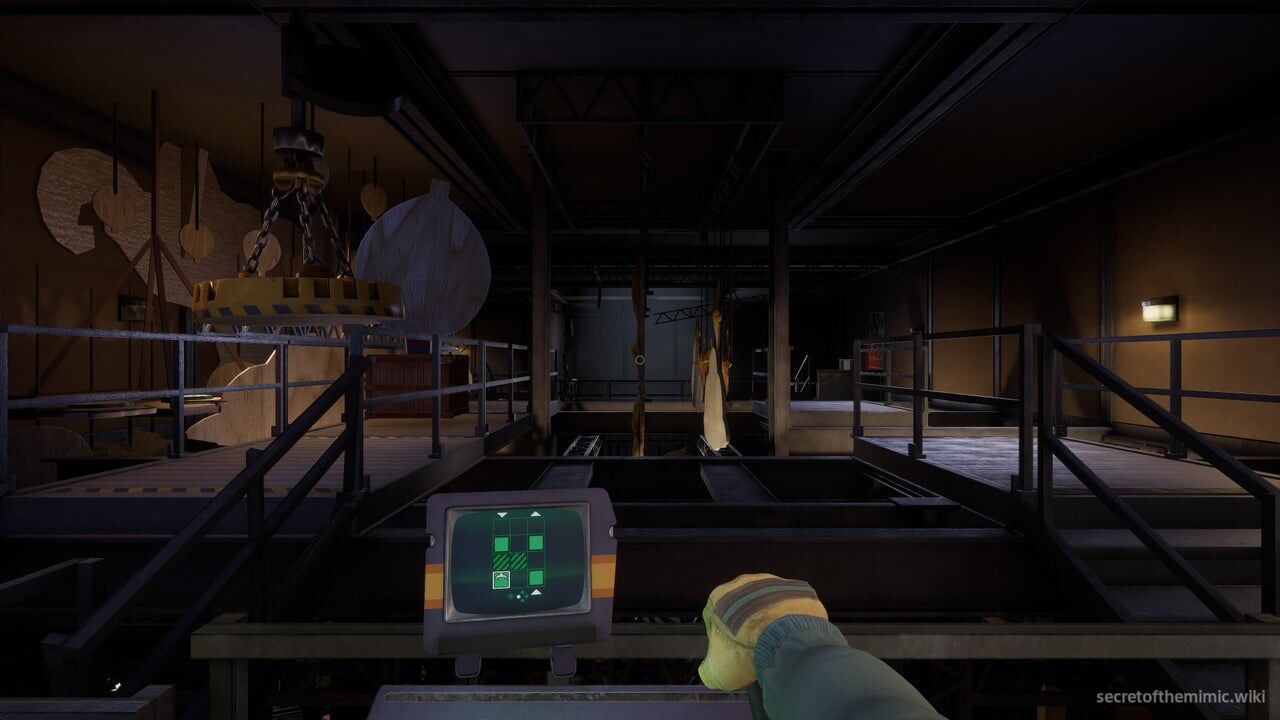
The idea here is to take all of the available pieces of the catwalk installed in the 3x4 grid and move them to the right-hand side of the grid, so they create a path across to the other side of the catwalk. Each section of path we can move is marked by a green tile, while the two striped tiles are immovable. The catch is that, while carrying a piece of the path, you can only move across empty tiles. That means we need to manoeuvre the pieces one at a time so they slot into the right place unhindered.
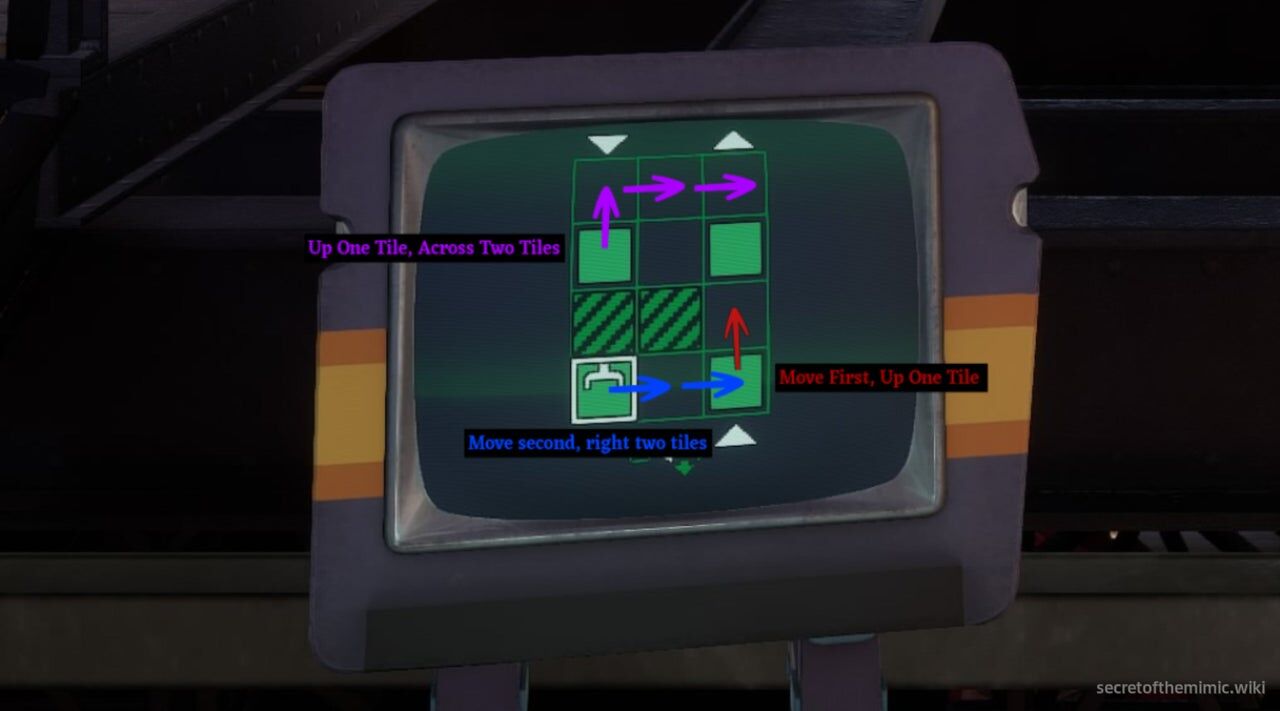
Here's what you'll need to do:
-
First: Take the section of the path in the bottom right-hand corner and move it up by one
-
Second: Take the path in the bottom left-hand corner and move that to the bottom right-hand corner
-
Third: take the final piece of the path on the left-hand side of the grid and move it into the top right-hand corner
That should make a safe route across to the other side. If you want a visual reference of where to move each tile and how, use the diagram in the screenshot above.
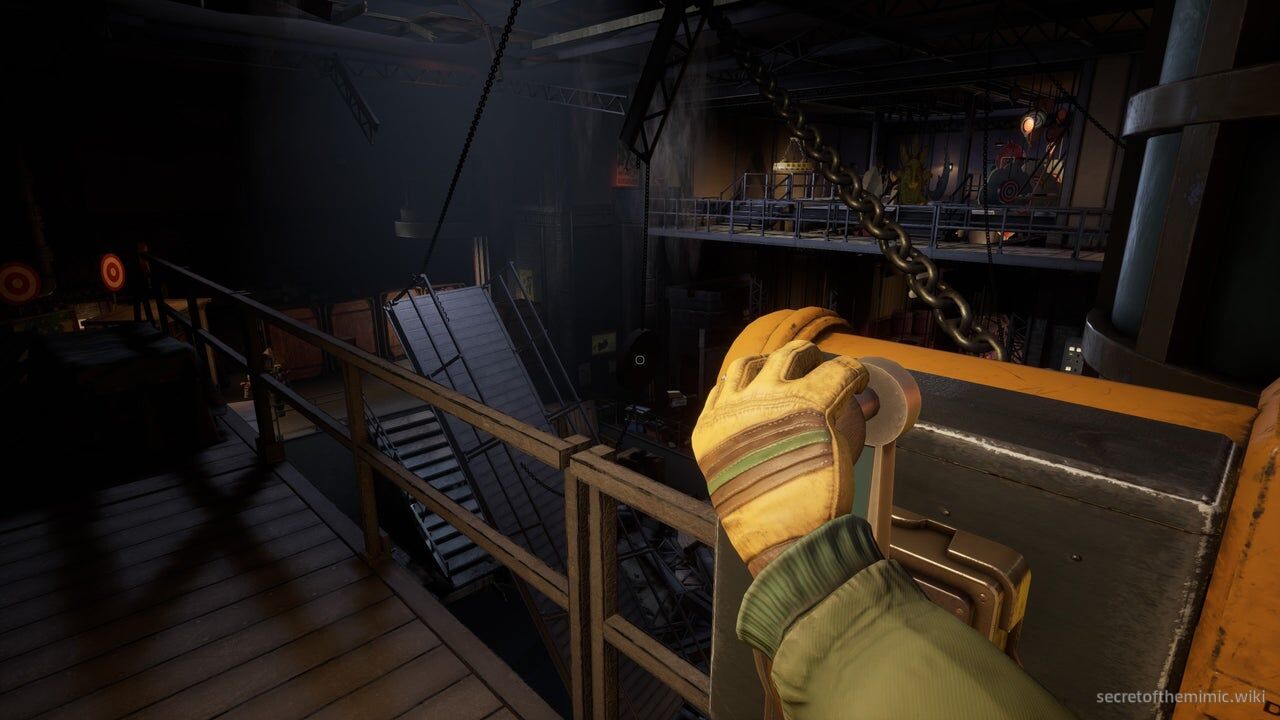
With that done, head to the other side of the catwalk and you'll reach a walkway with two cranks attached to metal chains suspending the bridge in the centre of the area. Walk to each crank and turn them to detach the chains. After they've fallen, we'll notice there's still one final chain keeping the bridge from falling into place. The final chain has a red target attached to it, meaning we'll need to shoot the chain loose with the springlock suit.
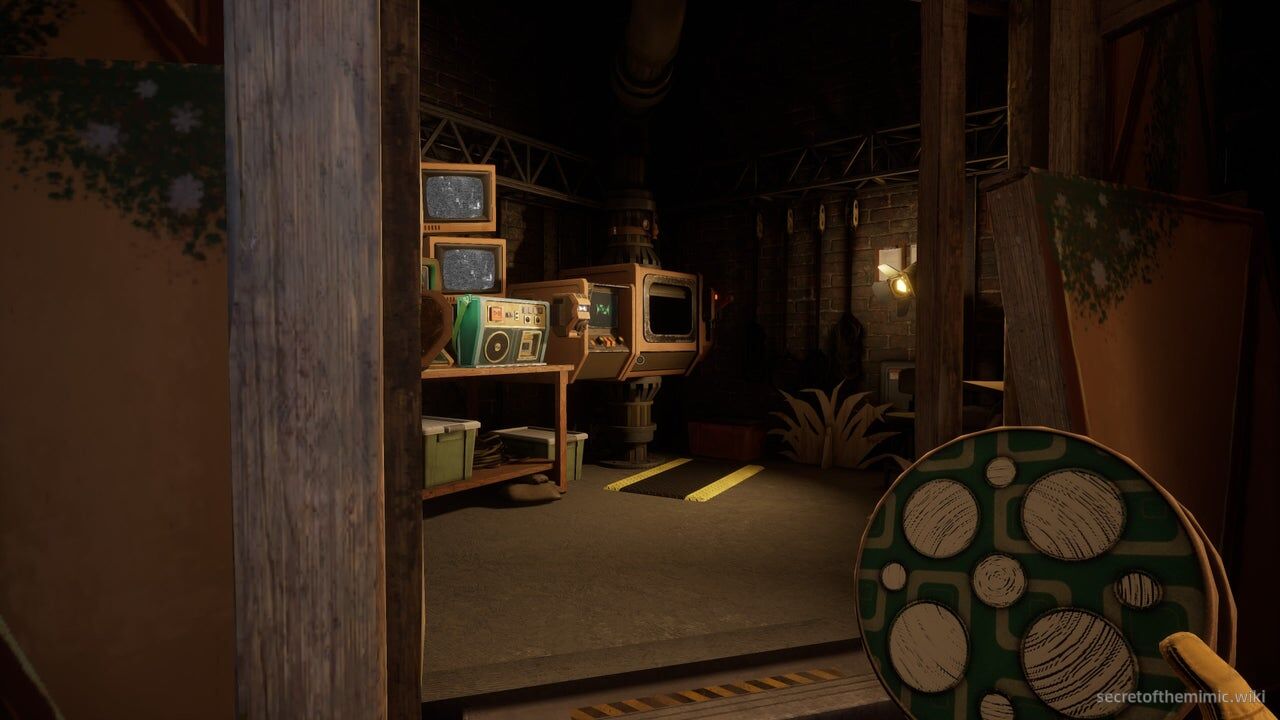
Retrace your steps back to the end of the catwalk, and you'll notice there's a lift here that takes you back down to the floor below. Descend, and then head all the way back to the springlock suit. Before you gear up, throw the Mycelian Music Machine tape we grabbed earlier into the inventory machine in the office. It's not crucial to our mission or anything, but it'll let you watch a fun advert when we access a room later in the game.
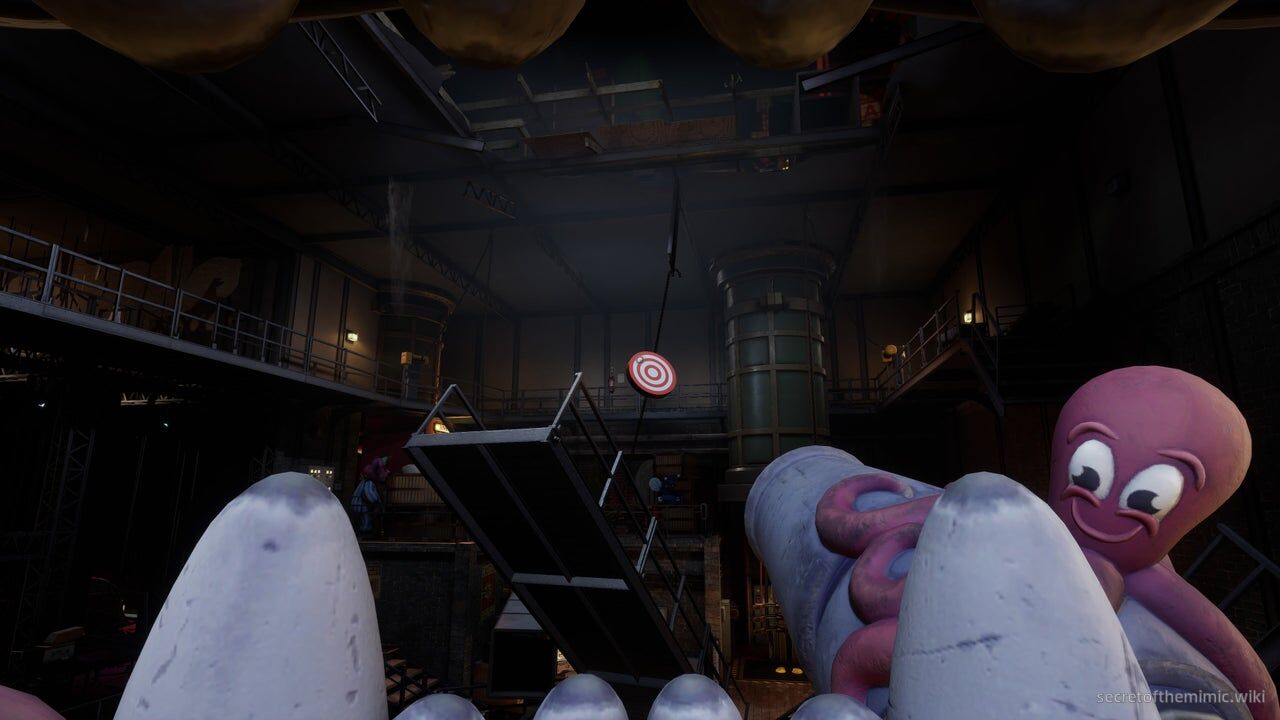
Now, hop into the springlock suit and shoot the target to cause the bridge to fall into place. Cross over it and use the springlock elevator we came across earlier.
Theater Shooting Range
The elevator will take you up to a viewing booth. When you're ready, shoot the target to the left of the curtain in front of you and you'll begin watching one of Murray's stage productions.
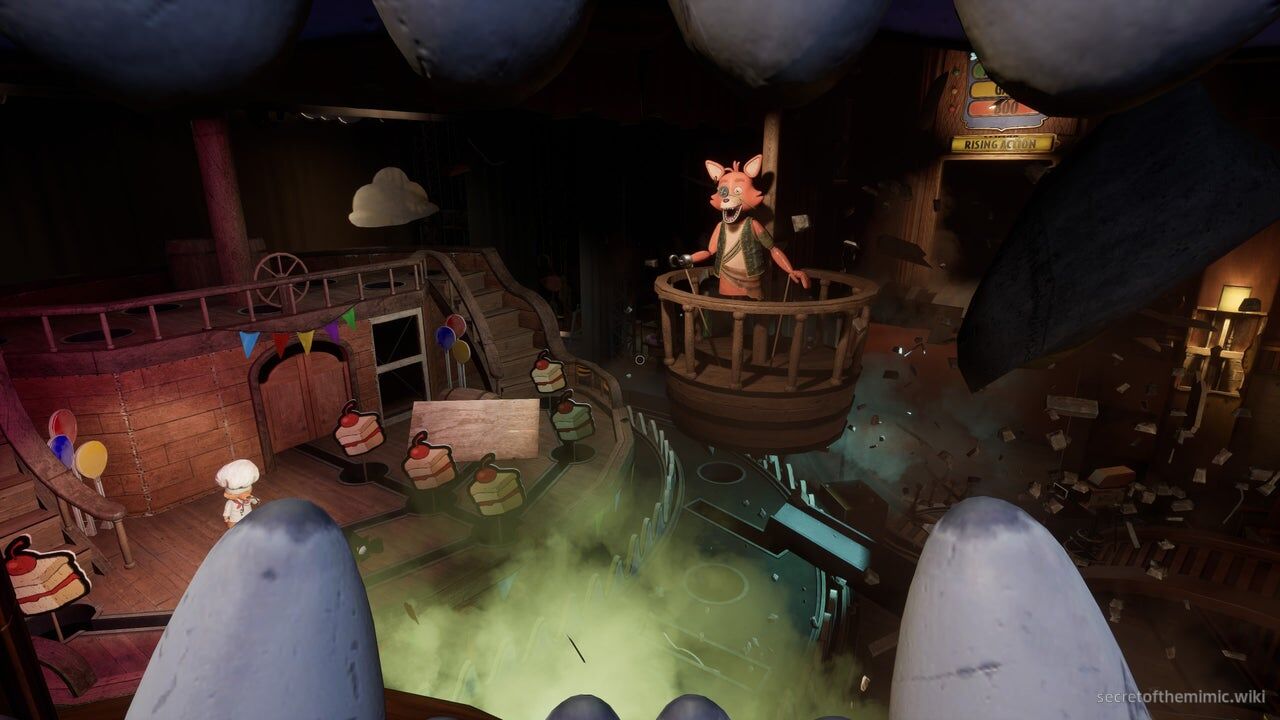
This segment is largely just a fun little side game that demonstrates Murray's idea for his highly interactive theater productions. It'll start off as a typical pantomime, and then suddenly targets will appear. Shoot at the targets and take down as many as possible. However, be wary of the puppets that appear in front of you while you play. These guys can kill you if you don't take them down quickly, so shoot them multiple times to dispatch them and then keep shooting the targets.
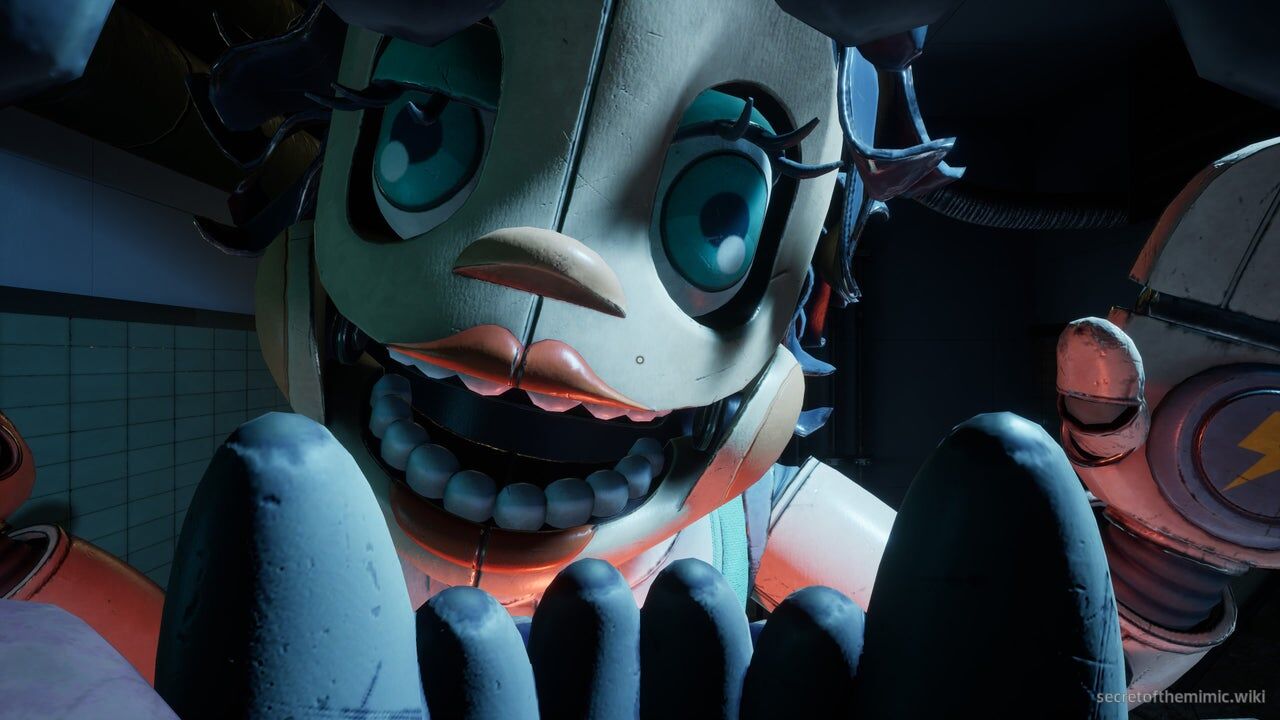
When the production ends, the theater will start falling in on itself, and you'll be sent hurtling through the floor. When you come to, the springlock suit will be strapped to a gurney, and you'll be face to face with a sinister nurse who reveals her name is Dollie. We're now trapped in the Doll Hospital, forcing us into a nightmarish detour...