

Power the Security Office generator, solve the first clearance grid, restore the Power Room, distract the Mimic with a wind-up mouse, then earn Repair clearance and use the hand crank to reach the Manager's Office.
Now we're inside Murray's Costume Manor, it's time for our adventure through Five Nights at Freddy's: Secret of the Mimic to truly begin, as we hunt down the elevator to the Manager's Office. This walkthrough provides all the tips and tricks you need to evade the Mimic, solve every puzzle and find any and all key items you need to continue your adventure.

This chapter will have us solve some puzzles, upgrade our security clearance, and survive our first encounter with the sinister entity stalking the factory's halls. If you're looking for a specific segment of this chapter, use the links below to skip through each major section:
Finding The Manager's Office
In the prologue, we made our way into Murray's Costume Manor and, after a sensational showcase of Murray's various animatronics, were forced to make a detour to find the Manager's Office. This segment picks up after we escape the showroom and push onwards to find the Security Office in hopes of resetting the power...
Getting Security Clearance
Once you're out of the showroom, you'll find yourself in a corridor leading past a window showing the building's power generator. We'll need to activate it to continue, but it's locked behind a door requiring Security level clearance.
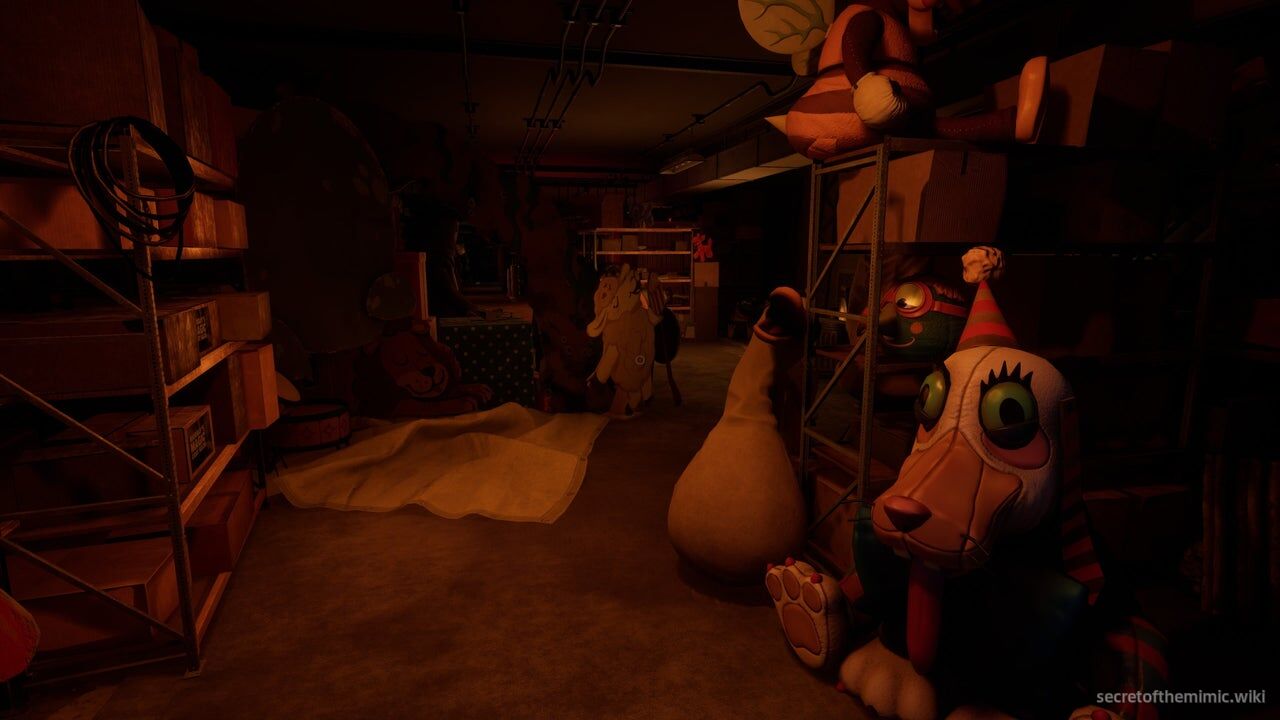
So, let's find the Security Office and upgrade our permissions. Continue following the corridor opposite the door to the electrical room. You'll walk past a ton of Murray's suits and other contraptions, so feel free to take a little look around. You might even spot some familiar faces who cropped up in the Mimic's bunker in Security Breach: Ruin.
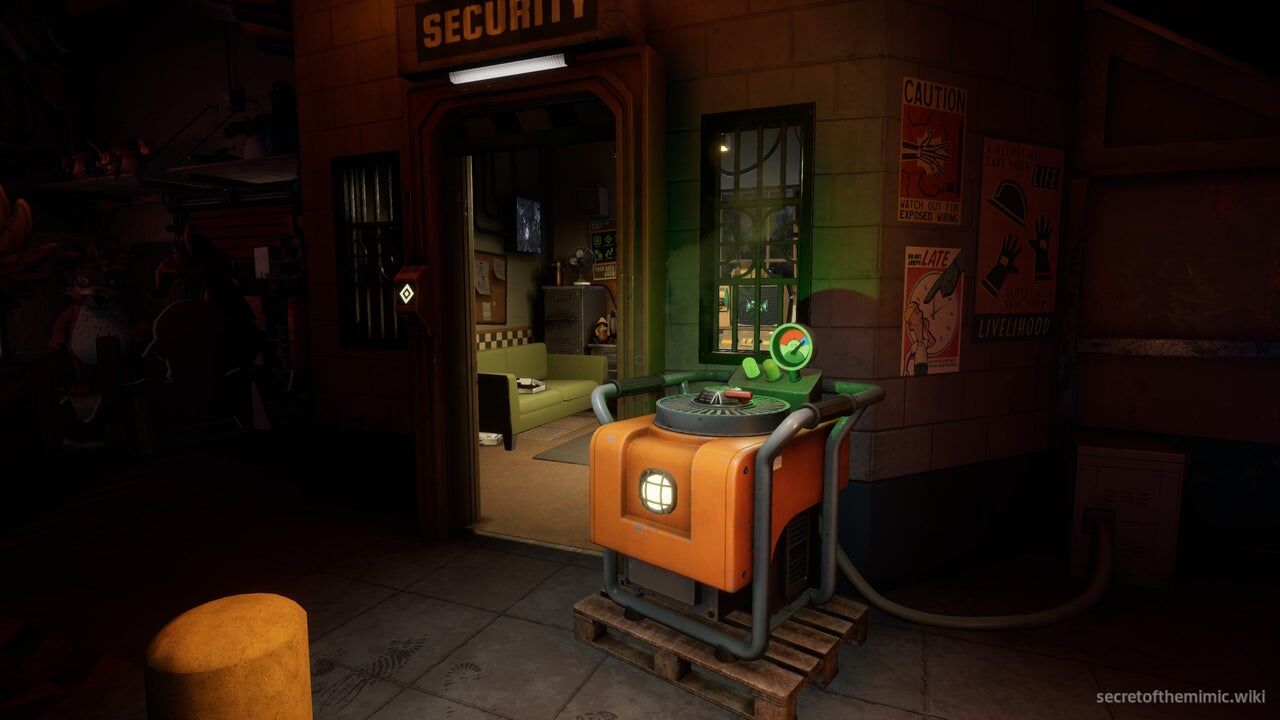
At the end of the corridor, you'll reach a large storage area with a door leading to the Security Office on your right. Approach it, and you'll see an orange power generator to the right-hand side of the door. Approach it and grab the cord on top. Pull the cord until the generator is fully powered to open the door on your left. Once the office is accessible, head inside, and the door behind you will close.
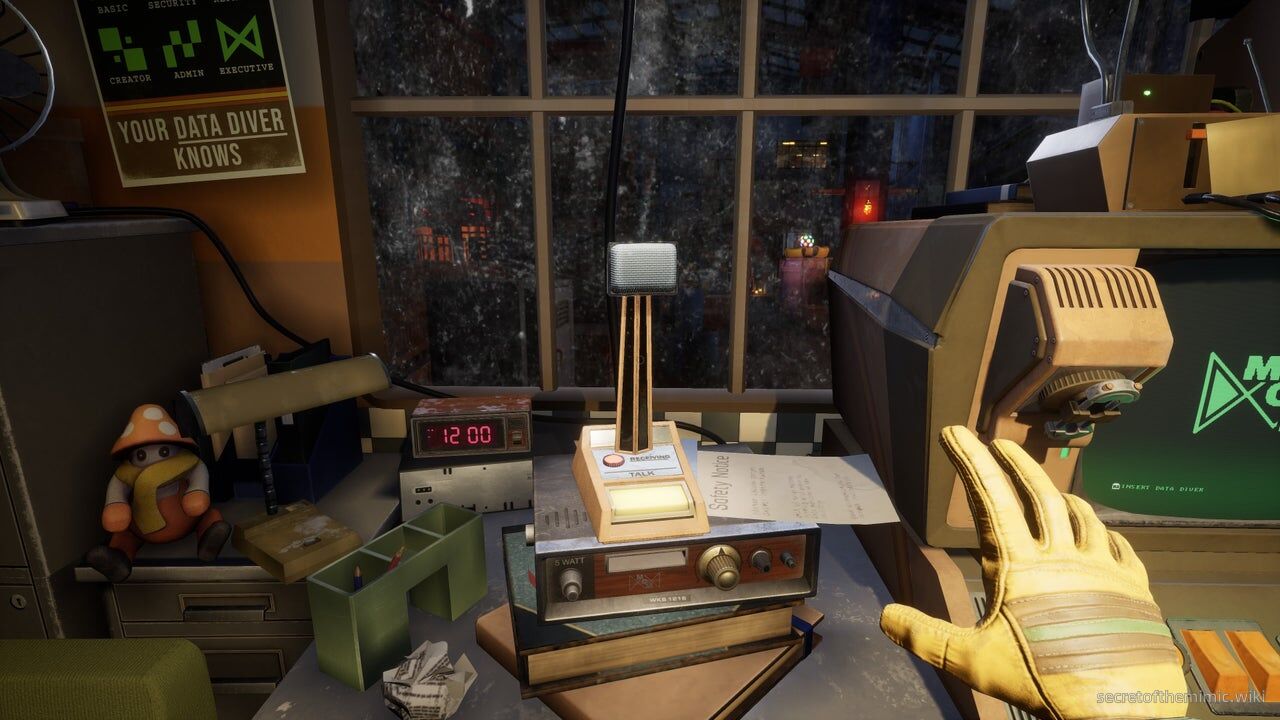
Inside the office, a voice will ask you to "pick up." Head over to the desk and, to the left of the large monitor, you'll see a receiver. Press the button on the receiver, and you'll talk to the Dispatcher from earlier, who will tell us that, shockingly, he wasn't being entirely honest with his pitch about this job. In truth, we're trapped in the Costume Manor with one of Murray's old inventions; an invention that has some "homicidal" tendencies...
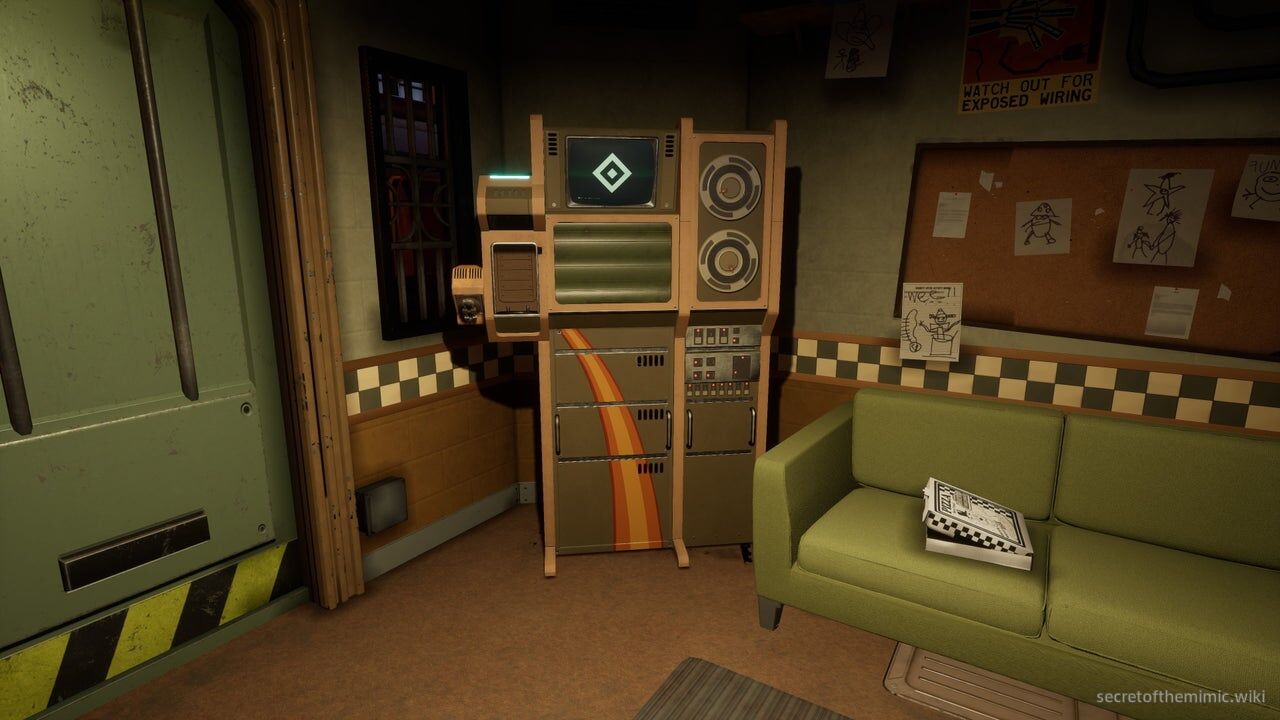
Once the conversation's over, he'll prompt you to look at a large contraption to the right of the office door. This is a Data Diver upgrade machine. If you insert your Data Diver into one of these machines, you can upgrade its clearance level, allowing you to open additional doors and activate more secure locks.
Data Diver: Security Clearance Mini-Game
Insert your Data Diver into this machine and press the prompt to upgrade it. It'll cue a small puzzle. Before we solve this specific puzzle, let's quickly through what the objective of these puzzles are and how the rules work. After activating a clearance puzzle, the screen will fill with a three-by-three grid of tiles, with each tile either sporting a 0 or a 1. Your goal is to switch all the 0s into 1s by making the cursor that moves across the screen touch the 0 tiles, transforming them into 1 tiles.
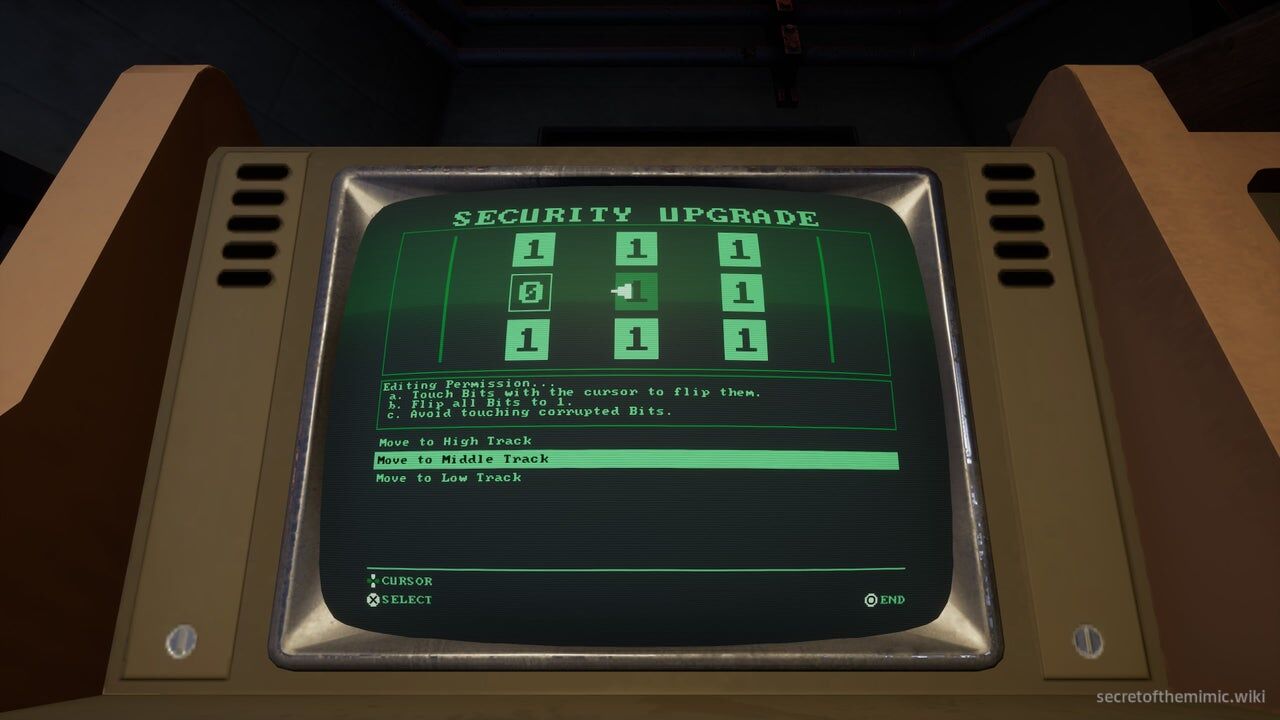
Every time the cursor touches a tile, it'll switch tile type, and while the cursor is moving, you can change the row it's on by using the prompts below the puzzle. You don't have to worry about moving the cursor, as it will move on its own, sweeping from left to right and then right to left automatically. The puzzle must be solved by the time the cursor returns to its original starting point, so you'll need to act quickly to ensure you solve it.
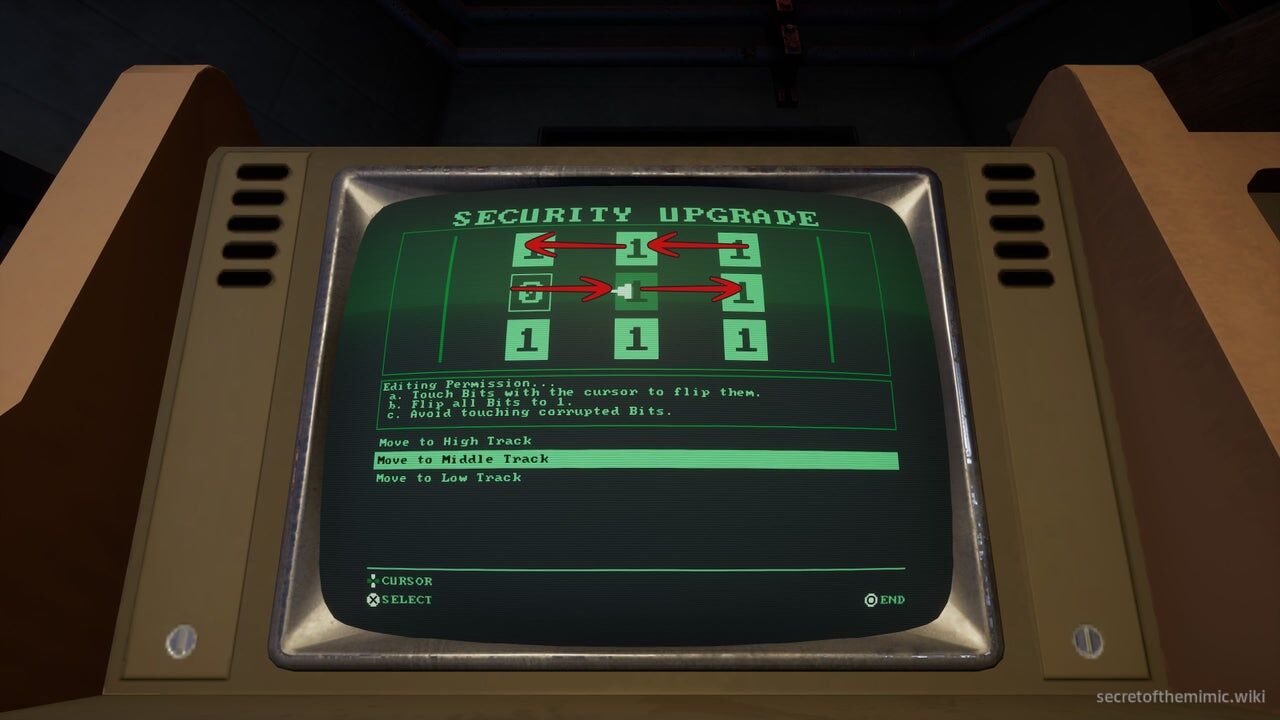
For now, let's solve this first puzzle. When it loads up, you'll see every tile on the bottom row is a 1, but every tile on the top two rows are 0s. To complete the puzzle, don't touch anything as the arrow moves to the right-hand side and turns the middle row to 1s. As soon as it begins to return to the left-hand side, quickly shift it to the top row so it turns all those tiles to 1s as well. When it's returned to its original position, the puzzle will officially be complete, and we'll have Security Clearance. The solution is marked with arrows above.
Resetting The Power
Now we have Security Clearance, use it to open the door to the office and step back out into the warehouse. We want to retrace our steps to the Power Room we saw earlier, so head down the corridor back towards where we entered.
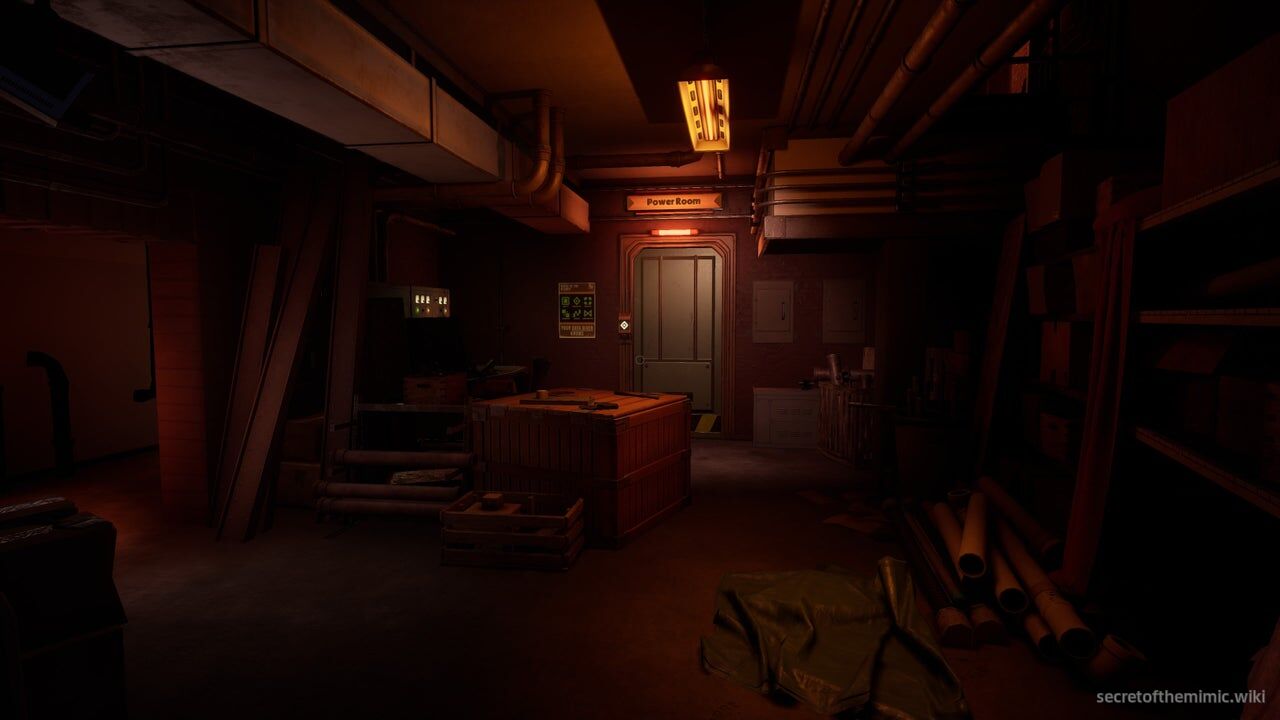
At the end of the corridor, you'll see the door to the Power Room. Use our new Security Clearance to enter the power room and then activate the lever to your right. It'll open the shutter on the generator, presenting another puzzle for us to complete.
Power Generator Puzzle
This puzzle works similarly to most other video game power circuit puzzles you've probably played before. You'll see a variety of tubes attached to hexagonal tiles. You can interact with these tiles by grabbing and rotating them so they align with other tubes.
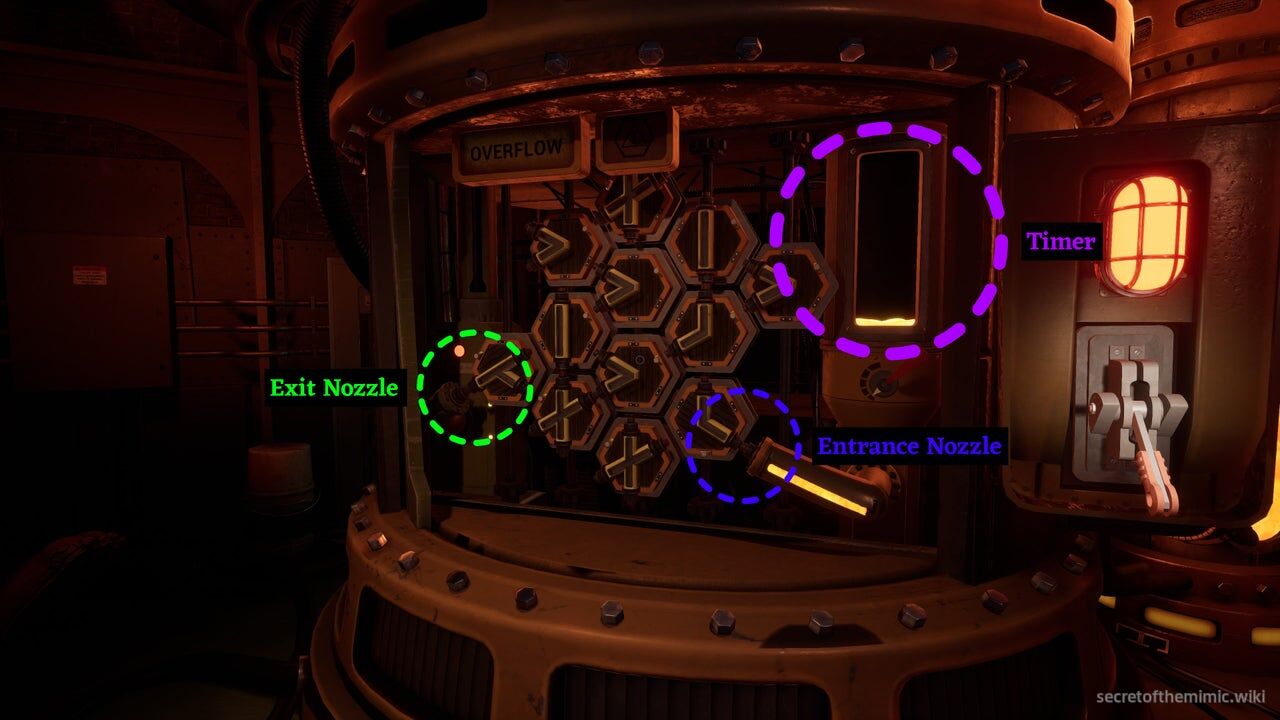
If you look in the bottom right-hand corner of the puzzle, you'll see a nozzle containing molten liquid. After a set time limit, this nozzle will begin pumping the molten liquid into the tubes. Our goal is to transfer the molten liquid to the nozzle on the bottom left-hand side of the puzzle using these tubes, rotating them and transferring it across to the other side. While you're on a time limit, the only penalty for losing here is that the puzzle will reset, allowing you to start again. You can see how long you have by looking at the molten liquid container in the top right-hand corner of the puzzle. If you've found the solution and don't want to wait for the container to dispense the liquid, turn the lever below it to instantly activate the nozzle.
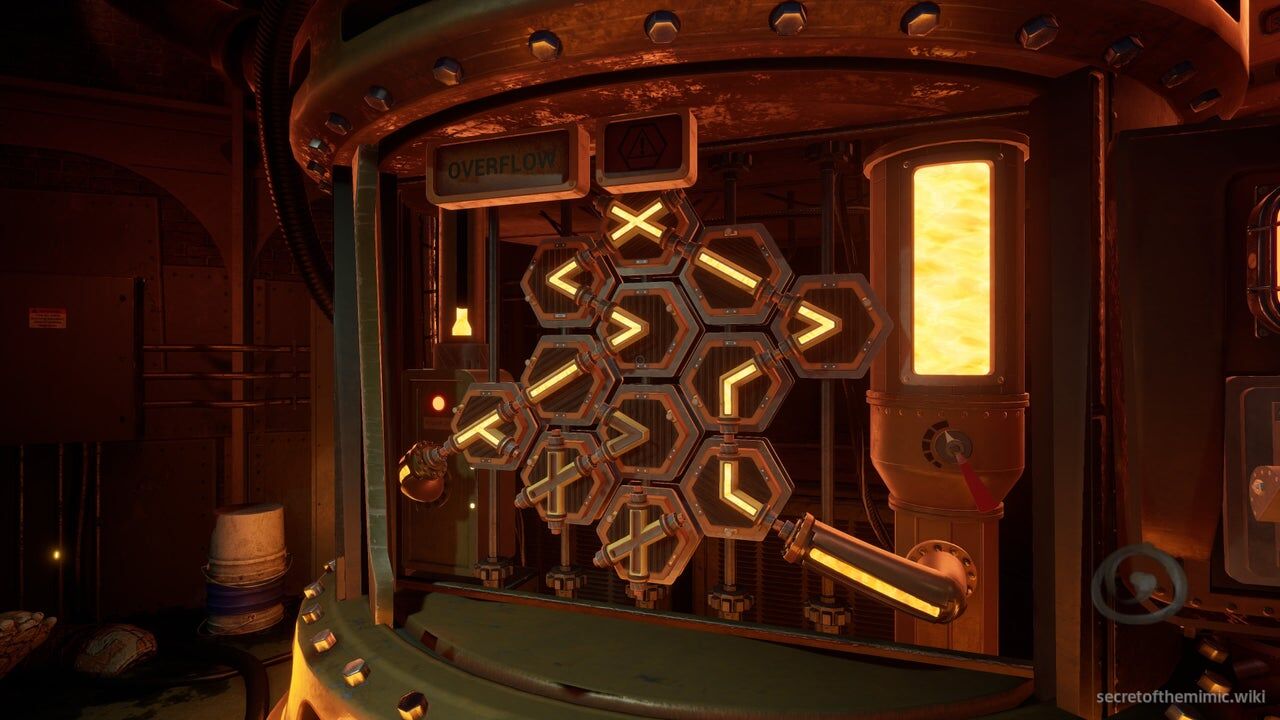
For those who simply want the solution to the puzzle, it's shown in the image above.
Reaching The Main Hallway
Leave the power room and follow the corridor back to the Security Office. Once we're inside, press the receiver again to get a call from the Dispatcher. He'll tell you that our ultimate goal is to find the schematic for the Mimic. With it, we can find a way to deactivate the machine and bring it back to Fazbear for experimentation. Seems like a tall order, but remember. That $25 gift certificate is gonna be oh so sweet...
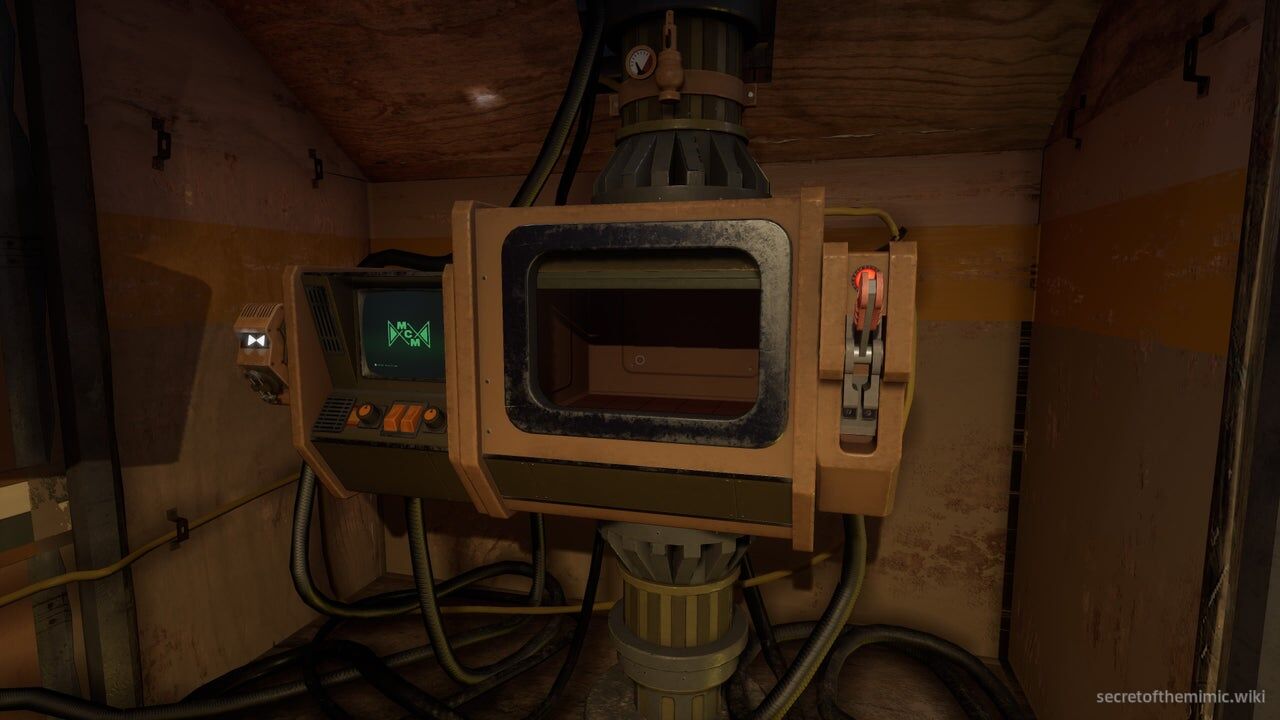
When he's done talking, he'll tell you that we need to find a way to the Manager's Office. He suggests that we could reach it via an elevator in the Main Hallway. He'll also advise that we use a hand crank to open the locked gate to the right when exiting the Security Office, mentioning that we can use the inventory machine directly next to us to get our hands on one. Once he's done talking, look to your right and you'll spot the inventory machine in question. It's shown in the picture above.
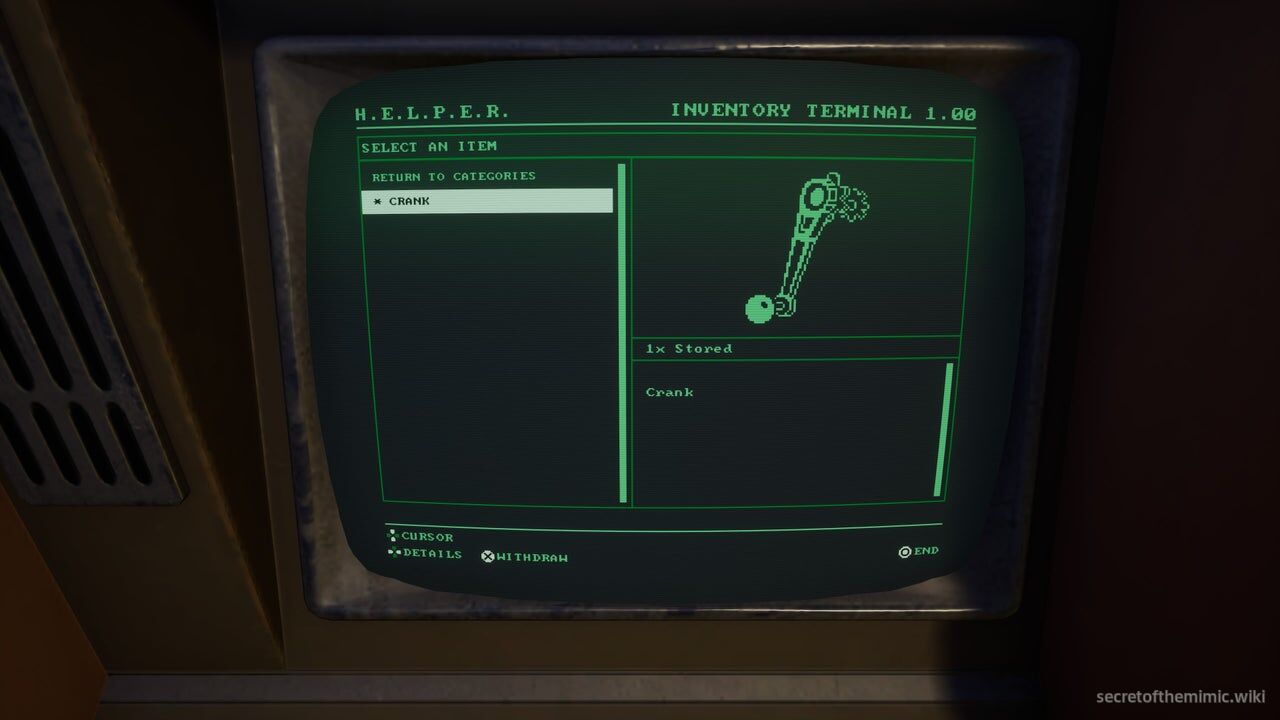
To use the inventory machine, activate the terminal on the left-hand side of it using the Data Diver. Once you're in, you'll be able to summon any items currently stored in your inventory and retrieve them to use. This also works the other way around. If you find any items (or collectibles...) around the facility that you want to hold onto for later, you can put them inside this inventory machine to stash them for when you need them.
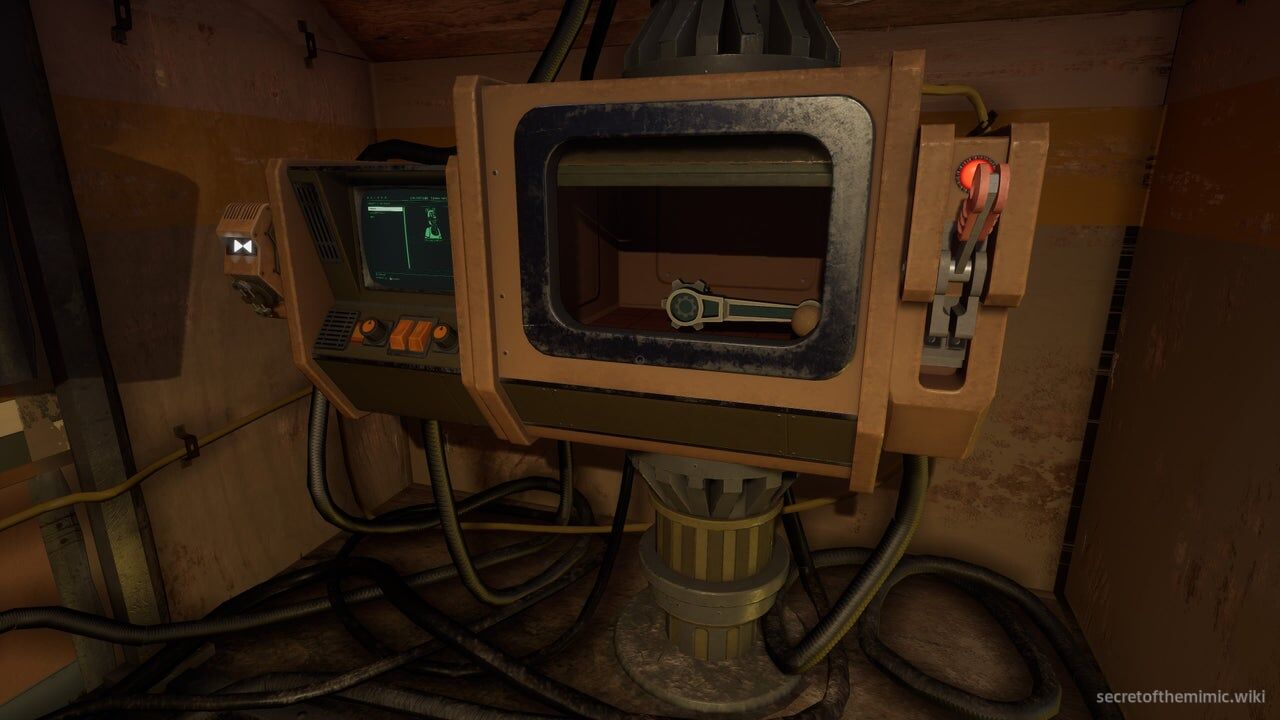
For now, click on the Tools tab and select the Hand Crank. Once you've selected it, exit the terminal, and the inventory machine's shutter will open, revealing the Hand Crank. Pick it up and then leave the security office.
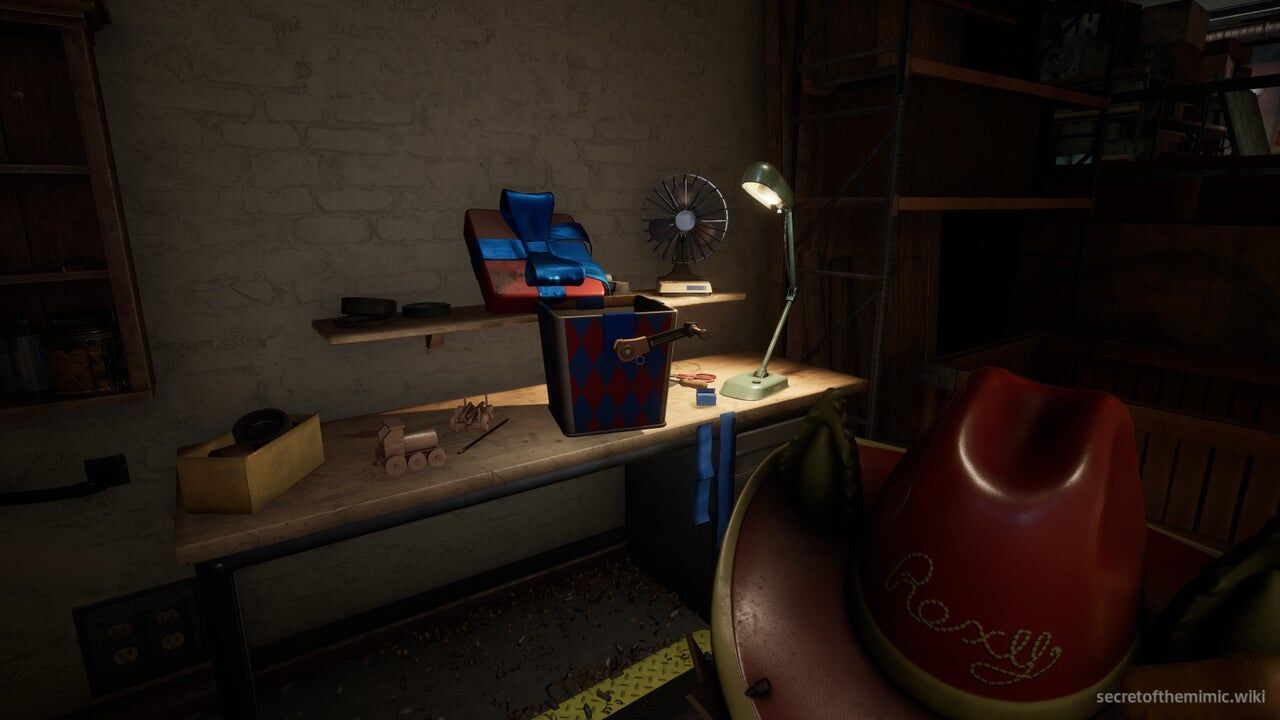
Before moving any further, you'll actually be able to find your first collectible here. Directly opposite the door to the Security Office, you'll see some steps leading down to the Retail Showroom door. At the bottom of these steps, look to your right and you'll see a gift on a desk. Use the lever on the side of the gift to crank it open and the Roxy Deadeye Hat will appear. You can then take this back to the inventory machine, put it inside and pull the lever to add it to your stash of collectibles. Remember to look out for similar gift boxes in the future!Deadeye Roxy Rodeo Hat Acquired
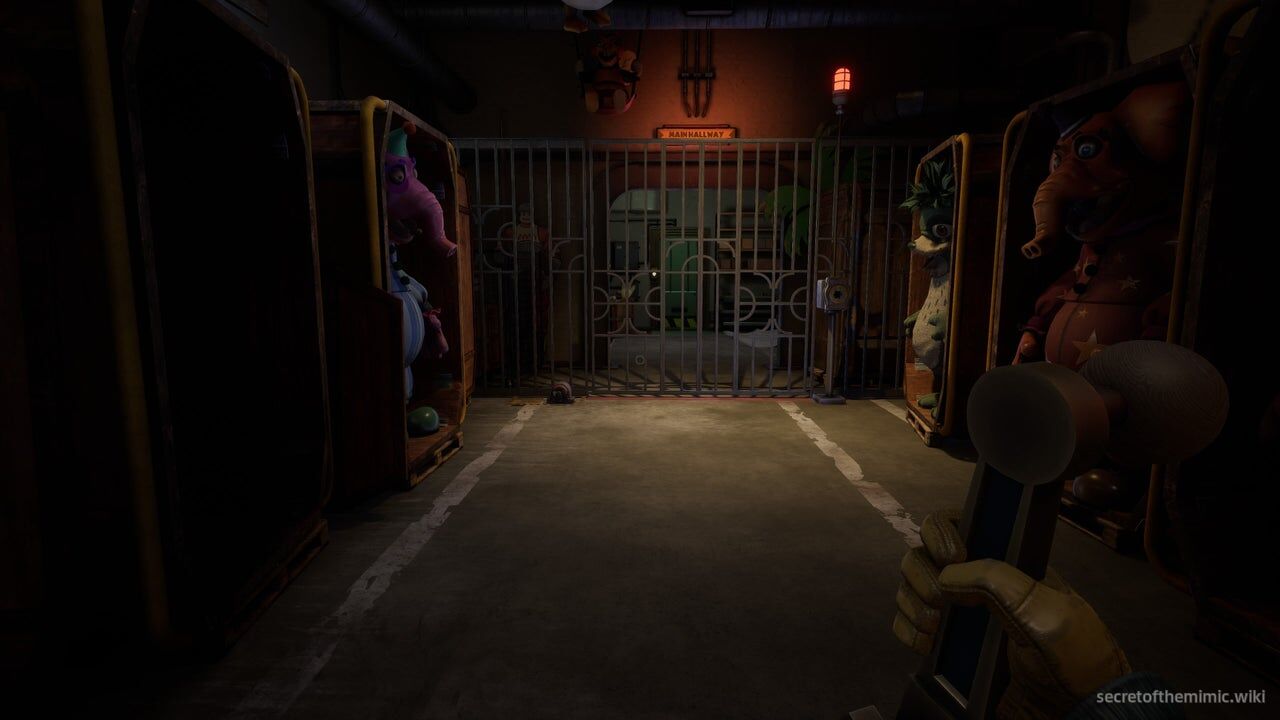
Now we have the crank, approach the gate on the right-hand side when leaving the Security Office. You can insert the crank in a slot to the right of it. Push the crank in, then turn it to open the gate and unlock the path to the main hallway.
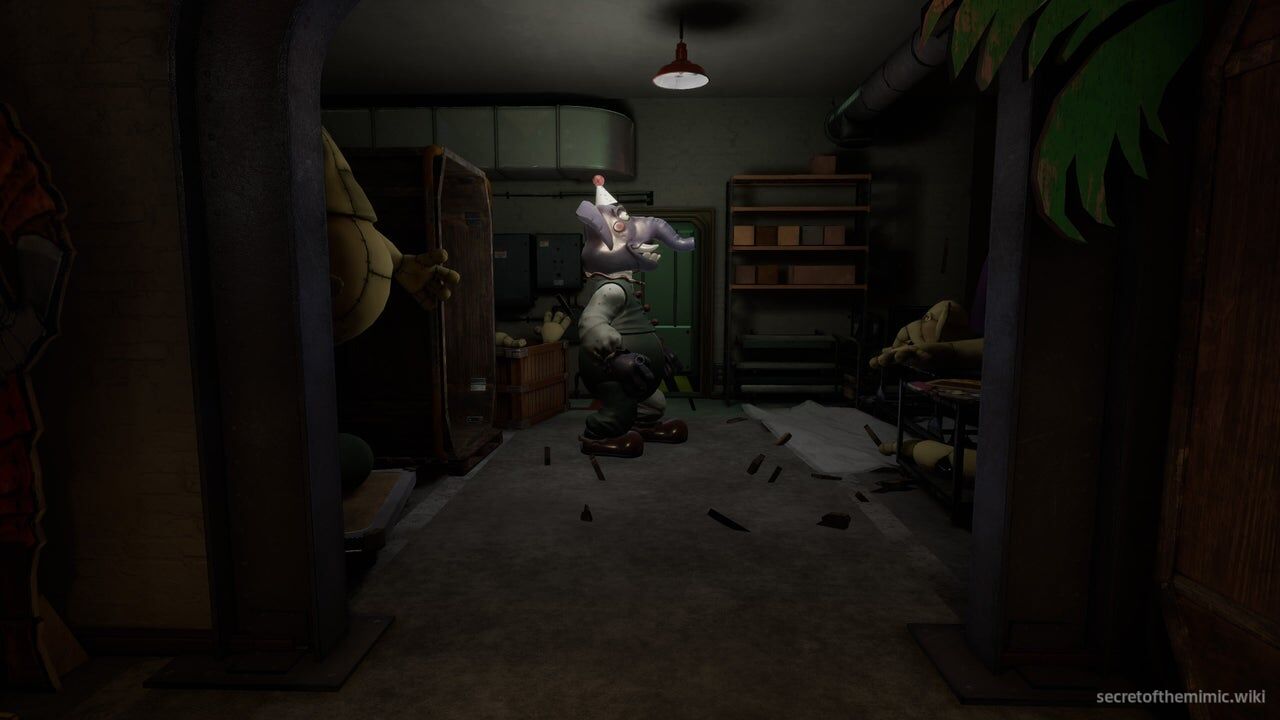
Head through the gate and, as you do, we'll run into Edwin's project that the Dispatcher seems so nervous about us meeting. It's time to go head-to-head with the Mimic for the first time.
Meeting The Mimic
As you proceed through the gate, the wooden box in front of you will shatter as an elephant mascot emerges, turning to look at you before sprinting at you. This is the Mimic taking on the form of the elephant costume, and as you may have guessed, he's not here to entertain or do cool party tricks.
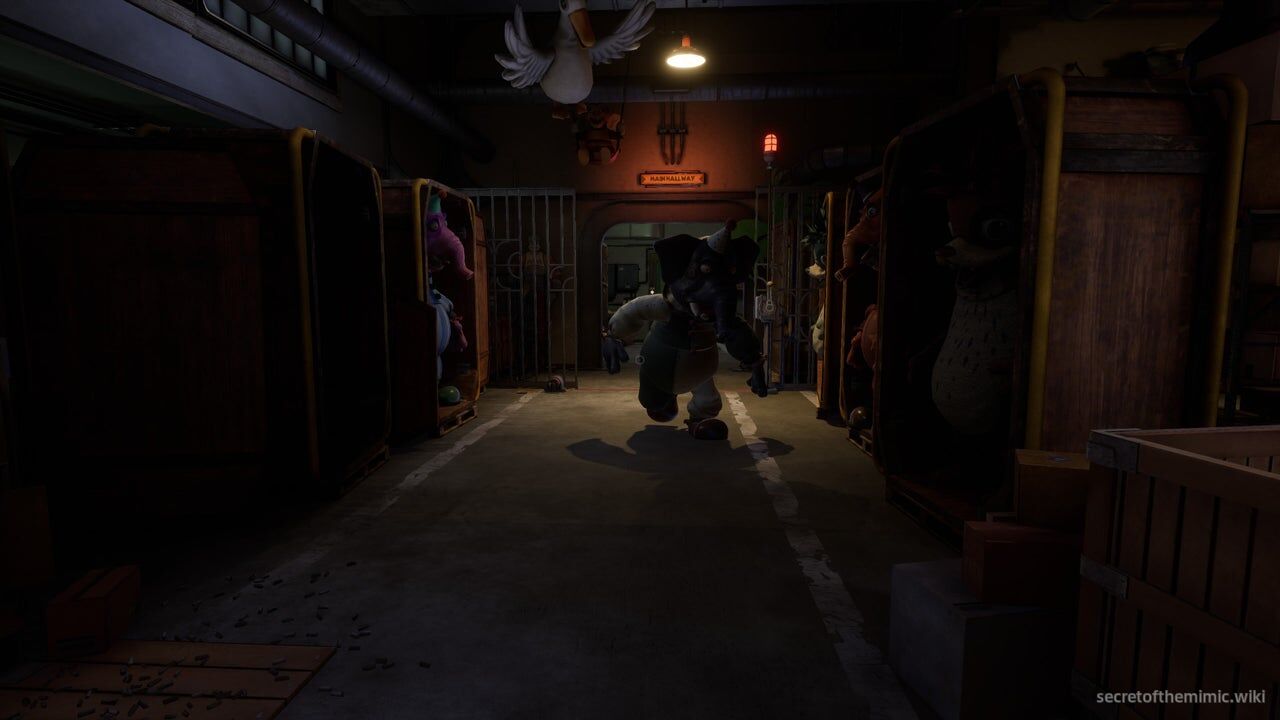
He will sprint at you relatively quickly, and if he grabs you, he'll kill you on the spot. So, let's quickly cover the best way to deal with this guy now and for the rest of the game. The Mimic is a stalker and will appear in certain sections to chase you down and kill you, and considering he's very aggressive, your best bet is always to run, hide, and use stealth to evade him. I'd advise, if possible, to use headphones while you're playing, because the 3D audio will help a ton in knowing exactly where he is in relation to you.
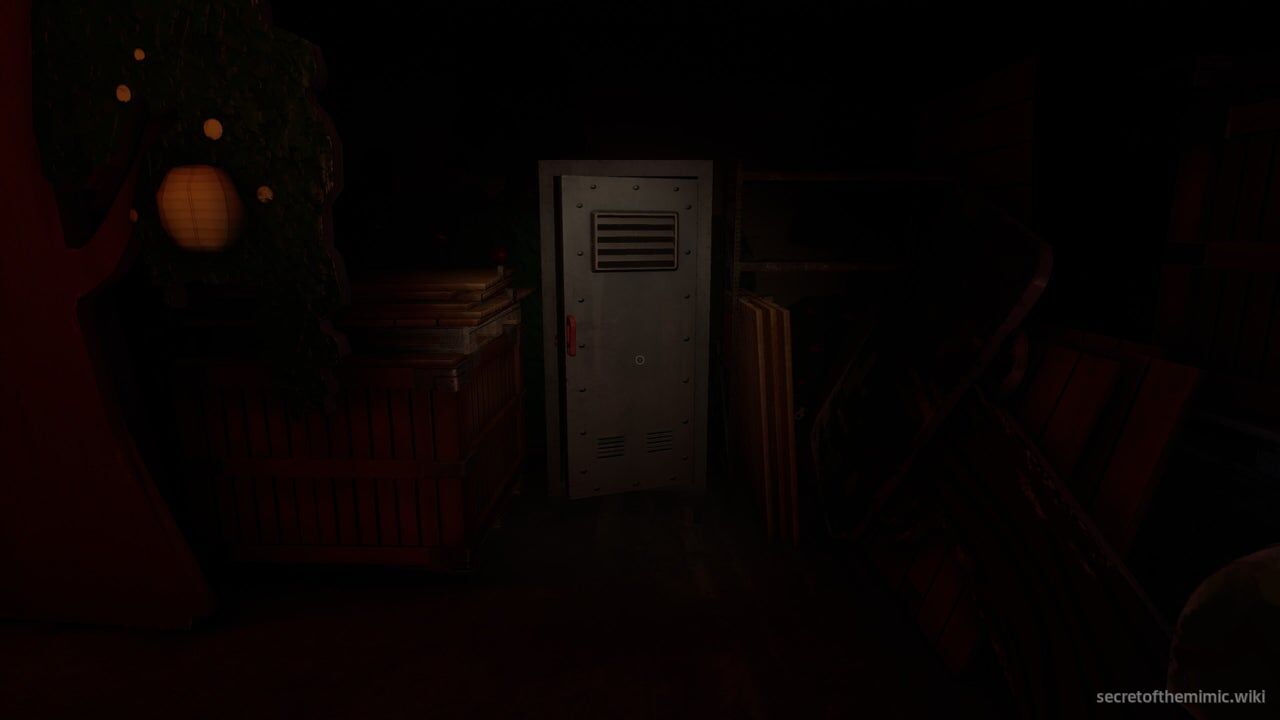
Most importantly, you'll want to learn about two major stealth mechanics that will help a lot in evading the Mimic. The first is hiding spots. You'll see in the area we're currently in that there are various steel lockers you can interact with. When using them, you'll jump inside and hide. If the Mimic doesn't see you enter, you can stay completely hidden in these, evading him and staying out of sight. They're imperative for returning to stealth when things get hairy, so try to mentally note their rough location every time you spot one.
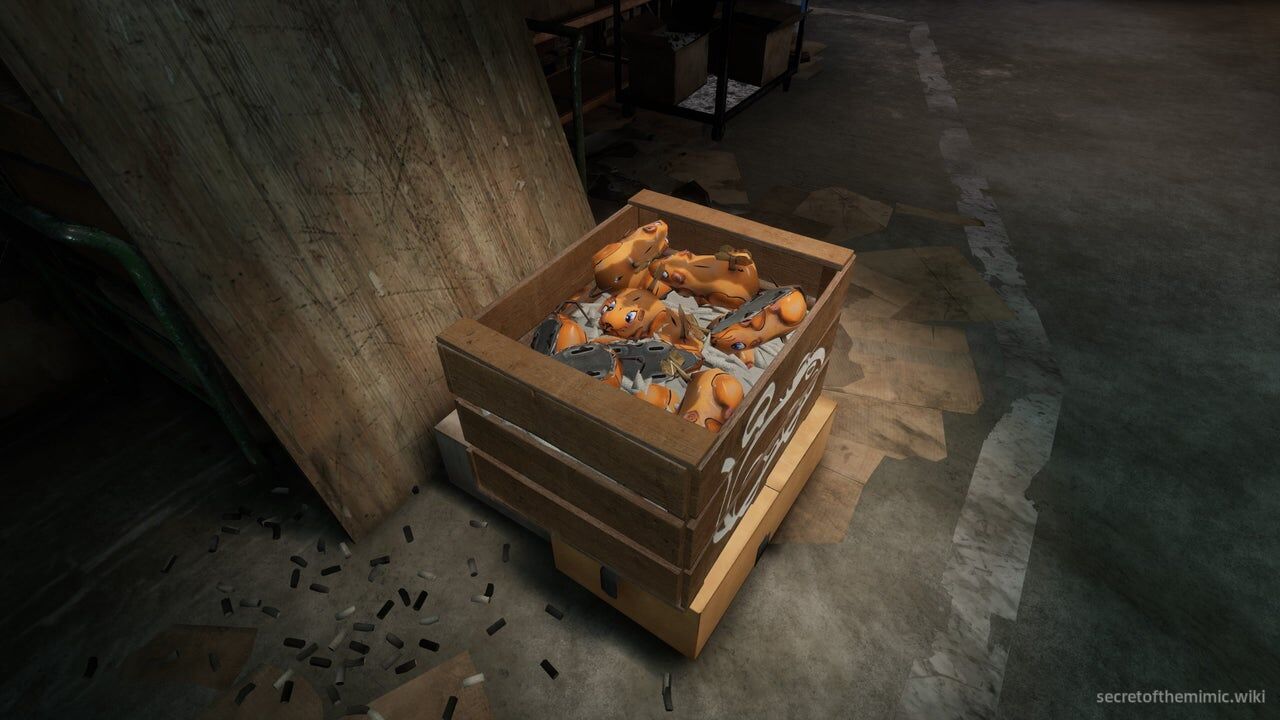
The second are the wind-up mouse toys you'll find in a box in this area. They're shown in the image above. After grabbing one of these, you can wind it and then launch it, with it activating after it's landed. These are noise distractions, meaning you can throw them to lure the Mimic to a specific area. Let's show off exactly how useful they are now. Once you're back in stealth, the Mimic will roam up and down the corridor where we opened the gate, blocking the door to the Main Hall. We need to get passed him, so let's lure him away.
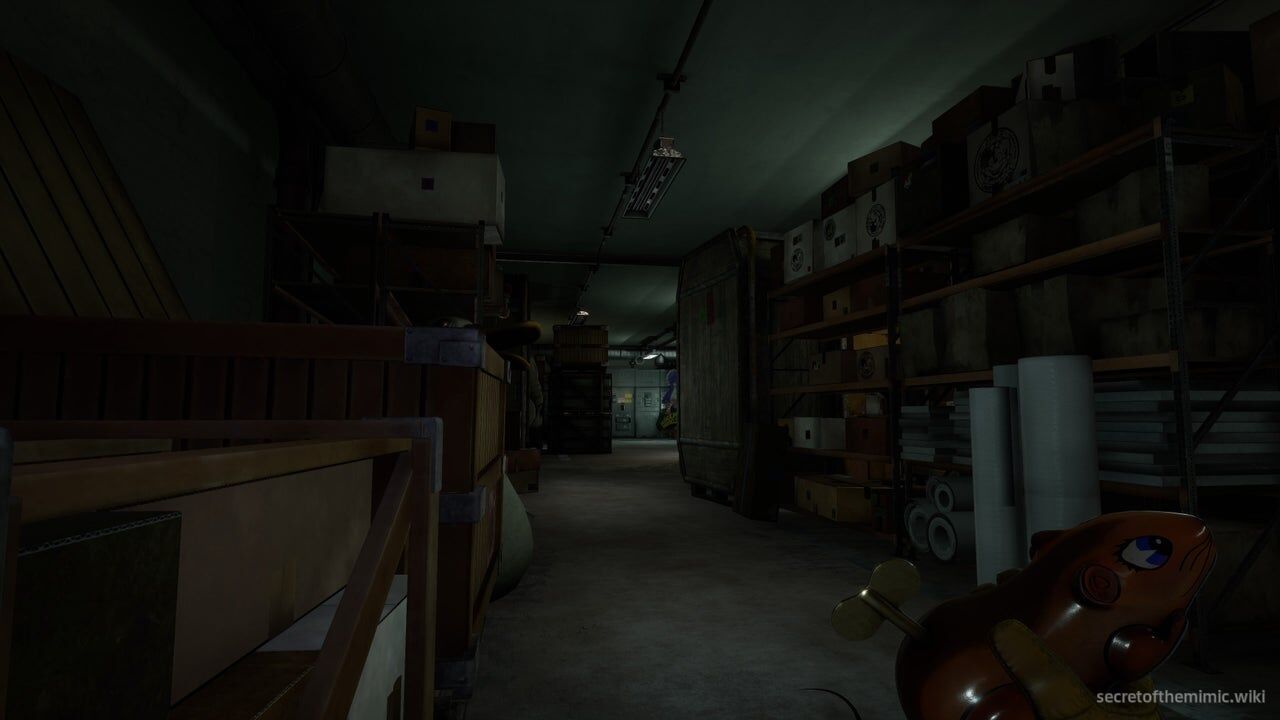
Adjacent to the corridor he's roaming is a fenced-off area with two lockers to the left. Stand at the entrance to this fenced-off area, wind up a mouse, and then throw it as far into the fenced-off area as possible before quickly backing away. The Mimic will run to investigate the noise, allowing us to slip around him and towards the Main Hallway Door.
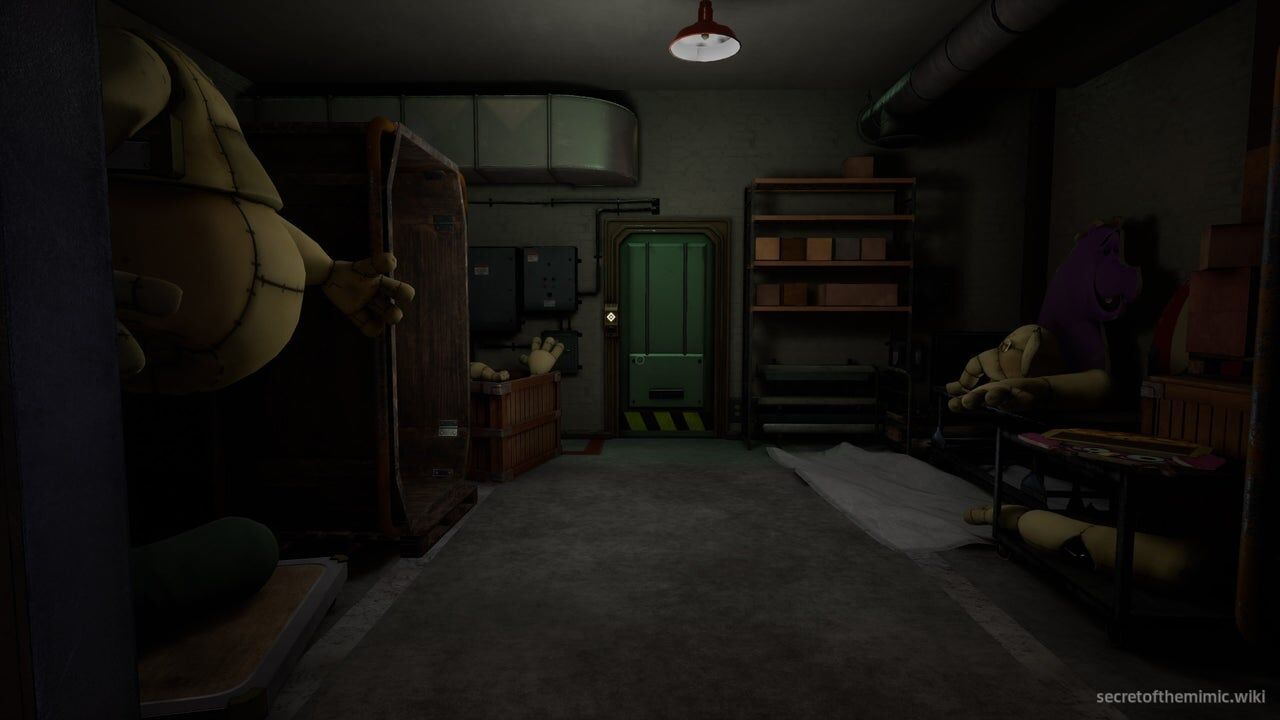
Once you're there, quickly push the Data Diver into the lock and turn it. REMEMBER: The Data Diver takes a few seconds to open doors, so don't pull away until the door is fully open. Once it is, head through. As the door is security locked, it will shut and lock behind you, meaning we're officially safe on the other side.
As soon as you enter, you'll see a collectible on the table. Crank open the gift to get the Sharpay Plushie.
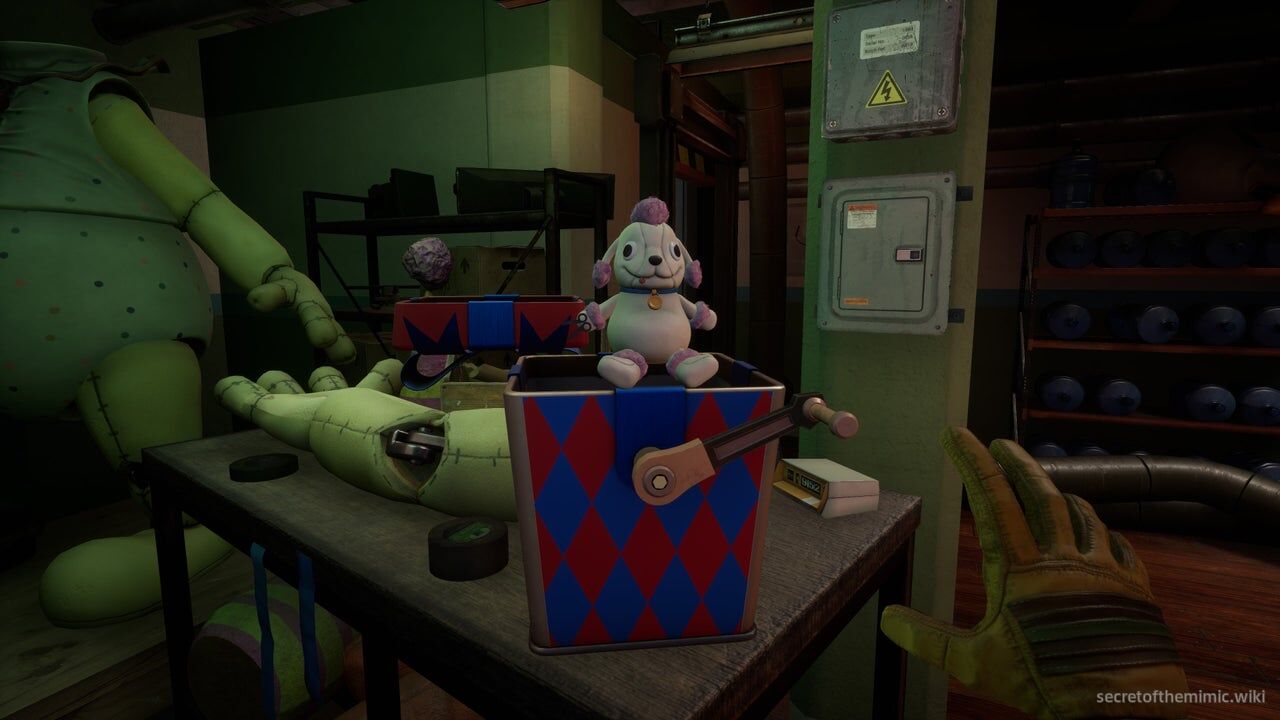
Reaching the Manager's Office
We're now in the Main Hallway, and one step closer to the Manager's Office. Head to your right and follow the path until you find yourself in a large lobby area.
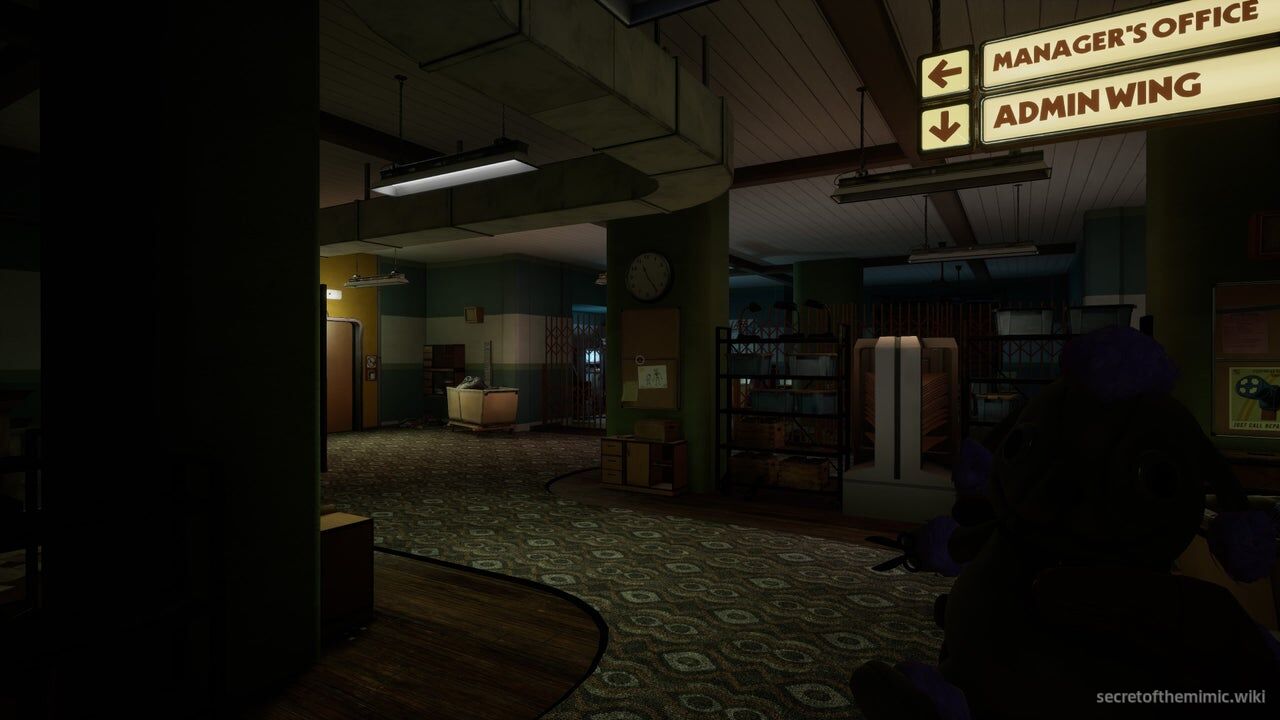
On the left-hand side of this lobby is the elevator. Push the big red button beside the elevator to crack it open, then head inside, press a second red button, and ride it up to the second floor.
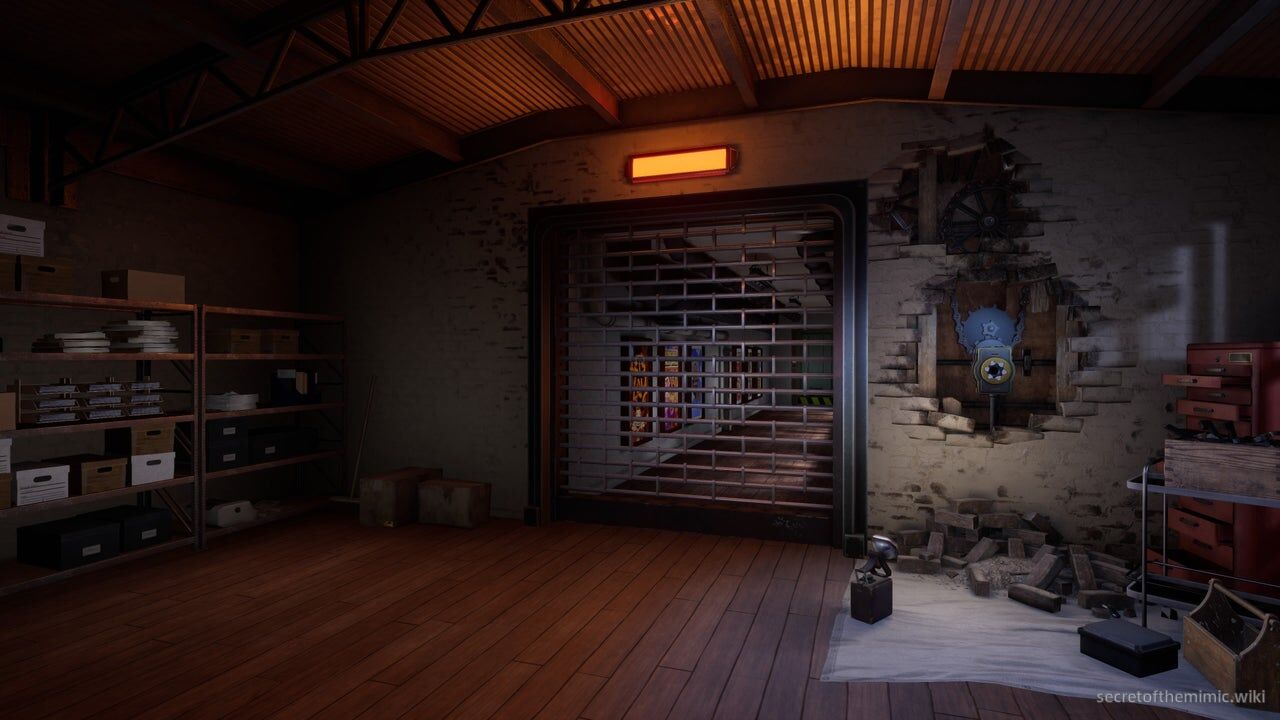
Once you step out, you'll see the way ahead is blocked by a shutter with an empty spot for a crank beside it. Our new goal is to get through that shutter. For now, look for a corridor on your left leading to a locked door that can be opened with Security level clearance.
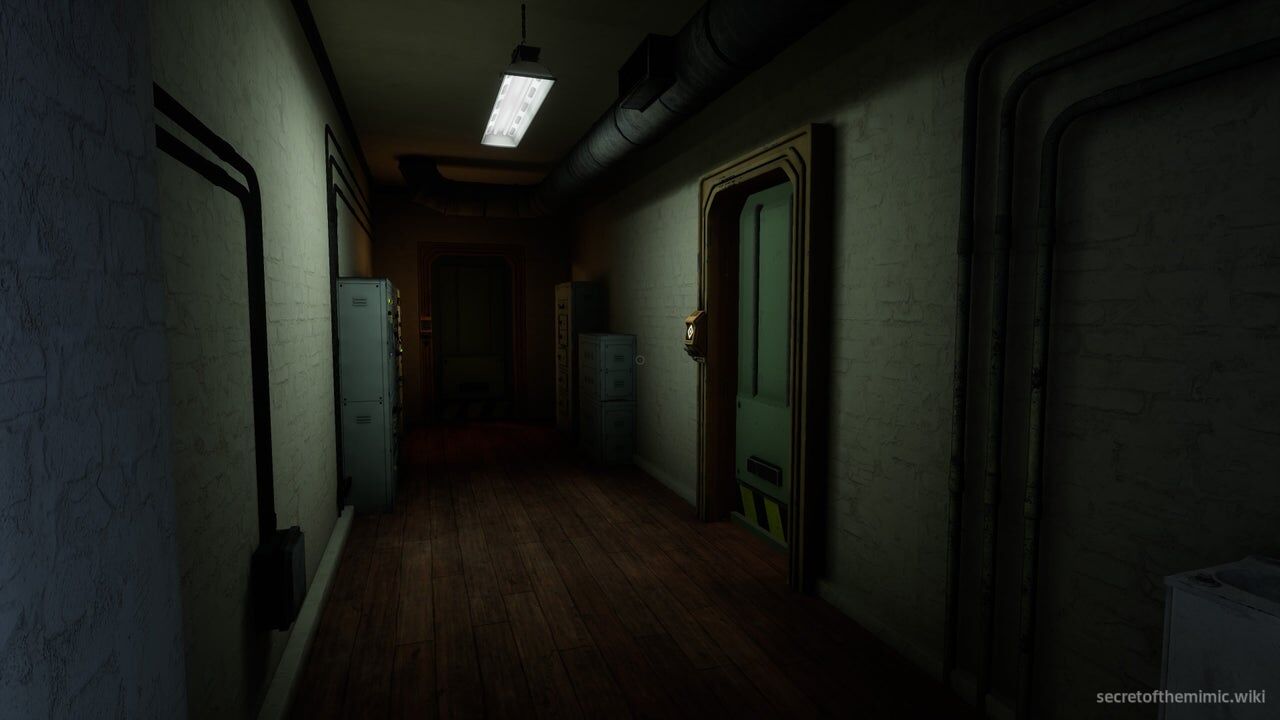
Unlock it and head inside to find a small office. There's another terminal and inventory machine in here, but more importantly, there's a second Clearance Upgrade Machine, this time to get Repair Clearance.
There's also a collectible in this office. On the desk next to the inventory machine, you'll see a gift. Crank it open to earn the Hedgehog Mask collectible.Hedgehog Mask Acquired
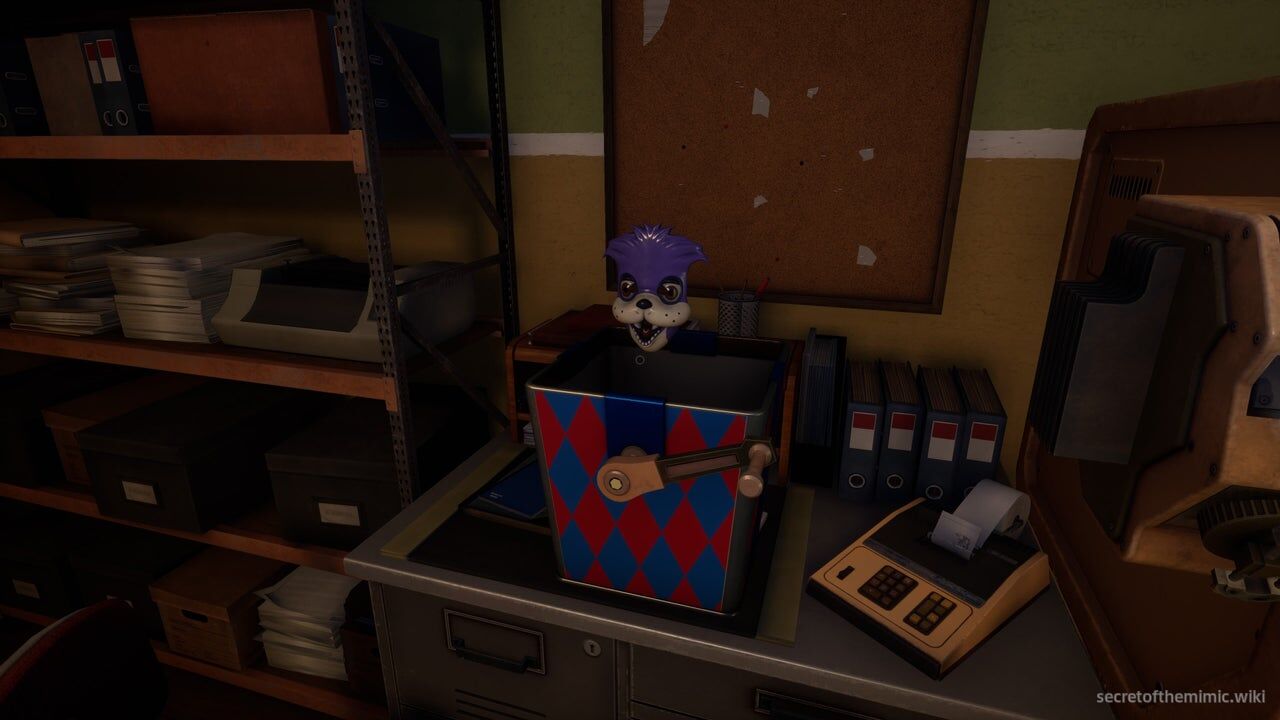
Data Diver: Repair Clearance Mini-Game
Much like before, once we attach the Data Diver, we'll have to complete a tile mini-game. This time around, the puzzle has a 0 tile in all four corners, while every other tile is a 1. To complete it, we're going to move diagonally, starting from the top left-hand corner and moving down to the bottom right-hand corner.
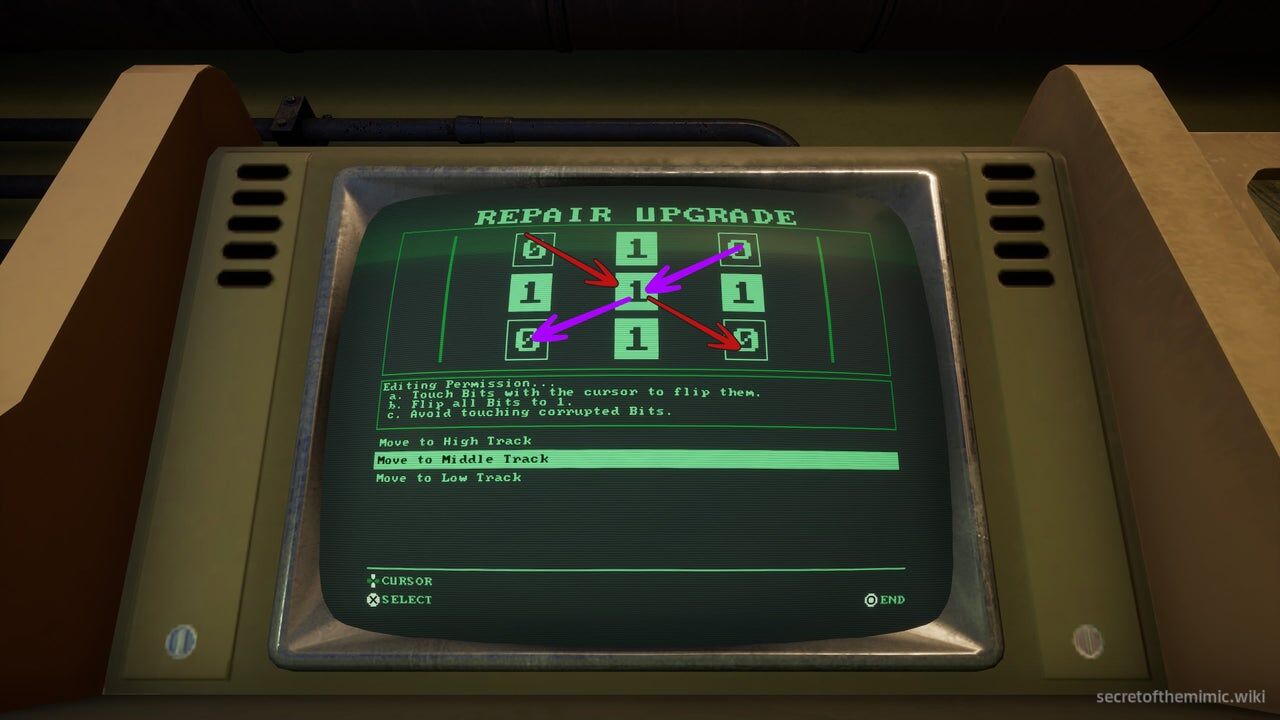
When the cursor turns, simply reverse the initial movement. Lift the arrow to the top right-hand corner and move it down to the bottom left-hand corner. The sequence is shown in the image above, with red arrows indicating the move you should make when the cursor moves right and the purple arrows indicating the move you should make when the cursor moves left.
Getting The Manager's Office Crank
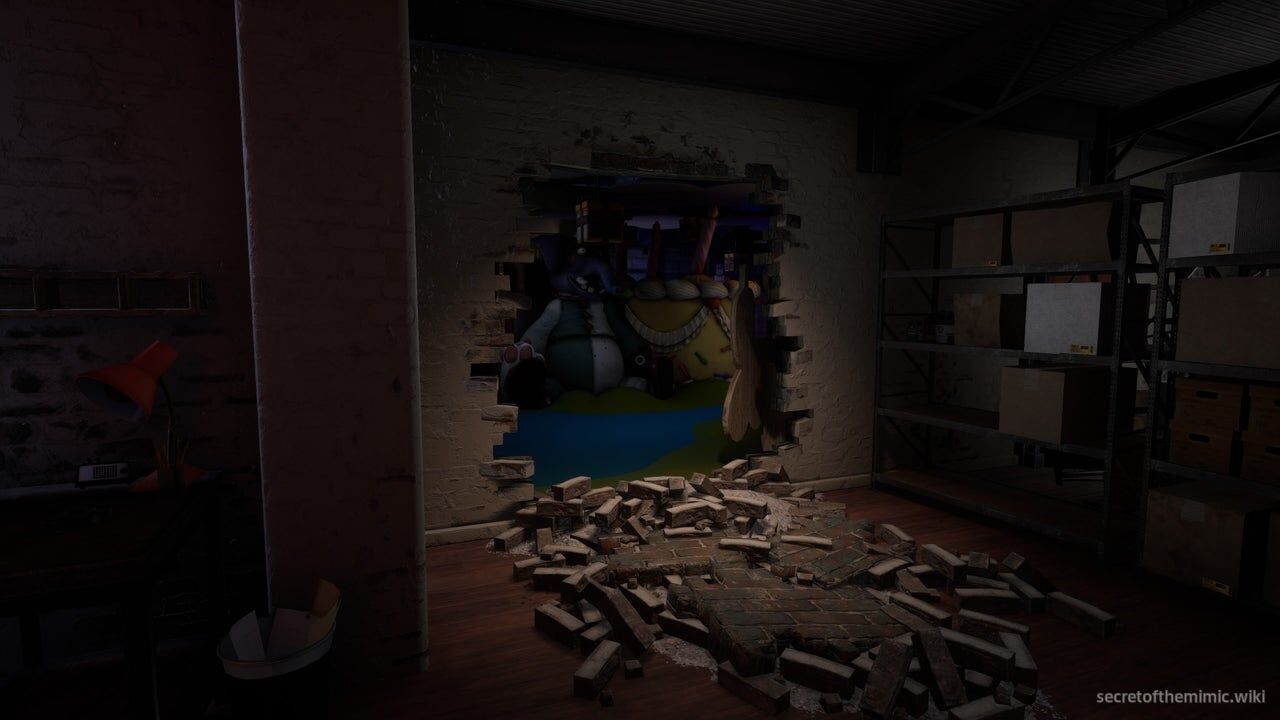
When the puzzle is complete, our clearance will be upgraded. Leave the office and head back to the central room with the locked grate. Opposite the corridor we just explored, you'll see a giant hole in the wall. Proceed through it and, as you do, a spotlight will illuminate an enormous jack-in-the-box. Approach it, and then turn the crank.

After turning the crank several times, Jackie, a giant jack-in-the-box jester, will emerge. Don't worry, she's not dangerous... for now. As she comes out of the box, Arnold will yank the crank off the box, meaning we now have a crank.
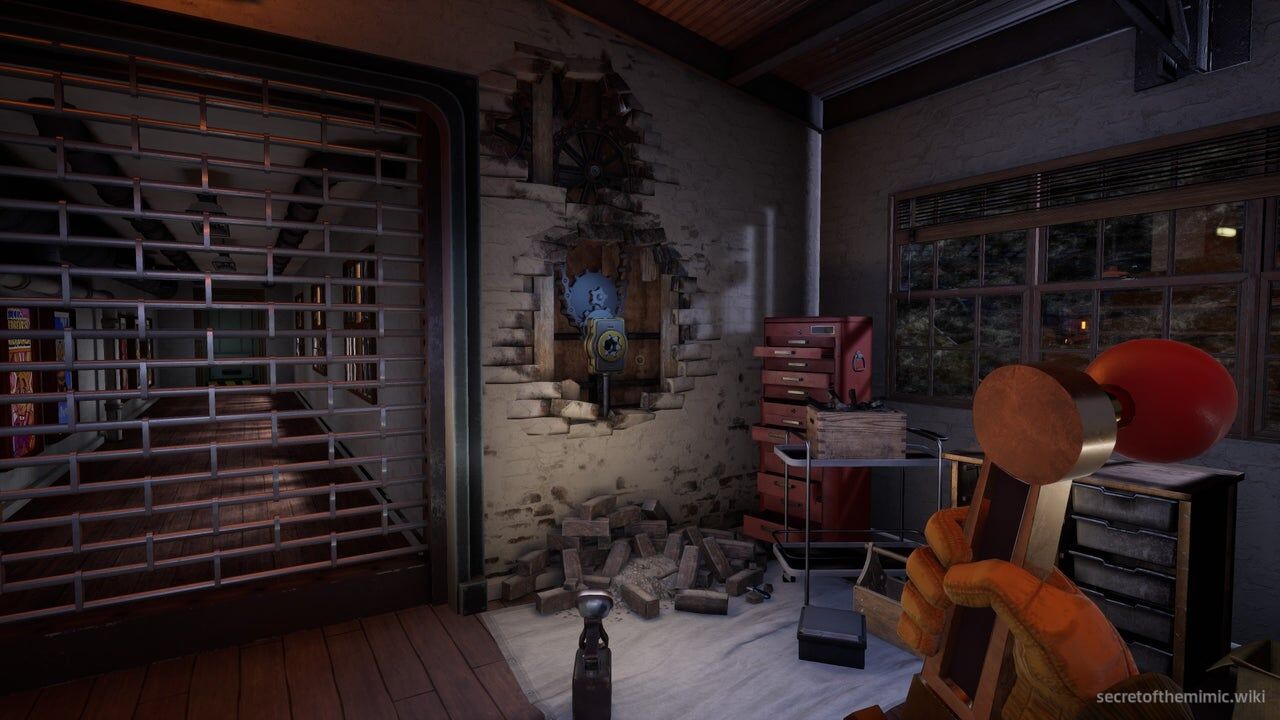
Return to the shutter we saw earlier, insert the crank into the empty crank slot and wind it until the grate moves up. It'll jam, so crawl under it and proceed towards the door at the end of the hallway.
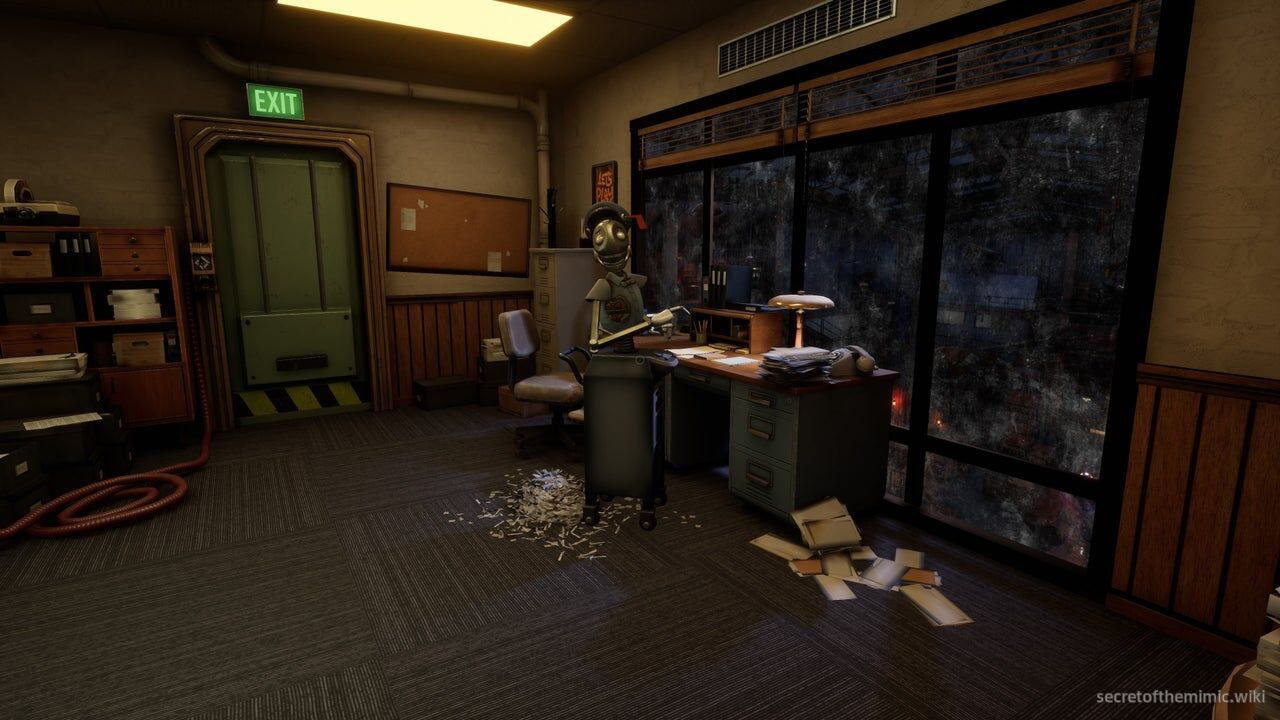
When you arrive, you'll see the door is locked with a Repair Clearance lock, which we now have the clearance level to open. Insert the Data Diver to open the door and proceed through it to reach the Manager's Office.
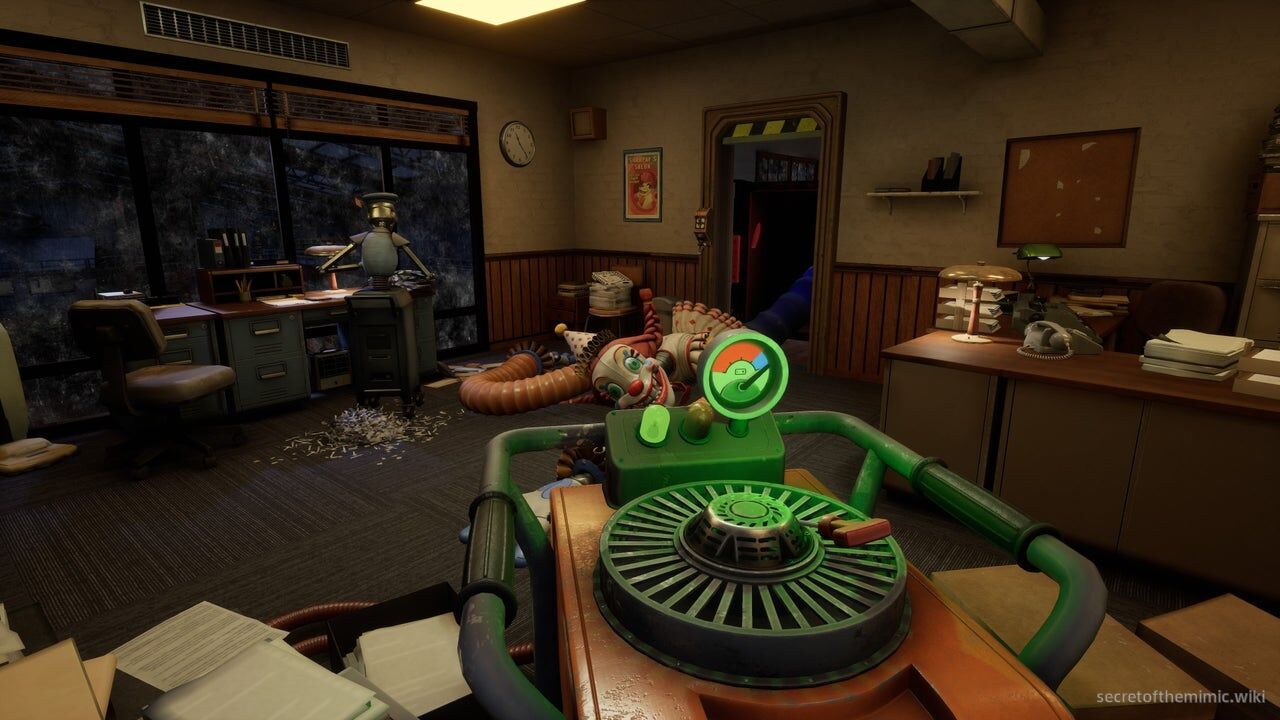
Once through, we'll meet the manager, who's busy sorting through various papers. We can't really interact with him, so instead, head towards the generator in the back left-hand corner of the room. You'll have to step over some debris to reach it, but once you're over, rev up the generator. This will cue a short segment where Jackie (you know, the giant jack and the box I just said wasn't dangerous?) will enter the room, dislocate herself from her box, and manically attack the manager.
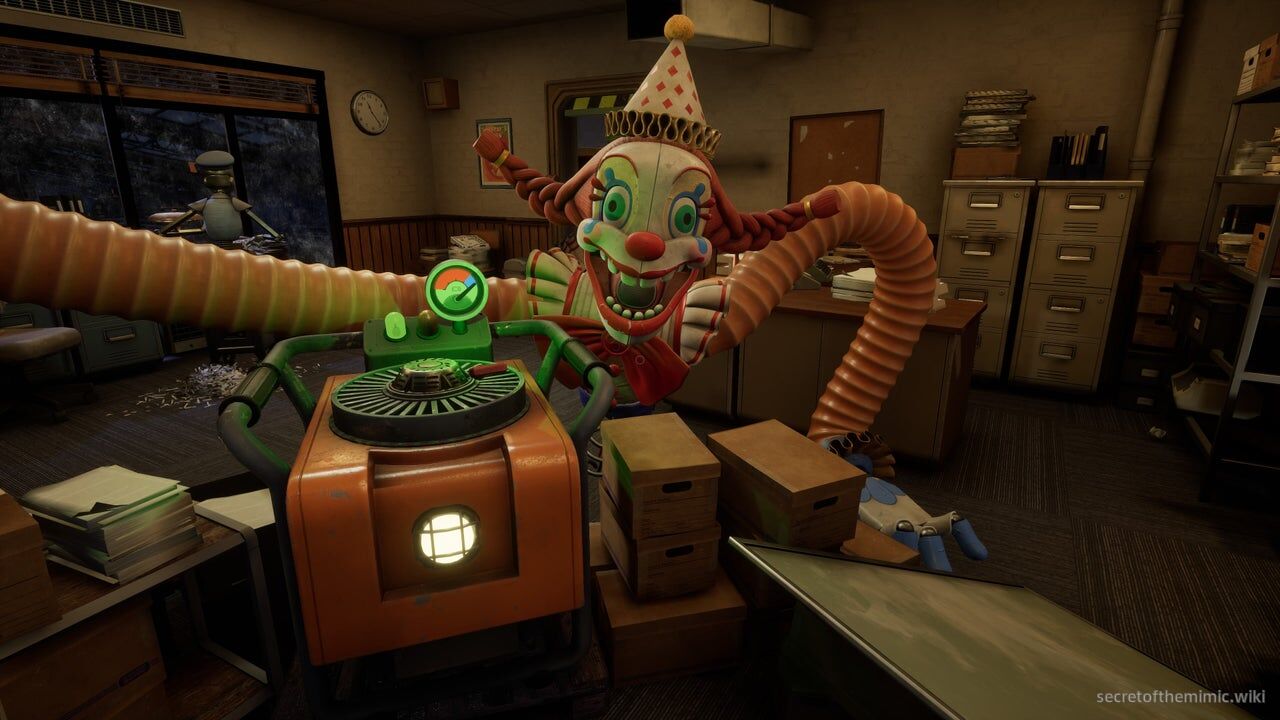
You'll be trapped behind the generator until Jackie knocks down a wall and, with it, the rubble you used to reach the generator. At that point, you can slip out of the spot you're in and then hop through the wall, falling down to the tunnels below. It's time for our first boss encounter against Jackie in the Box.