

Use the terminal to open the track exit, distract Dollie with the jackhammer, power the fan, obtain Admin clearance, deposit six recycling cubes, push Dollie into the furnace, then complete both elevator repair sequences.
After crashing through the Theater at the tail end of Secret of the Mimic's last chapter, we landed in yet another pit of hell, as Arnold found himself face-to-face with a brand new foe: Dollie. This FNAF walkthrough provides all the tips and tricks you need to escape her twisted hospital, helping you evade Dollie, solve every puzzle and find key items you need to continue your adventure.
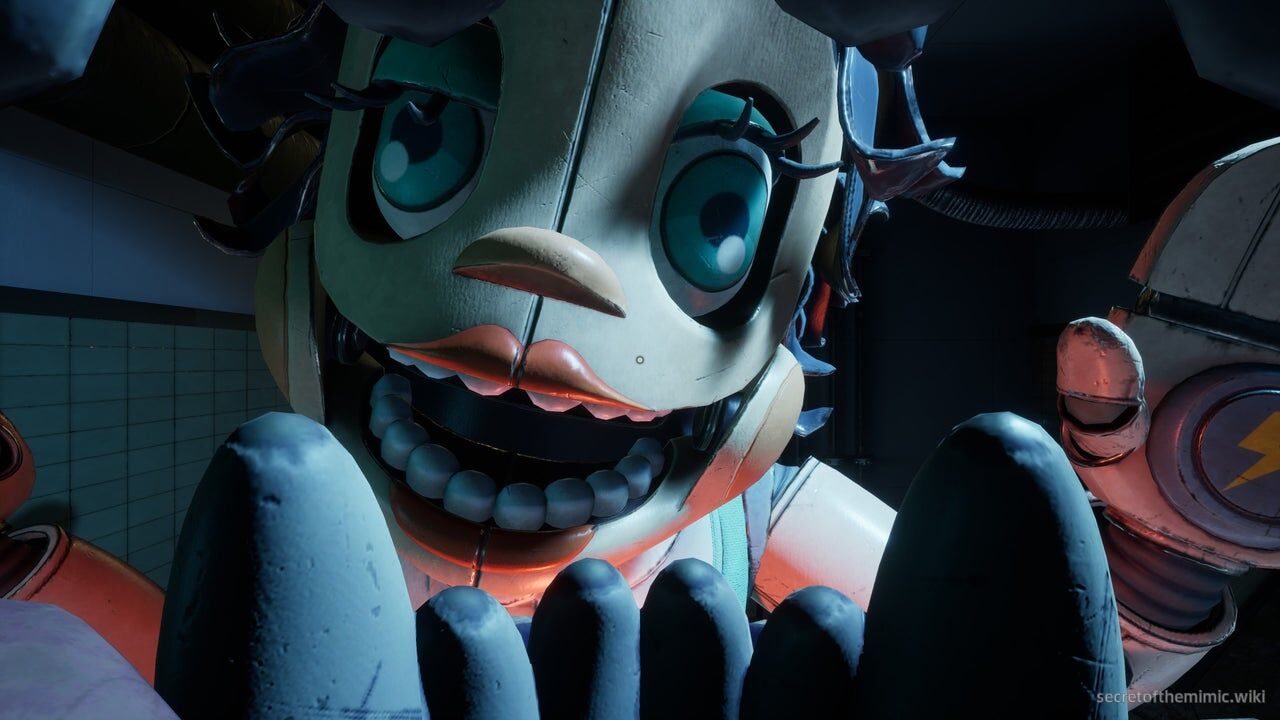
Our journey through the Doll Hospital will see us search for a way to escape, with Arnold (unsuccessfully) staying out of Dollie's way and trying to return to the upper levels of the building. If you're looking for a specific segment of this chapter, use the links below to skip through each major section:
Doll Hospital
At the tail-end of our adventure through the Theater, we were sent hurtling through the floor and came face to face with Dollie: an animatronic nurse who promises to heal our springtrap suit by scraping us out of it and bathing it in bleach. She sounds absolutely lovely, right?
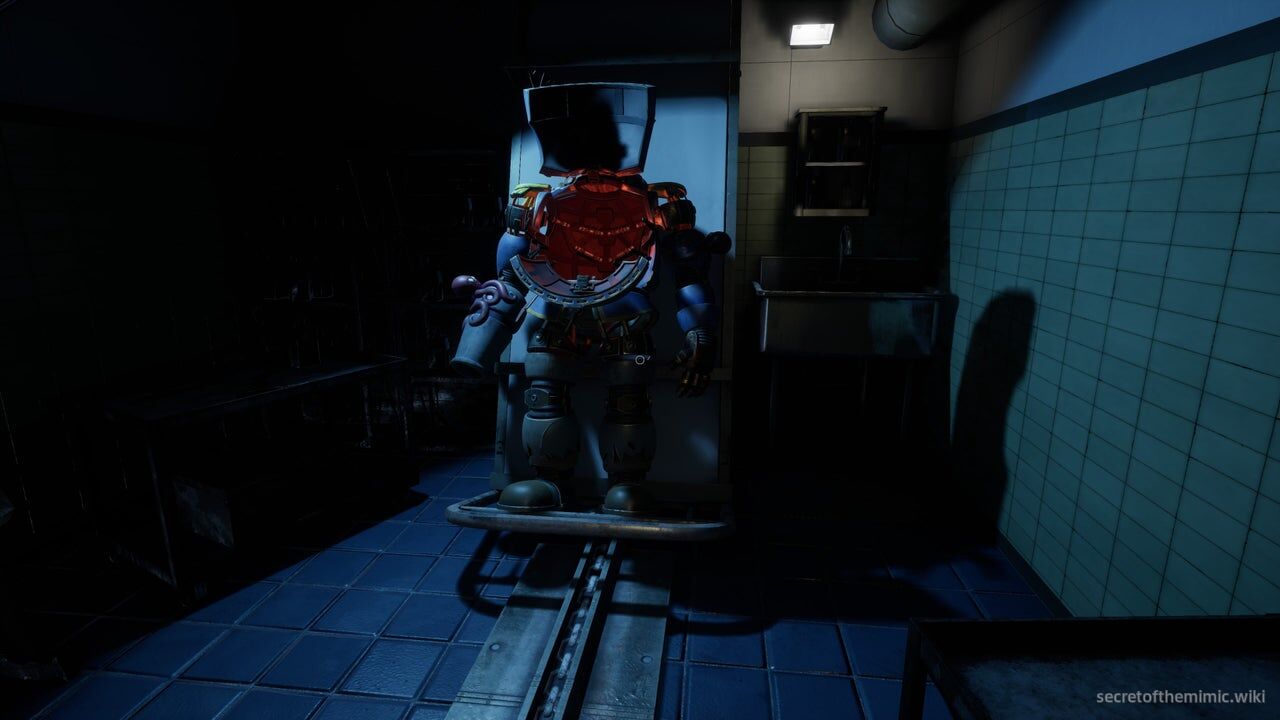
After inspecting you, she'll tell you that she'll start our procedure after helping 4,000 other patients, so it's safe to say she won't be back anytime soon. Once she's gone, eject from the springlock suit. While our swashbuckling buddy has served us well, it's time to leave him behind. He sacrificed everything, and we will remember him.
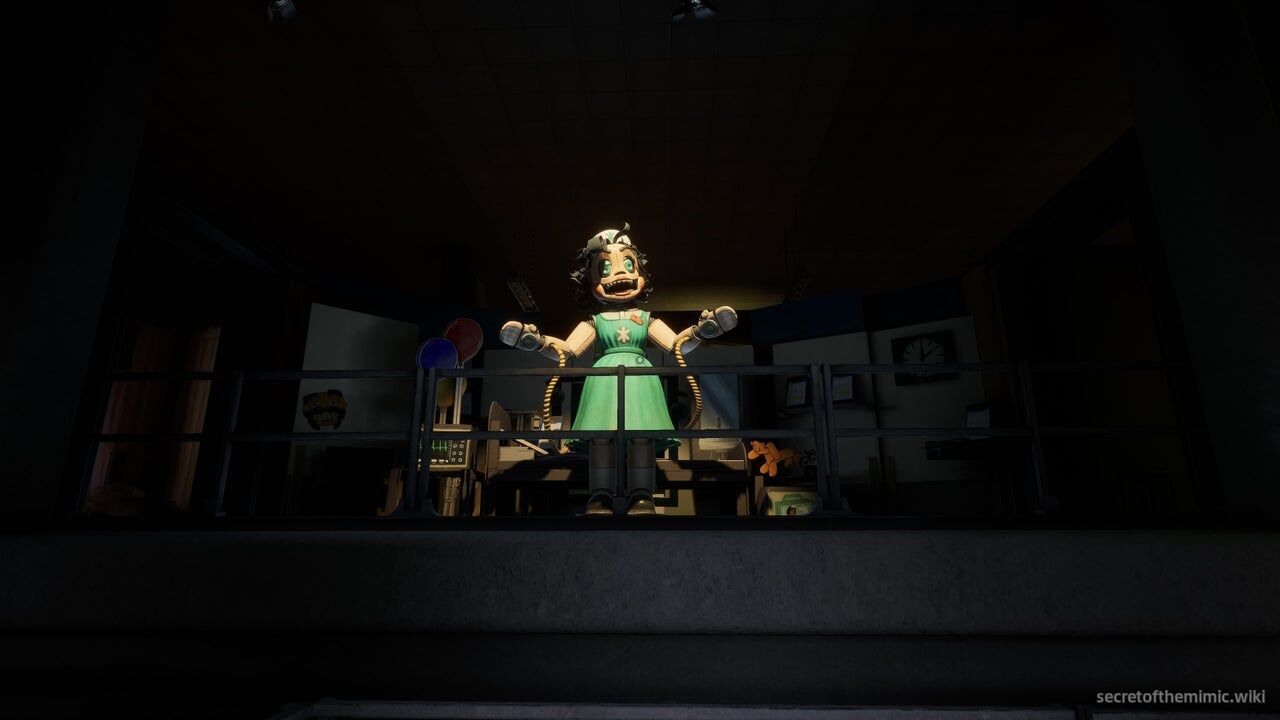
Head out of the nurse's office and, further up the corridor, you'll see a door you can open with the Data Diver. Head through it and you'll emerge on a walkway over a vat of sewage. Here, you'll cue a presentation, with Edwin telling us exactly what Dollie is. Turns out, Dollie is a recycling bot. She scraps other robots and reuses the pieces. I'm sure that bodes well for how she'll deal with us...
Repair The Doll Hospital Door
When the presentation is done, head up the stairs at the end of the walkway. You'll find a Data Diver door here, so unlock it, but be careful when entering. You may have noticed as Edwin's presentation ended, but Dollie is currently veering around the next room on a set track. If she hits you, she'll kill you, so we'll need to walk around her using the safe zones throughout the room where the track can't reach.
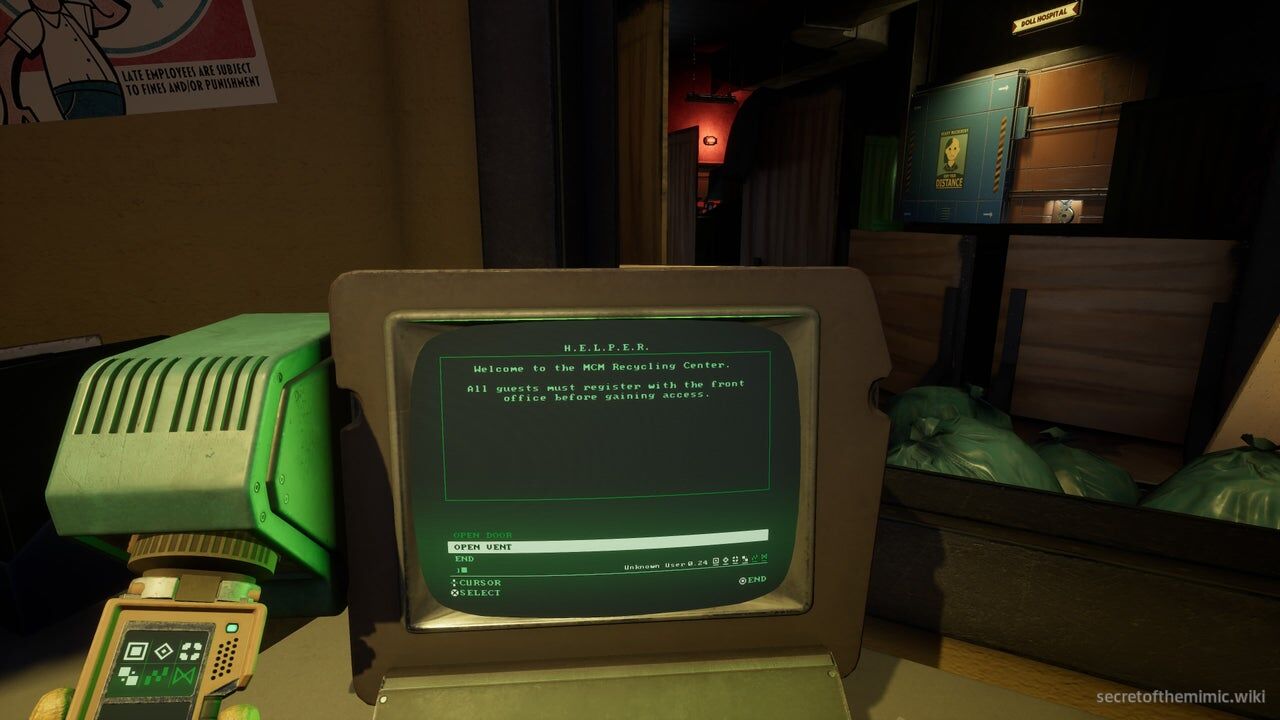
Once the door is open, wait for Dollie to pass by on the track directly in front of you, then cross over to the monitor in front of the window ahead. You'll see there's an option when accessing the monitor called "Open Vent." Select it, and you'll see a vent on the far side of the room open, causing a green light to flash on above it. Our job is to reach this vent. When you're ready, turn your attention back towards the track.
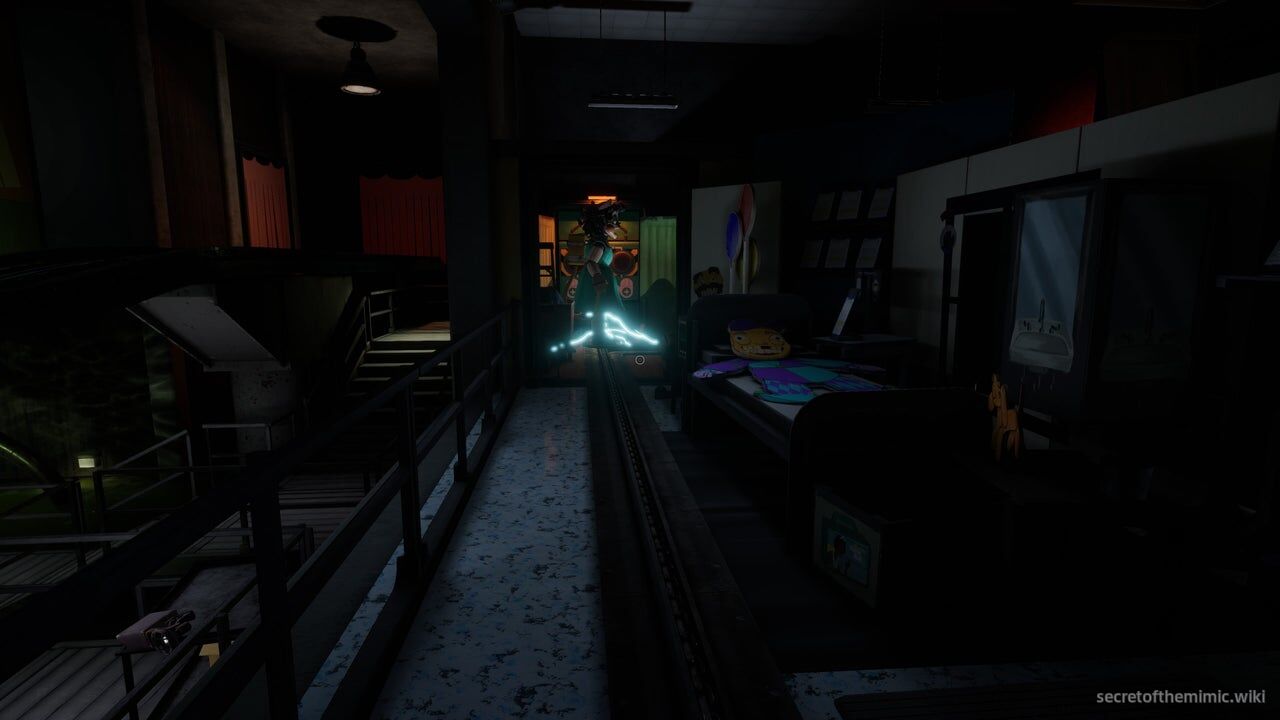
The easiest trick to navigate around Dollie in this section is to wait in a safe spot for her to move past you, and then follow behind her. Dollie can and will change tracks, directions and routes, so she's not predictable, but she doesn't double back on herself, meaning you're usually safe if you're following directly behind her.
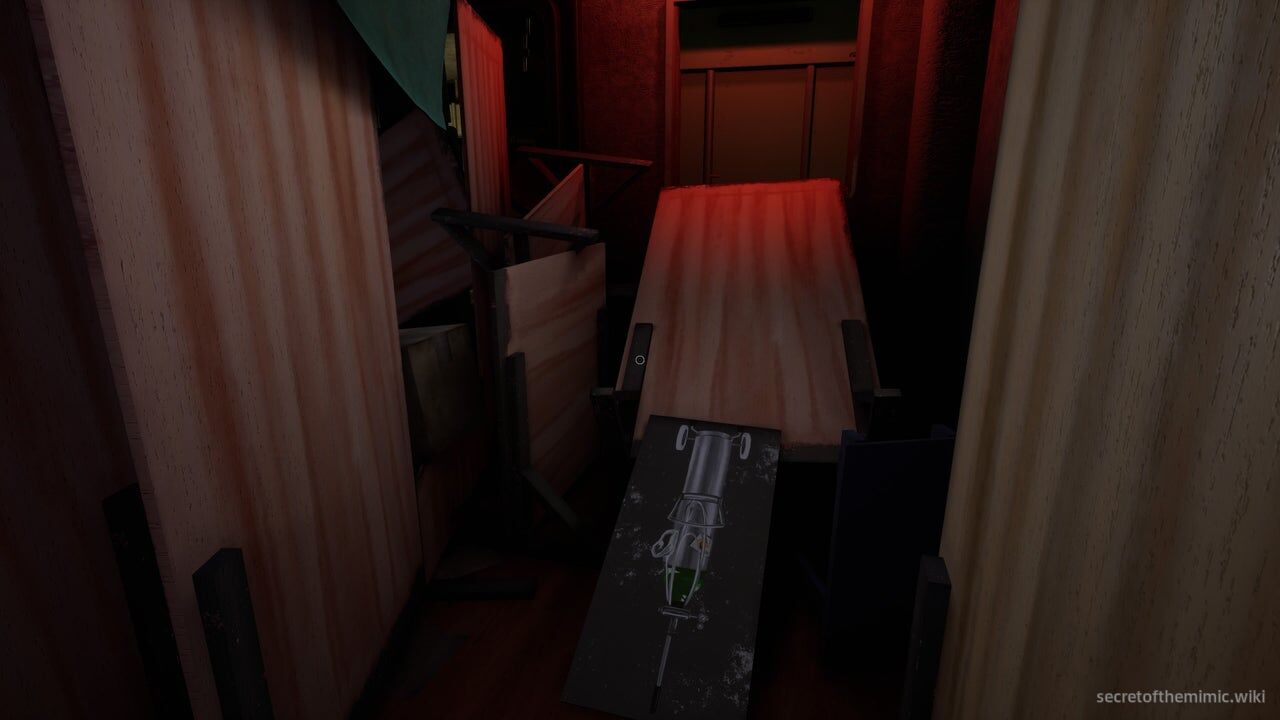
When you're ready to get moving, turn back from the monitor and wait for Dollie to come past on the track. Once she does, follow her through either door and stay behind her until her route takes you to the top of the track, near the back of the room. From here, make your way to the back left-hand corner of the room so we can use the vent we opened earlier. There's some scenery near the vent that's concealing a ramp, and once you're on that ramp, you're safe, so don't worry if Dollie is gaining on you as you arrive.
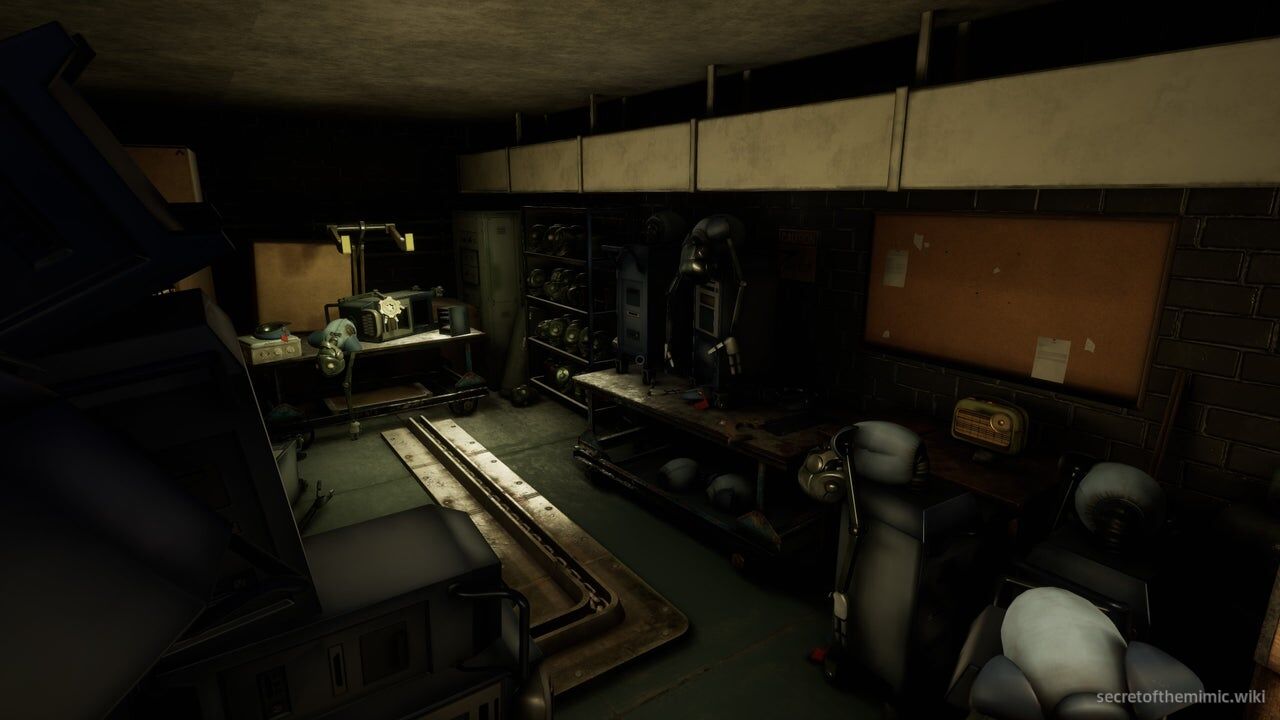
When you reach the ramp, head up it and through the vent we opened. It'll take you to a small office with a broken mailman bot lying over a workbench. In his hand is a cog. Walk over to the mailman, enjoy a nice little jumpscare, then grab the cog from his hand. When you have it, head back through the vent.
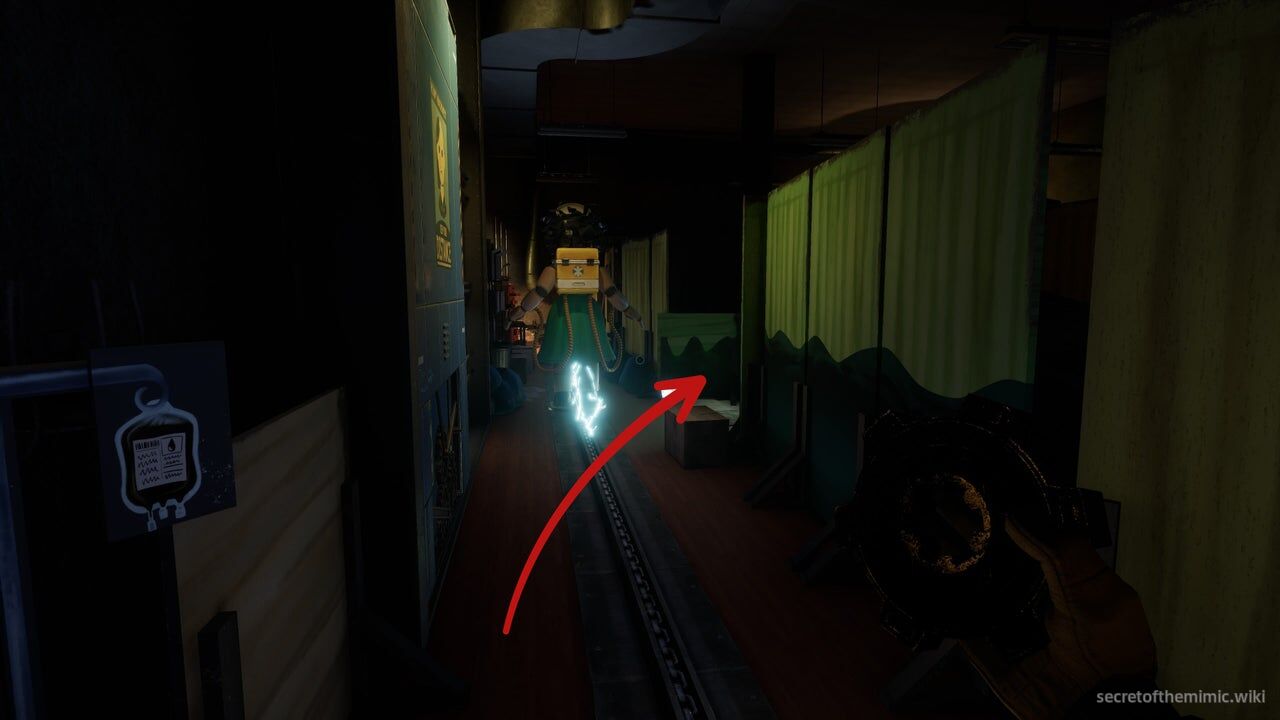
Now, we want to go ahead and stick this cog into the sealed door at the back of the room. Luckily, that's very close to the vent exit, so when you leave the office, wait for Dollie to speed past on the track to your right, then follow her to another safe spot a little further up the path. I've pointed out where the safe spot is in the image above.
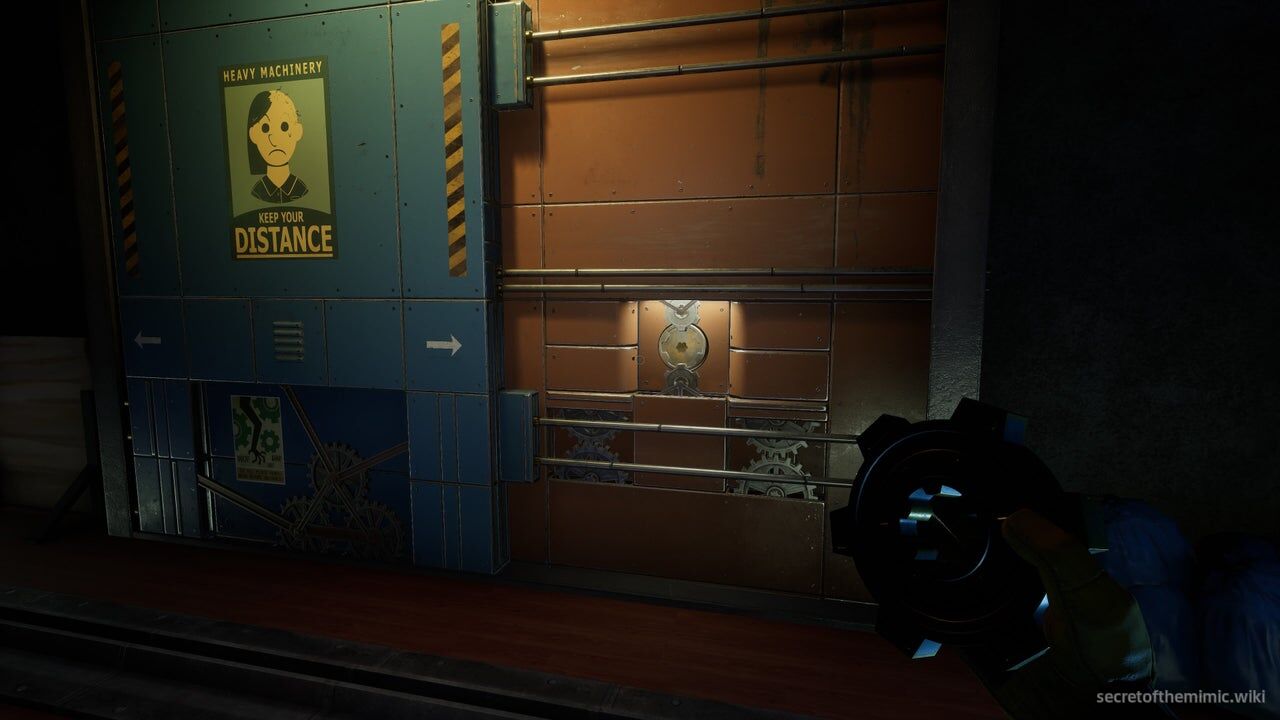
When you reach it, make sure Dollie won't interrupt you, then insert the cog into the door. Once it's in place, wait for Dollie to pass again, and then make your way back around to the monitor we used to unlock the vent.
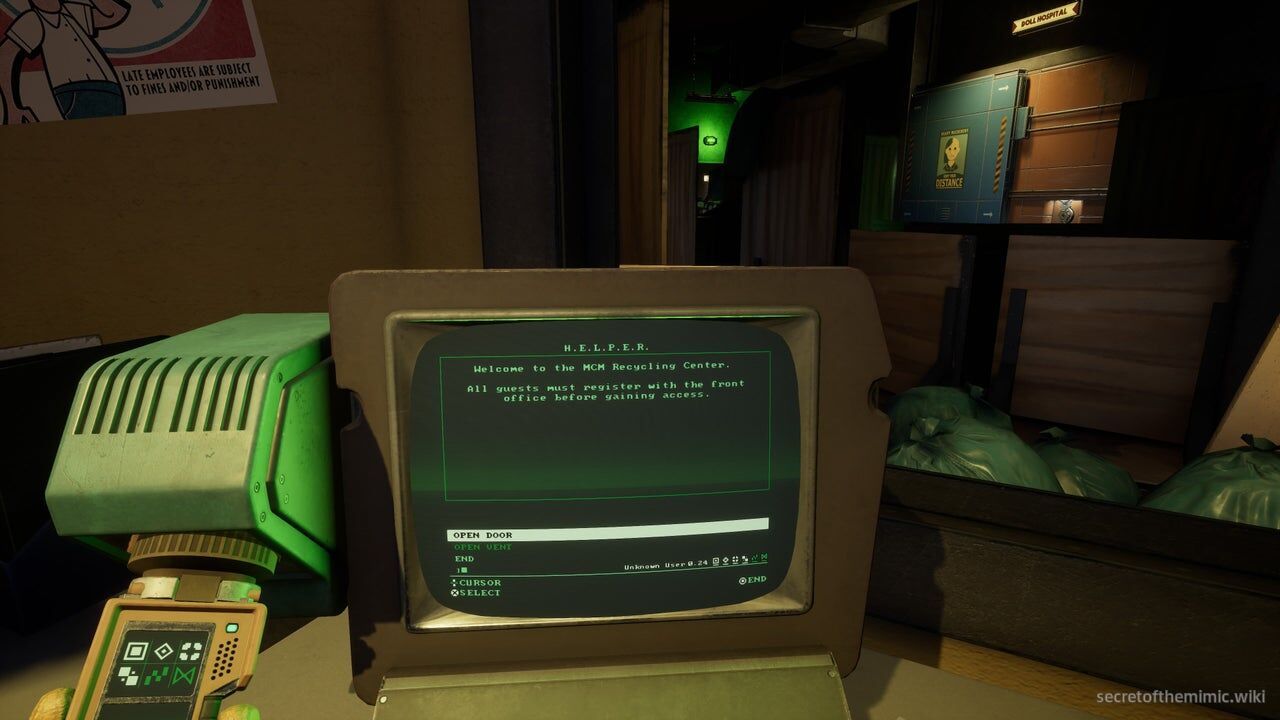
Access it and a new option has been added: "Open Door." Click on it and the exit will open. Dollie will suddenly disappear from the track as this happens, so you're free to walk directly over to the door and head through it.
Evading Dollie
On the other side of the door, you'll suddenly get hit with that unmistakable sinking feeling. Yes, this is a boss area, but we'll need to jump through a few hoops before we get into the meat and potatoes of what we're supposed to be doing in this room.
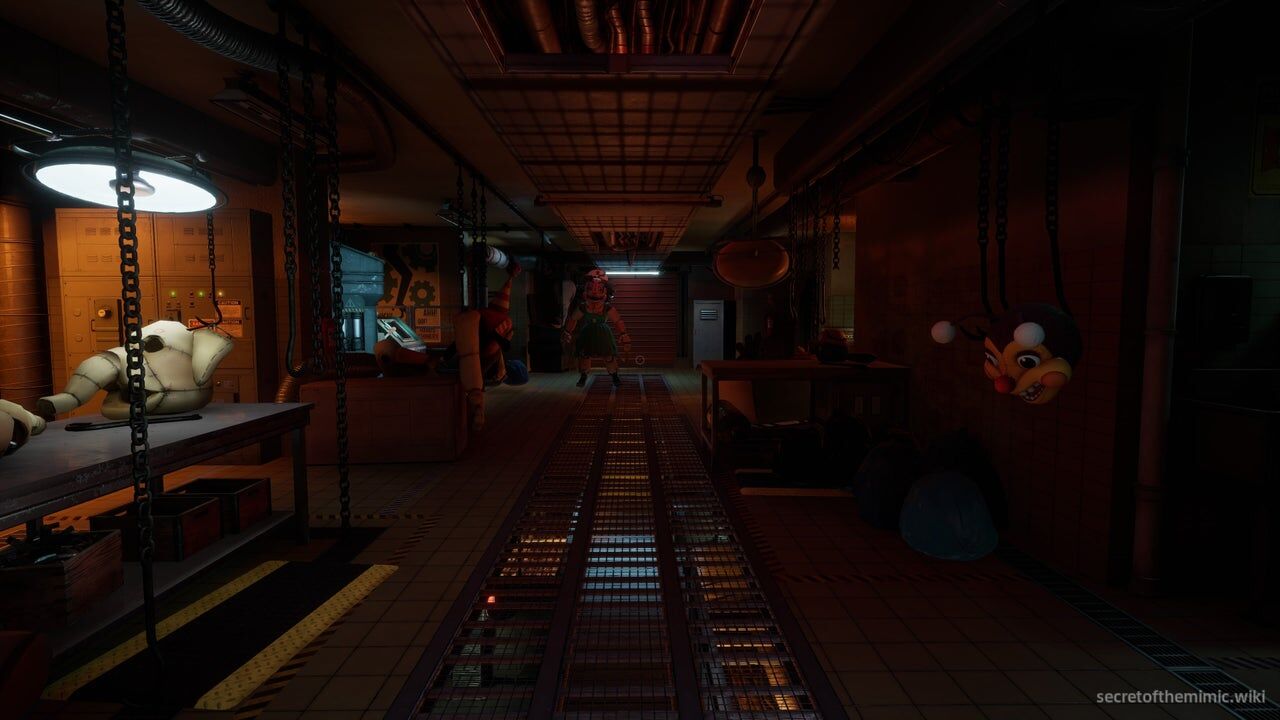
Walk a few paces and Dollie will appear directly ahead of you, blocking off your progression. Immediately take a right and sprint towards the Data Diver door ahead.
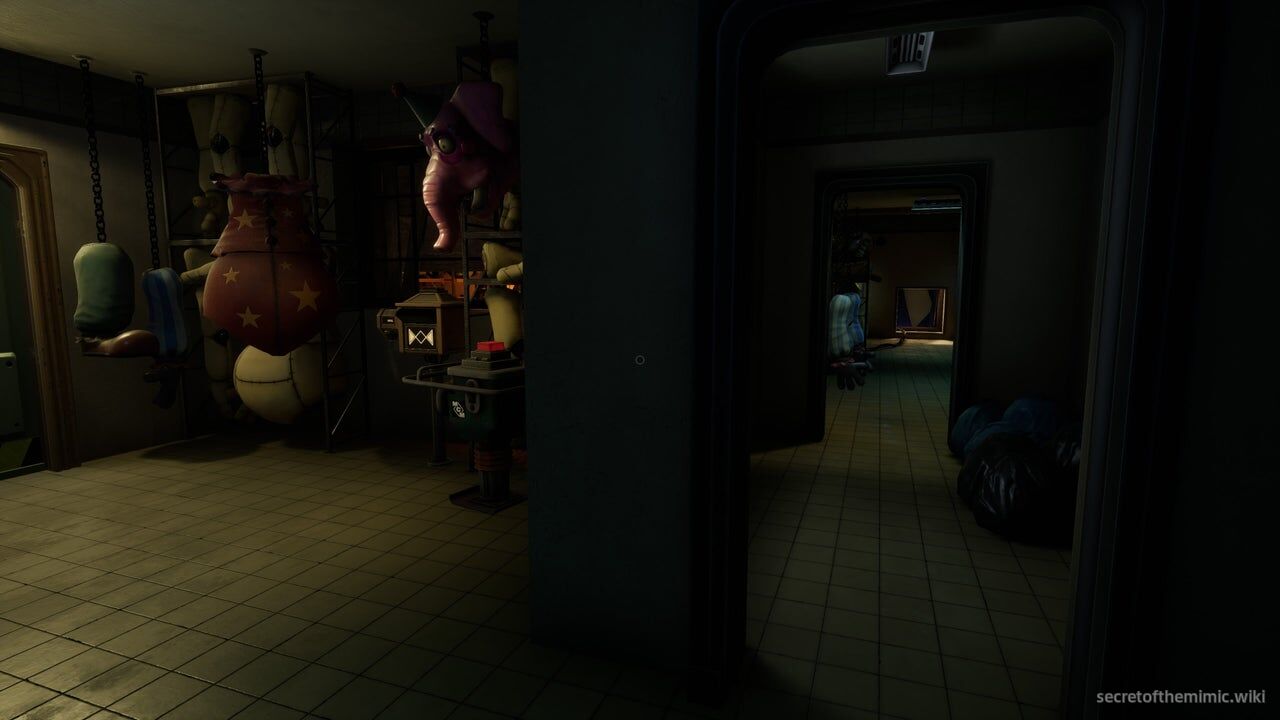
Crack it open and, once you're through, the door will lock behind you. This next section can be slightly tricky, largely because you have to hope you get lucky and the AI plays fair. So, let's give you an overview of how this portion is supposed to go down.
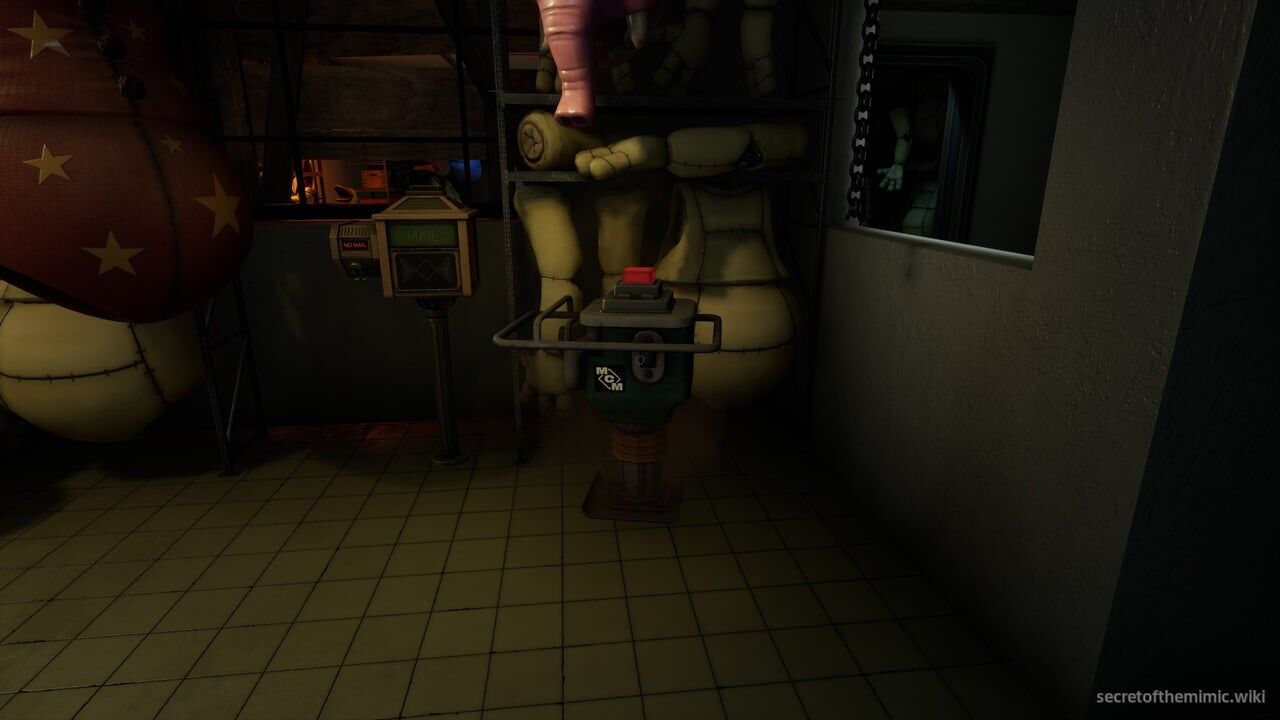
First things first, if you look next to the mailbox in the room we've just entered, you'll see a jackhammer with a red button on top of it. I've shown it in the picture above. You'll also spot a locker to your right. Remember both of these items, as we'll need them in just a few moments.
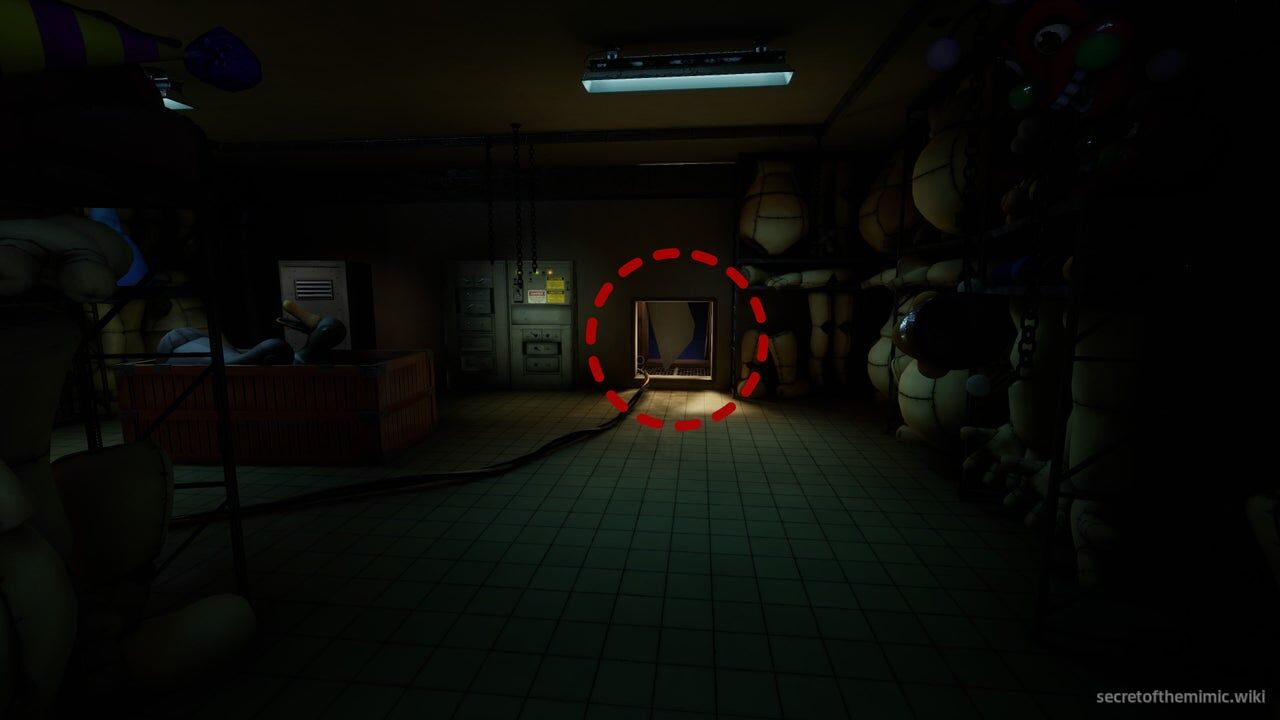
After you round the corner and enter the room adjacent to the one we're currently in, you'll find yourself in a long storage area full of spare mascot outfit parts with a shelf running through its centre. At the end of the room, directly ahead of you, is a ventilation shaft, but the fan above it is jammed, blocking your way through. I've marked it in the image above. We want to power up the fan to move it and then use the vent to escape, but getting through it is going to take some very orchestrated, sneaky moves.
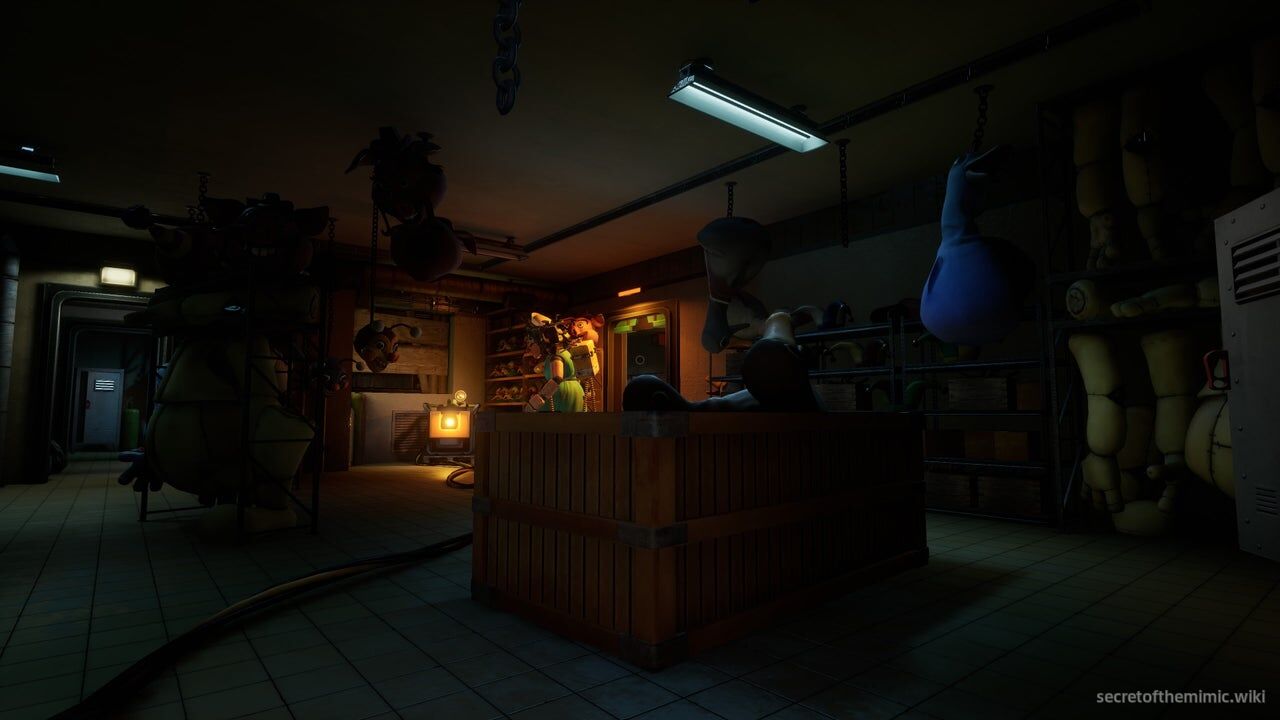
As you walk towards it, Dollie will enter the room and begin patrolling, guarding a generator on the opposite side of the shelves. She'll walk up to the generator, then around and down the side of the room where we're currently standing, before retracing her steps and beginning her patrol again.
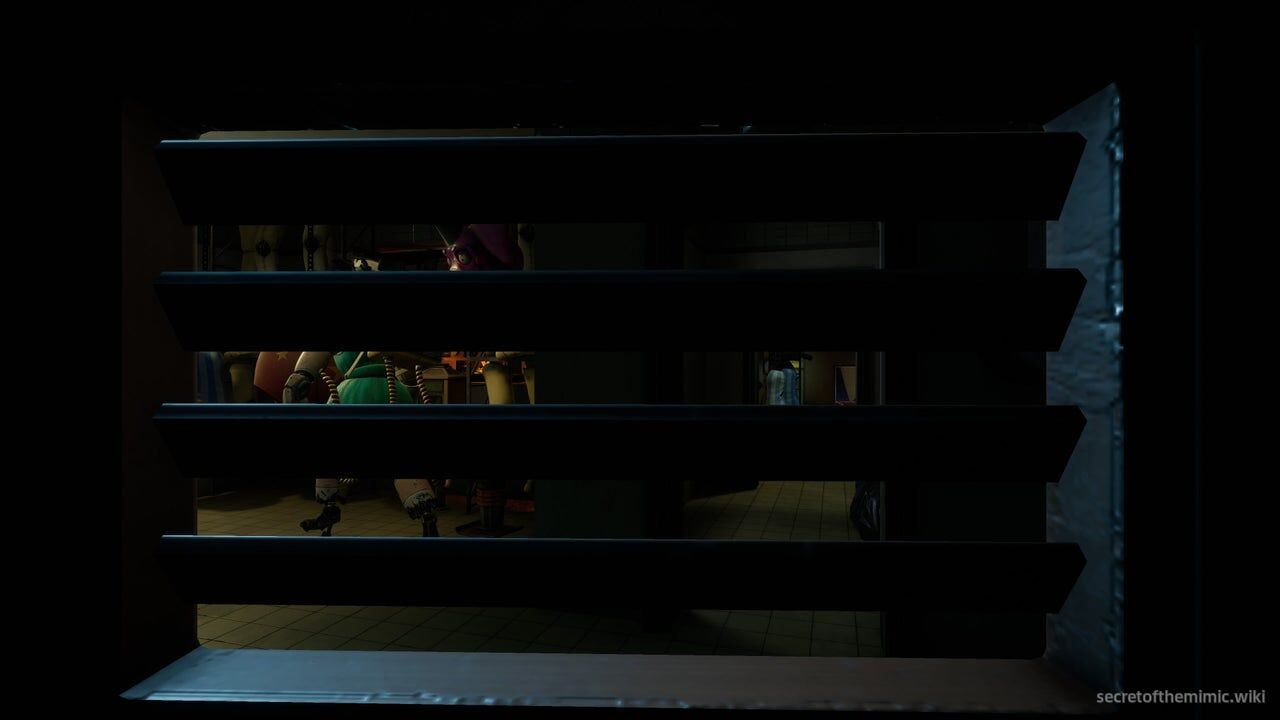
Essentially, our mission is to somehow reach the generator she's guarding and switch it on, at which point, the fan on the ventilation shaft will activate. We'll then need to crawl through the vent, all the while contending with Dollie. But considering Dollie has such a short patrol route in this room, we need to create a distraction to keep her busy. To do that, we need to use the jackhammer I pointed out earlier, then hide in the nearby locker, wait for Dollie to investigate the jackhammer, sneak past her, enter the adjacent room, activate the generator and crawl through the vent. It's a lot to do in very little time.
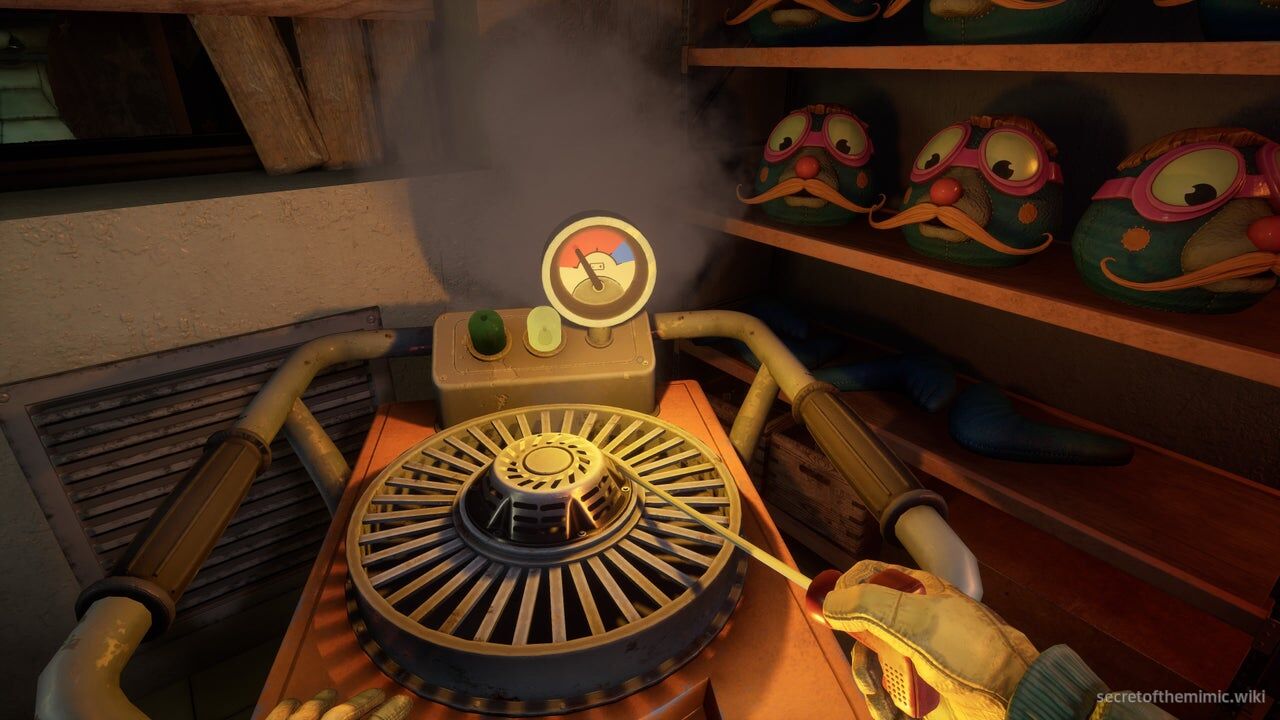
No matter which way you slice it, considering there's a window between the jackhammer room and the generator room, Dollie will likely end up seeing you regardless of how sneaky you've been and run back to catch you. That means you need to be as quick as possible. Once the generator's running, don't bother trying to sneak, just bolt to the vent and crawl through it.
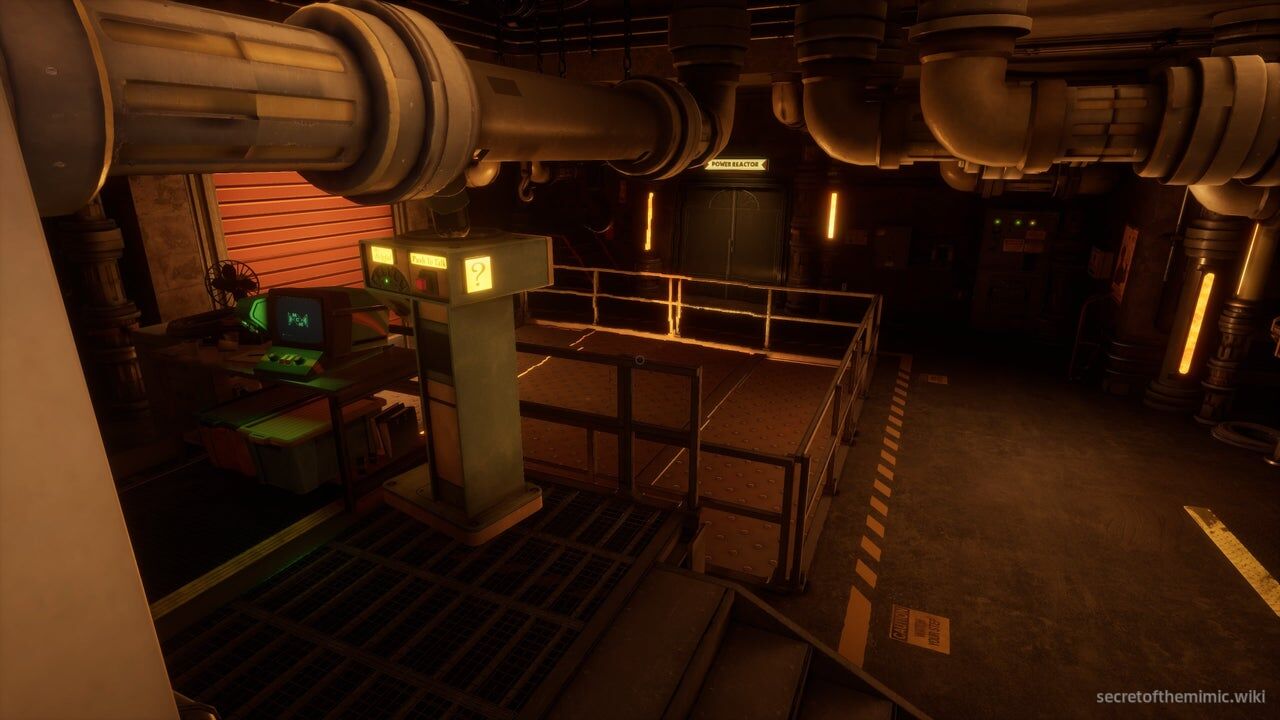
It may take a few tries to nail down the timing, but stick with it and eventually, you'll make it through the vent. On the other side, follow the vents around until you see an opening on your left. Push through it and you'll land in an incinerator room.
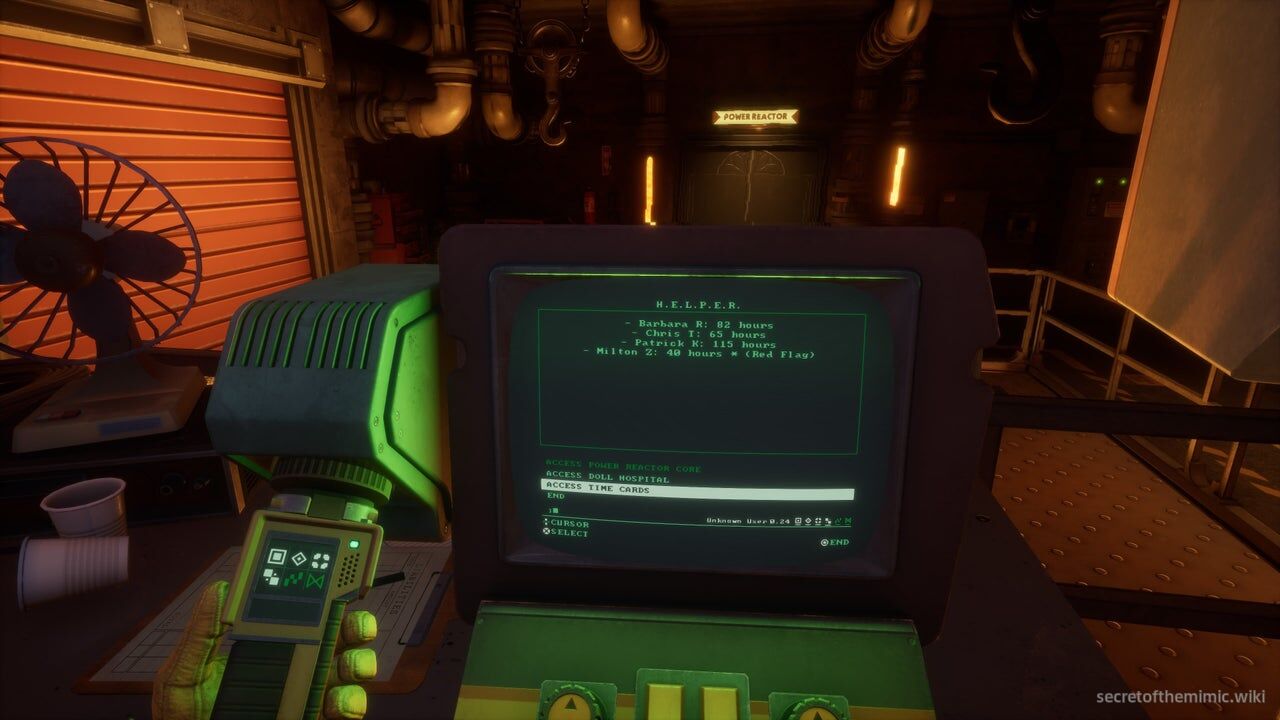
Access the terminal here and you'll see two options are available. "Access Doll Hospital" and "Access Time Cards." Click Access Doll Hospital and you'll open the shutter on your left.
Getting The Data Diver Admin Clearance Upgrade
As you head through the shutter, you'll begin the true boss encounter with Dollie. However, we need to grab something very useful before we get stuck in. Take a right as soon as you enter this room. Dollie will be in the area, but she should be coming from the left, so you're good to explore this area unopposed if you're quick.
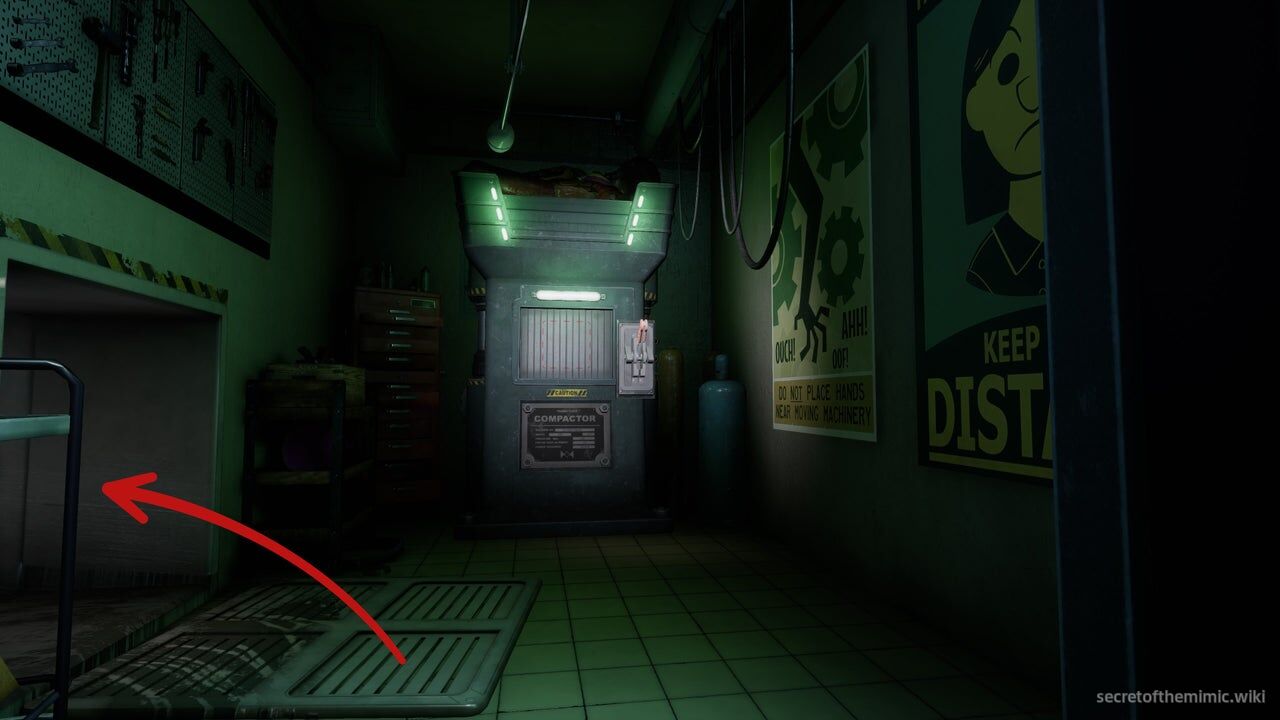
You'll enter a short corridor that leads to a second, longer corridor. The path will fork off left and right here. Take the right path so you're walking towards the hanging sign reading "Triage." When you're standing beneath the sign, look to your right and you'll see a vent next to a trash compactor.
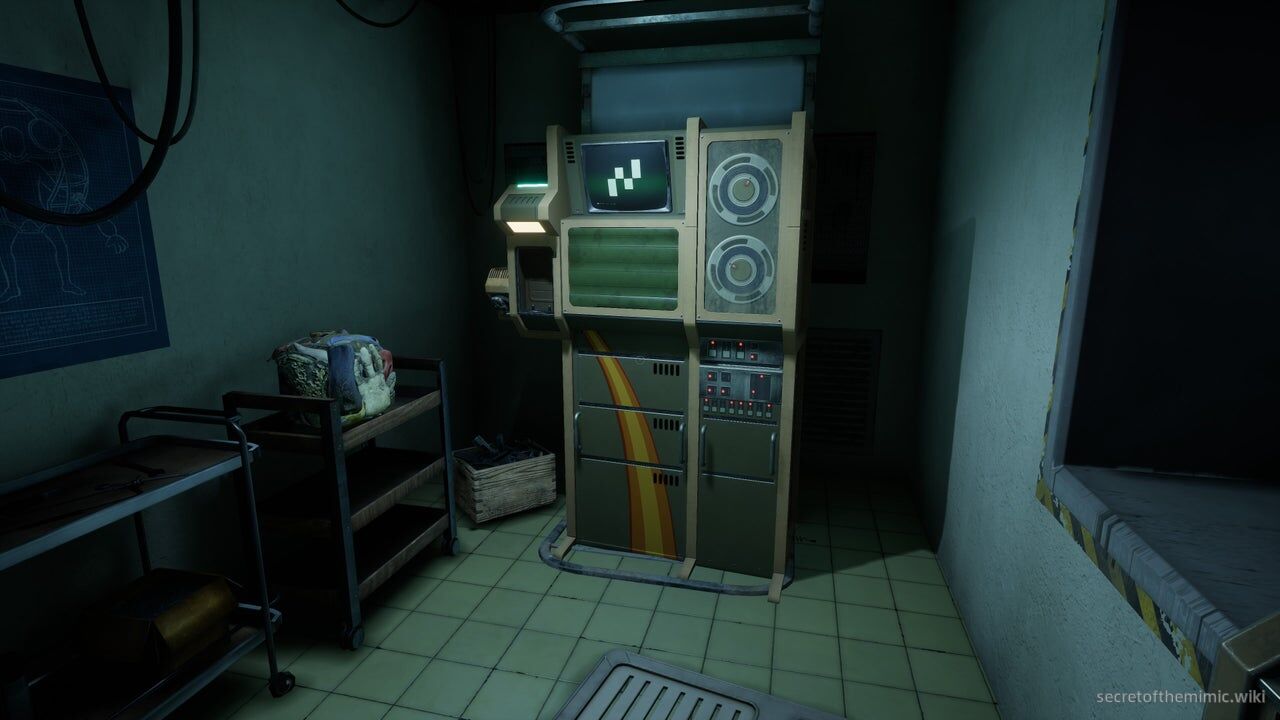
Crawl through this vent and you'll find the lost Data Diver machine that fell from the Theater when the floor caved in. Insert your Data Diver and begin the upgrade mini-game.
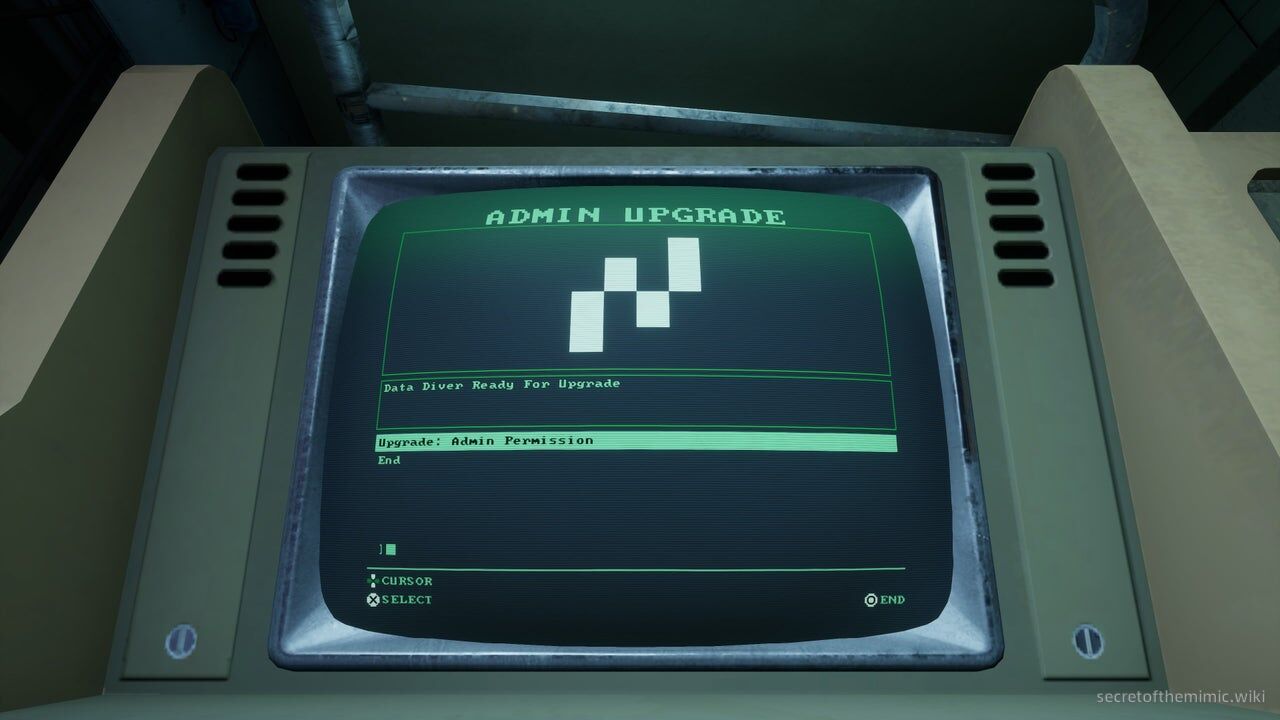
This time around, the puzzle will show two 0s in the top and bottom left-hand corners, two corrupt tiles in the upper and lower middle tiles, and a wall of 0s on the entire right-hand side of the grid.
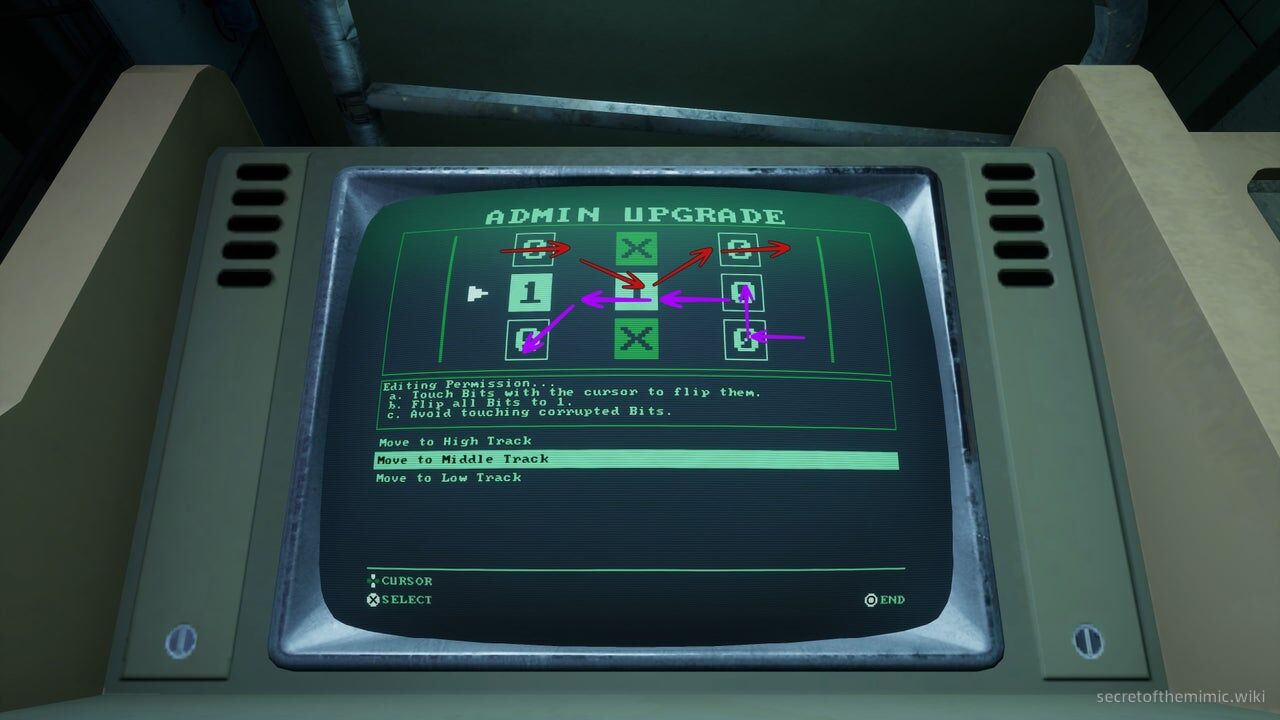
To complete the puzzle:
-
Start from the top left-hand corner
-
Switch to the middle row as the cursor moves to the centre of the grid
-
Then bring the cursor back up to the top right-hand corner when it reaches the right-hand side
-
When the cursor flips, bring it to the bottom right-hand corner tile and then quickly shift it to the middle row so it activates both the 0 tiles on the right
-
Now, move back through the central tile, and finally bring it down to the left-hand corner as it reaches the left-hand side of the grid.
The diagram in the screenshot above has the correct sequence of movements. Red arrows indicate where to move when the cursor moves right, and purple arrows indicate where to move when the cursor moves left.
When that's done, we'll have netted another Data Diver upgrade... and your reward? Going to war with a sadistic eco-robot. Yay!
Dollie Boss Fight
Now we're officially ready to lock horns with Nurse Dollie. As you may have read on the terminal in the incinerator, we have a set goal for this segment. We need to find six recycling cubes and then throw them into trash chutes.
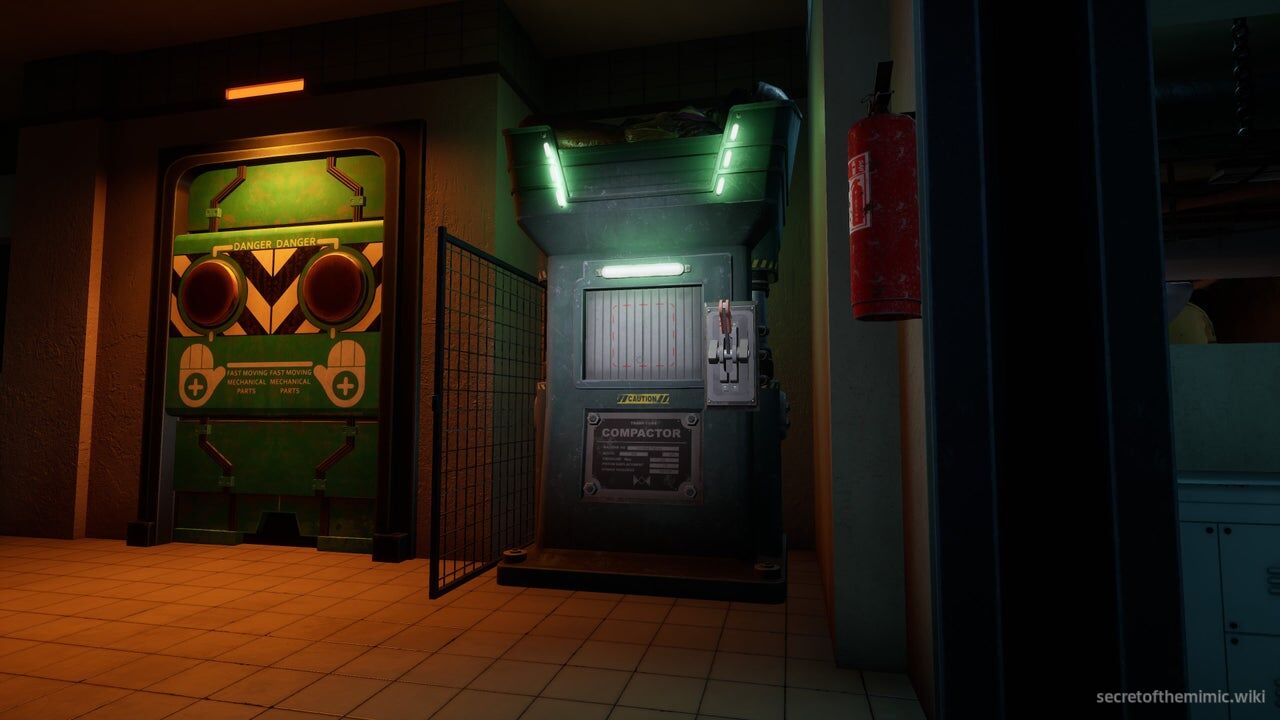
These recycling cubes can be found in one of two ways: You can find the cubes themselves dotted around the environment, or you'll find trash compactors.
If you find a trash compactor, you'll need to pull the lever on the side of it to compact the trash inside. Once the process is complete, a recycling cube will emerge from the slot in the centre of the machine. I've shown what these trash compactors look like in the screenshot above. They're blocky, grey machines with green lights toward the top and have a lever on the right.
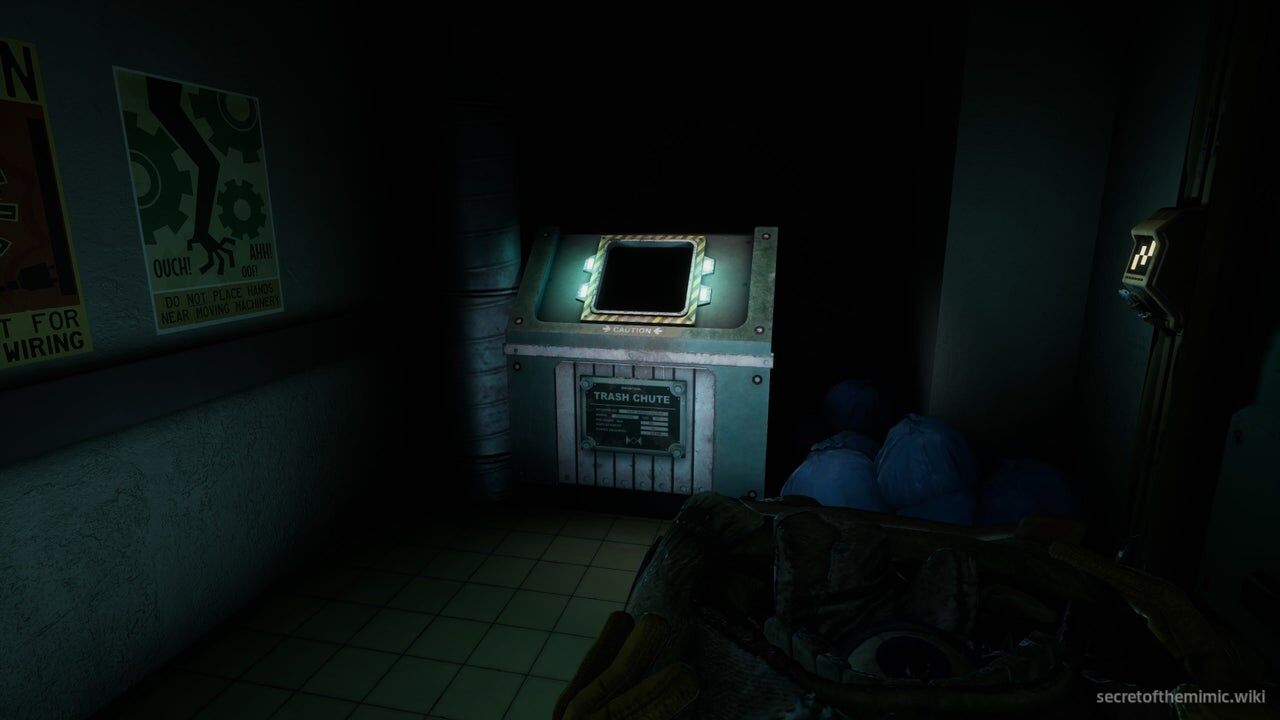
After picking up a recycling cube, your new goal is to find a trash chute. I've shown what the trash chutes look like in the image above. They look similar to the compactors, but they have an angled top and green lights around the spot where you'll deposit trash. Once you throw the trash into the chute, you'll get a checkpoint and then can begin searching for more trash to bin.
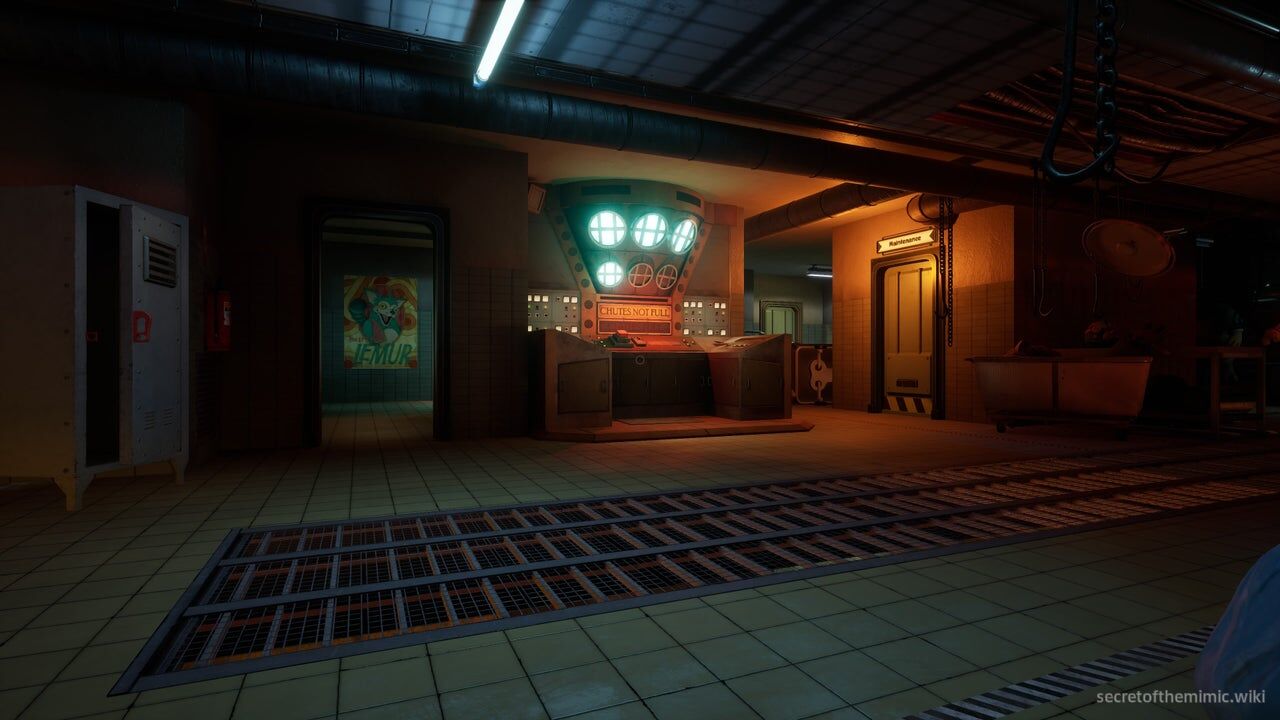
As you start to chuck away trash, keep your eye on the giant console in the centre of the area. It's shown in the image above. Each time you successfully bin a recycling cube, one of the circles above the "Chutes Not Full" sign will glow blue. Once all six are filled, you can press the red button on the machine to activate it, opening the Maintenance door to its right.
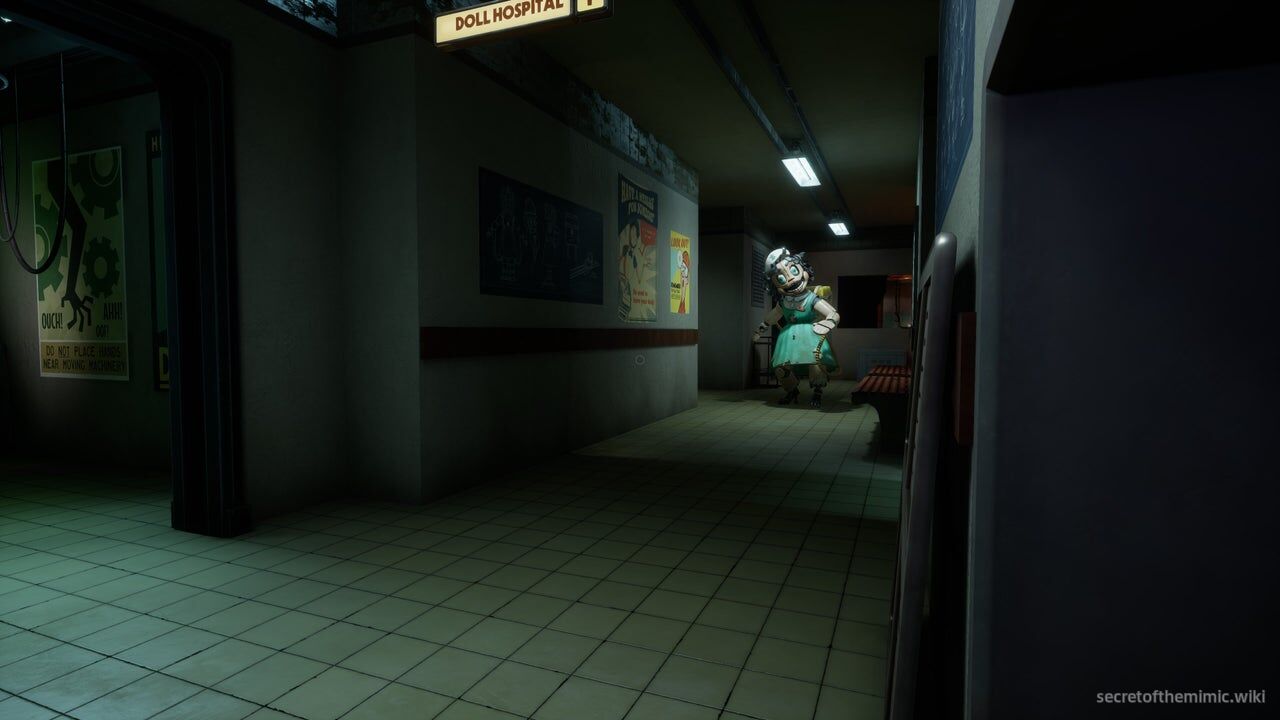
As expected, though, we aren't free to enjoy a nice recycling adventure in peace. Dollie is roaming the halls trying to stop you, and considering she has a ton of claustrophobic corridors to corner you in, she can be incredibly efficient and deadly. Dollie is also clearly a huge fan of chains and meat hooks. Walking into either of these will cause it to clatter, alerting Dollie to your presence, which can lead to some sticky situations if you don't have a means to escape.
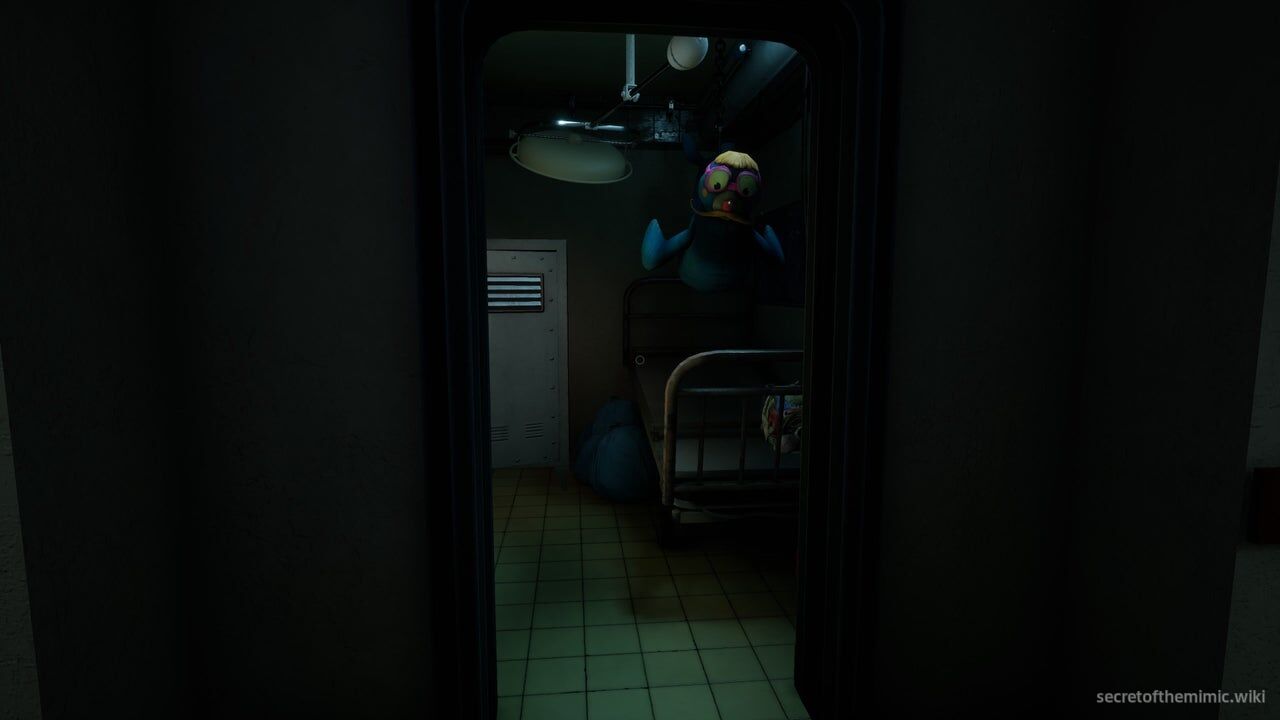
As for the location of the cubes themselves, unfortunately, they all seem to be somewhat randomised. In my testing, the placement of the individual cubes appears to change for every person. However, the trash compactors are seemingly all in the same spot.
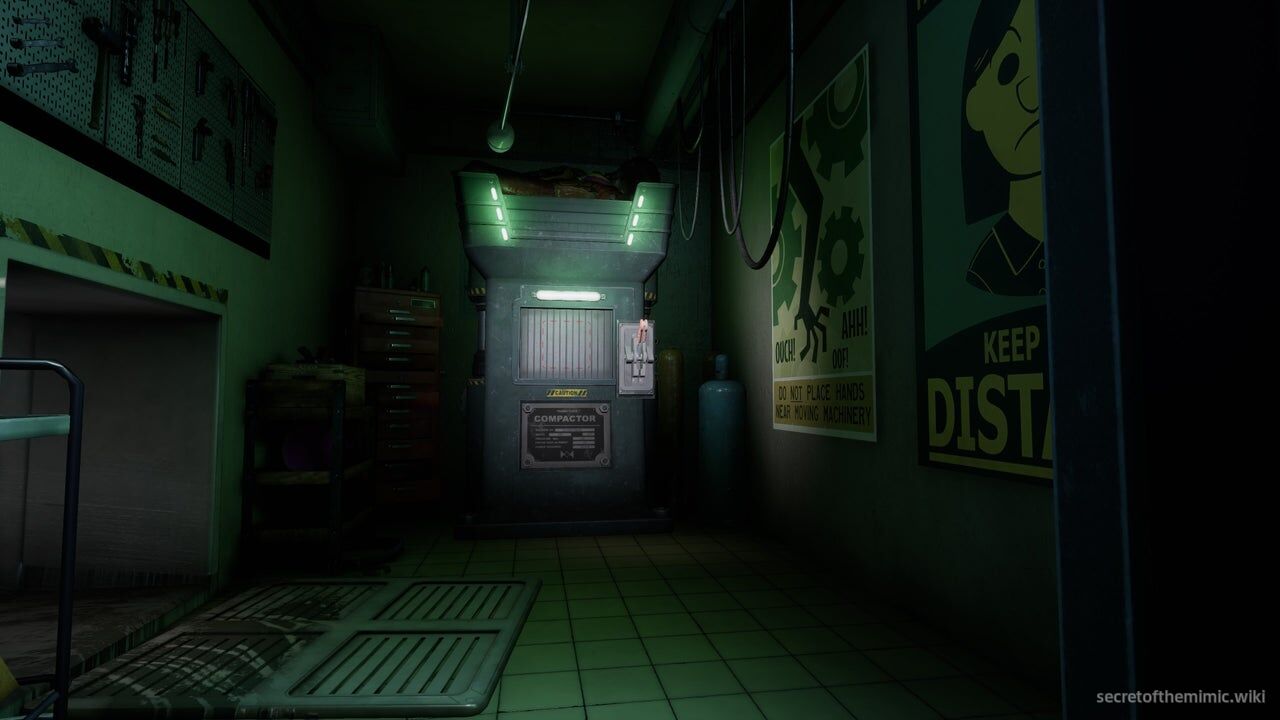
You'll find one by the vent that leads to the Data Diver Upgrade machine.
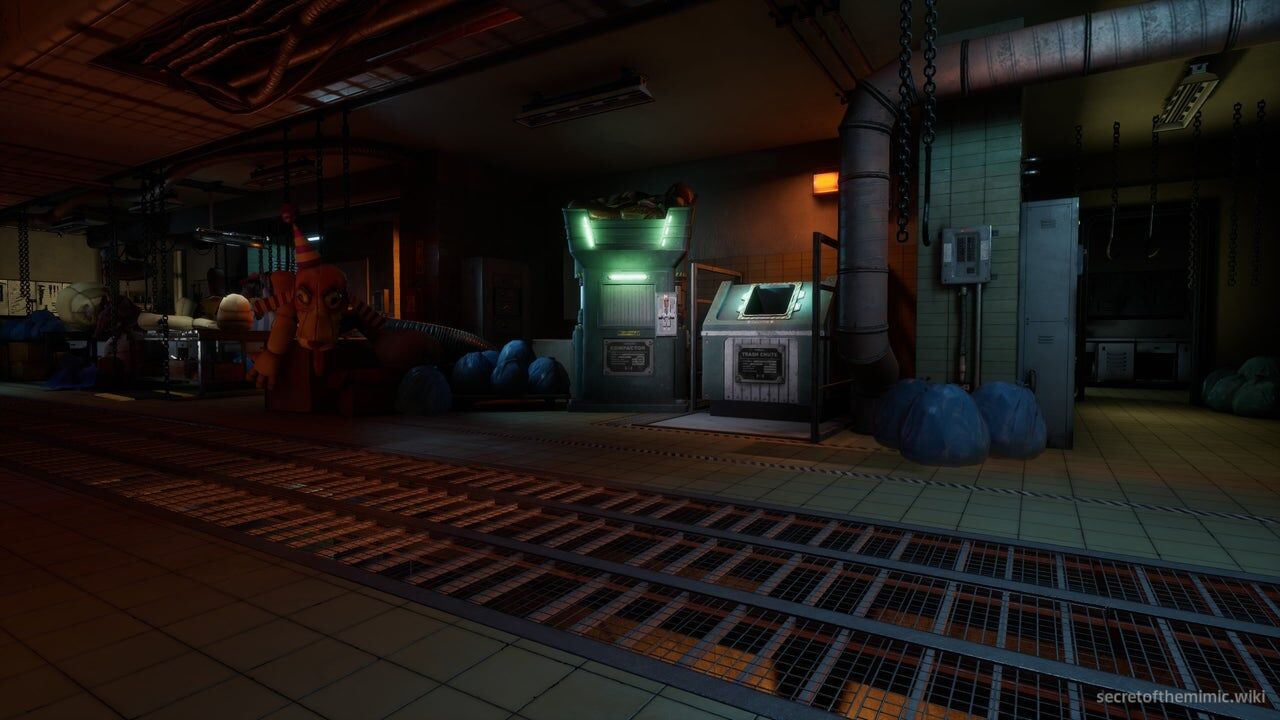
A second opposite the console we need to activate when we've inserted all the trash.
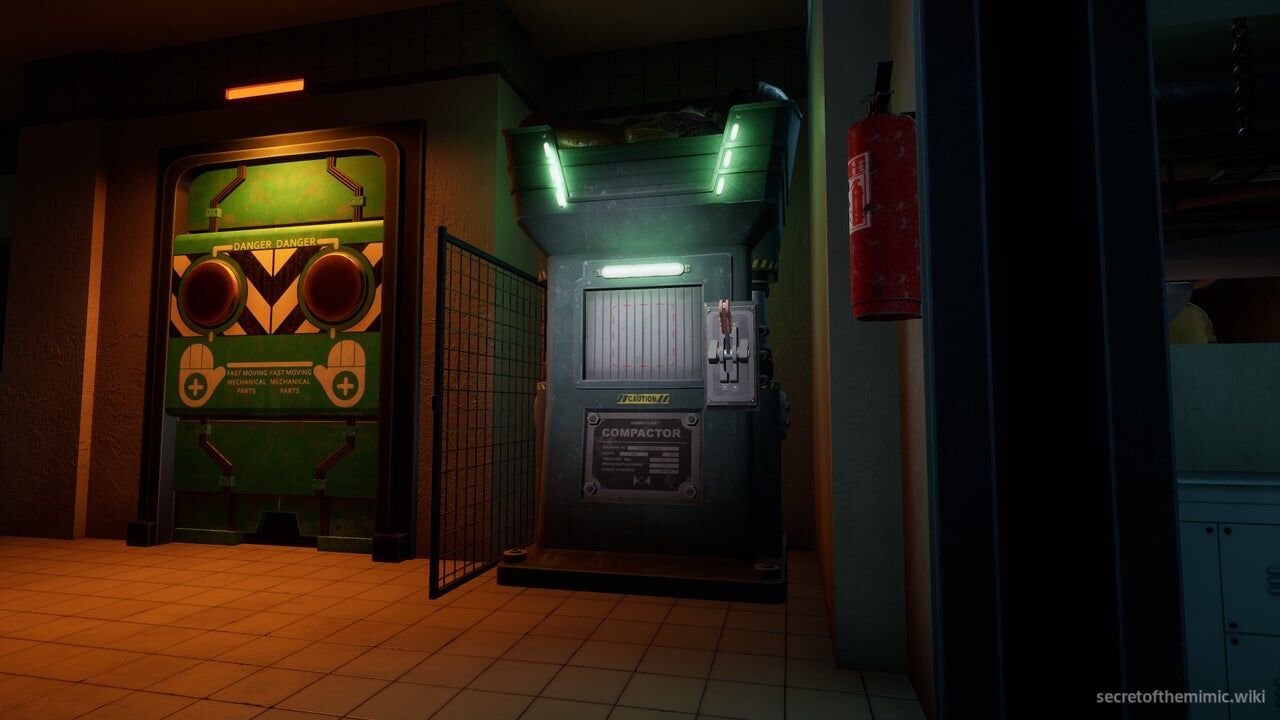
And a third directly before entering the room with red hooks and chains in the hospital ward area to your right after exiting the furnace. That's at least three recycling cubes that are consistent between playthroughs. But to help you cover your back while you find the other three, let's run through some useful tips for evading Dollie.
Dollie Fight Tips
The vast majority of this encounter is going to take place in what I'm referring to as the "Hospital Ward." It's the interconnected corridor that we used to reach the Data Diver upgrade machine.
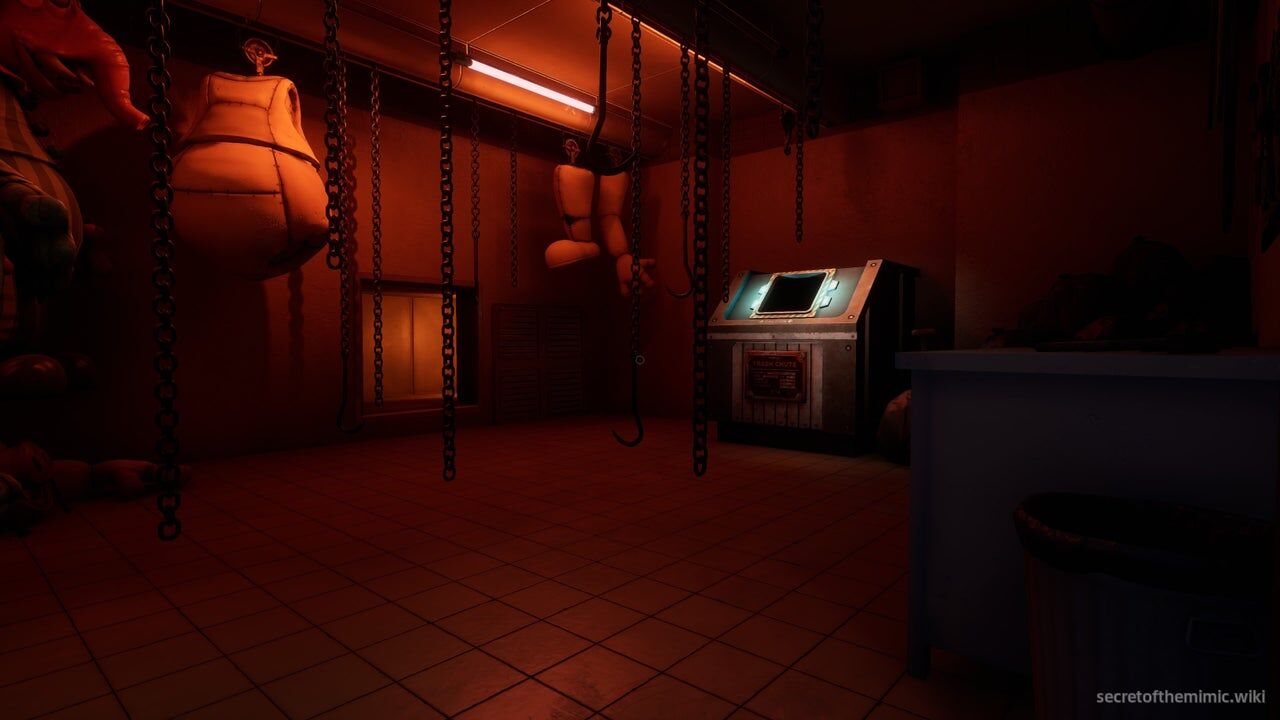
The area can be tricky to evade Dollie in, as it's very compact. But it does have one huge saving grace. Once you enter, you'll find a room full of meat hooks illuminated by sinister red lights at the end of the corridor. This room may look like a Texas Chainsaw Massacre hellscape, but it's secretly a go-to way to make Dollie leave you alone. Once you enter the meat hook room, you'll see a vent opposite you that takes you straight back to the central corridor, and considering the room is full of chains, it means you can trigger the sound lure to draw Dollie to your position and then instantly use the vent to flee.
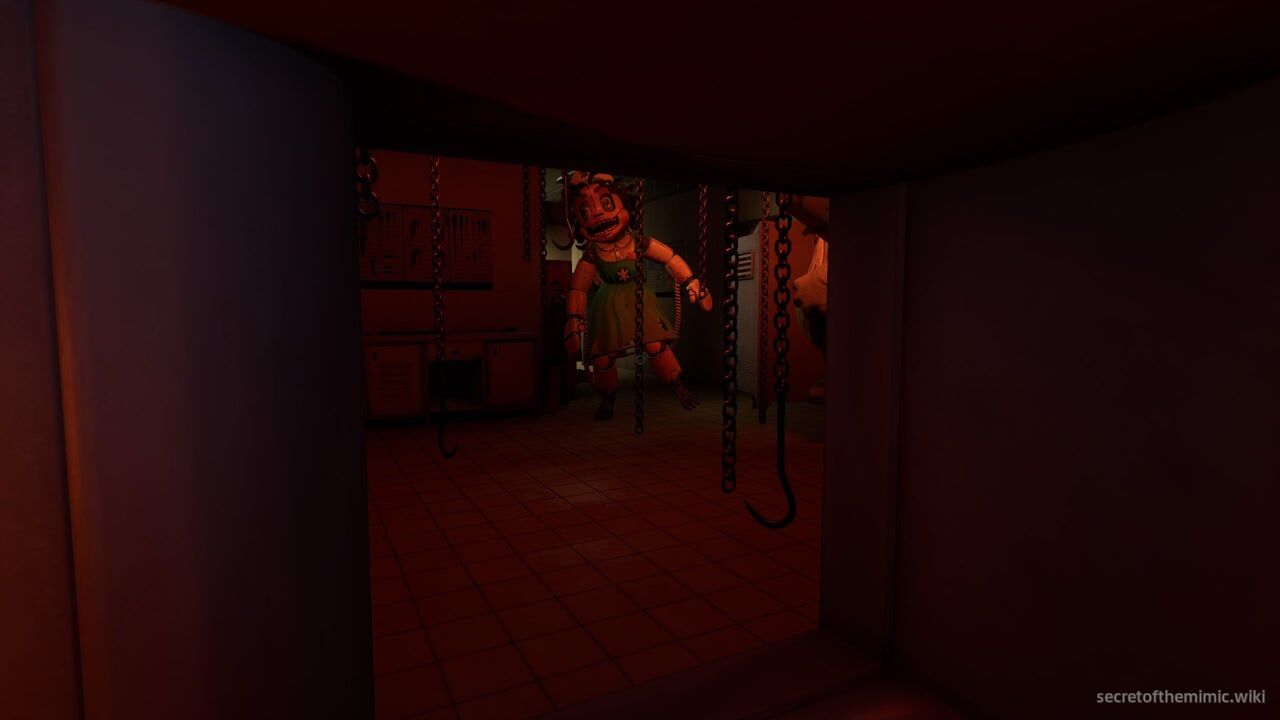
In essence, you can bait her away, so collecting cubes is much easier. Use this to your full advantage to make Dollie much less of an unpredictable factor and reset her position if you've lost track of her. Other than that, the key to this encounter is to shift between hiding and exploring frequently. Considering Dollie can corner you easily, lure her into the meat hook room, then, while she's distracted, explore, find a cube, trash it, and return to the vent to repeat the process. You don't need to be quick, and luckily, you get a lot of checkpoints, so feel free to use the vent as a regrouping spot while you plan your routes.
Frying Dollie
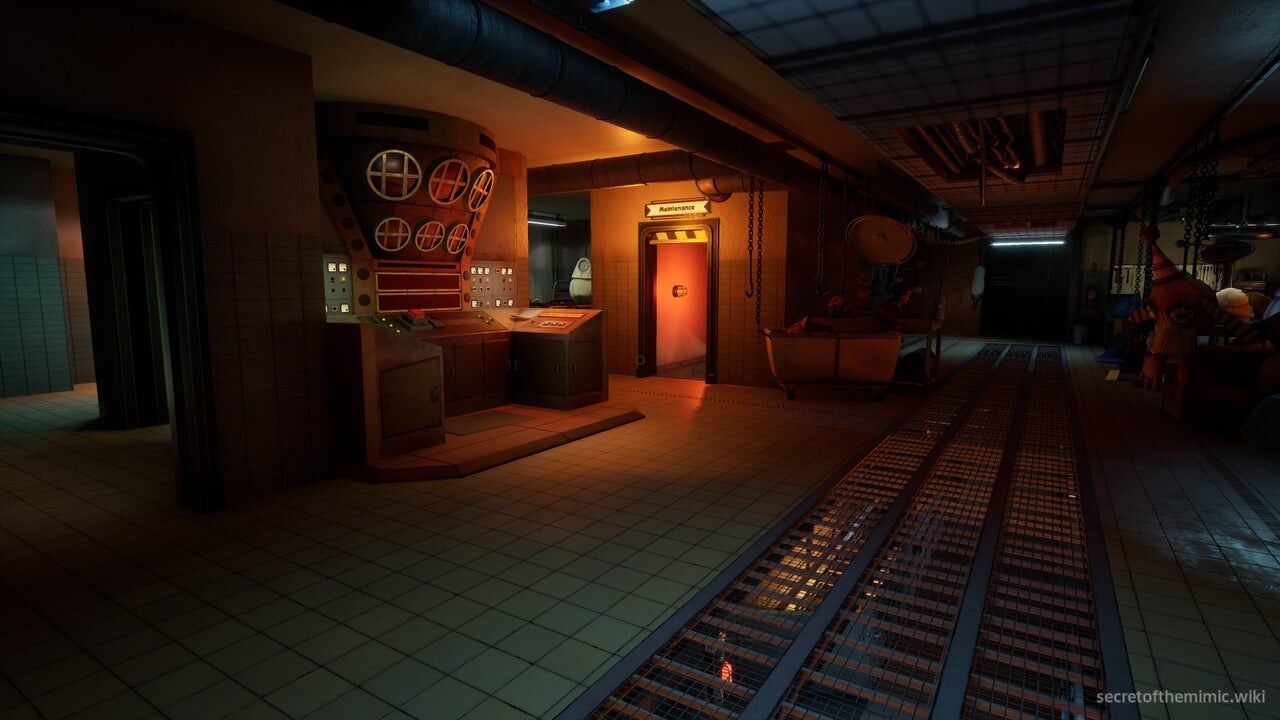
Once you've managed to trash your six cubes and activated the trash console, the Maintenance door will crack open, allowing you to escape. Head inside, descend the stairs, and use the debris to reach the conveyor belt across from you.
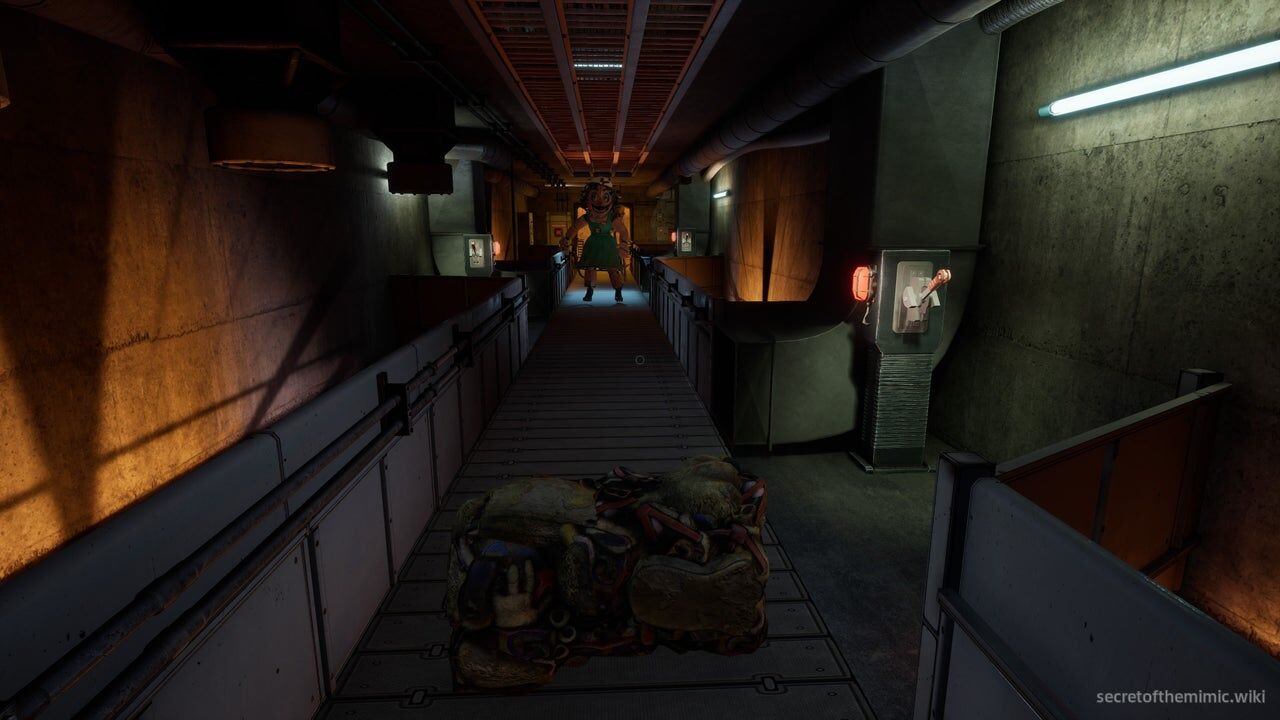
As you land, Dollie will come crashing through the ceiling, landing on the conveyor belt and attempting to sprint towards you. She'll only make minor progress as the conveyor belt is moving against her, so you aren't in much danger, but still be on your guard.
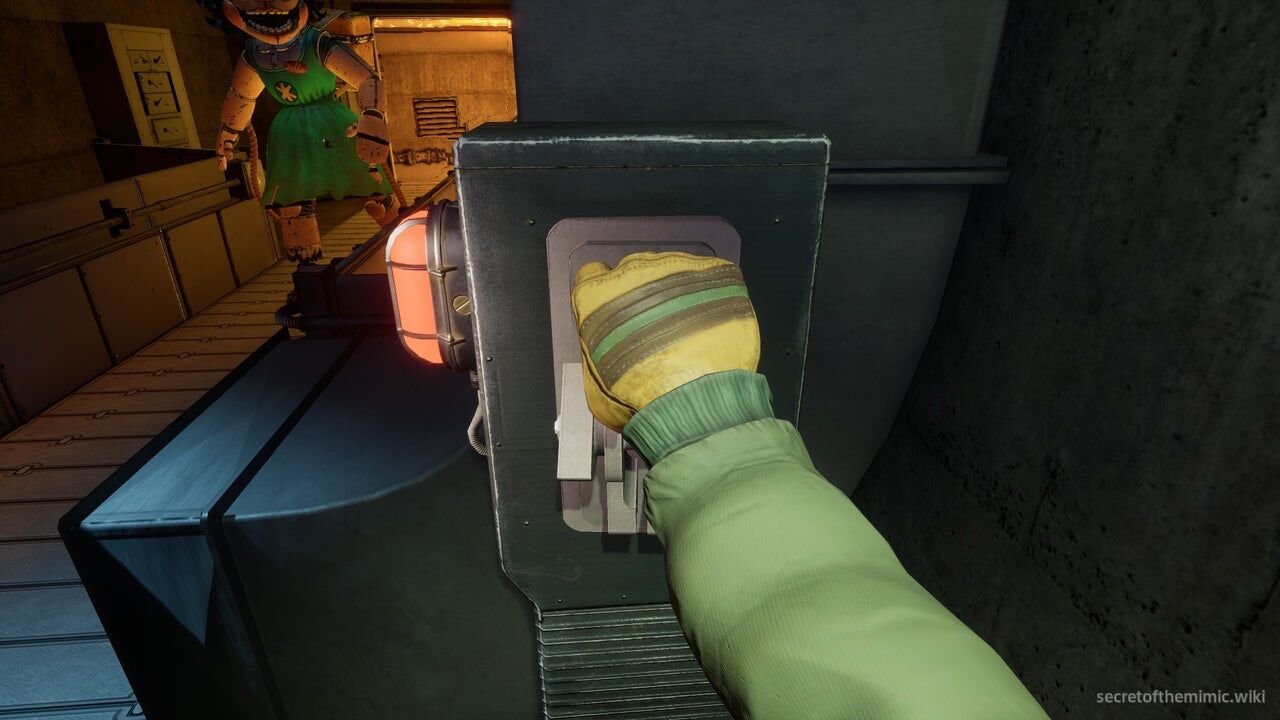
On the left and right-hand sides of the conveyor belt, you'll see various levers. By pulling these levers, you'll drop trash onto the conveyor belt. Each time the trash hits Dollie, she'll stumble, causing her to fall back slightly. The aim here is to push her back to the doors behind her and into the furnace beyond them.
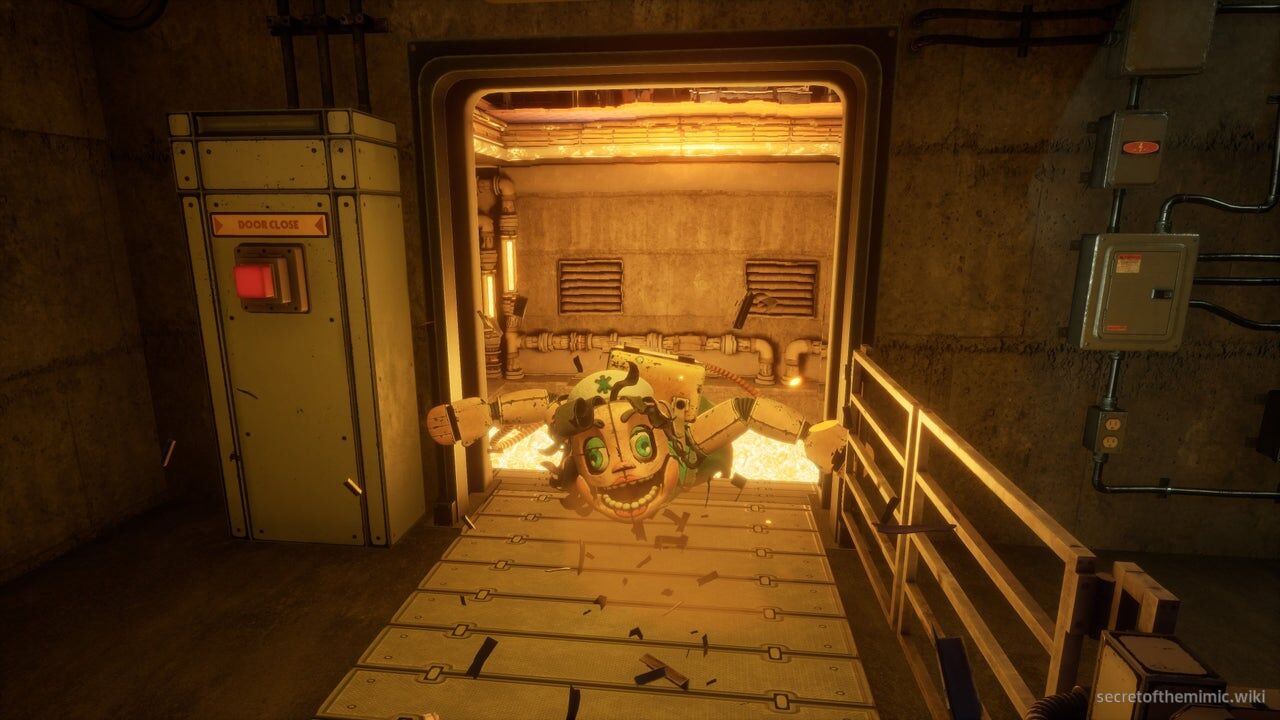
Move between each lever and pull it, never getting too close to Dollie. After you've pushed all of the ones available to you, you'll likely notice that the levers at the top of the conveyor belt are active again, so run back and pull them for a second time. Eventually, Dollie will be pushed back to the doors but will cling on for dear life.
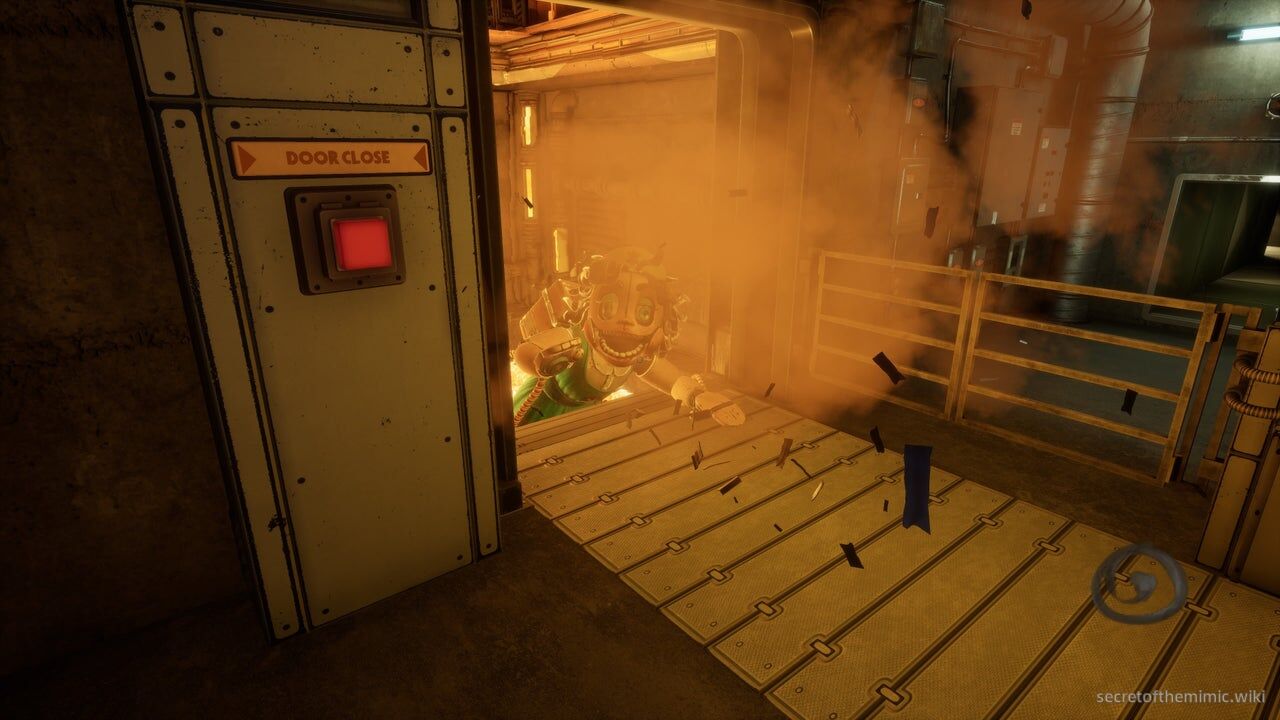
Walk towards the doors and, on the left, you'll see a red button. Press it to seal the doors and drop Dollie into the molten abyss below. That's yet another animatronic down for the count... right?
Molten Dollie Chase
With Dollie officially sent to the pits of Mount Doom, look to your right and you'll see an open vent. Crawl into it and follow the route. It'll drop you back out into the ventilation area we used to reach the furnace room before the boss fight.
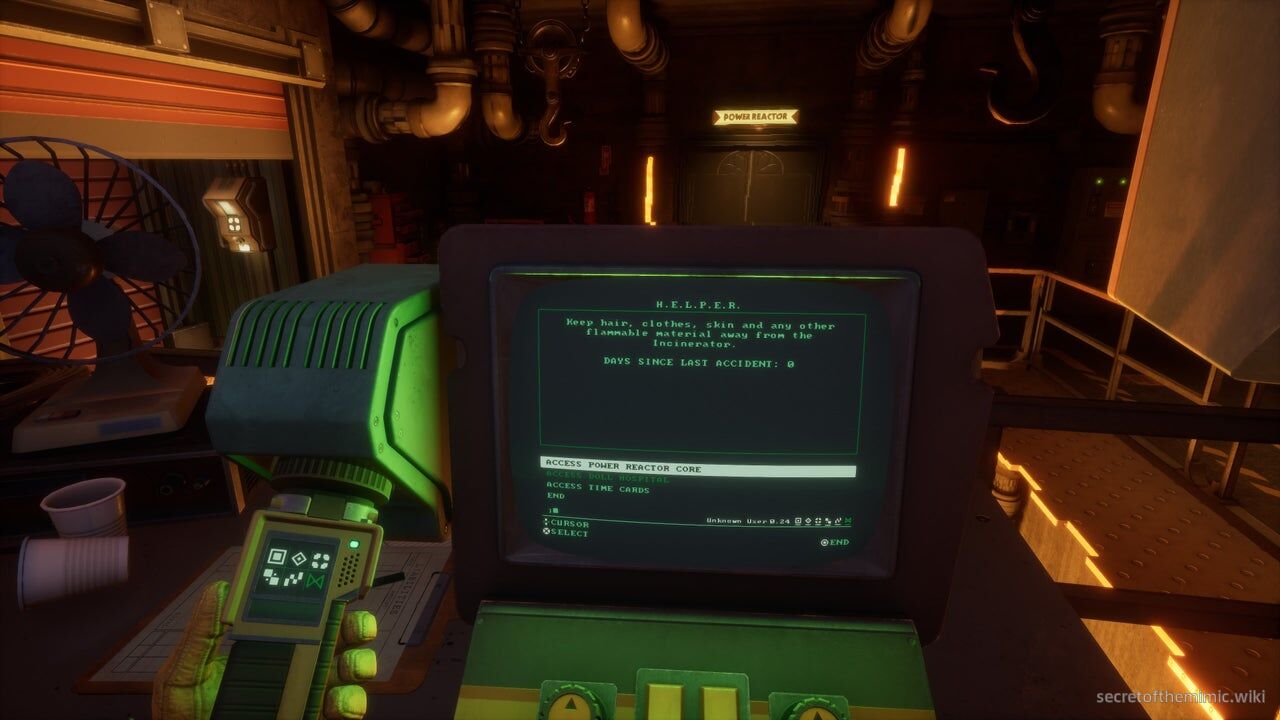
Follow the route back to the furnace room, drop down and access the terminal we initially used to open the doors to Doll Hospital. There's a new option: "Access Power Reactor Core." Choose it, and the doors opposite you will open.
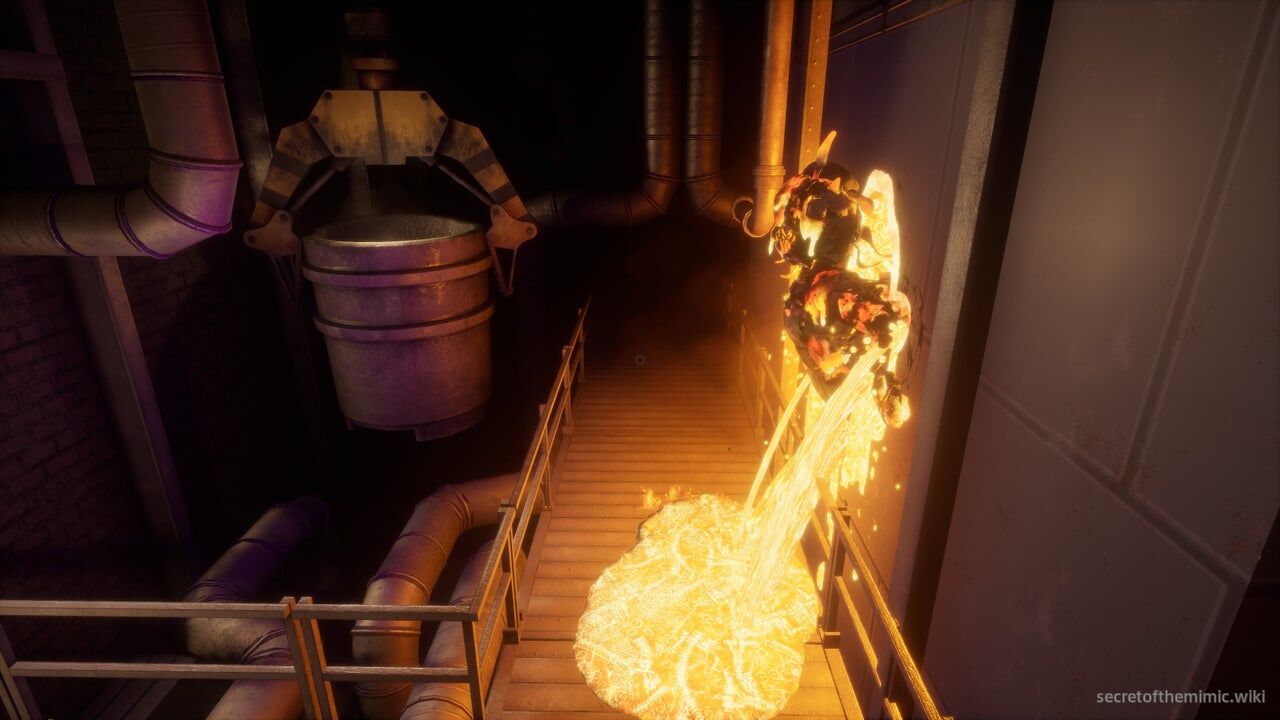
Head through them and use the elevator on the other side. Ride it down to the Power Reactor and follow the path until you find a second elevator. Step on in and pull the lever. As you descend, lo and behold, Dollie will pull her ultimate William Afton trap card and reveal she always comes back, as we see her pull herself out of the furnace, covered in molten goop, and primed for a big ol' rematch.
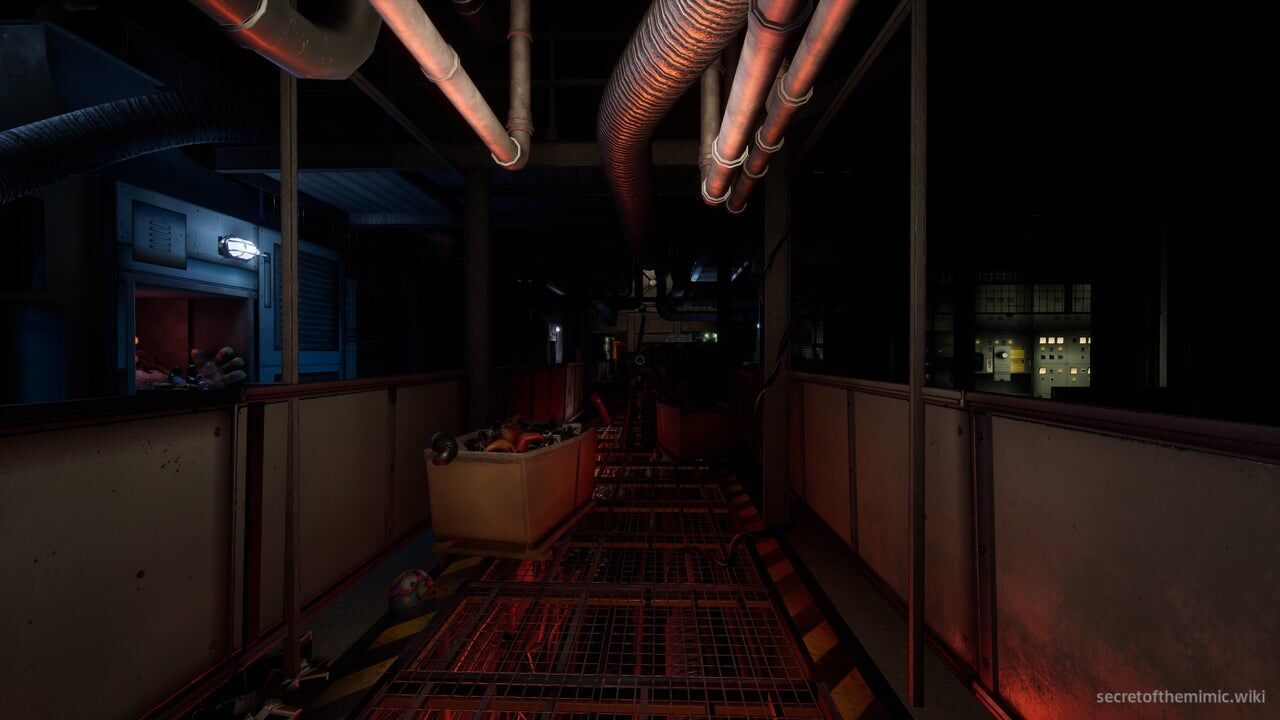
Once the elevator opens, take a left and sprint down the walkway in front of you. You'll enter a long corridor with carts on either side of the path. Weave between them until you see an opening to drop down onto the conveyor belt on your right.
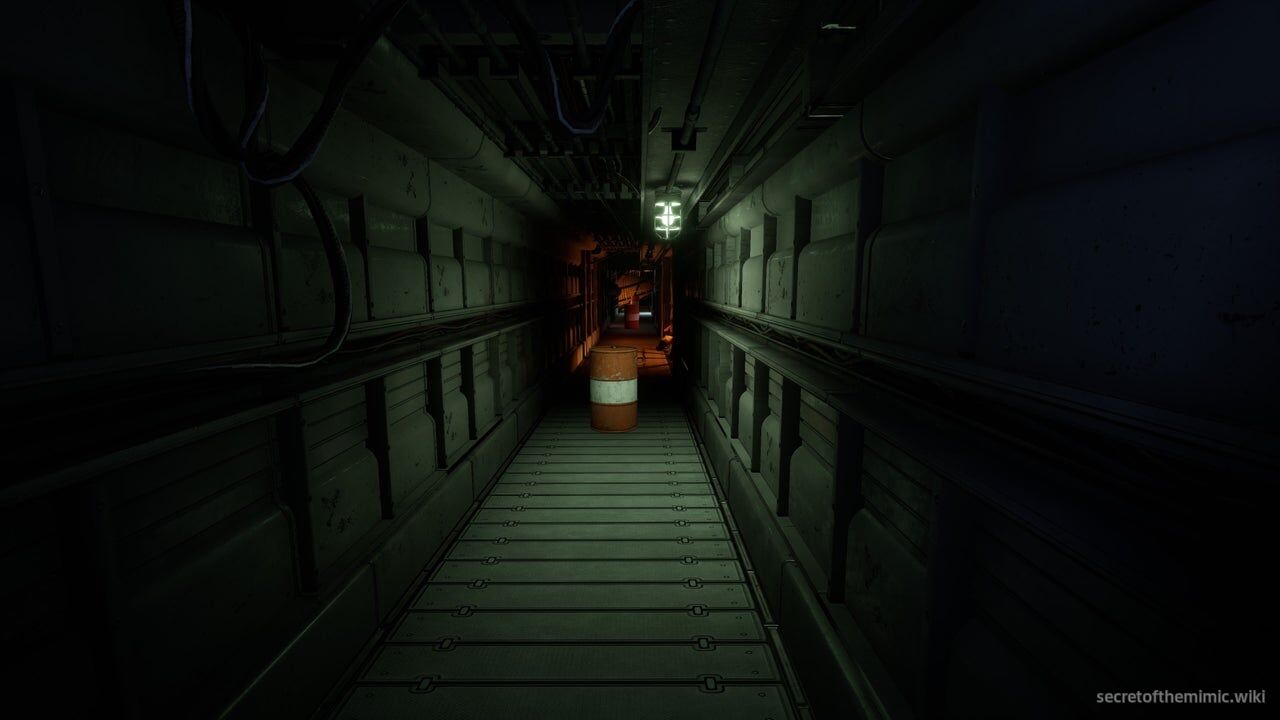
Once you land, you'll speed forward as the conveyor belt carries you towards a long metal walkway that wraps around a warehouse. Drop down to it and follow it until it deposits you onto a second conveyor belt. Push forward and, as you progress, Dollie will cut you off from ahead.
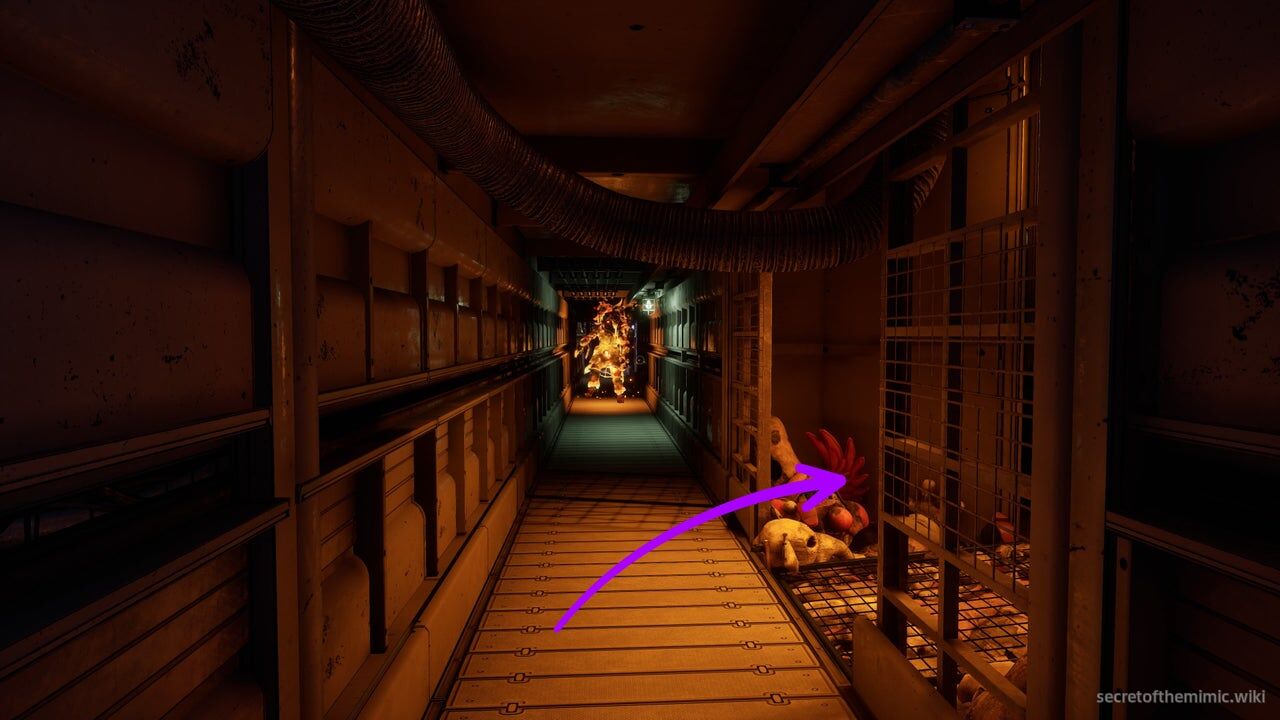
You'll spot an opening between two fences to your right, so dip into it and crawl through the vent you spot ahead. The vent will close behind you, giving you a moment of reprieve. Keep crawling and follow the vent as it leads you through the ventilation system and out into a small room with a generator.
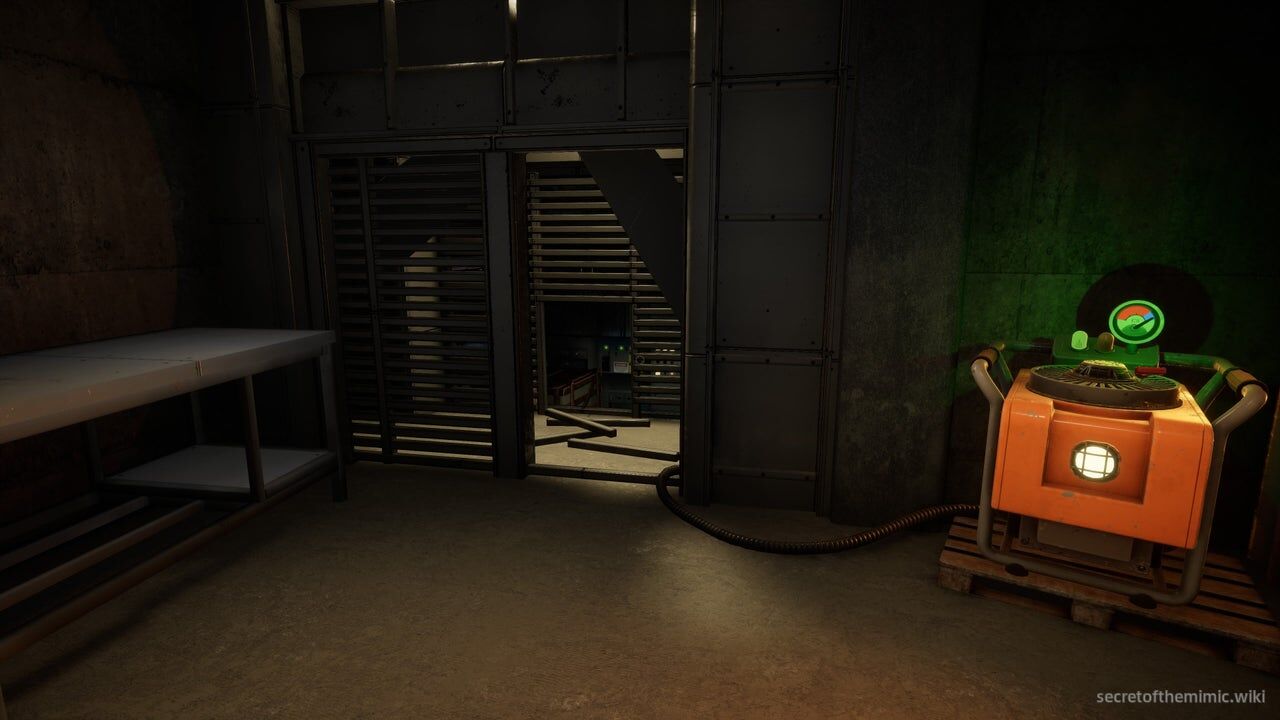
Use the cord to power the generator, and you'll notice the fan in the vent to your left moves, allowing you to crawl through and drop down to the warehouse below. As you land, you'll see Dollie roaming the conveyor belt beside you.
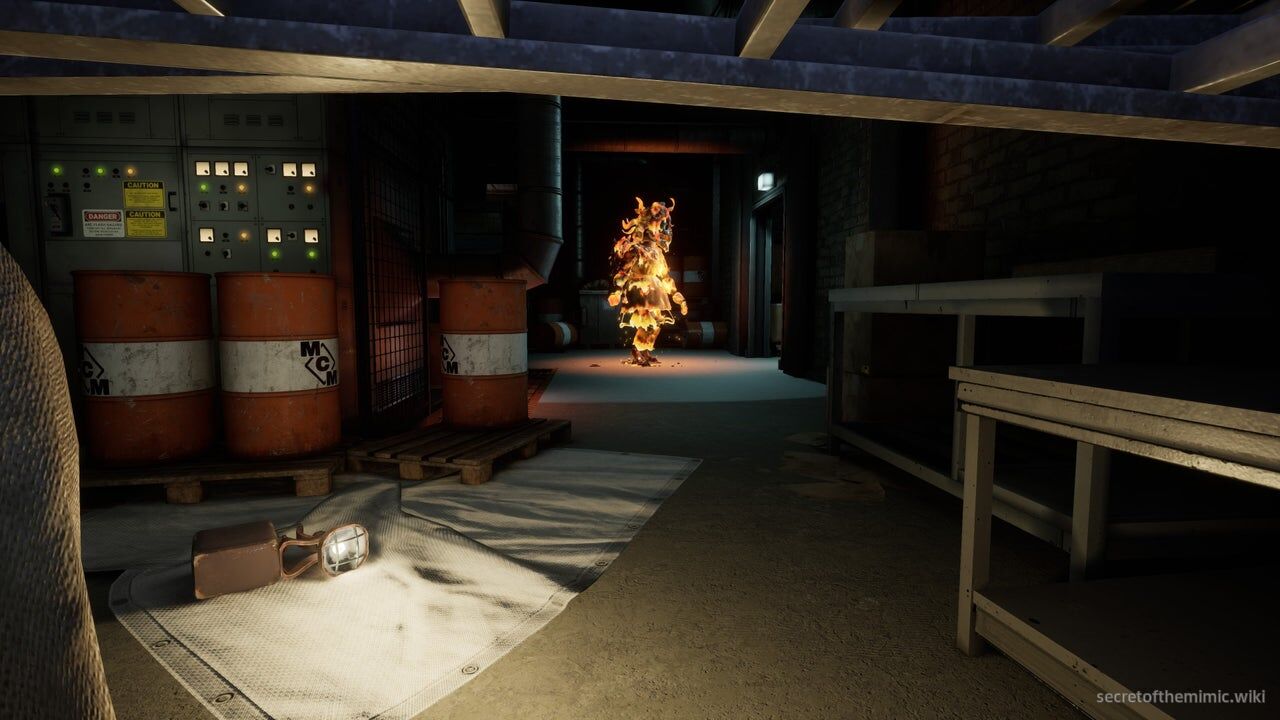
Proceed through the area until you reach a steel sheet that you need to crawl under. Once you're under it, stay here for a second. Dollie will appear and idle in front of a door for a few seconds. Wait her out, and she'll walk through the door. When she's gone, follow her.
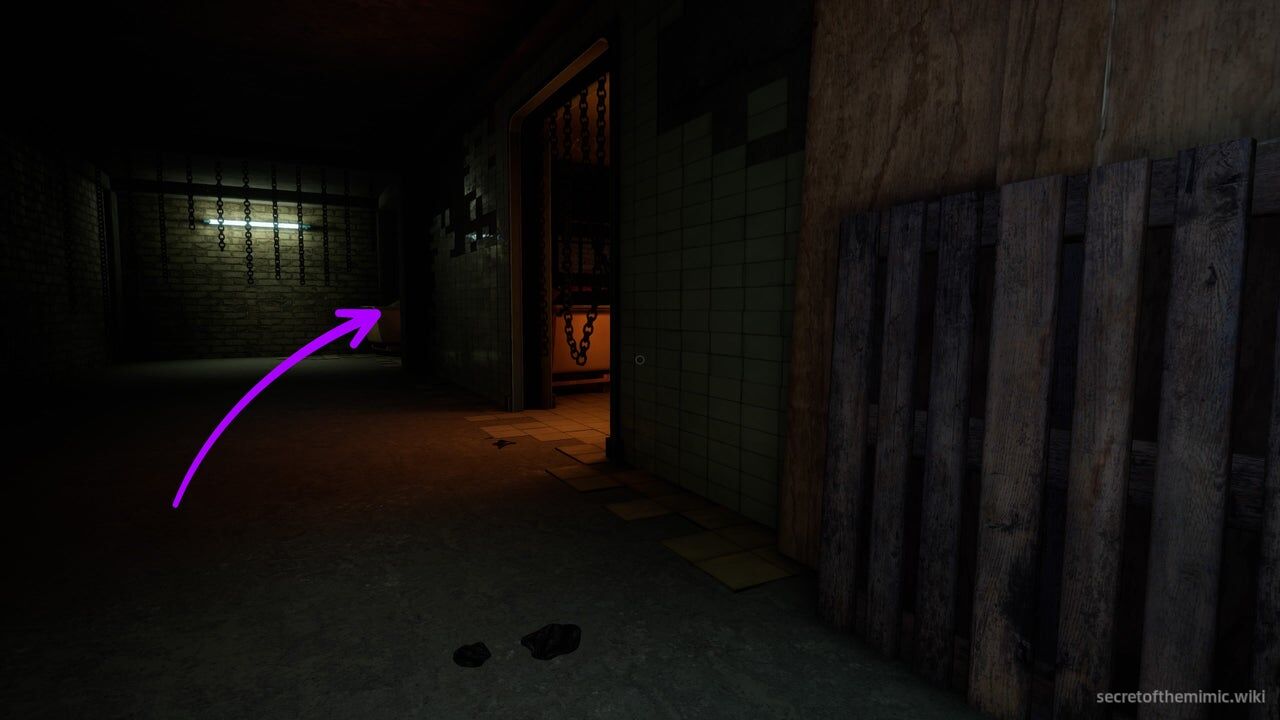
This next section is largely on rails, but whatever you do, do not stand up. There are chains hanging from the ceiling throughout this corridor, and the moment Dollie hears you touch one, she'll break out of the scripted segment and come to kill you. Once you move through the doorway, you'll see there's an inner room with an outer corridor that wraps around it. Follow the outer corridor around.
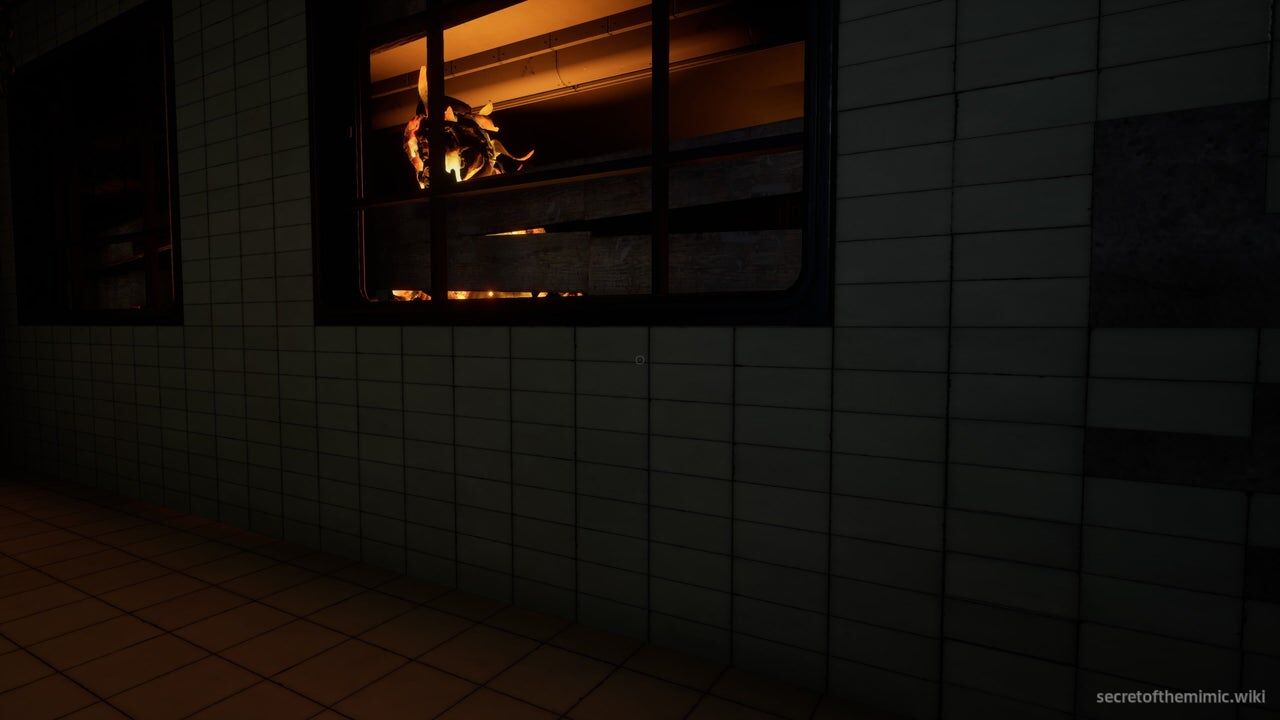
As you do, Dollie will move between the windows looking for you. It may seem as though you've timed it wrong and you're about to get caught, but Dollie is seemingly triggered to move alongside the player, so just keep moving and staying quiet.
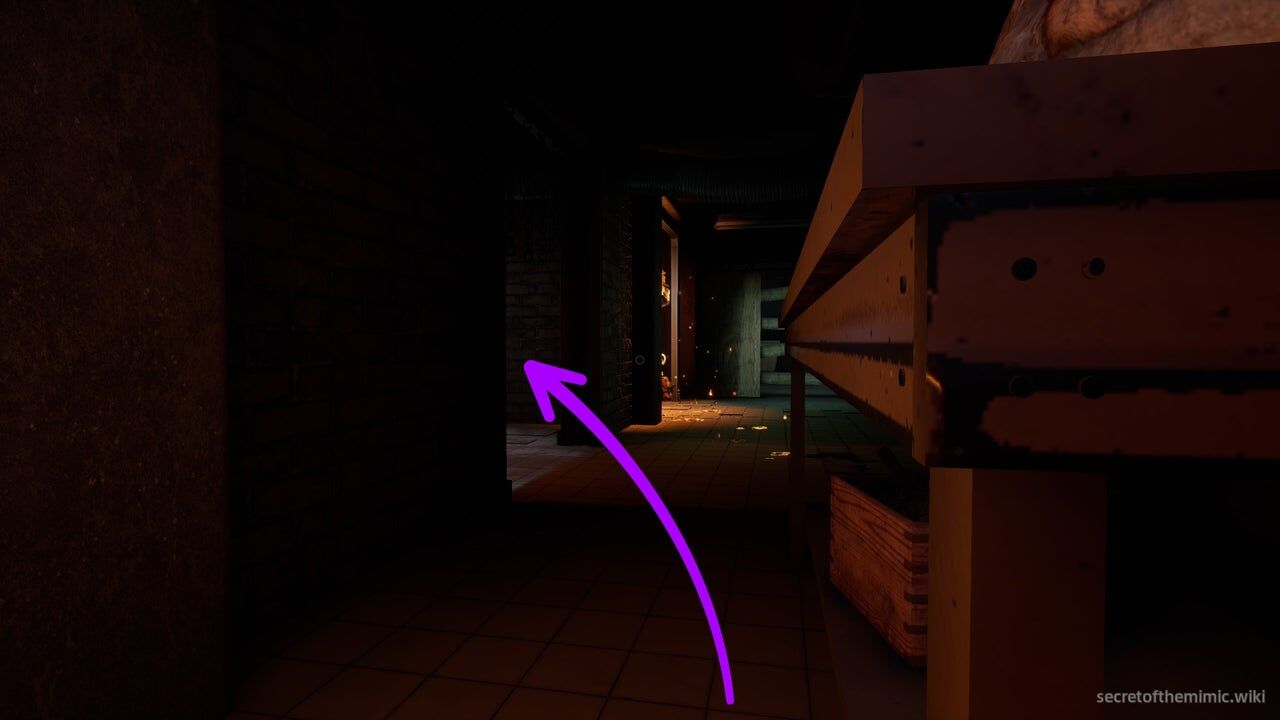
At the end of the second stretch of corridor, wait behind the nearby table for a few seconds. Dollie will exit the inner room, then proceed down the corridor and enter the second door on the left. Enter the first door on the left, as marked in the image above.
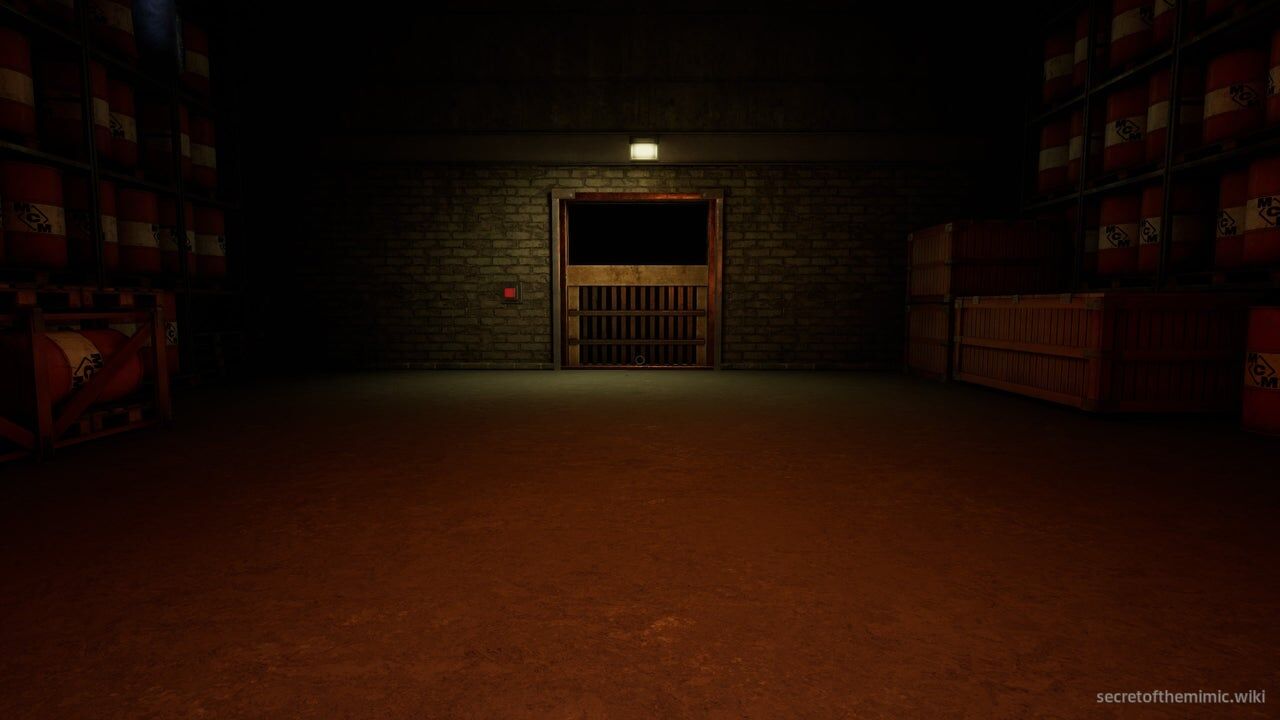
On the other side, follow the route through this room, and it'll lead you to an elevator with a large red button to the left of it. Click the button, and now, we wait. It's an agonisingly long wait for an elevator, but Dollie won't know you're here just yet. When the elevator finally opens fully, it'll ding, sending Dollie into a frenzy.
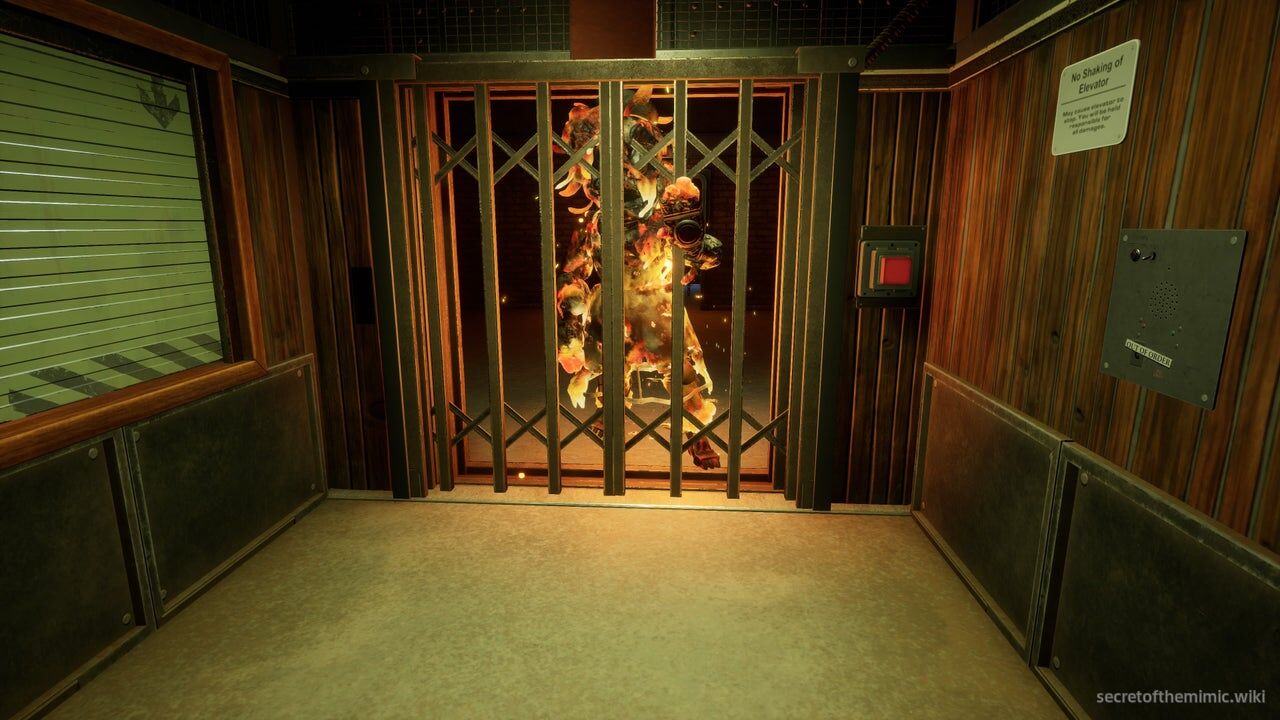
As quick as you can, jump into the elevator and press the red button inside to close the gate, leaving Dollie behind. With that, our little detour through Dollie's hospital from hell is over... or so it seems. As we ascend, the elevator will break down, meaning it's time to, once again, become the Murray Mansion handyman.
Repairing The Elevator
Once the elevator stops moving, the intercom will turn on, as Fiona Murray's voice informs us that the elevator is in need of repairs. A panel in the elevator will snap open, and Fiona will inform us that we need to follow her instructions to repair it safely.
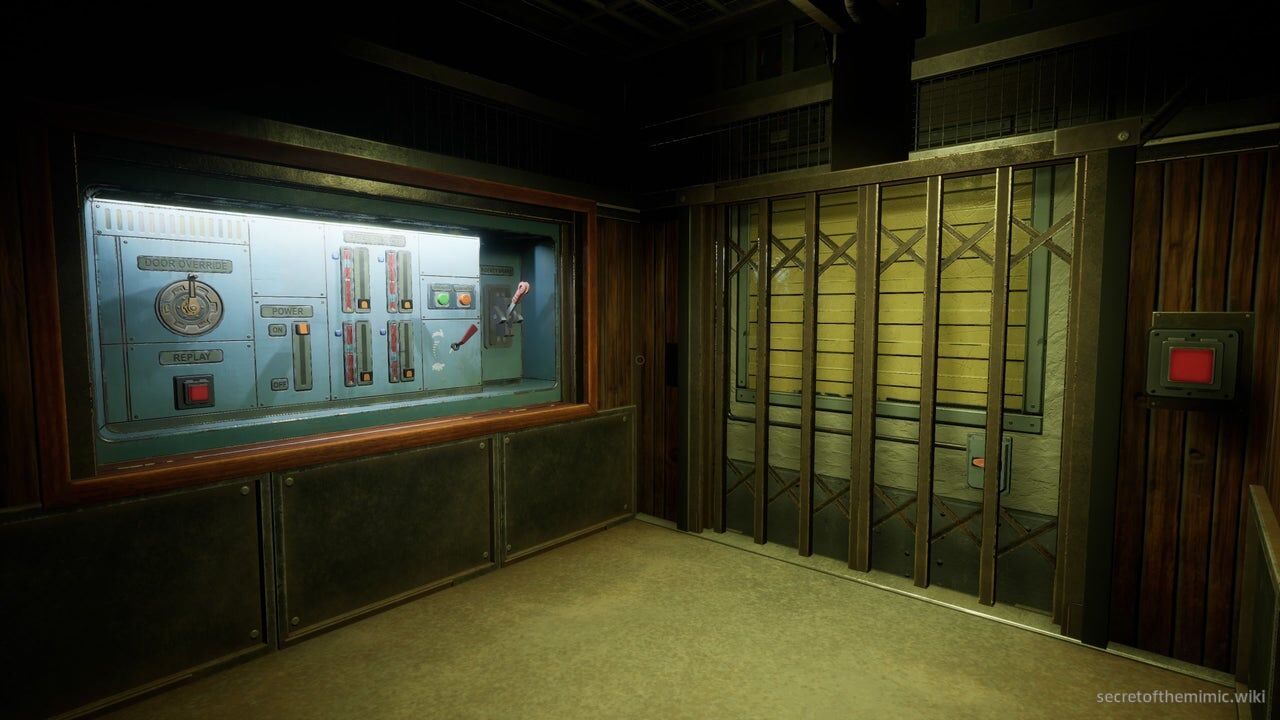
In essence, it's a rerun of the maintenance job we did on the Welcome Lobby elevator. Approach the panel, and Fiona will start giving us instructions, so let's run through them one at a time.
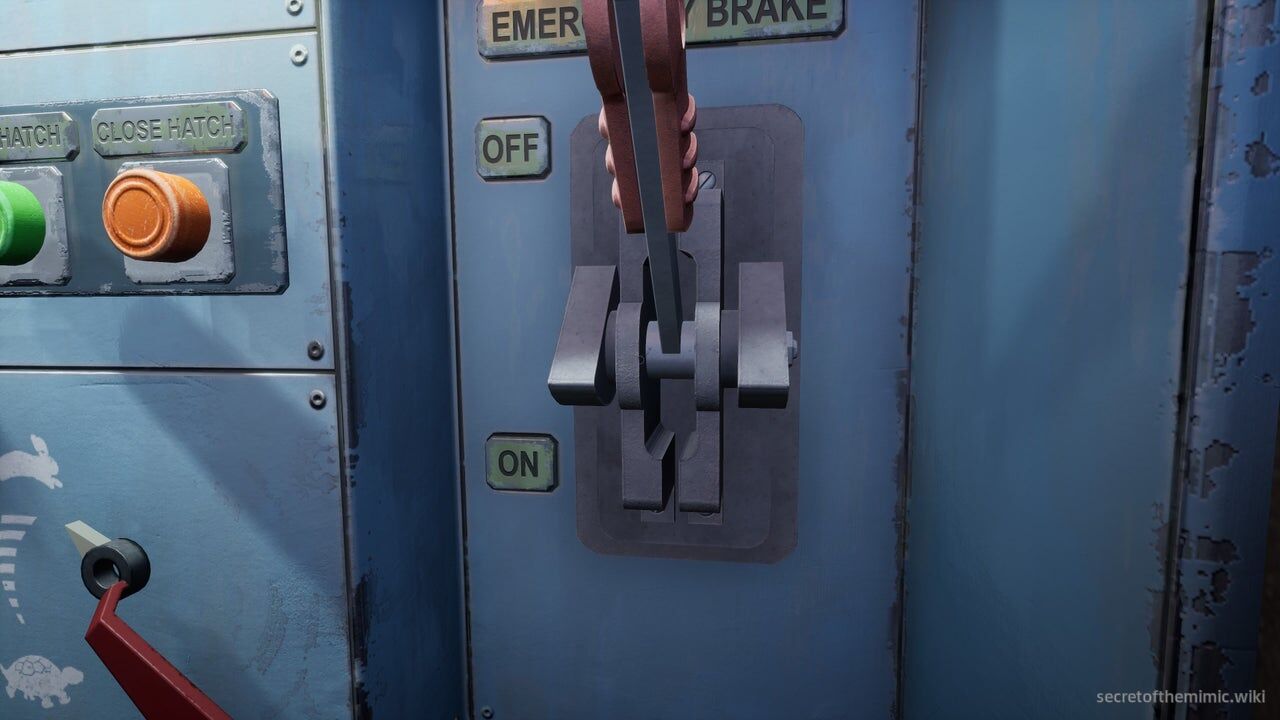
- Step 1: First off, we need to engage the emergency brake. As with before, that's the red lever on the right-hand side of the panel. Pull it down to engage the brake.
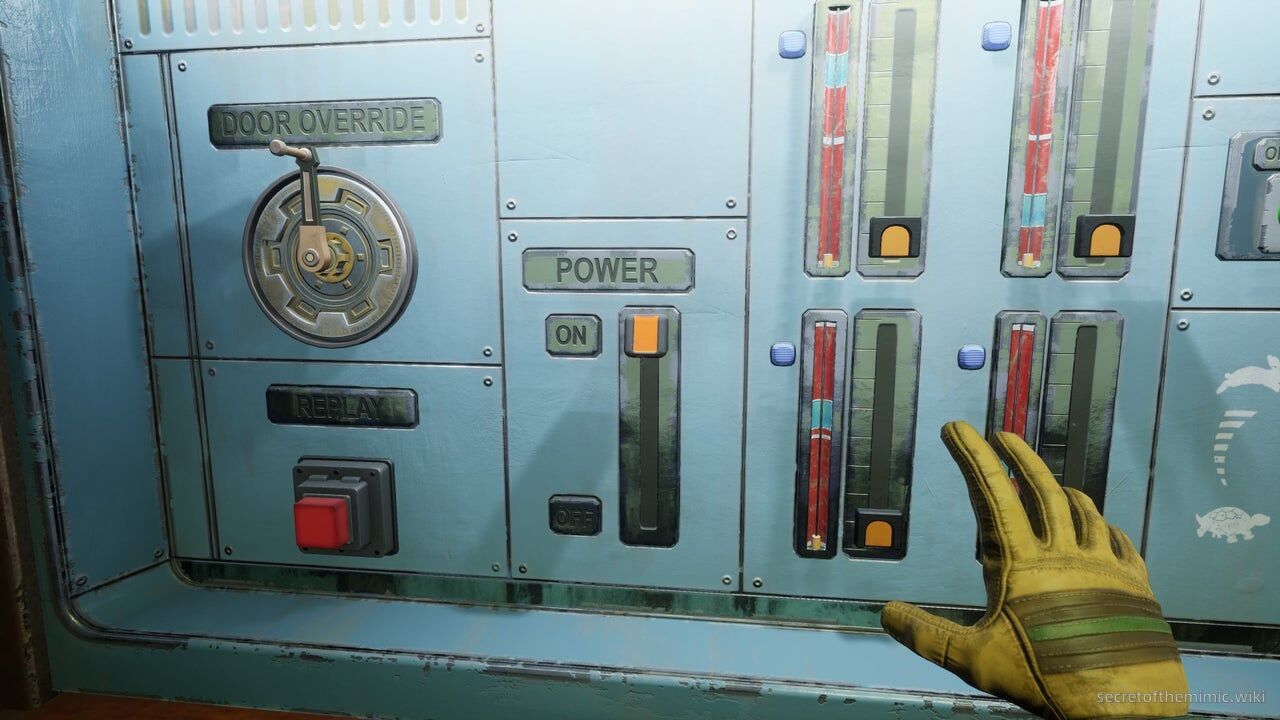
- Step 2: We need to turn the elevator off. You'll find the switch to the right of the crank and replay button. Pull it down to turn the elevator off.
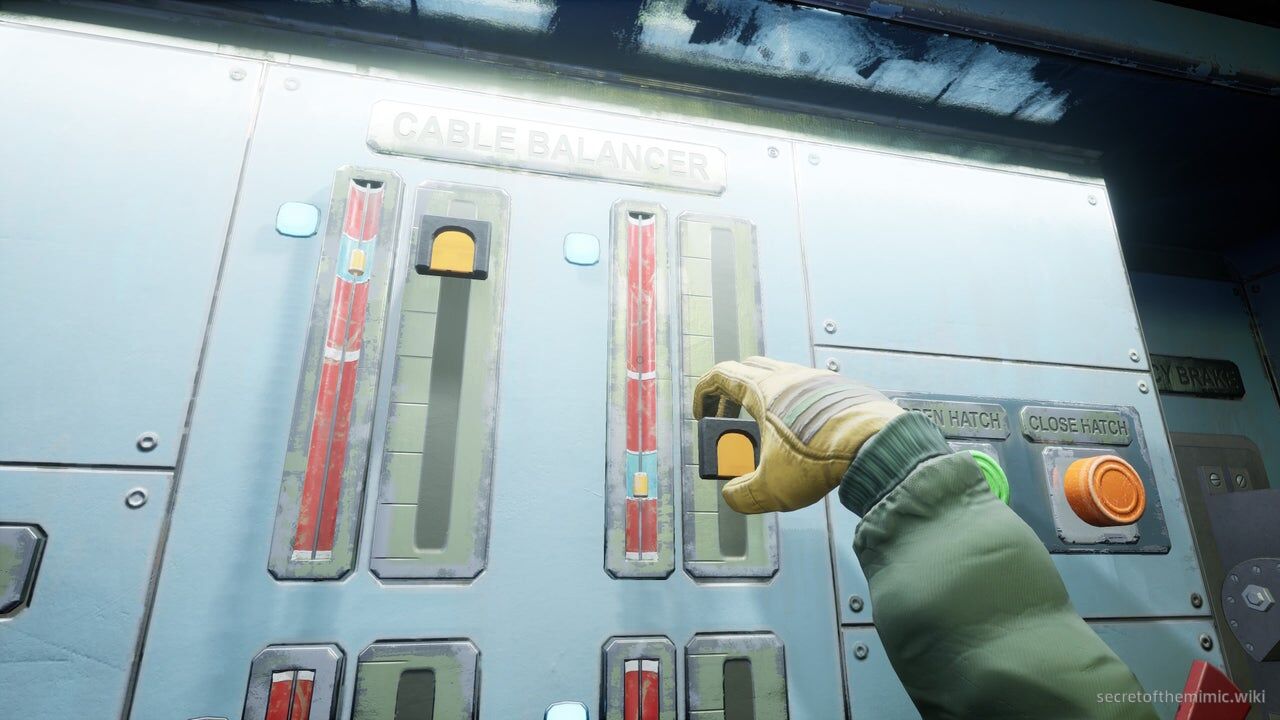
- Step 3: It's time to "rebalance the elevator." Fiona will scoff here, because there are no additional instructions. Not to worry, though. It's the exact same process as when we calibrated the other elevator. Look for the four meters next to the power button. As before, each has an orange lever beside it. Use these levers to make the corks inside the meters rise and fall so they're inside the blue component of the meter. When they're in the right spot, the blue light beside the meter will switch on.
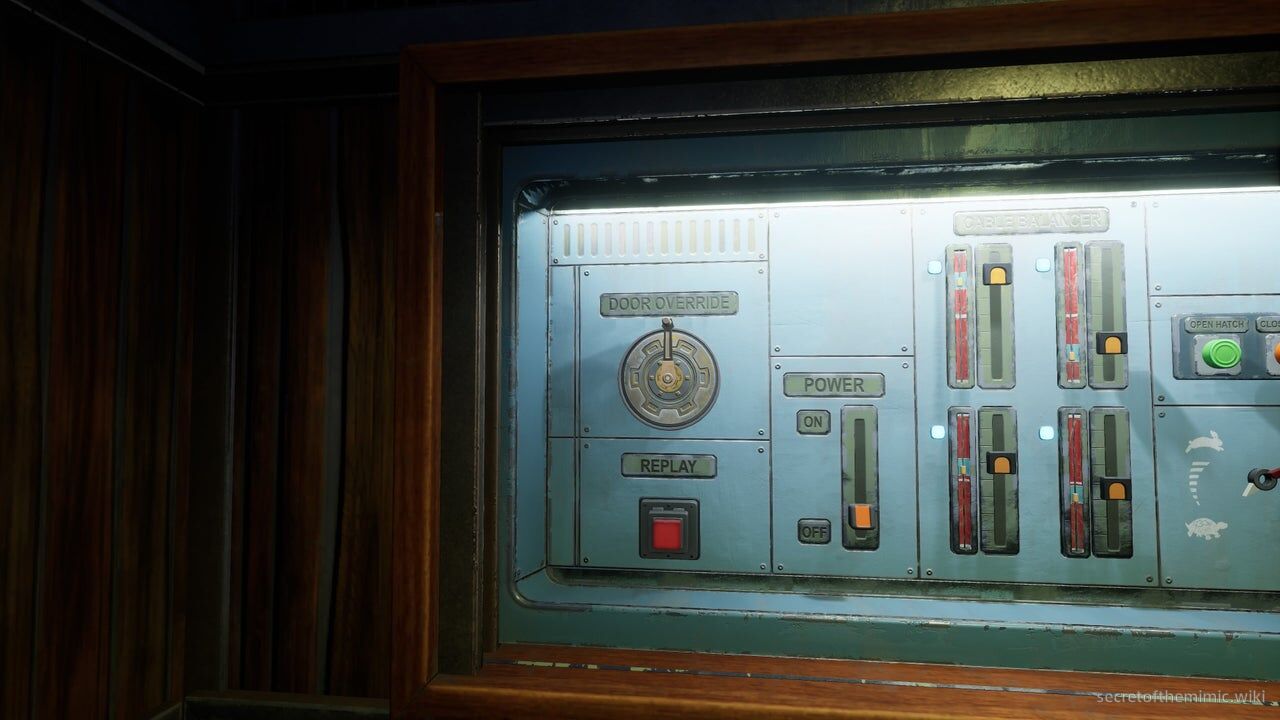
- Step 4: Go ahead and open the elevator doors. We can do that by turning the crank on the left-hand side of the panel.
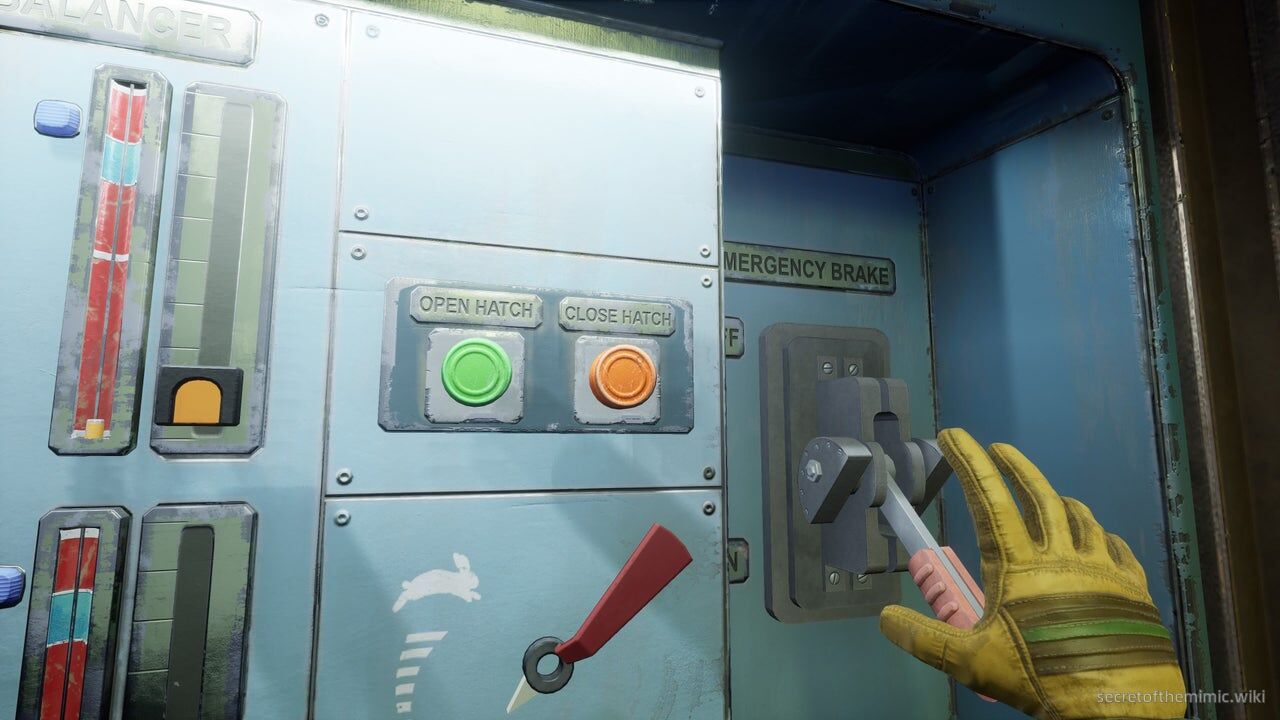
- Step 5: After the doors are open, we need to open the elevator hatch, so hit the green button on the right-hand side of the panel.
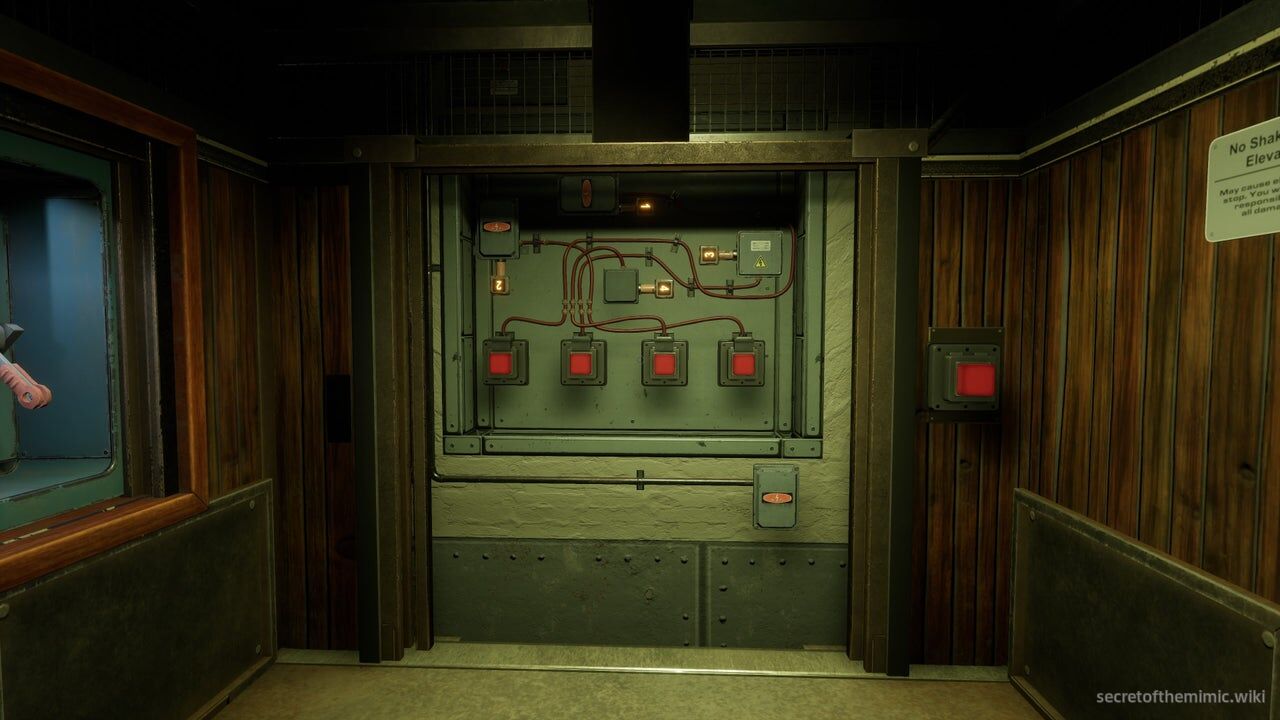
- Step 6: The hatch beyond the door is now open, showing us four buttons connected by wires to numbered blocks ranging between 1 and 4. As with before, Fiona will read us a code we need to input by tracing the numbers back to the blocks via their wires. Like last time, the code and the wired number placements are randomised, so you'll need to trace back the wires to figure out which numbers connect to which buttons. When you've figured that out, input the sequence Fiona read to you.
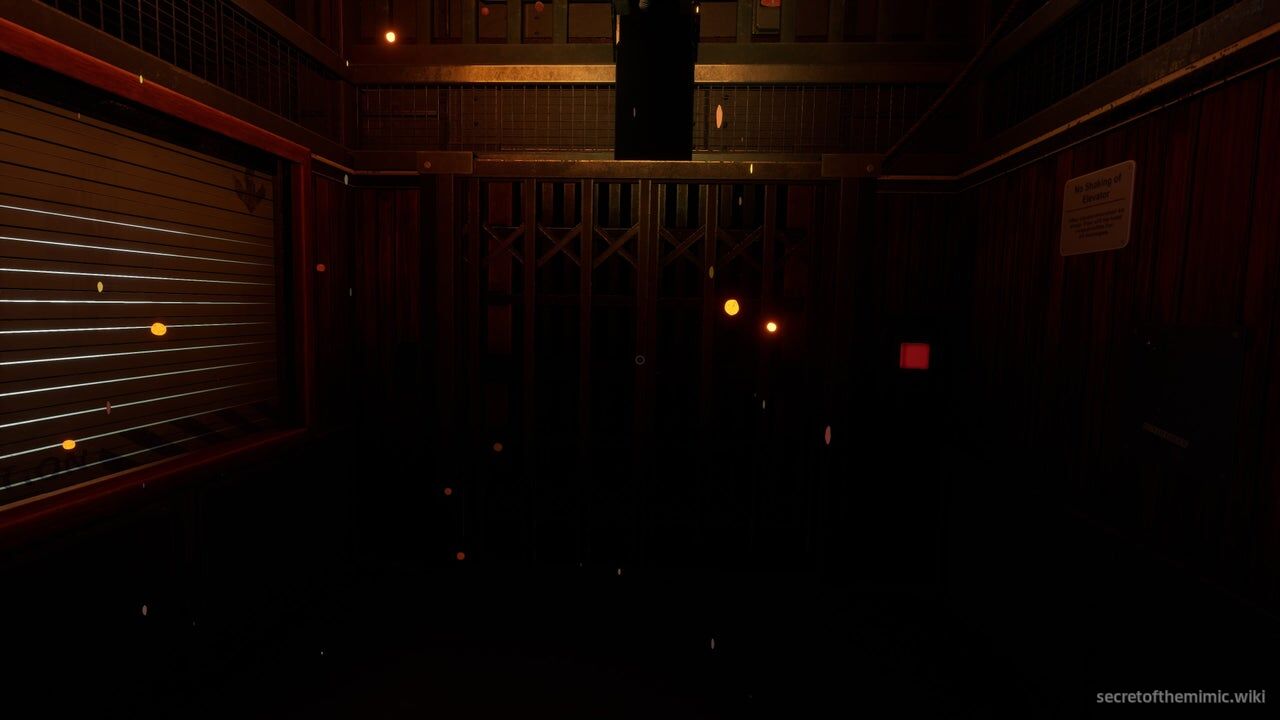
With that done, Fiona will tell you to "close everything up," which means retracing all the steps we've made. First, close the hatch using the red button on the right-hand side of the panel. Next, turn the crank on the left-hand side of the panel to shut the elevator door. After that turn the elevator power back on using the switch beside the crank, and finally release the emergency brake using the lever on the right-hand side of the panel. With that you'll be good to go... for, well, two seconds at least...
Molten Dollie Elevator Fight
Wow... she really will not die, will she? As soon as the elevator starts moving again, who's here to block our progress? You guessed it... Dollie! This cooked little demonic track star has somehow booked her way up the facility and hopped on top of the elevator, and now she's carving her way inside.
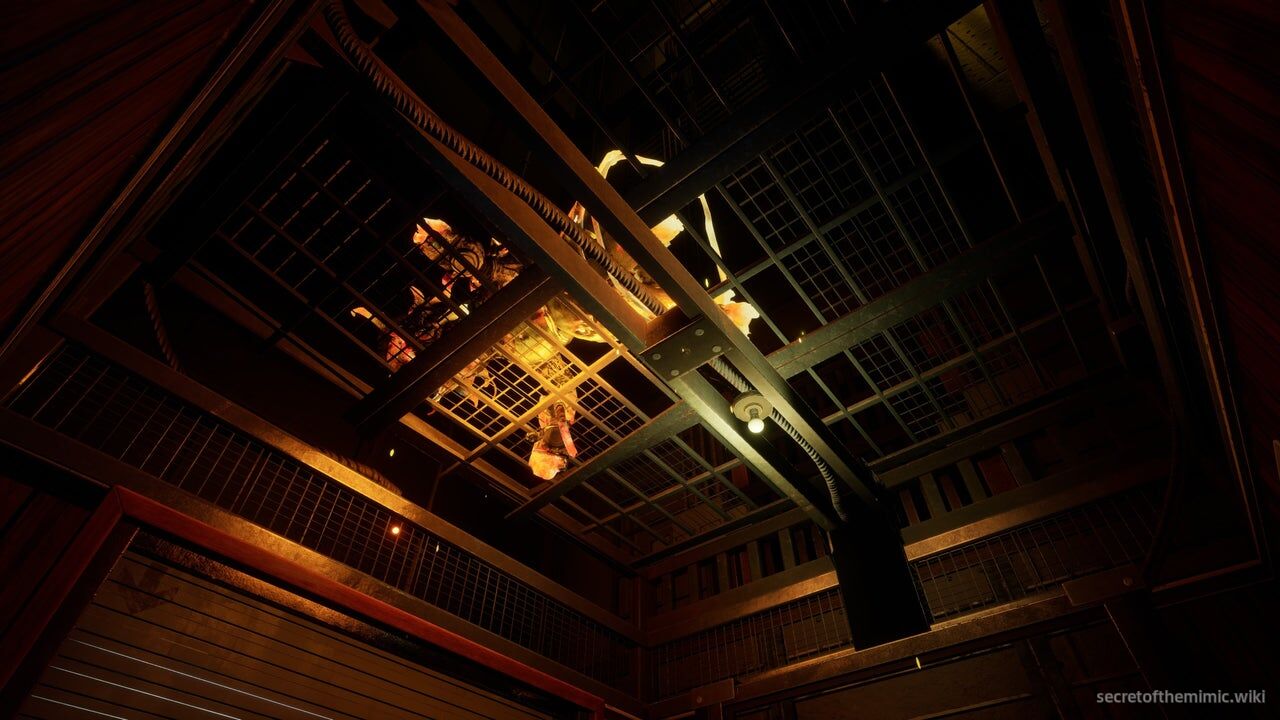
After a little preamble, Fiona will begin relaying instructions to fix the elevator from... well, Dollie attacks, I guess, causing the elevator panel to reopen. As soon as the panel opens, we're essentially on a timer counting down to the moment Dollie's burnt little claws rip through the elevator ceiling and squish us like a bug. We'll need to complete the new set of instructions as fast as possible. Don't worry about anything except completing each task. So, let's run through the new set of instructions.
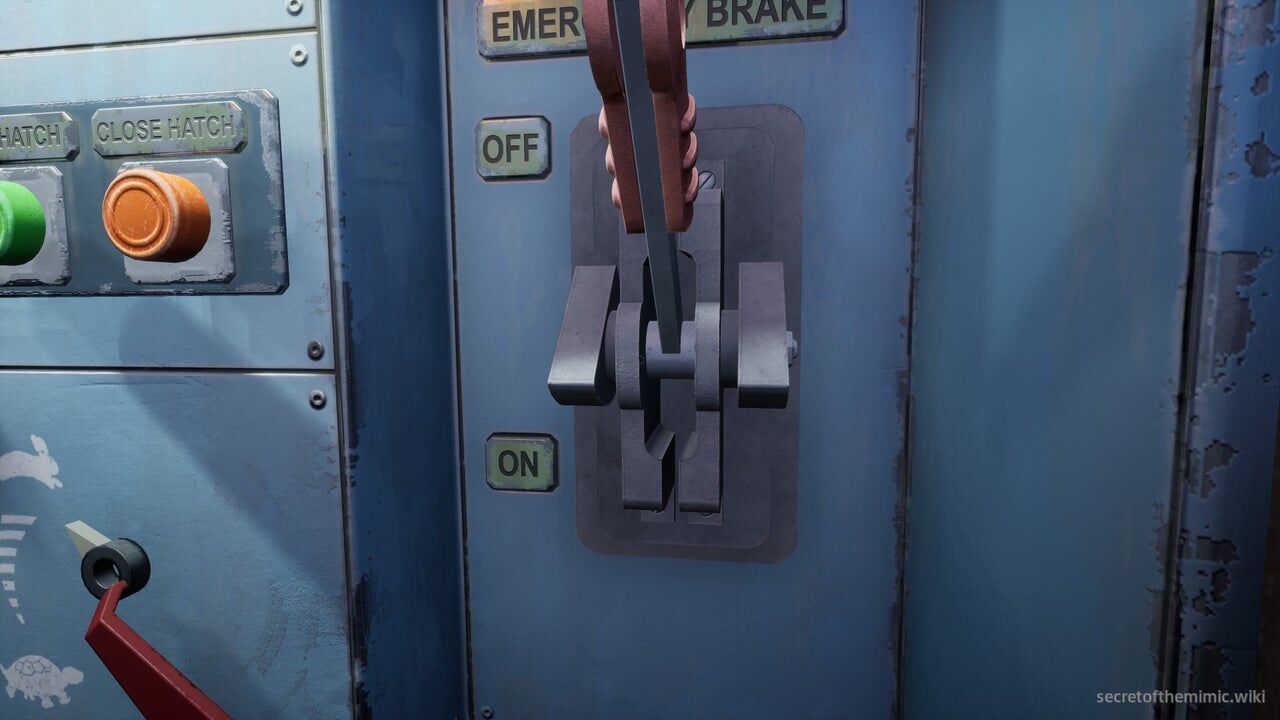
- Step 1: Engage the emergency brake using the lever on the right-hand side of the panel.
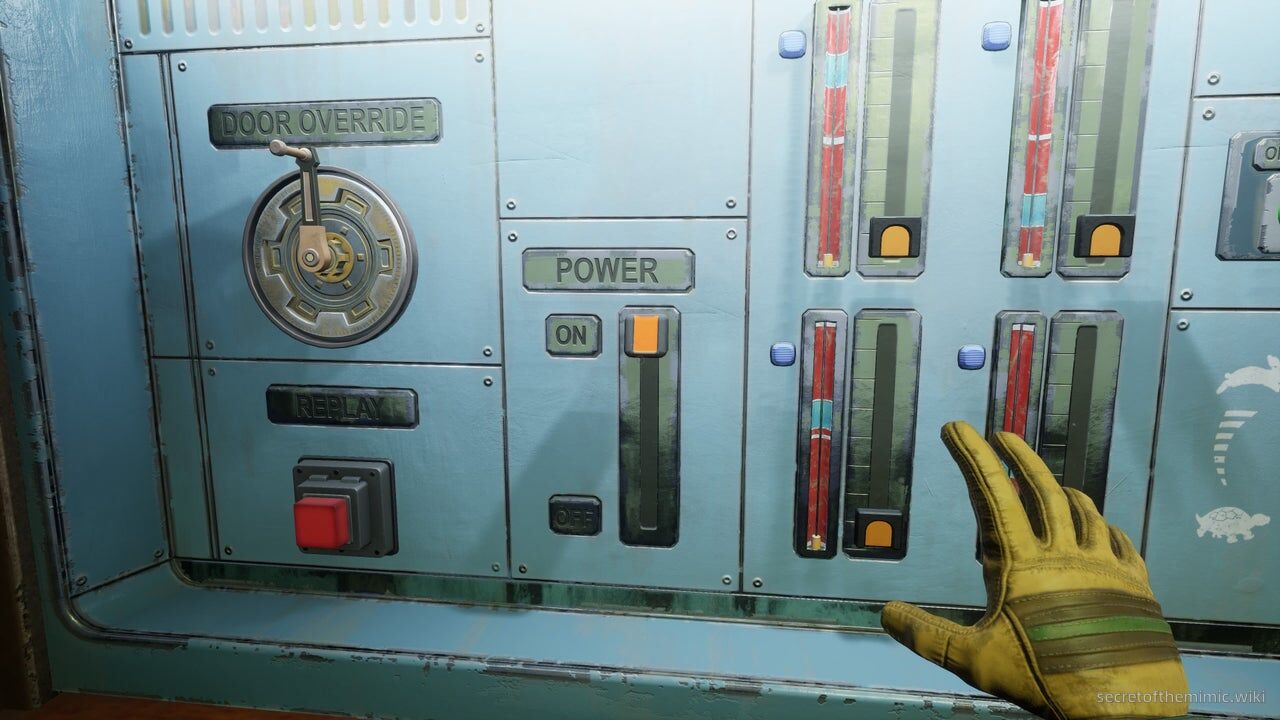
- Step 2: Turn off the elevator power using the switch to the right of the crank.
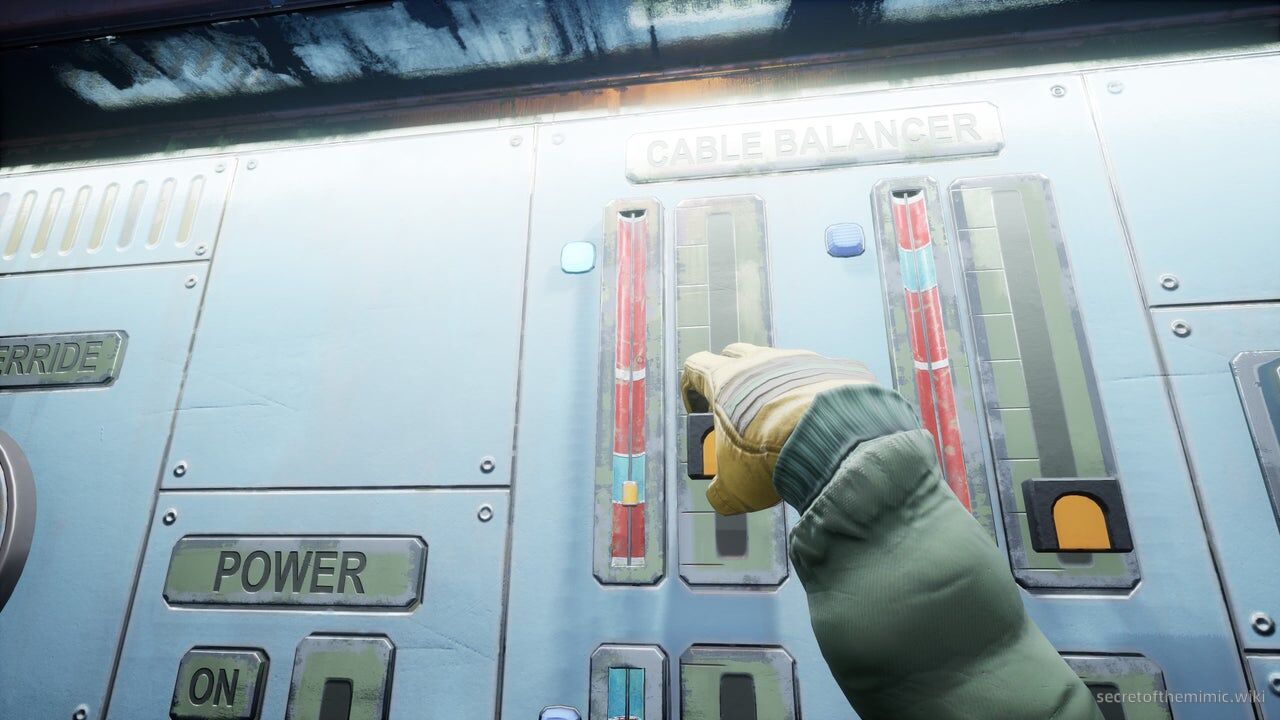
- Step 3: Realign the elevator using the meters beside the emergency brake.
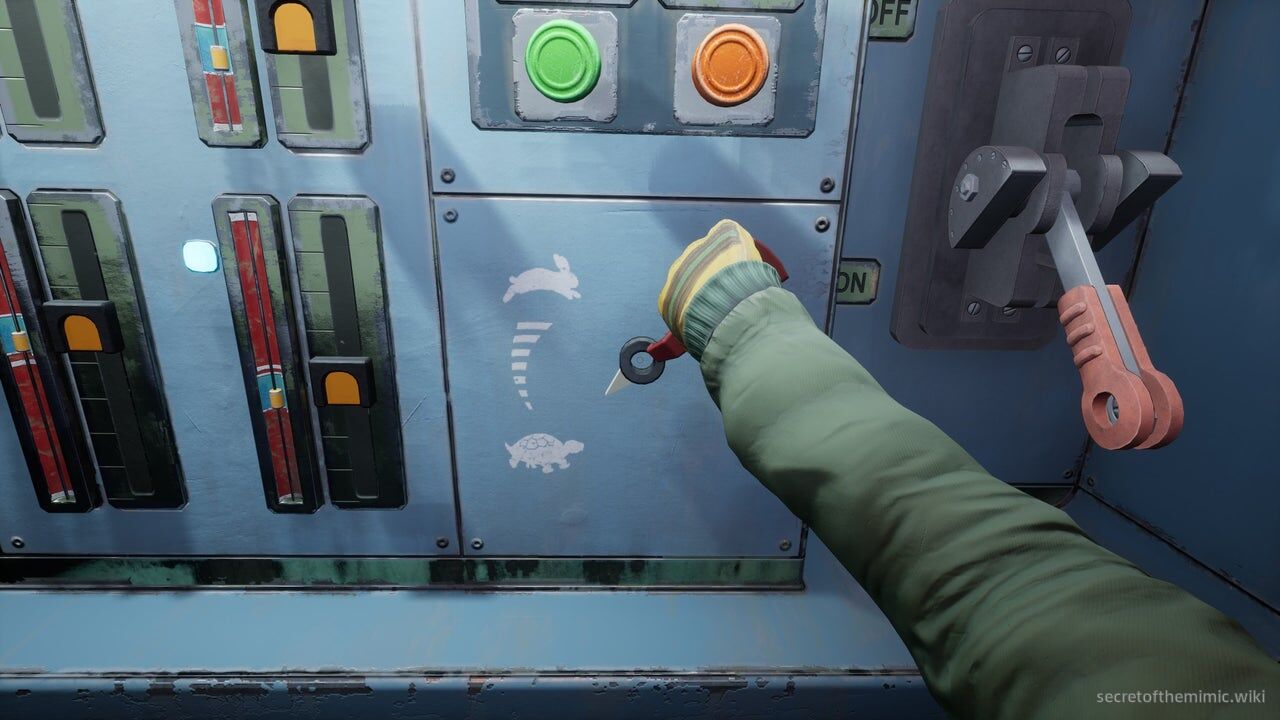
- Step 4: CRANK UP THAT SPEED! Use the dial below the hatch buttons and punch it all the way up.
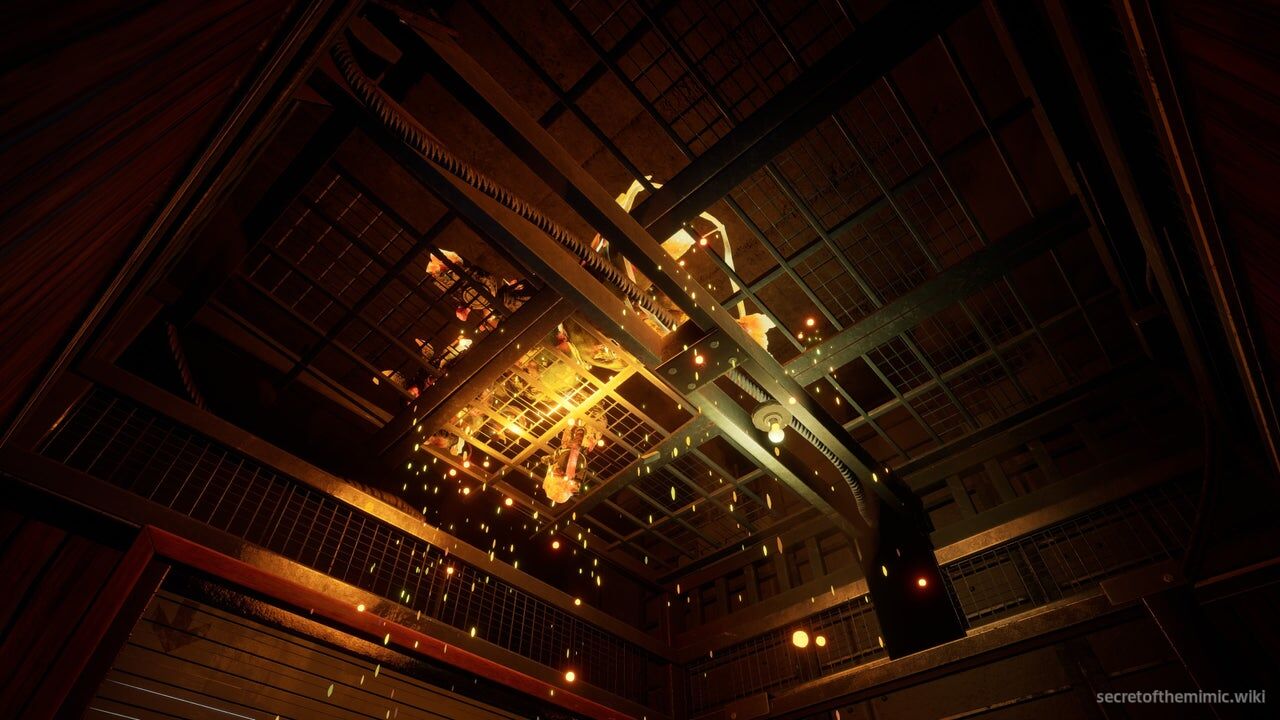
When all thats done, turn the power back on and release the emergency brake. After the brake is released, you'll have officially won, so step back and watch as the elevator launches upwards and smooshes Dollie against the ceiling. Maybe she'll stay dead this time... hopefully... potentially... I wouldn't count on it, but we can hope...
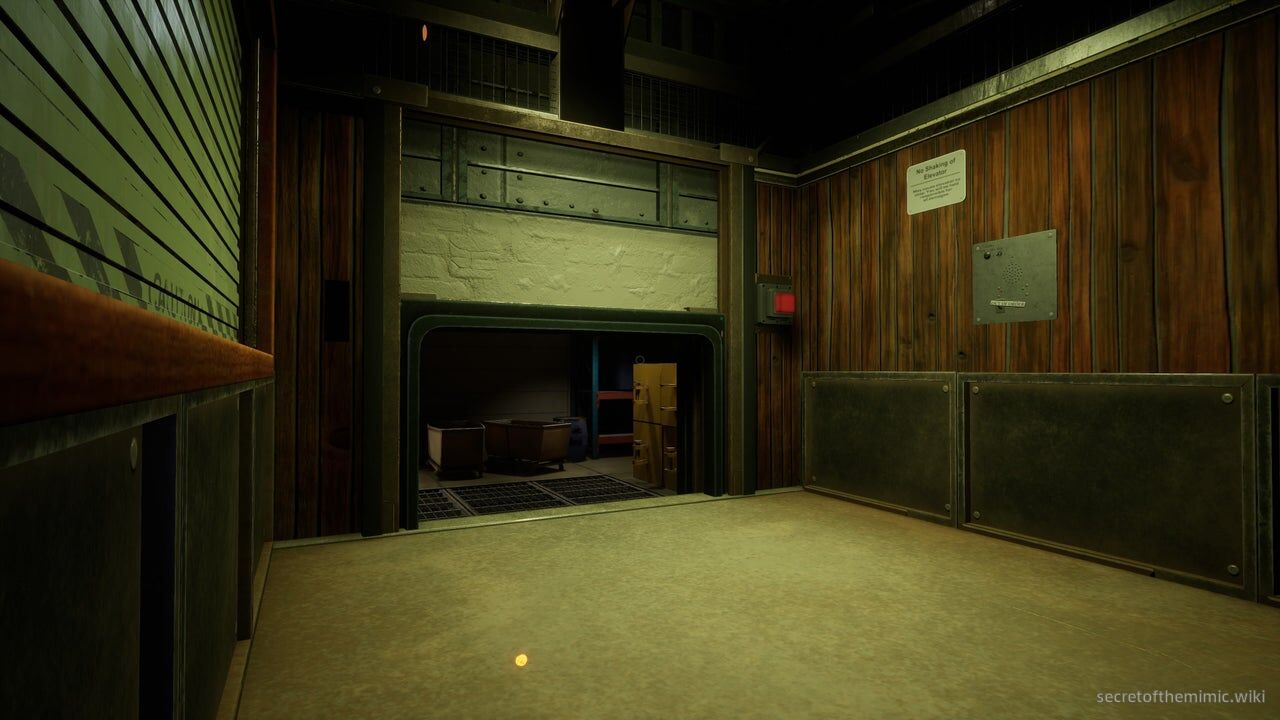
With that, our battle with Dollie is finally, officially, actually over, so step out of the elevator and you'll be ready to proceed on to the next segment, The Admin Wing.