

Use Creator clearance on Rooftop Access, press the red button on the sign barrier, avoid Music Man’s arms, descend the damaged stairwell, and crawl through the storage-room route.
Having evaded Music Man and earned a shiny new Data Diver upgrade in Secret of the Mimic's previous chapter, it's time for our second major boss encounter in the game. This walkthrough will give you all the tips and tricks you need to evade our latest foe, solve every puzzle, and find any and all key items you need to continue your adventure.
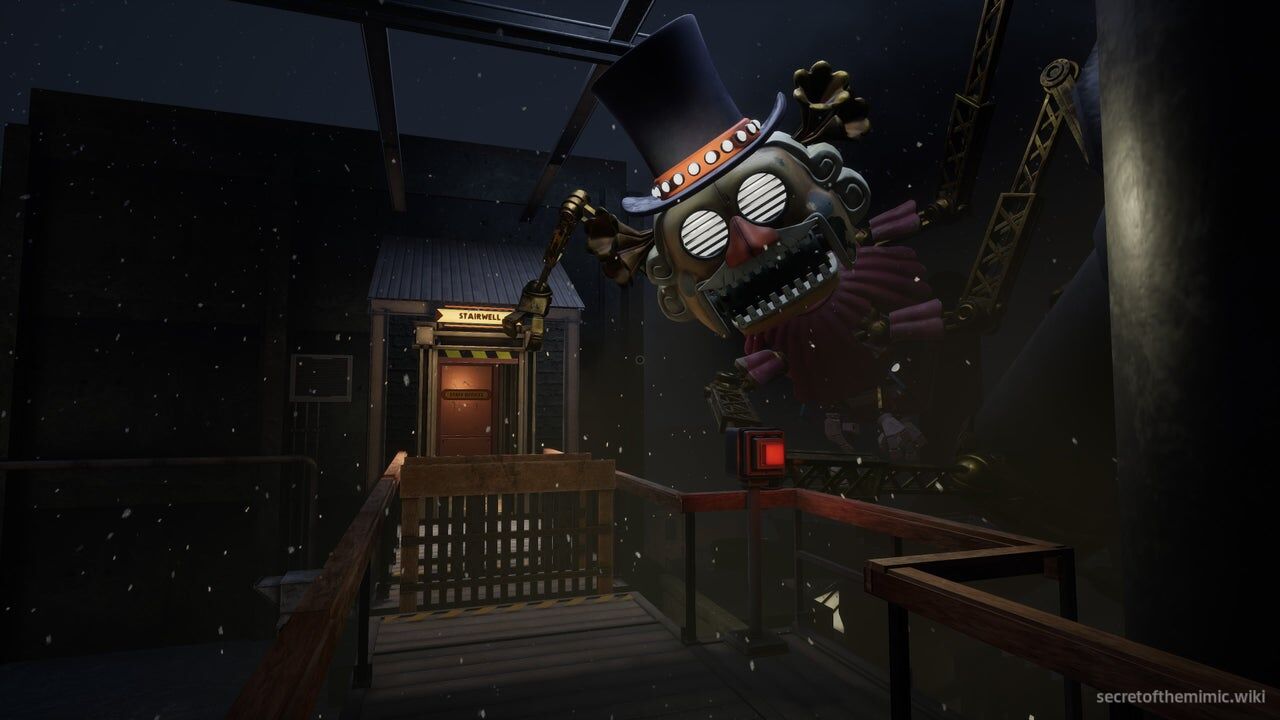
This next segment picks up right after we earned the Creator clearance Data Diver upgrade, as Arnold ventures out into the snowy night and takes on a colossal adversary in a heated rematch. If you're looking for a specific segment of this chapter, use the links below to skip through each major section:
The Rooftop
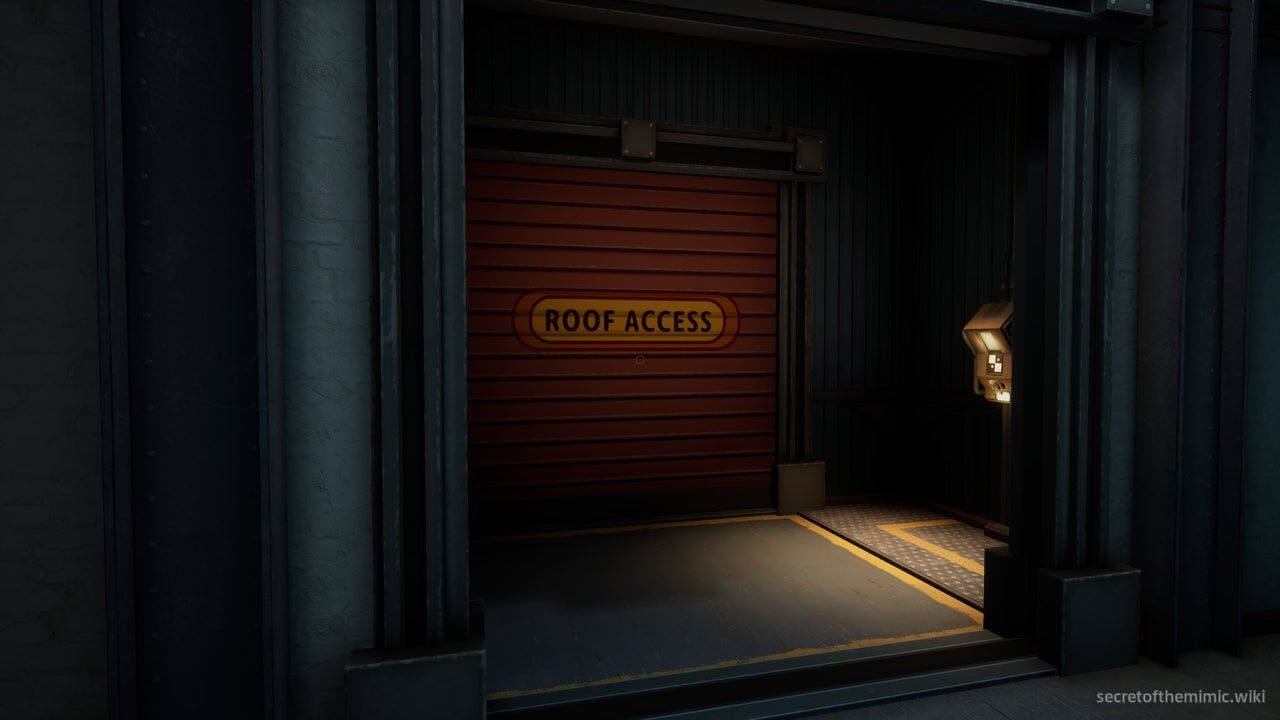
This segment begins right after we successfully navigated our way past Music Man in the Big Top Showroom. Once you've upgraded the Data Diver, if you look directly opposite the upgrade machine, you'll see a red shutter that reads "Rooftop Access."
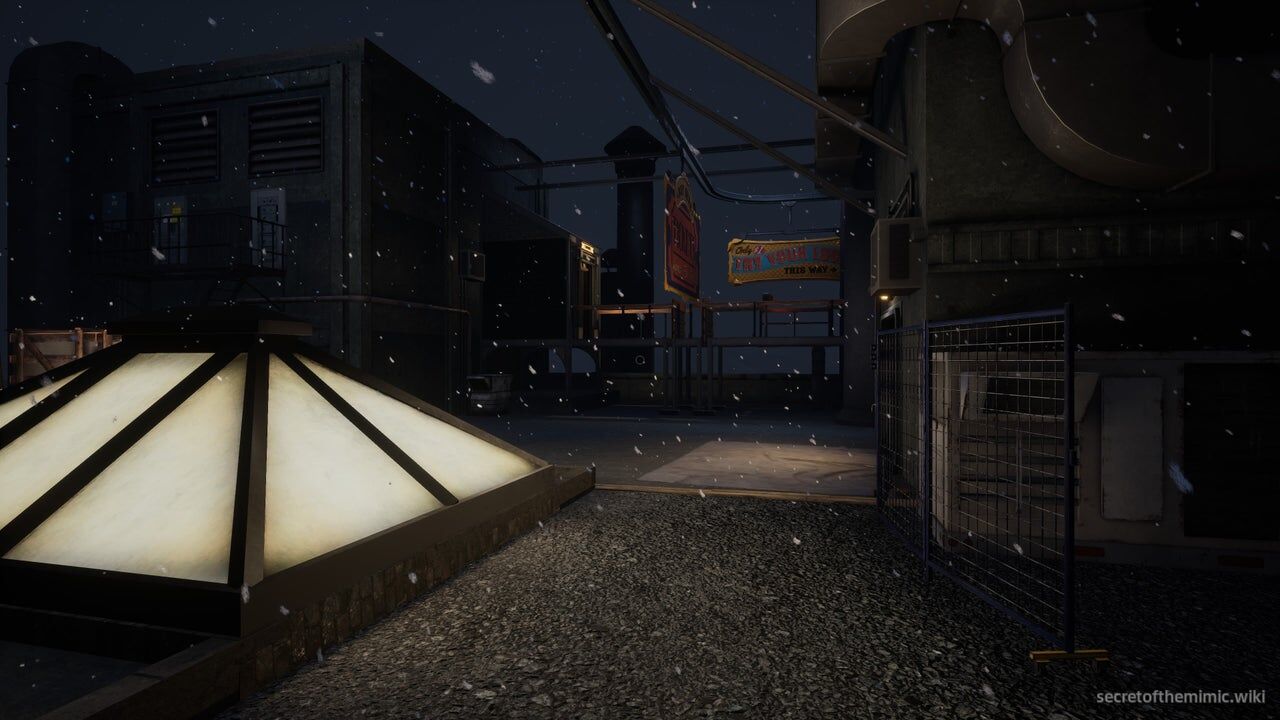
Head over to it and use our new clearance level to crack open the Data Diver lock. It'll take you through to a small maintenance room. Head up the stairs here and you'll emerge outside on the rooftop amidst a blizzard. Enjoy a moment of blissful fresh air, then take a right and drop down to the floor below. If you follow the path across the roof, you'll come across a small building containing a flight of stairs.
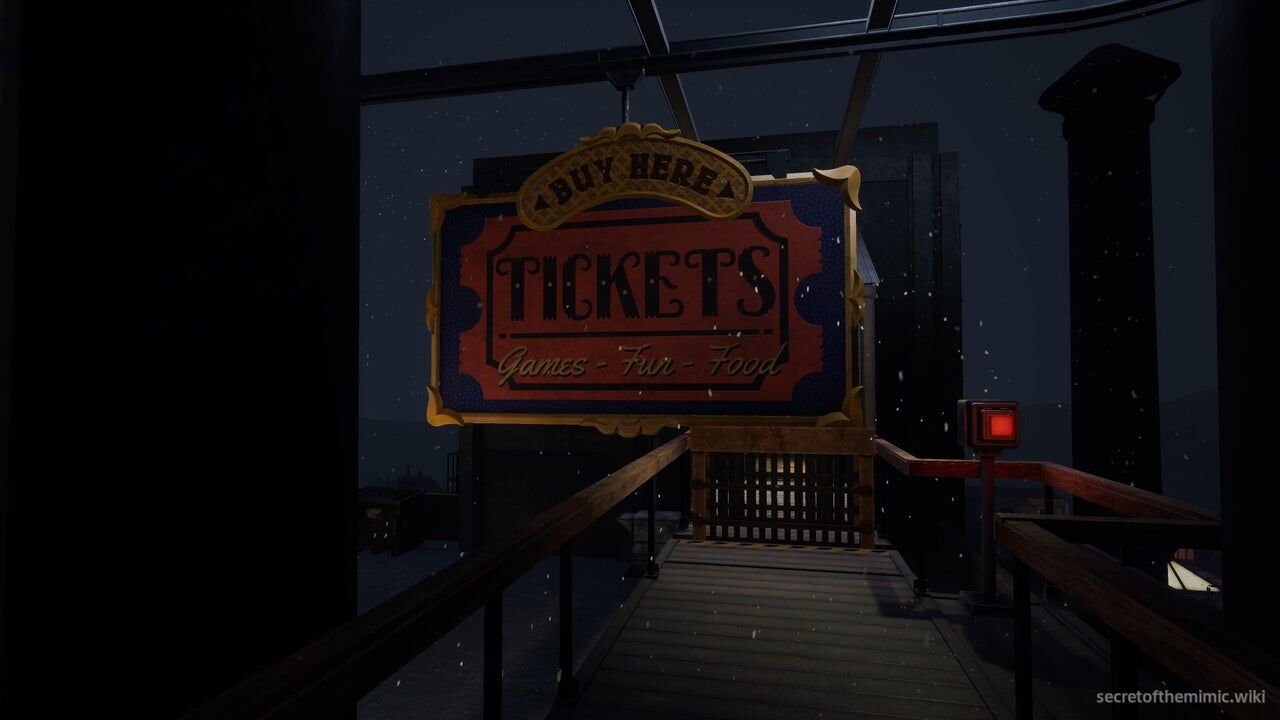
Take the stairs up and you'll arrive at a locked doorway, so use the Data Diver to pass through and onto the metal walkway ahead. In front of you, you'll see some signs and a barrier blocking your path with a red button beside them. Get ready, and then hit the button.
Music Man Chase
The signs will start moving, but as they do, Music Man will decide he's ready for his rematch, leaping out of the darkness and attacking. Wait for the signs to move out of the way, then sprint towards the door ahead, unlocking it with the Data Diver before dipping inside.
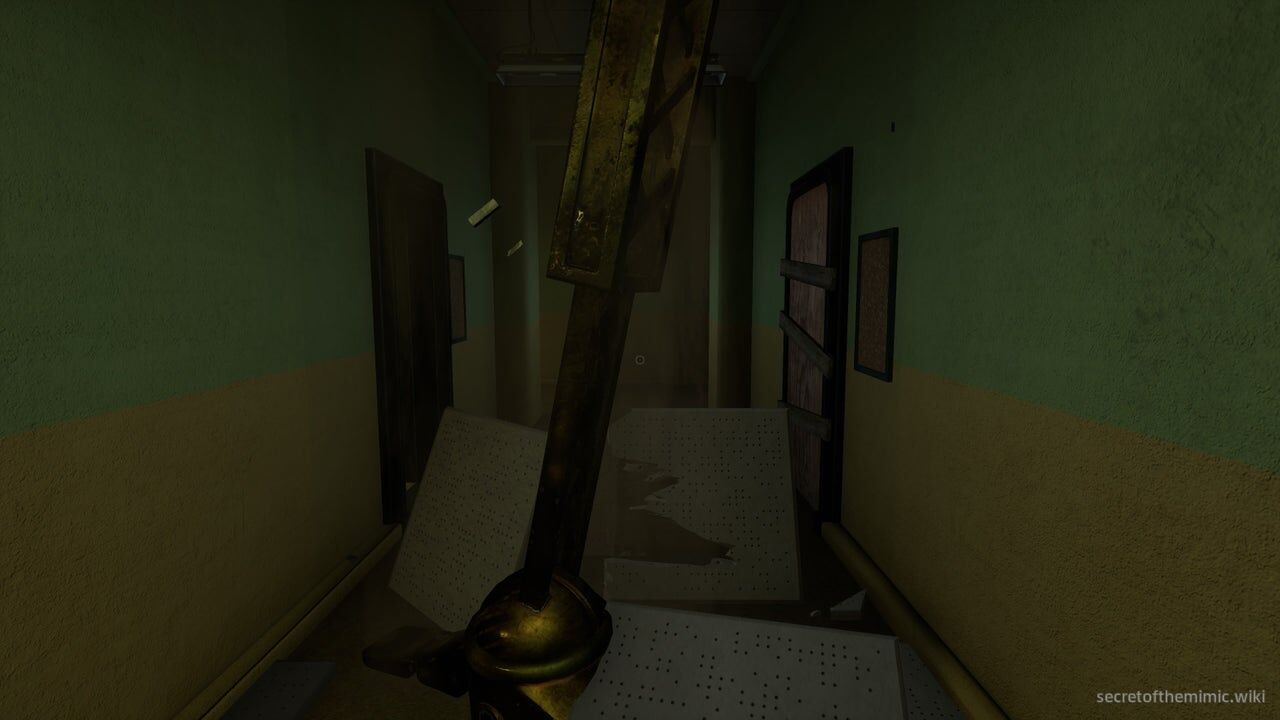
We're going to take a very brief timeout here to talk about how Music Man attacks. The main thing you need to know for the chase ahead is that Music Man's arms are a death zone. If you run into one, you will instantly die, even if the way they block the terrain looks like they could be sidled around. But that's not entirely a bad thing. Considering his arms are his main method of attacking, he isn't going to hound you or stick to you like glue the way Jackie did. In short, you can allow yourself some leeway to figure out where to run or move. If an arm is in your way, you don't have to sprint towards it in fear that Music Man's grinning face will be right behind you. Wait for a path to clear or assess other routes you could take to avoid it, then keep moving.
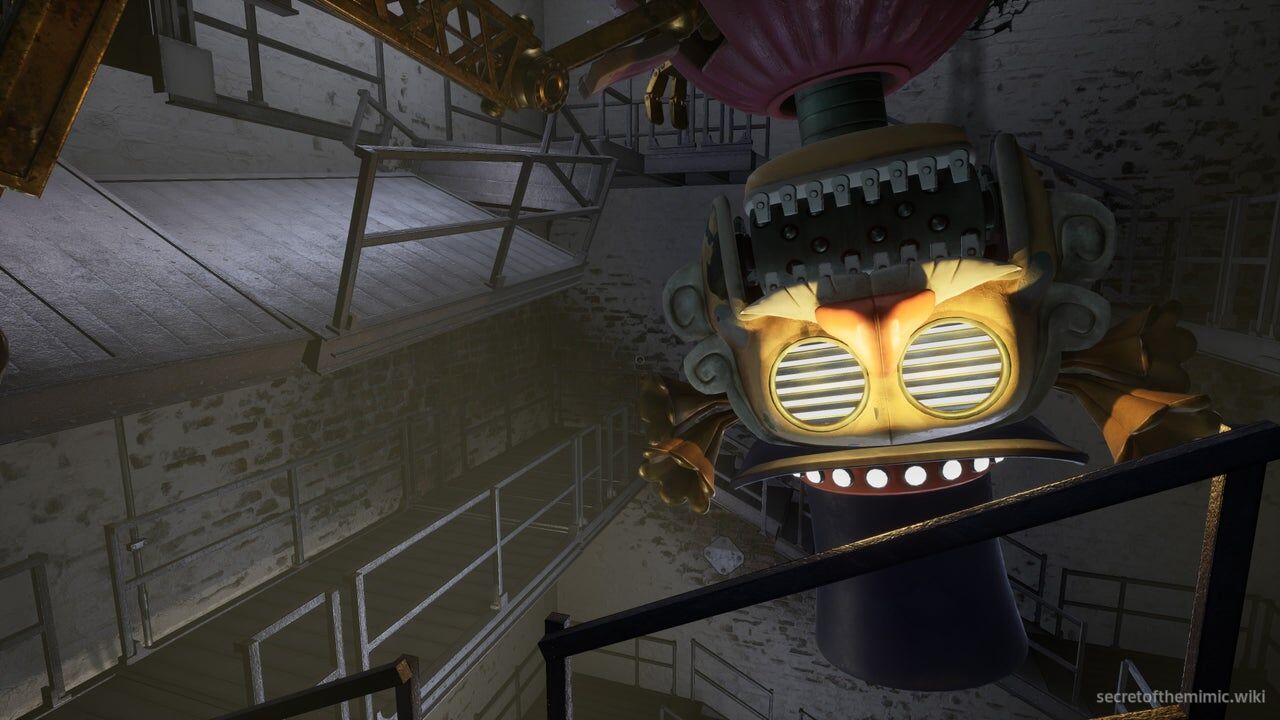
With that out of the way, let's get this chase started. Once you're through the door at the end of the walkway, you'll find yourself in a wide stairwell leading down. Start following the stairs and, as you do, Music Man will come crashing through the ceiling, descending as he begins to crush the staircase. Sprint down the stairs, moving around the stretches of path Music Man crushes, and continue onwards until you see an open doorway a few flights down.
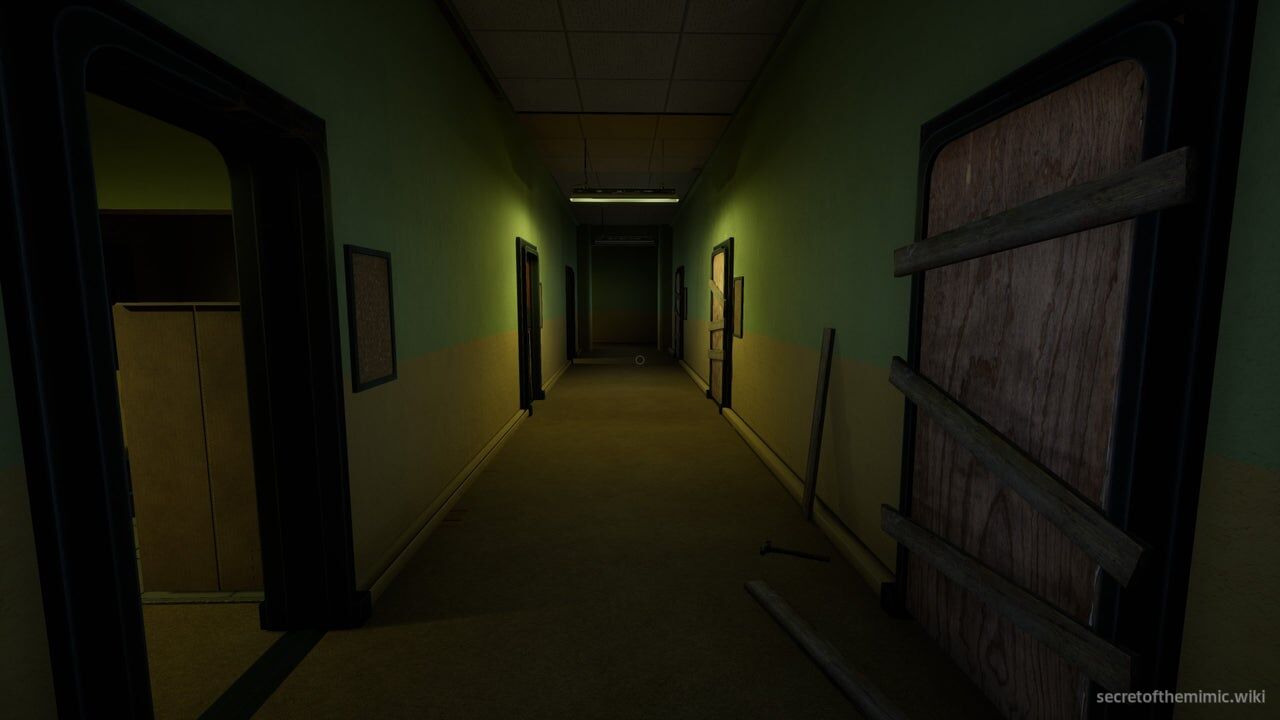
Head through this doorway and you'll enter an office space. Directly ahead, you'll spot an archway leading to a long room with a gaping hole in the floor. That hole is our exit, but Music Man will block the archway by knocking over a filing cabinet. To reach it, take a right and push down the corridor in front of you. At this point, Music Man will start trying to hamper your progress, shoving his arms down through the ceiling to block your path. As mentioned earlier, don't touch his arms. As soon as you make contact, he'll attack, so instead, look for open doorways on your left.
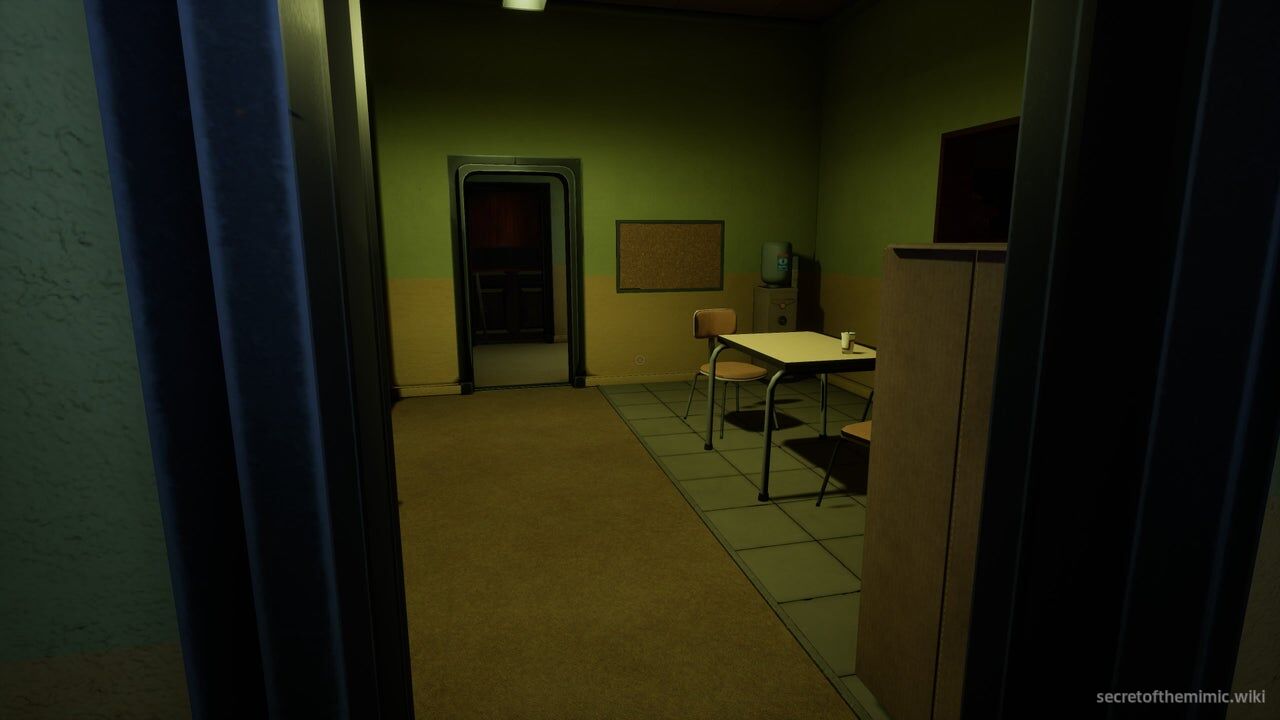
When you find one, sprint through it. On the other side, Music Man will likely try to block your route again. Wait for his arm to move, then look for another path through the doorways opposite you. When you find one, head through it to reach the next corridor, then sprint up that corridor in the direction of the room we saw through the archway earlier.
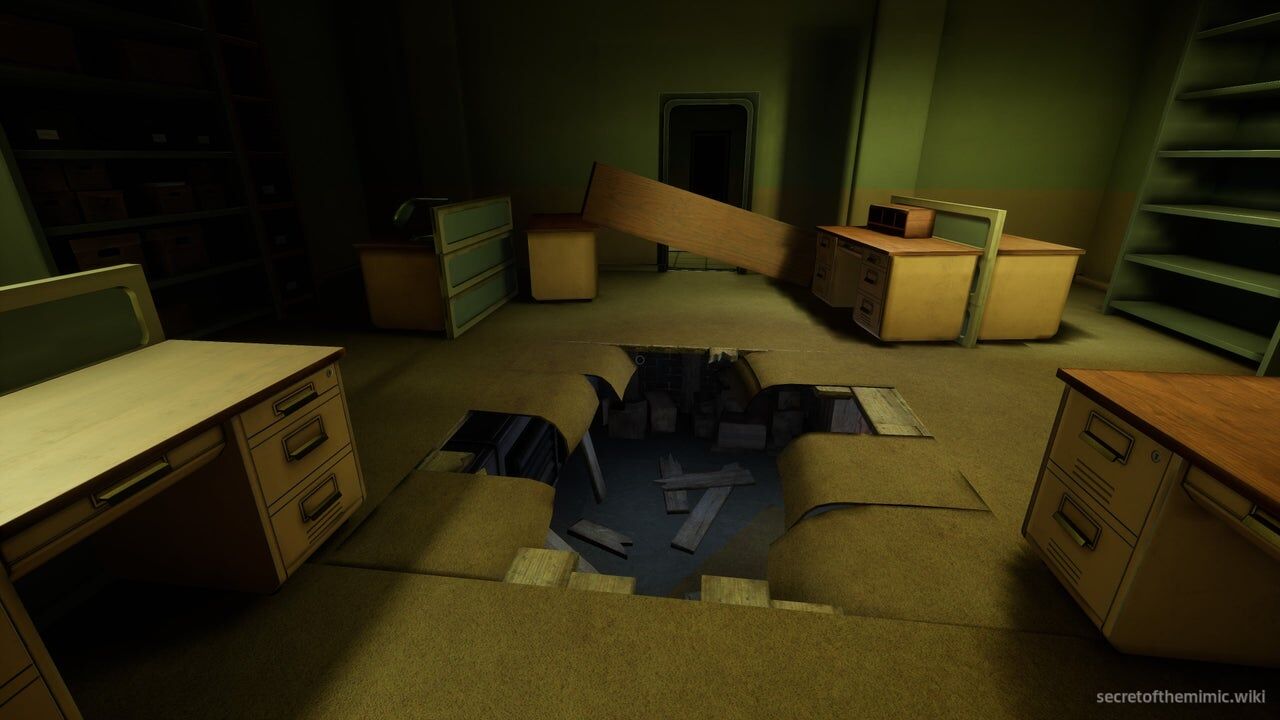
This corridor will take you directly to the room with the hole in the floor, so once you're inside, drop through to the level below. You'll land next to some wooden boards that lead to a crawl space.
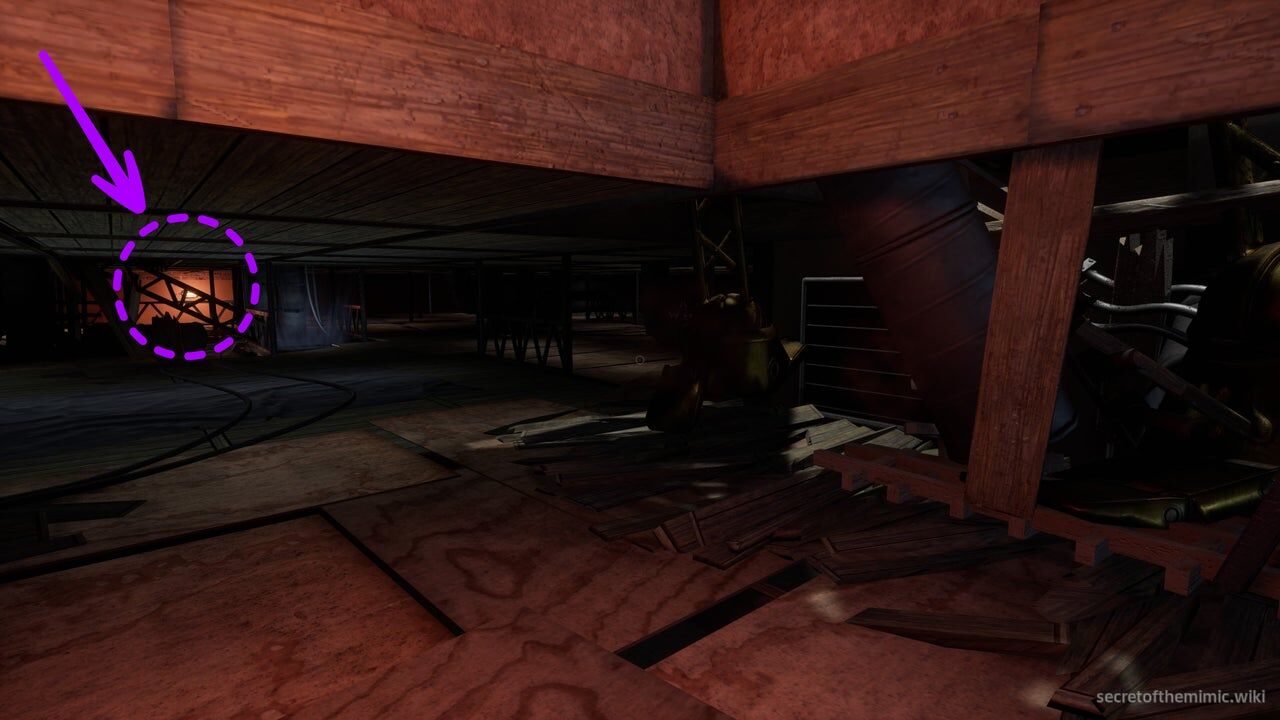
Crouch down and begin to sneak through it. If you look across to the opposite end of the crawl space, you'll see a red light highlighting the crawl space's exit. I've circled it in the picture above. As we begin to cross over to it, Music Man will begin smashing his way through the ceiling, attempting to block our path. To avoid him, carefully navigate the crawl space, inching your way forward. Every time Music Man's arms block your route, stop moving and circle around them, finding a new path.
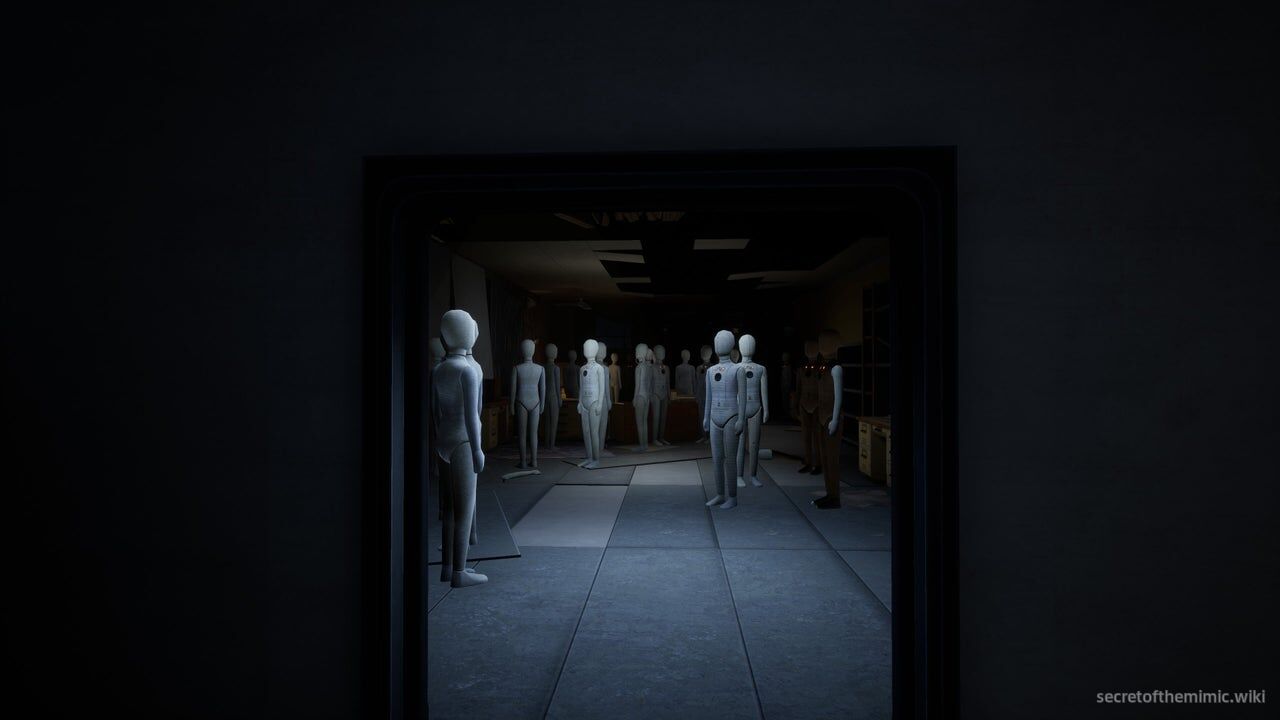
Eventually, you'll arrive at the exit. Drop down and you'll land in a large storage room full of the talking mannequins we saw in the Big Top Showroom. Take a right here and use the ramp to proceed to the opposite side of the room. Walk to the end of the long mannequin corridor and, at the end of it, look to your left to see a boarded-up archway with a hole big enough for you to crawl through.
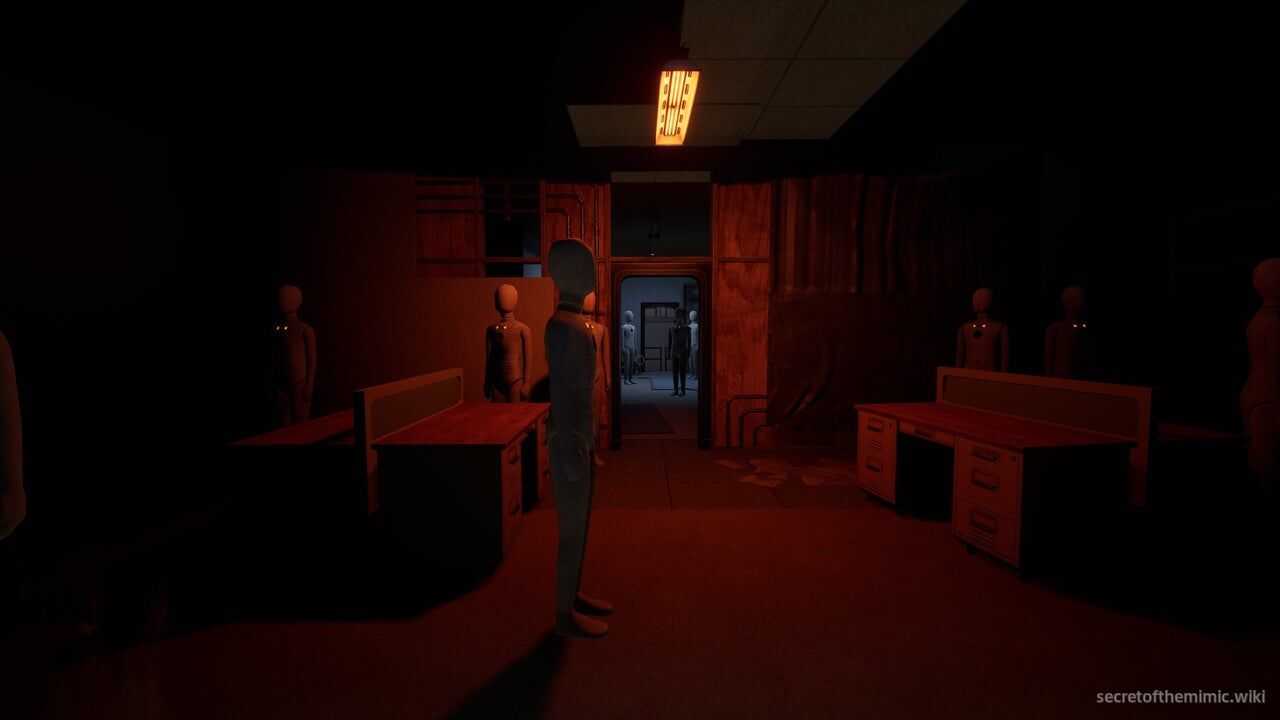
Crawl through it and, as you do, Music Man will start punching through the ceiling again. This time, there's no fake outs or arms that will hamper your progress. All you have to do is follow the path, so sprint along the route and keep moving until you emerge back in the stairwell.
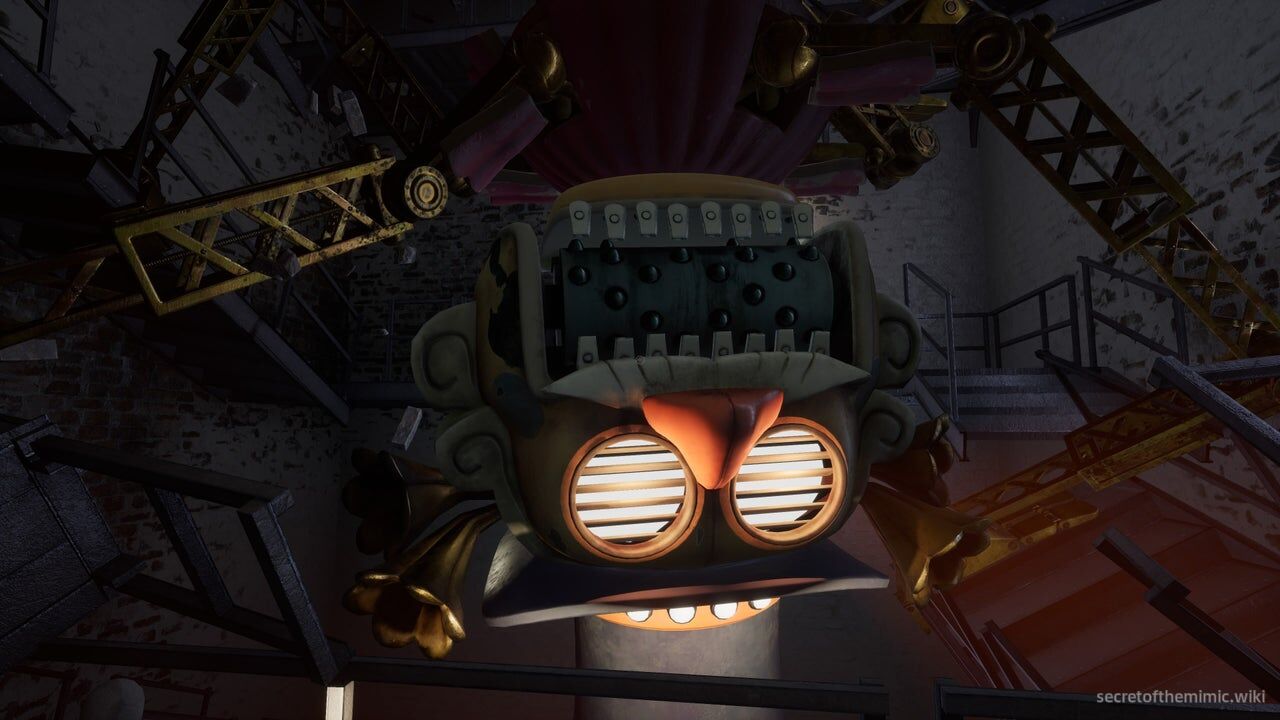
Music Man will corner you here, closing in for the kill before toppling through the ceiling, sending you both hurtling down to the depths below. A few moments later, Arnold will wake up to see a destroyed Music Man above him. That's another animatronic down, and with it, another chapter. Next up is The Theater...