

Reset the Welcome Show, retrieve the Repair Cassette with code 0158, repair the elevator, win all three Big Top games, restore power after each round, then build the balcony code from the four hats shown on your board.
Having survived a playdate with Jackie, we're back on the trail of the Mimic's schematics, with this segment of Secret of the Mimic taking us to The Big Top Showroom in search of another Data Diver upgrade. This FNAF walkthrough provides all the tips and tricks you need to evade the Mimic, solve every puzzle and find any and all key items you need to continue your adventure.
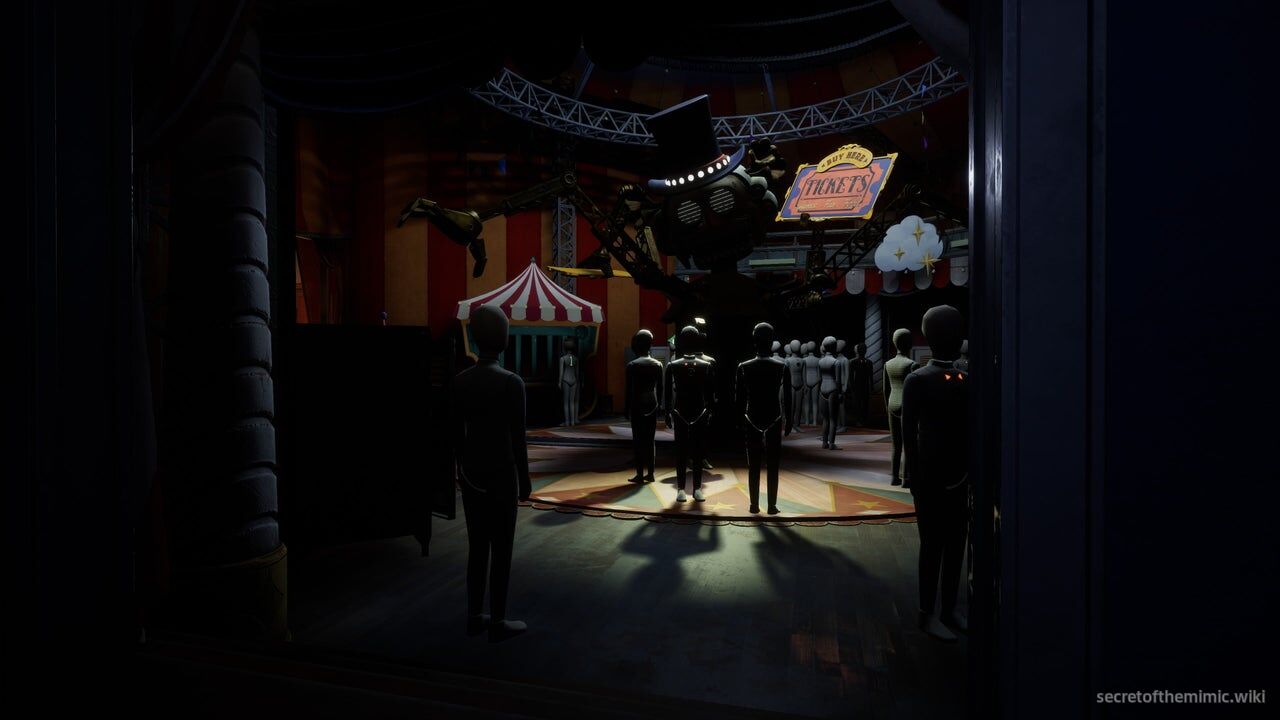
This next segment picks up directly after our scrap with Jackie, as we set off through the facility in search of the Big Top Showroom. If you're looking for a specific segment of this chapter, use the links below to skip through each major section:
The Big Top Showroom
Following our throwdown with Jackie, we'll find ourselves back in the Security Office on Floor 1. When you're ready, press the receiver on the desk and you'll get back in contact with The Dispatcher.
He'll tell you a little more about the Mimic, noting that it used to play with Edwin Murray's son and was, at some point, exposed to extreme violence. On brand for an intelligent, infinitely learning AI, it took this hostile experience and killed the various Fazbear employees that came to capture it. But, don't worry, 1 in 3 Fazbear employees have confidence in us, so this can't at all go wrong!
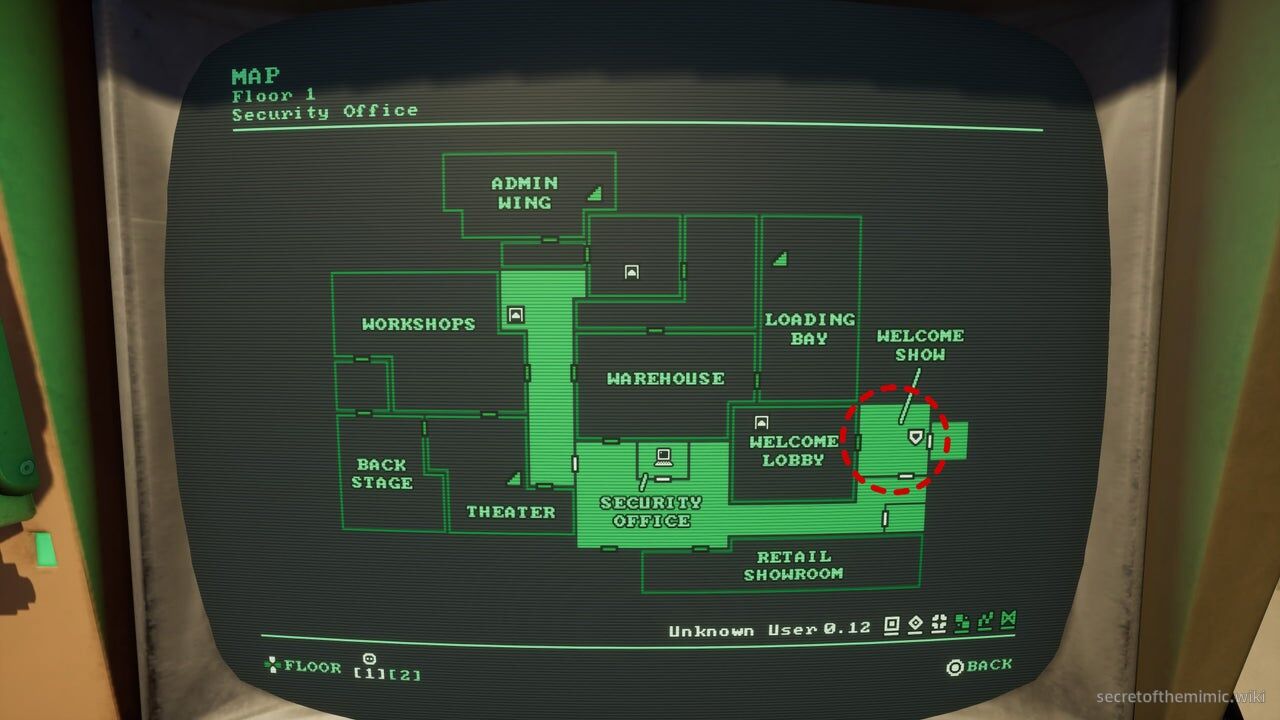
Our next stop is to upgrade the Data Diver again, but we'll have to make a little trek to do it, with The Dispatcher telling us to make our way to The Big Top Showroom. To reach it, we'll need to head back to the Welcome Show stage where we witnessed Murray's grand animatronic musical number earlier. In case you've forgotten how to reach the area, I'll mark it on the map above.
The Mimic Can Be Anywhere
When you're ready, exit the Security Office. Be careful here. As you'll learn throughout your time playing Secret of the Mimic, our good ol' chrome dome stalker is definitely not limited to scripted set pieces. From now on, the Mimic can and will spawn anywhere there's a free, completely haunting suit to occupy.
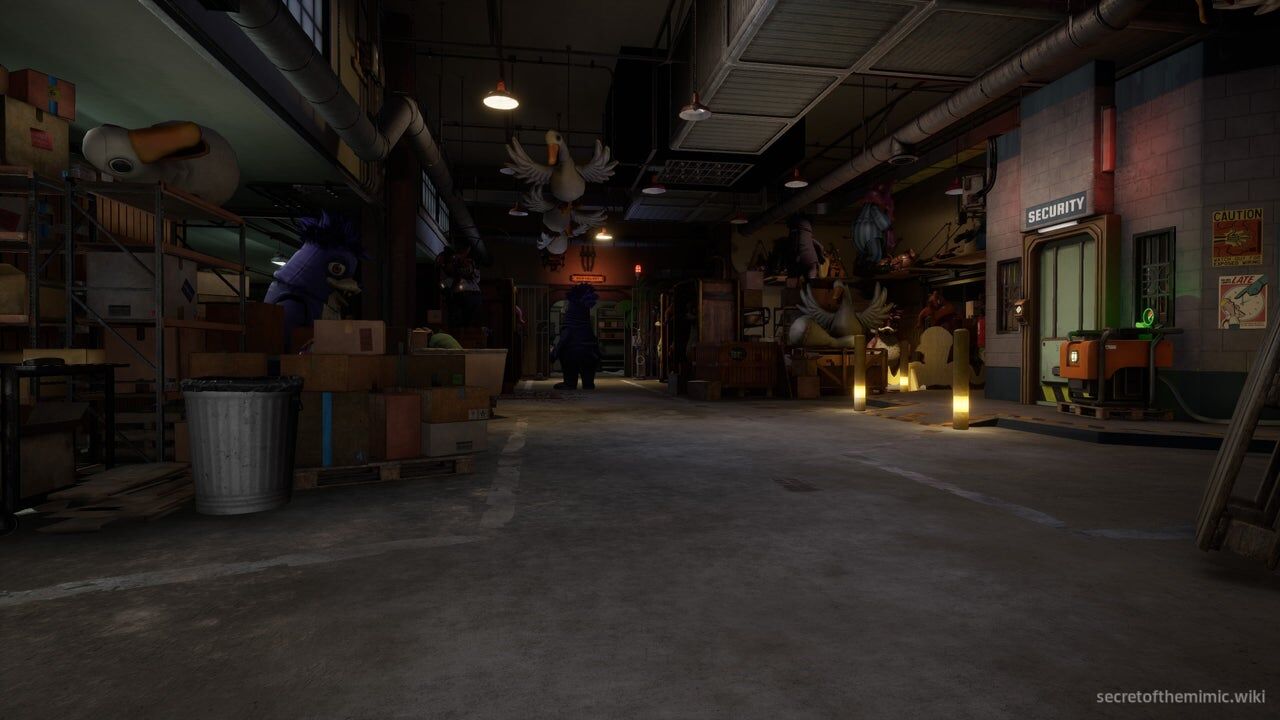
What does that mean? Well, it means that every single room where Murray's suits reside is now potentially a spawn spot for The Mimic. It won't step into anything particularly deadly outside of scripted set pieces, so you don't have to worry about a vengeful Jackie sprinting after you, and you'll usually know if it's out and looking for blood as soon as you enter a room, as it's given away by a sinister sound cue and the everpresent thundering of its footsteps.
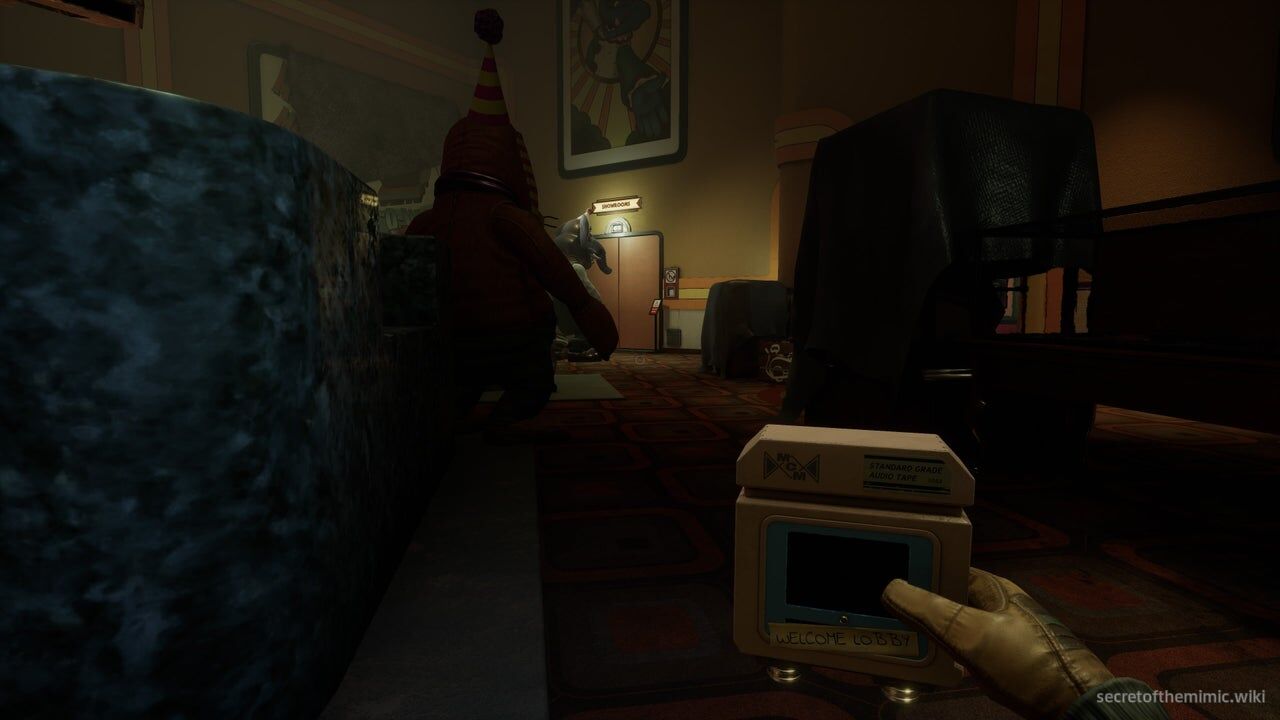
Regardless, from now on, note that there's always the potential for a Mimic encounter in rooms full of suits. Side note, but it's also worth mentioning that The Mimic can switch suits mid-encounter, so don't get lulled into a false sense of security if you've seen him crop up in the room using a certain suit. He can and will change form to throw you off your game.
Resetting The Welcome Show
With that PSA out of the way, let's get back to our mission. After leaving the office, take a left, and follow the corridor. If our murderous metallic buddy is strolling around, wait for him to walk towards the Main Hall door and then creep around him and push towards the Welcome Show stage.
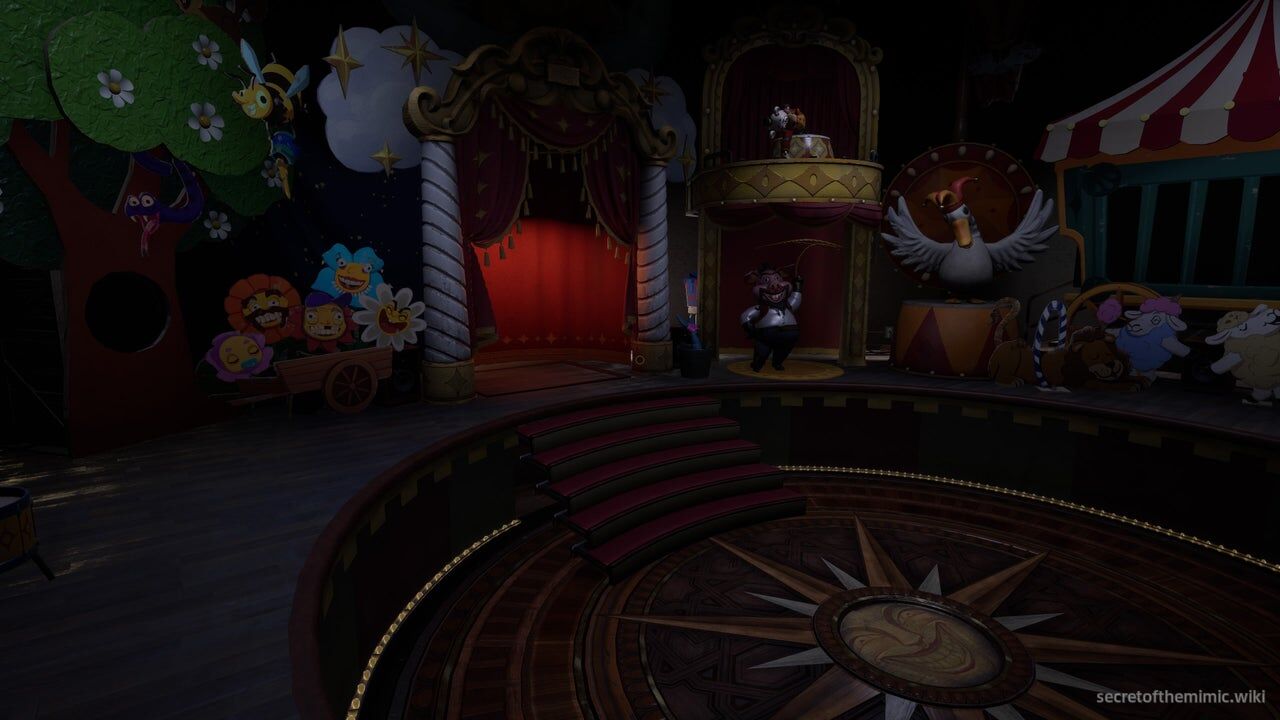
When you see the Power Room, enter the corridor to your left and follow the route back to the Welcome Show stage. Here, the Dispatcher will contact you and tell you that, to proceed, we'll need to reset the show so the presentation finishes correctly this time, opening the door fully.
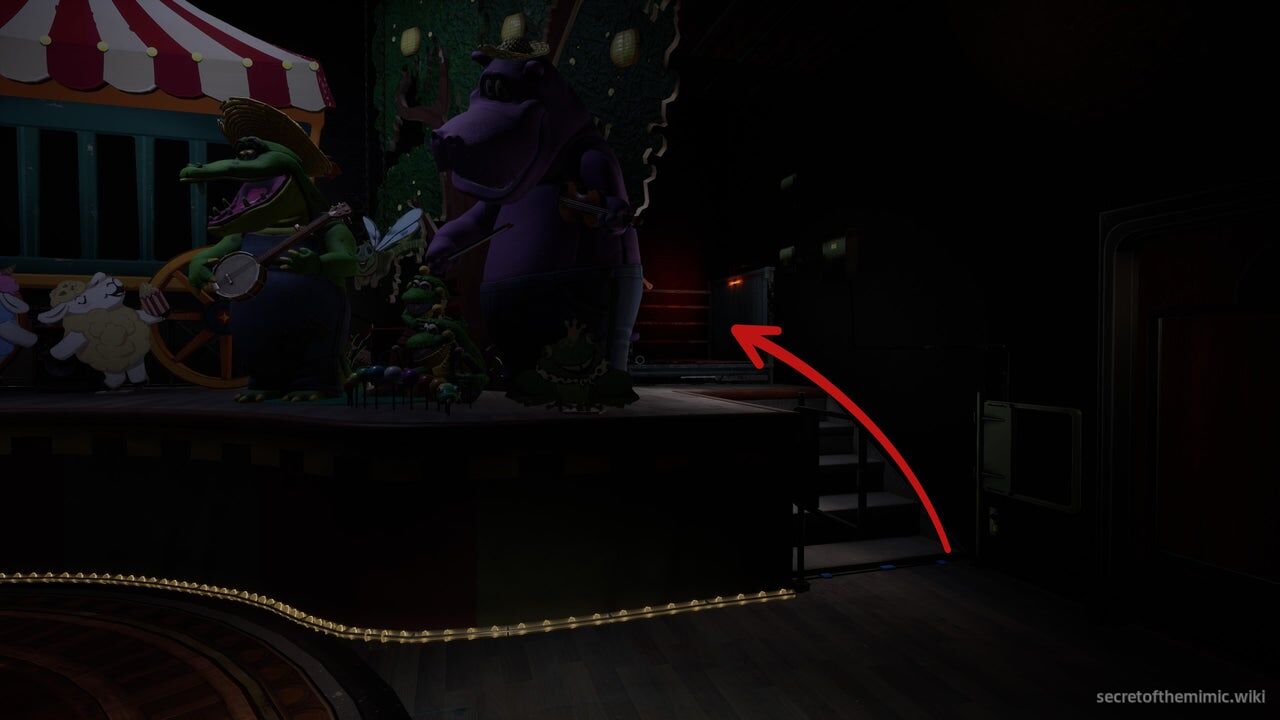
To do that, head to the opposite side of the stage from the doorway we just exited. If you use the stairs the arrow points out in the image above, you'll see a little elevator you can use to reach a walkway overlooking the stage below.
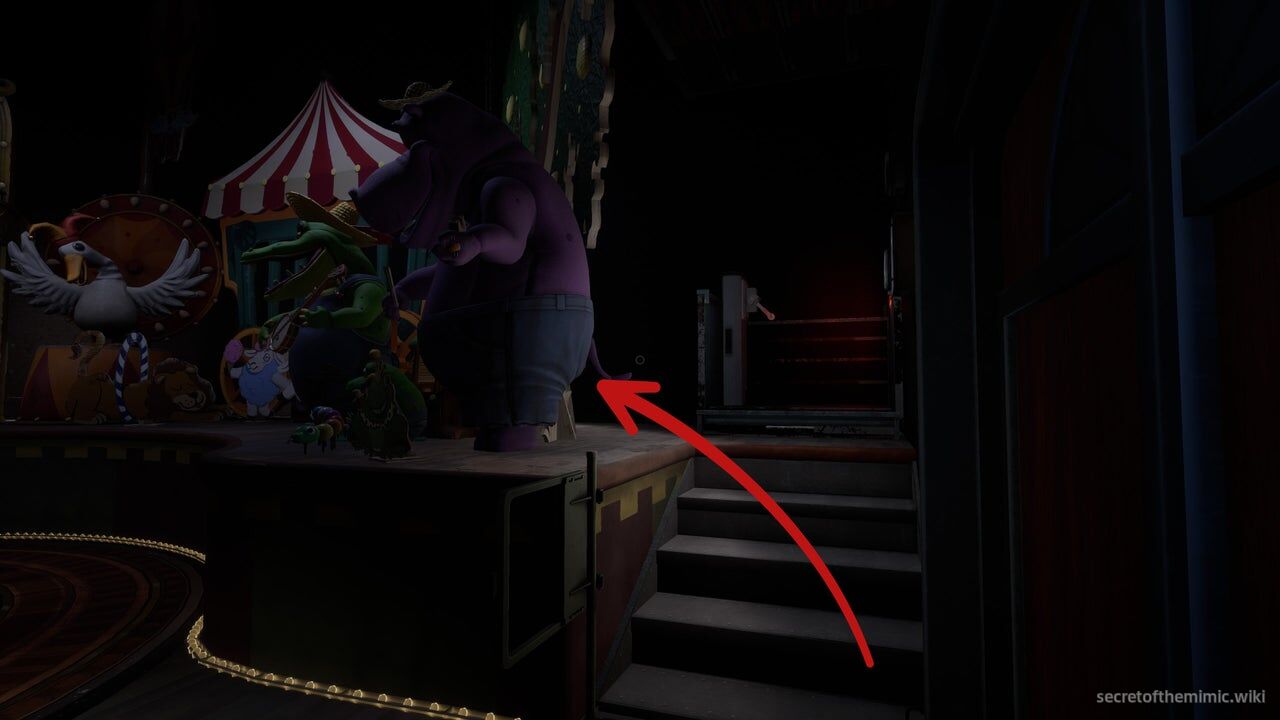
Collectible time! There's a secret path just to the left of the elevator here. It's marked in the image above. If you follow this path, you'll find another gift you can crank open to receive the Monty's Water Game item. Stash it to add another collectible to our collection.
Cross the walkway and access the terminal in its centre using the Data Diver. Among the options on this terminal is one to reset the show.
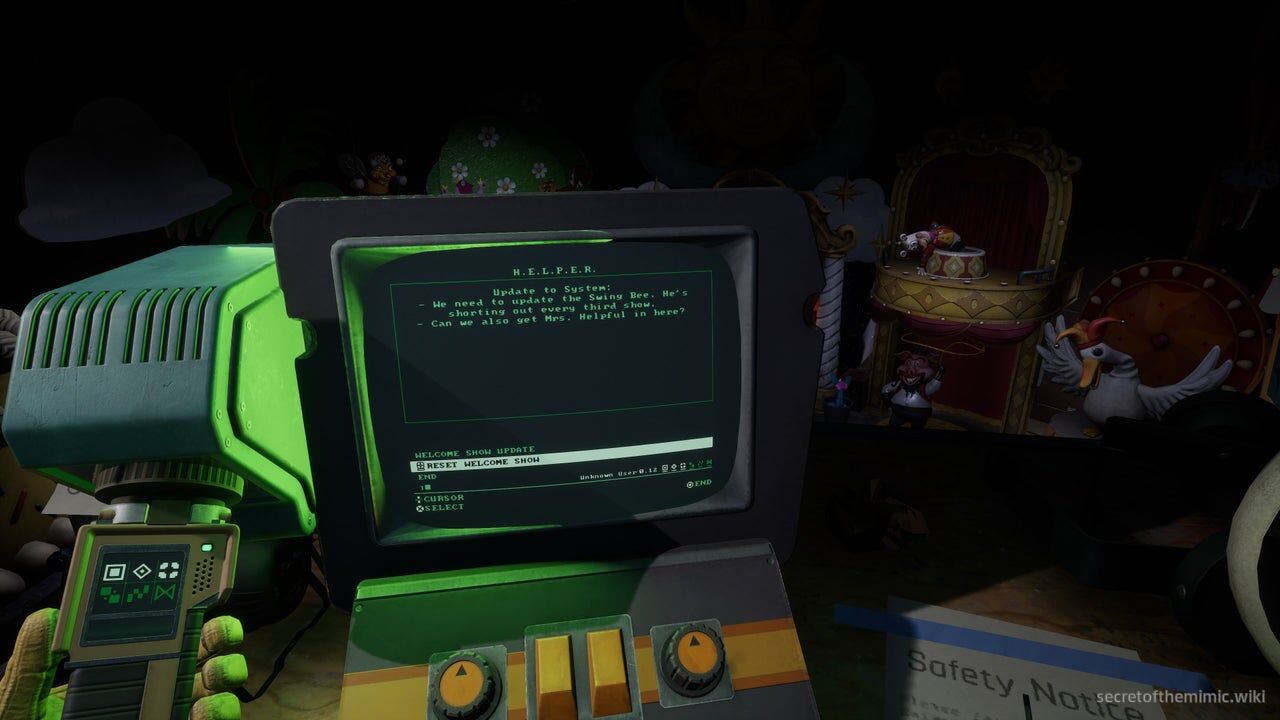
Hit it and you'll see the second half of the show again, except this time, the bee animatronic won't short out and the doors at the back of the stage will open. Use the elevator to descend back down to the stage and then use the Data Diver to open the doors ahead.
Fixing The Welcome Lobby Elevator
As the doors open, you'll make your way into the Welcome Lobby. It's a veritable all-you-can-eat buffet of empty suits for The Mimic, so it's worth remembering that it's probably a bad idea for us to be cruising through this room unaware going forward. Always make sure the coast is clear before exploring here going forward.
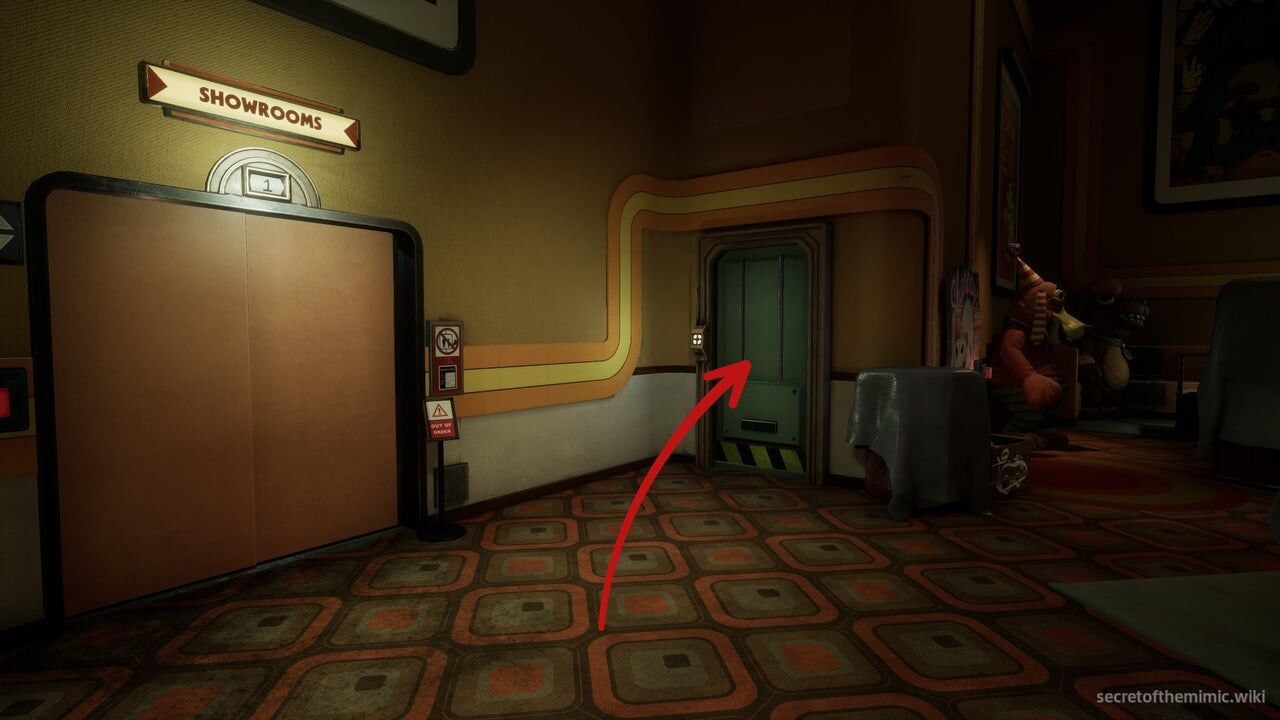
After taking a little look around, turn your attention to the elevator on the right-hand side of the room. It's, unfortunately, out of order, so enter the room directly to the right of it using the Data Diver. Inside, we'll find an Inventory machine and a butler robot. You can pet this little guy, so don't be shy. He's cool.
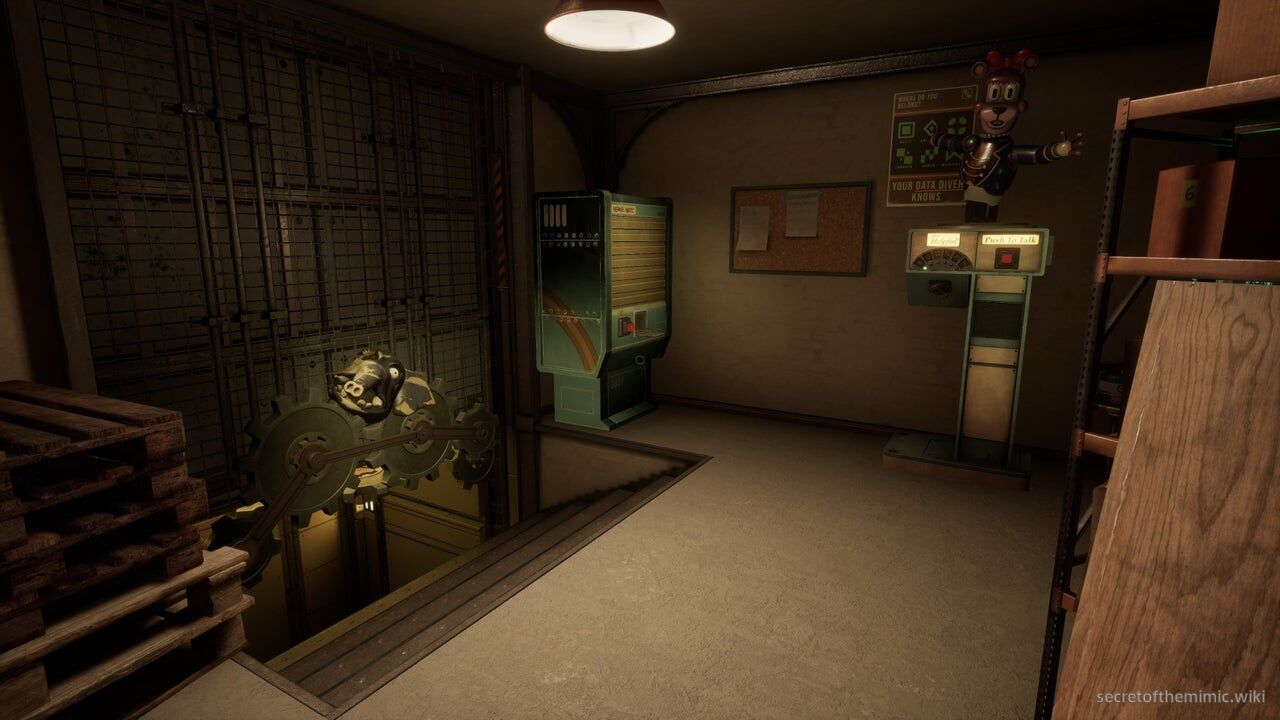
When you're ready to move on, look for a door beside the Inventory Machine. Through it, you'll see a Mrs Helpful puppet attached to a contraption and a gear that's stuck due to an elephant mascot head being jammed in it. For now, let's make our way over to the Mrs Helpful puppet.
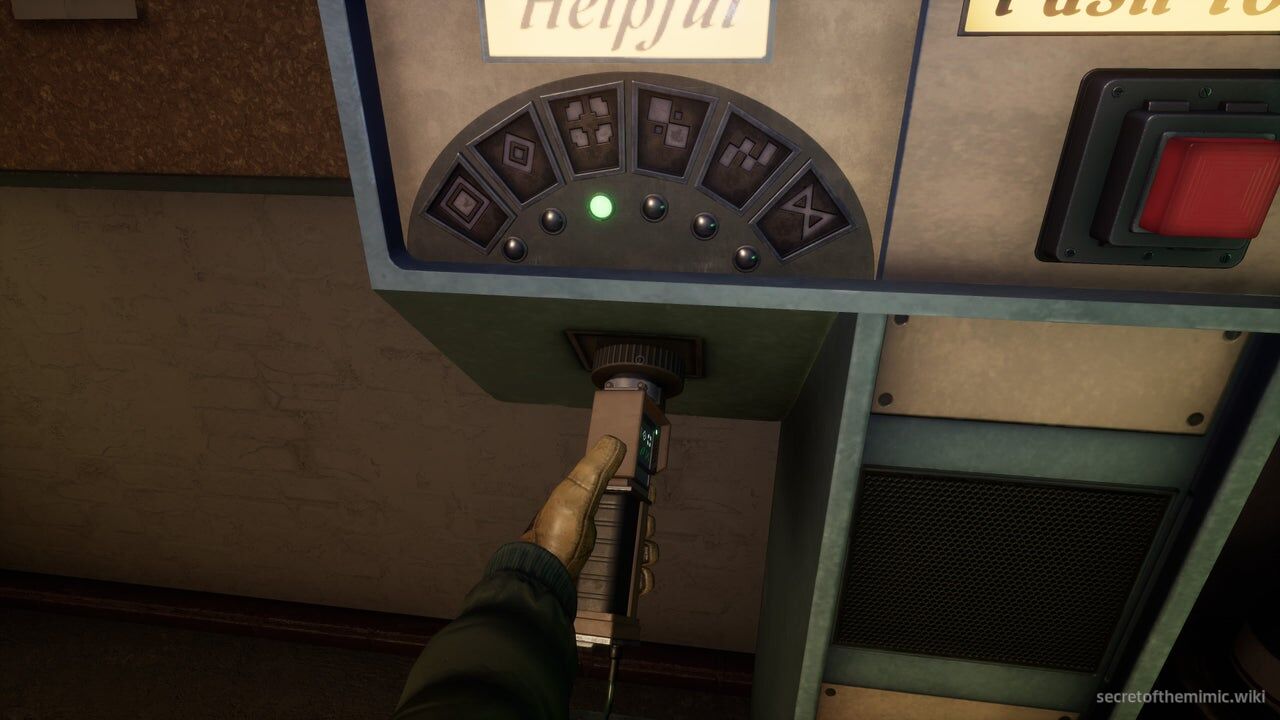
If you talk to her by pushing the red button, she'll speak to you like an average customer, telling you that the elevator is out of order. However, you'll notice there's a Data Diver slot beneath the machine. If you insert the Data Diver, you can switch her settings to address you in accordance with your clearance. We need to fix the elevator, so switch it to the repair clearance, which is indicated by the third, cube-esque icon on the dial. When speaking to her with repair clearance, she tells us that we need to fix the elevator, which we can learn how to do by finding the Repair Cassette in the Welcome Lobby. She informs us it's on the balcony, and the access code to unlock it is 0158.
Retrieving The Repair Cassette
Now we have the code, all we have to do is head back out into the Welcome Lobby, use the stairs to reach the balcony, and then input the code, right? Well, there is a very strong chance The Mimic is going to be joining you in the Welcome Lobby, so we'll have to be smart. Return to the Welcome Lobby and instantly crouch and hide.
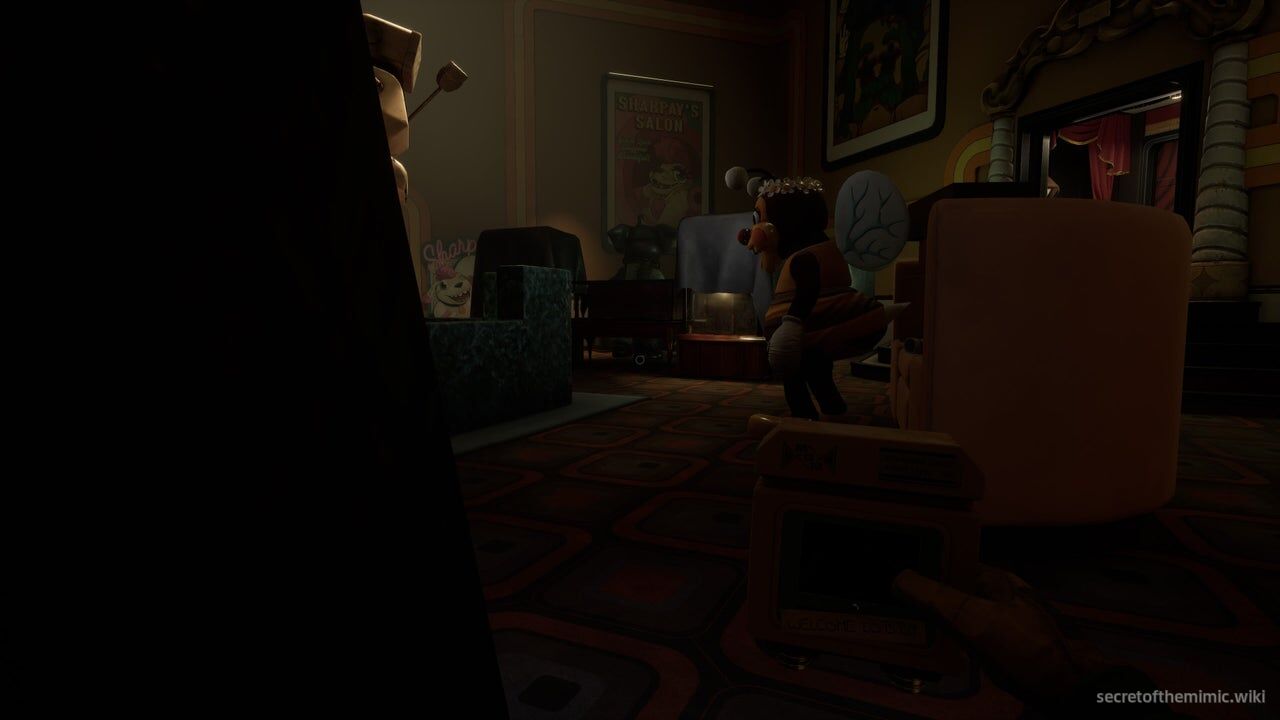
You'll likely hear the loud sound cue indicating that The Mimic is in the area, followed by its thundering footsteps. What suit it picks will dictate where it spawns, but it usually follows a pretty set routine of milling around the central section of the Lobby, standing near the elevator before roaming in a circle and occasionally checking the second floor.
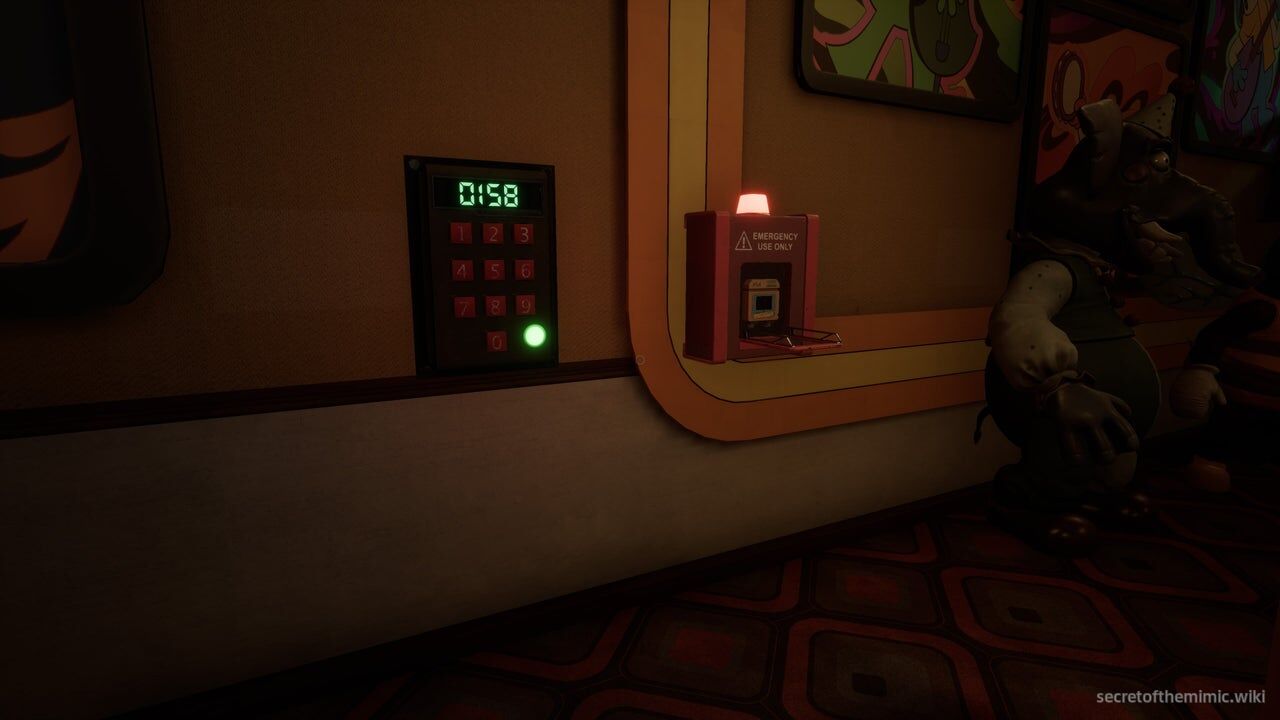
Use the central statue as cover to evade it, sticking to the side opposite where it's roaming and circling around it to reach the stairs at the back of the room. Climb them and move towards the wall opposite the top of the stairs. Here, you'll see a big red keypad next to an emergency compartment containing the Repair Cassette. Approach the keypad and type in the code, 0158. It'll open the hatch, allowing you to grab the tape.
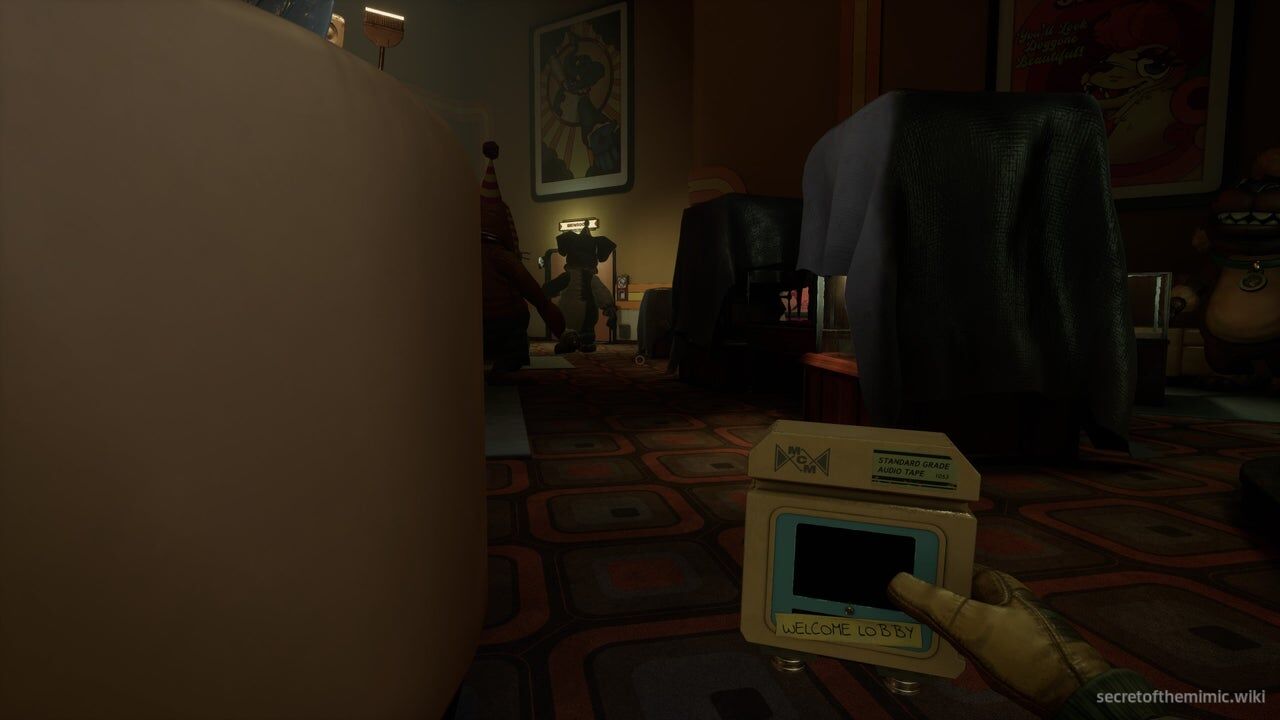
Now you have it, we'll need to retrace our steps. This is a little trickier because we'll need to wait for the Mimic to move back towards the elevator to bypass it. Be patient, wait for it to look away from the stairs, then descend back down to the lobby. Once you're hidden, follow the statue around while evading the Mimic and then re-enter the maintenance room.
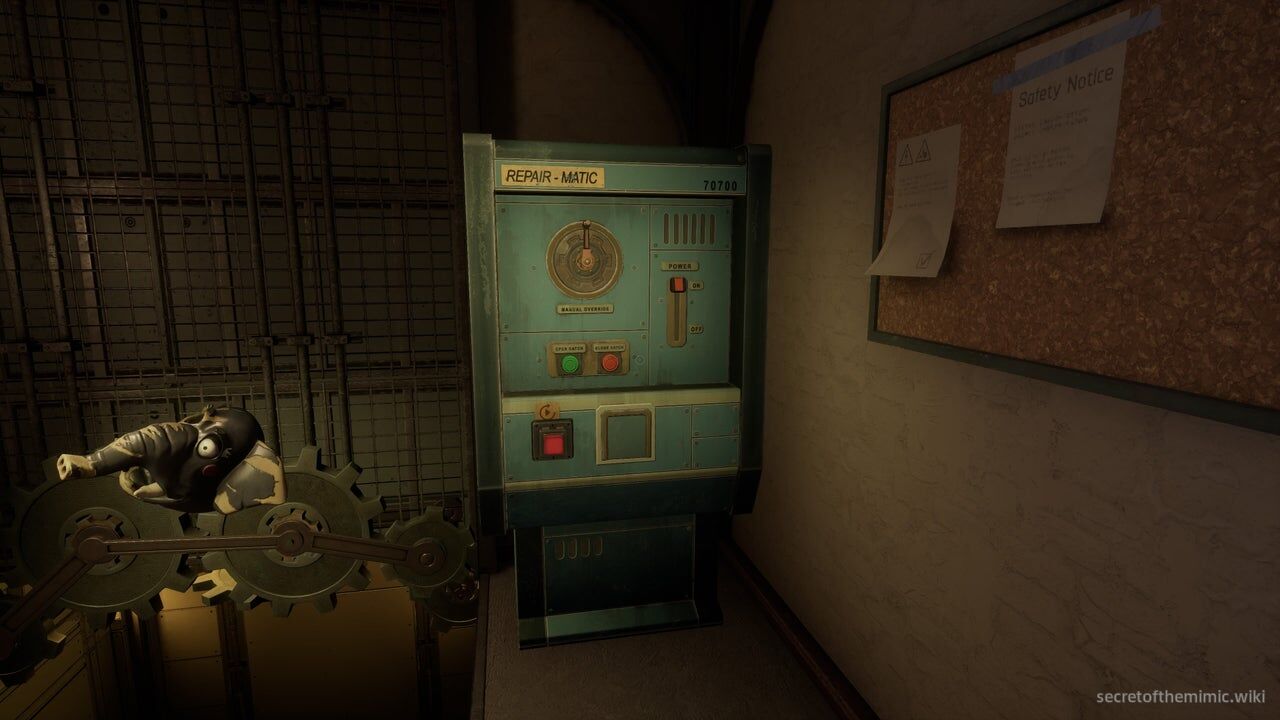
After you're through the door, you're safe, so return to Mrs Helpful. To the left of her machine is a contraption known as the Repair-Matic. Put the tape in the slot at the bottom of the Repair-Matic to open the machine's shutter, cueing the tape to play as a voice begins explaining how to fix the elevator.
How to Fix the Elevator
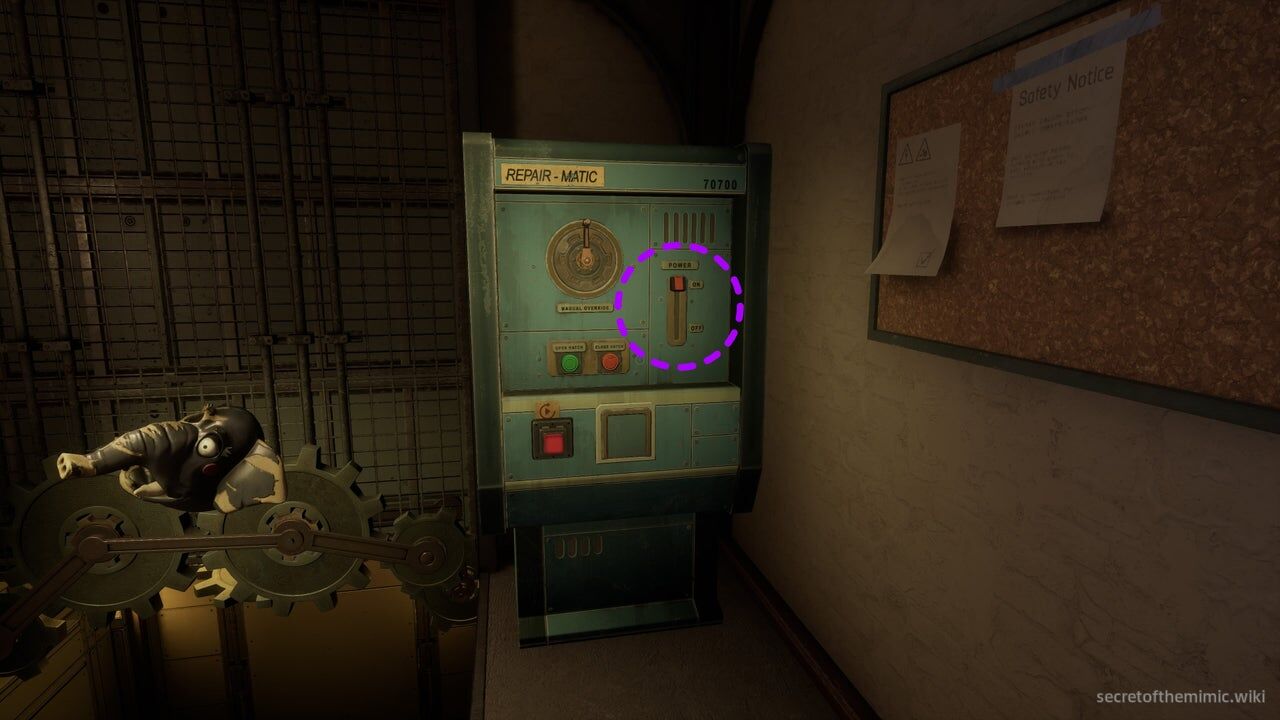
After a short pre-amble, the instructor will tell you to, first, turn off the power. You can do this by grabbing the switch on the right-hand side of the panel and pulling it down.
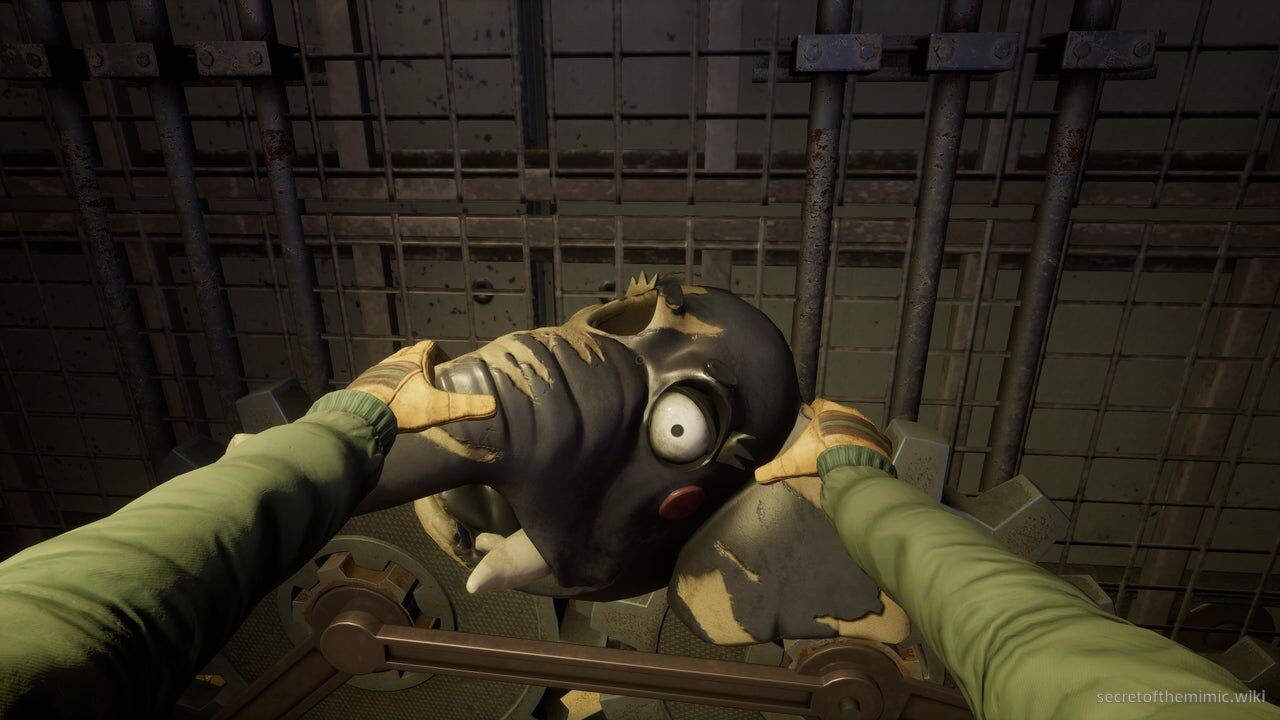
With that done, you need to remove the obstruction, so walk over to the gears and pull the elephant head out of them to unjam the elevator.
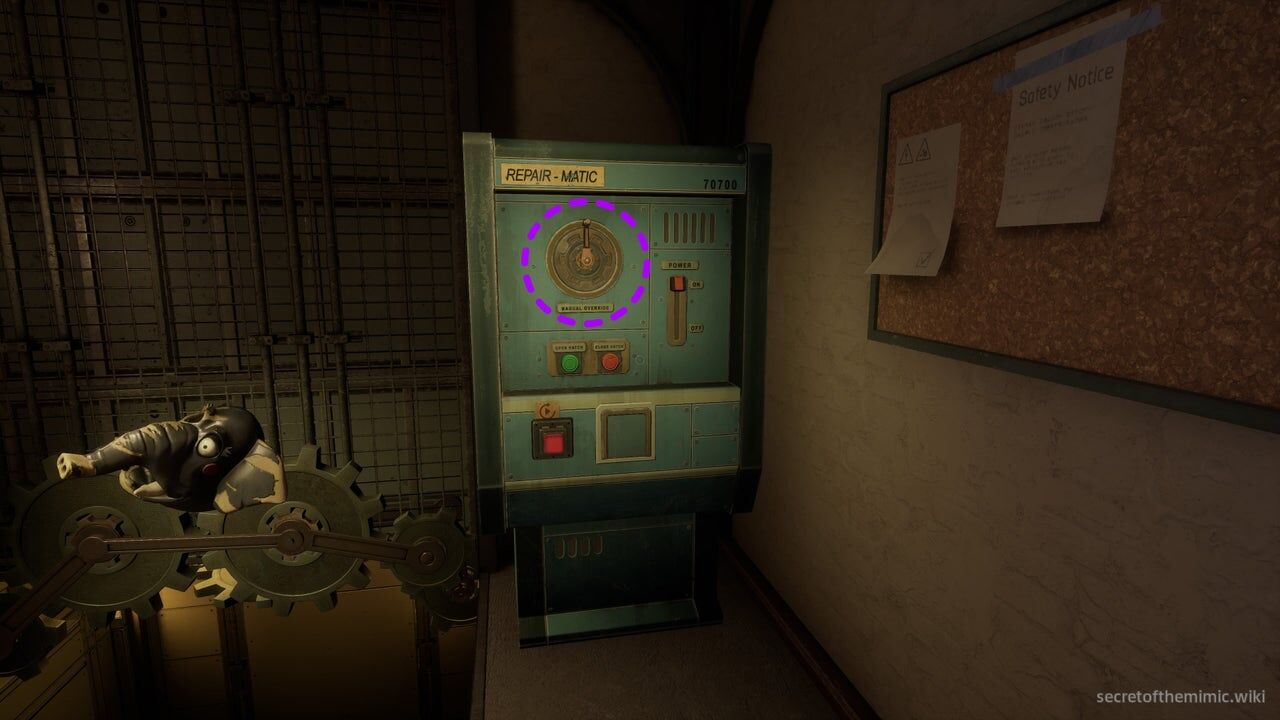
Next, you'll need to manually raise the elevator. That can be accomplished by turning the crank on the Repair-Matic to the right.
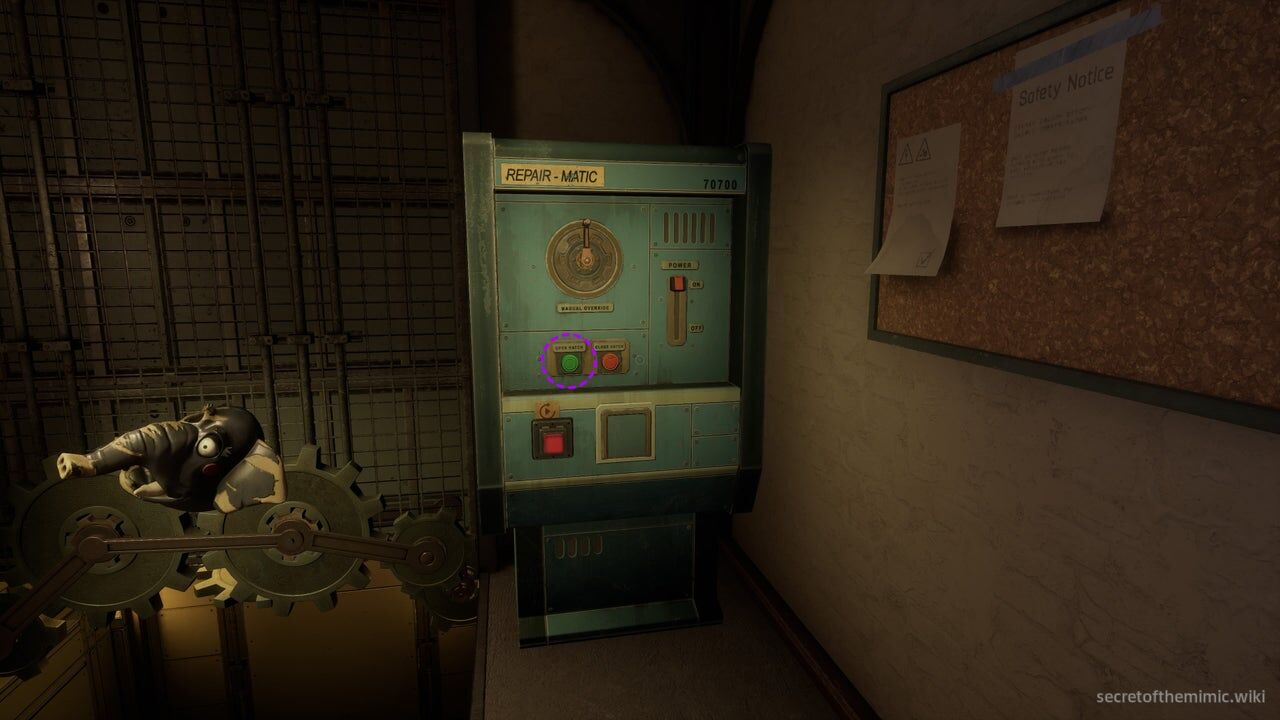
After that, press the green button at the bottom of the panel to open the hatch, creating a platform you can use to get under the elevator.
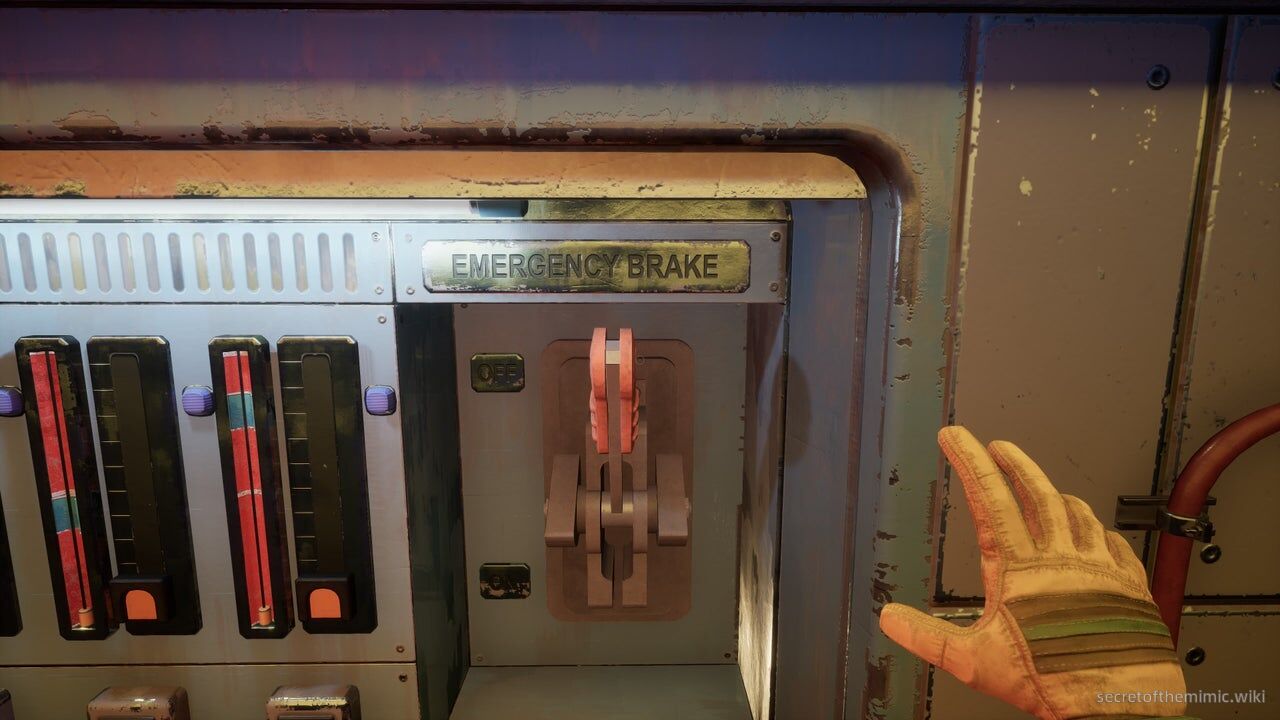
Crawl under the elevator and, ahead, you'll see four buttons with a lever beside them. The instructor will tell you to activate the emergency brake before proceeding, so pull the lever.
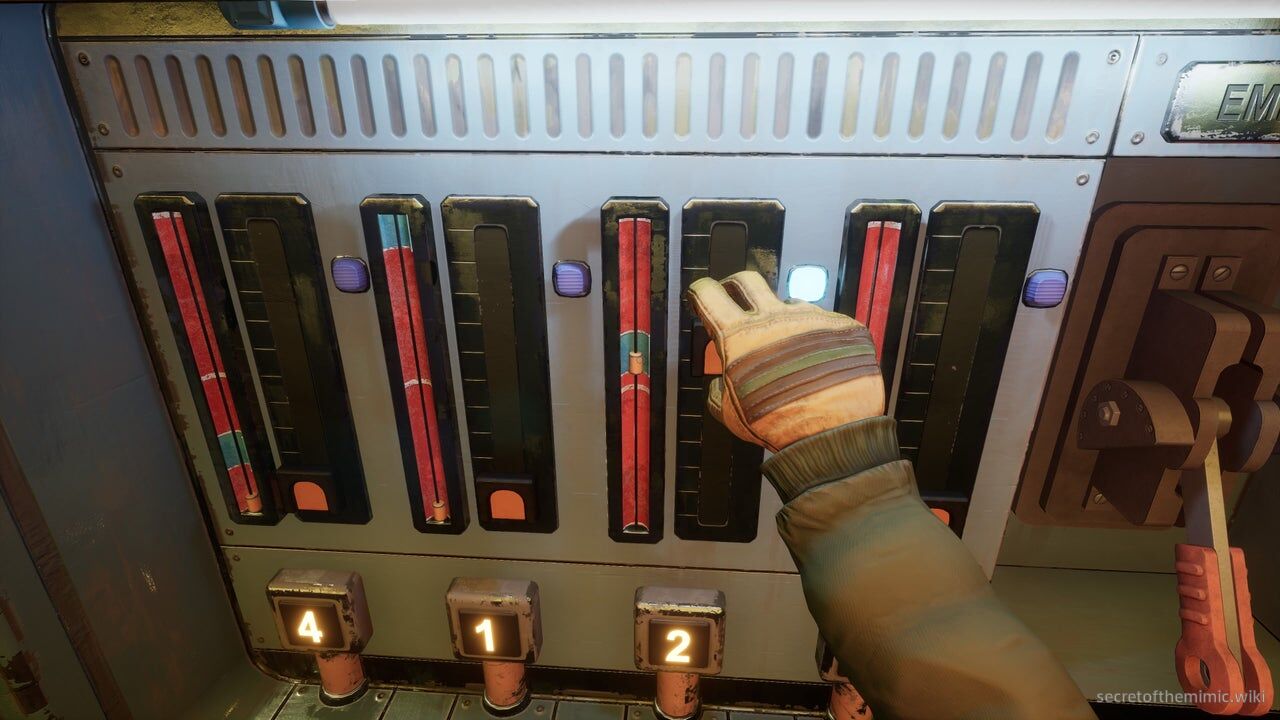
With that done, you'll need to turn your attention to the panel on the left. It'll show four glowing numbers, with wires leading off each number to buttons around you. Before we can use the buttons, we need to first align the meters above each number. Press the orange button on the side of each meter to pull out a lever. Pushing and pulling these levers causes the cork inside the meter to rise and fall. You want to make each cork rise so it's inside the blue segment of the meter, like in the image above.
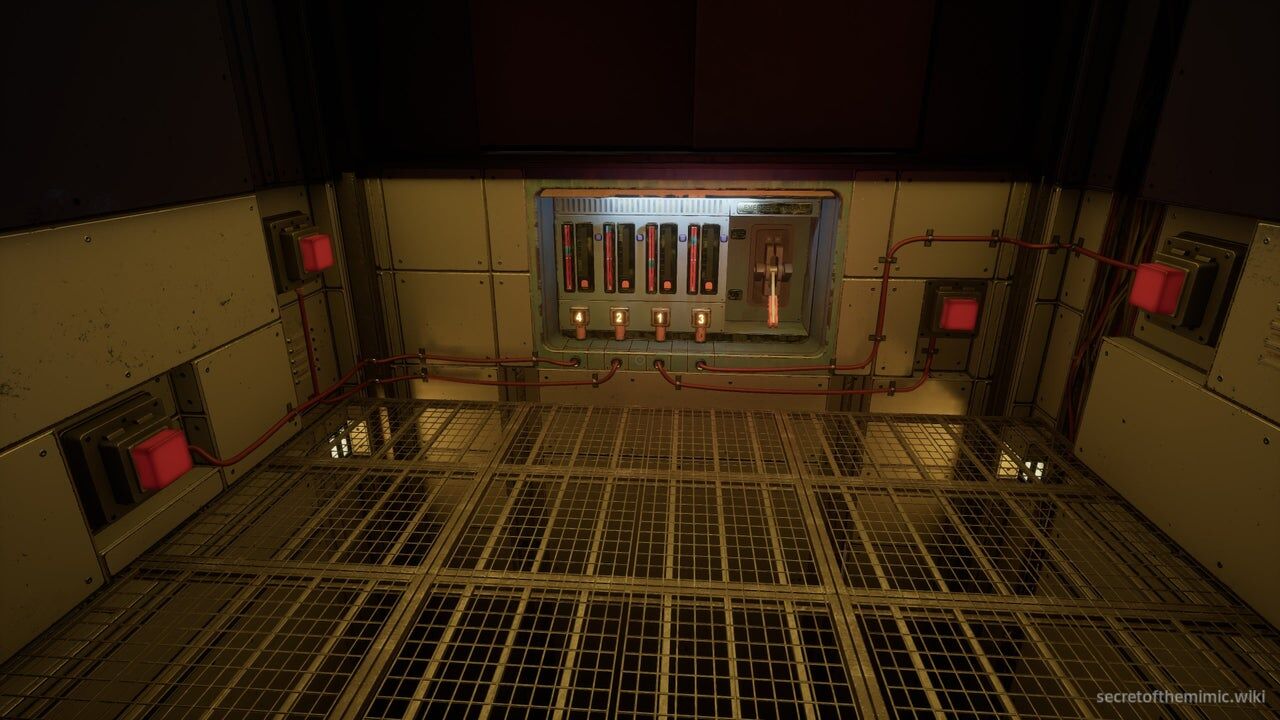
When all four metres are calibrated, the instructor will reveal it's time to use the buttons connected to the glowing number blocks. This section is entirely randomised and will be unique for each player. Here's what you need to do to solve it:
-
If you look at each number block, you'll see a wire that flows down from the block and wraps around to one of the four buttons in front of the panel. The button assigned to each number will shift from playthrough to playthrough, so you first need to trace back each wire so you know which button corresponds to which number.
-
The instructor will then give you a unique sequence that needs to be inputted into the elevator. Listen to the sequence, then press the buttons in the sequence order.
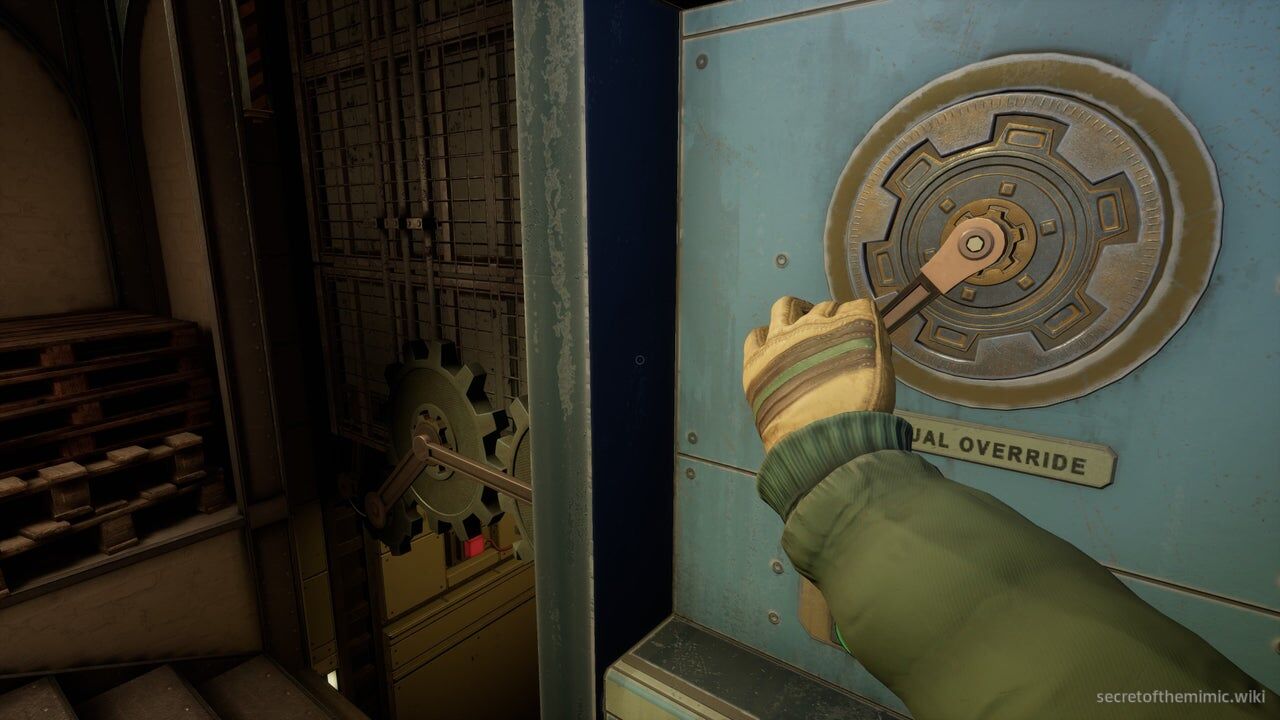
When you've pressed them all, the instructor will tell you to do the following:
-
Release the emergency brake (raise the lever next to the elevator panel)
-
Leave the elevator
-
Close the hatch (press the red button on the Repair-Matic panel)
-
Reset the elevator (turn the Repair-Matic crank to the left)
-
Finally, she'll tell you to turn the power back on (raise the switch on the right-hand side of the panel).
With that, the elevator will officially be fixed.
With the elevator repaired, you can get your hands on another collectible. Opposite the elevator, you'll see a small crawlspace just next to the nearby terminal. Crawl through and follow the path to reach a crawl space above the maintenance area.
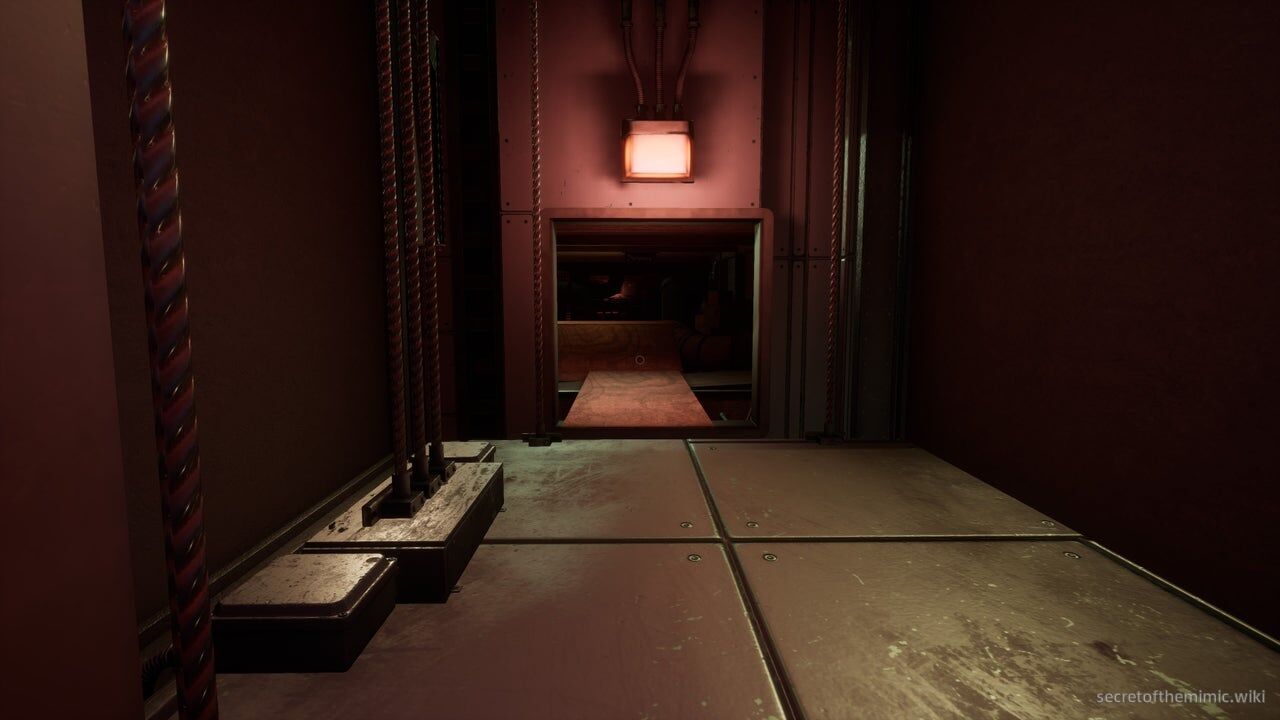
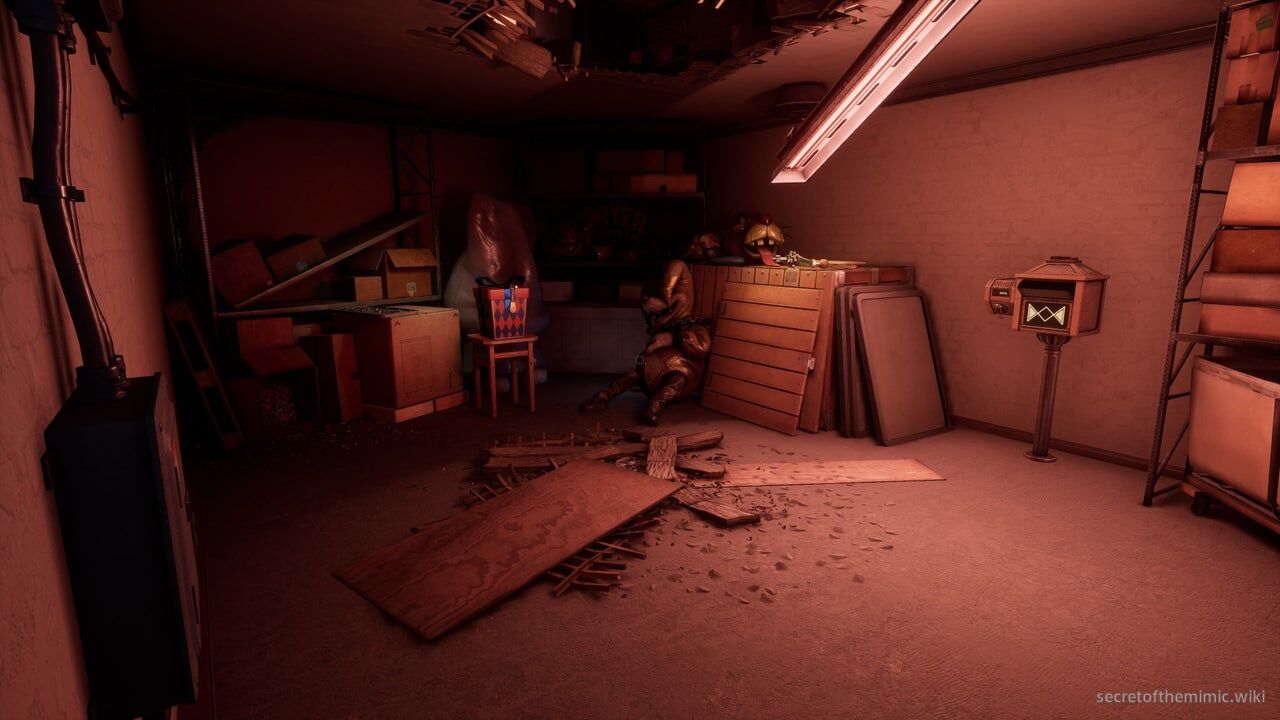
Following this path drops you into a locked-off room with a gift box next to some mascot costumes. Inside is the Party Time Chica Vacuum Cup. Once you've got it, take the crank in this room to open the grate opposite you, and you'll be back in the maintenance area.
Heading to The Big Top Showroom
Now the elevator is fixed, return to the Welcome Lobby. The Mimic will no doubt spawn again, so once you enter, quickly activate the elevator to your right, pop in, and ride it up to the Showroom Lobby.
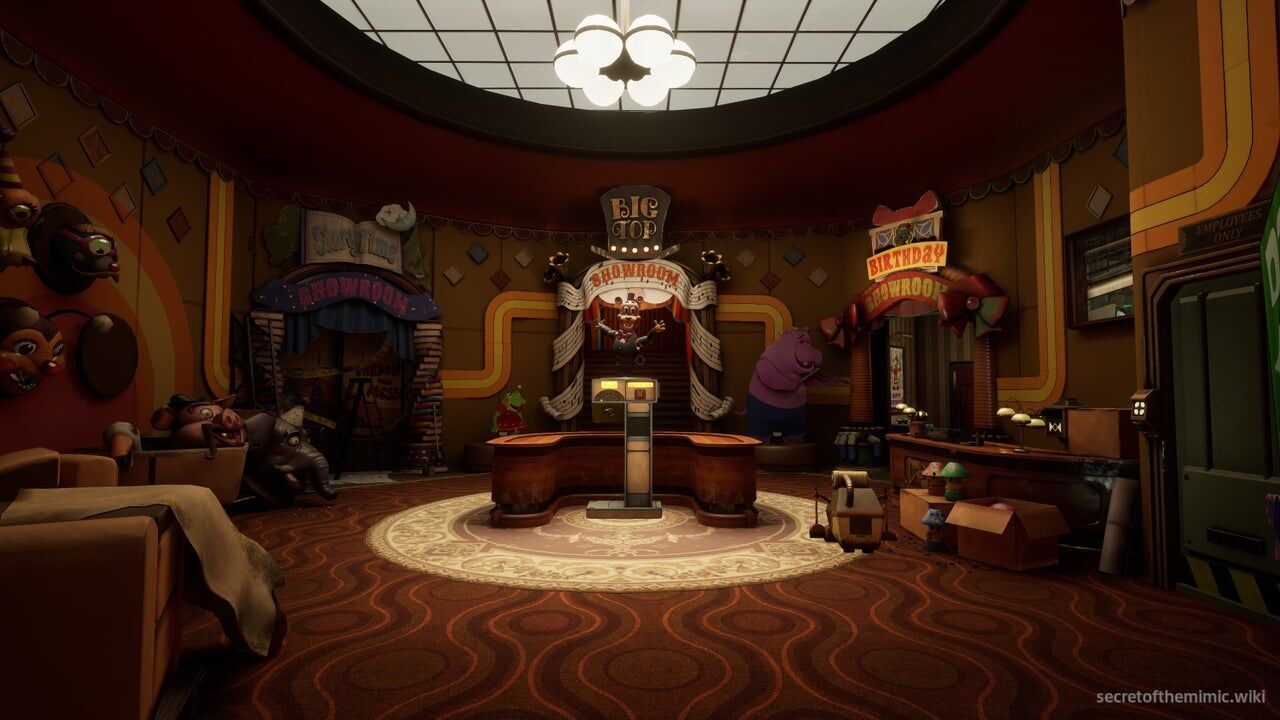
After you exit the elevator, you'll be in a long corridor. Follow it to the end to reach a hub area between several attractions. In the centre is Mr Helpful. You can chat to him if you like and use the facilities through the Data Diver locked employee door to your right. However, all we need to know for the main route is that an energy surge has left the Big Top Showroom without power.
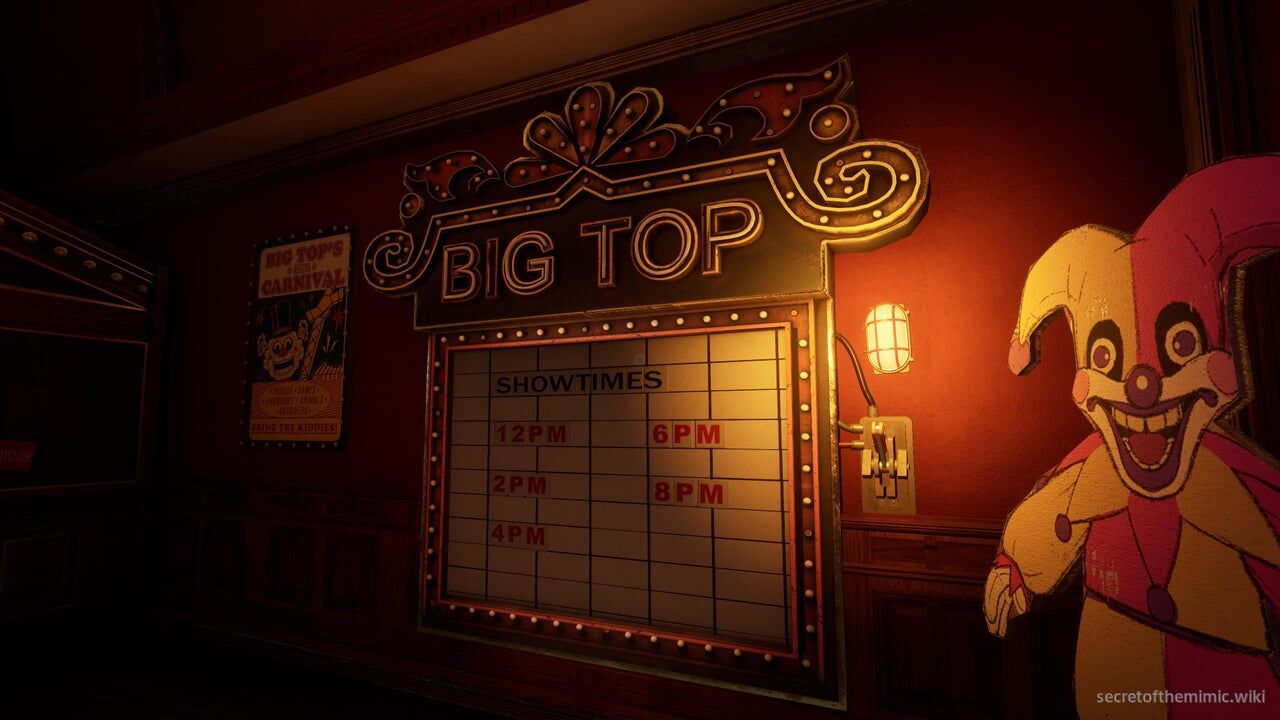
Ascend the steps to the Big Top and you'll reach the entrance. If you look to your right, you'll see a lever next to a board with showtimes. Pull the lever, and you'll expose a power puzzle identical to the one we completed in the Power Room at the start of the game.
Big Top Showroom Power Puzzle
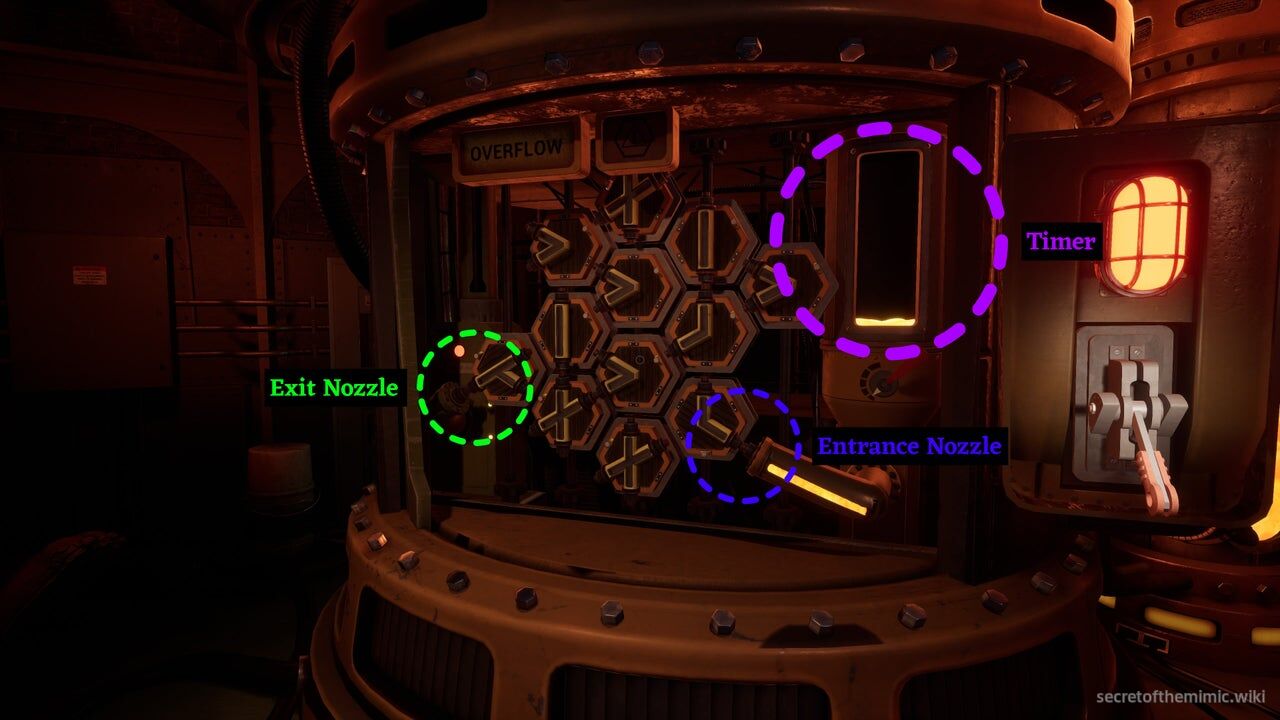
Before we get started, take a look at the diagram we made for the original power puzzle above. You'll want to make sure you know these puzzles like the back of your hand, because shortly, we'll need to do them with added time pressure. Like last time, the idea is to make the molten liquid flow from the nozzle on the right to the nozzle on the left, tilting the pipe tiles to transfer it.
Music Man Boss Fight
Once the puzzle is complete, the curtain to the Big Top will open, and a gloved hand will stretch out requesting a ticket. Approach the curtain and, to the right of the hand, you'll see Mr Helpful extend a box out of the ticket booth. Wind up the box using the lever affixed to it, and a ticket will eject.
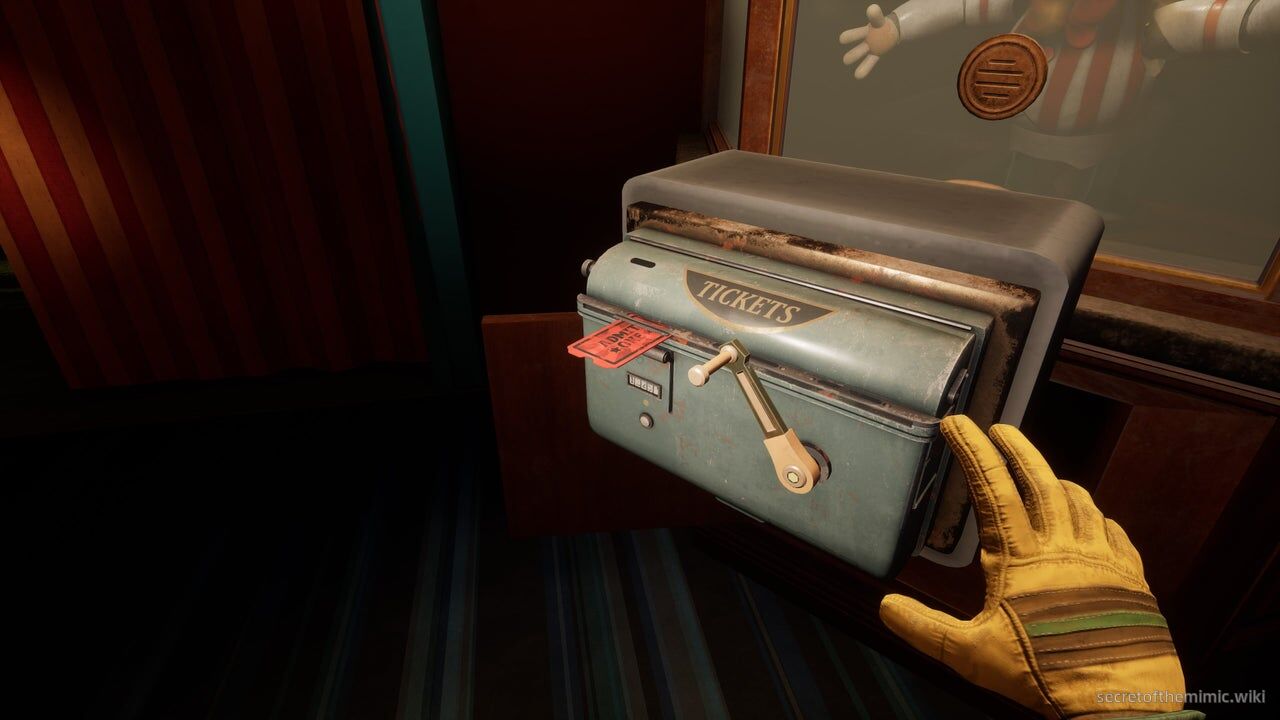
Grab the ticket and take it over to the curtain, then place the ticket in the gloved hand. The hand will bring the ticket back behind the curtain and reveal a giant Music Man, who will tell us to win games to earn spins on the "Lucky Wheel."
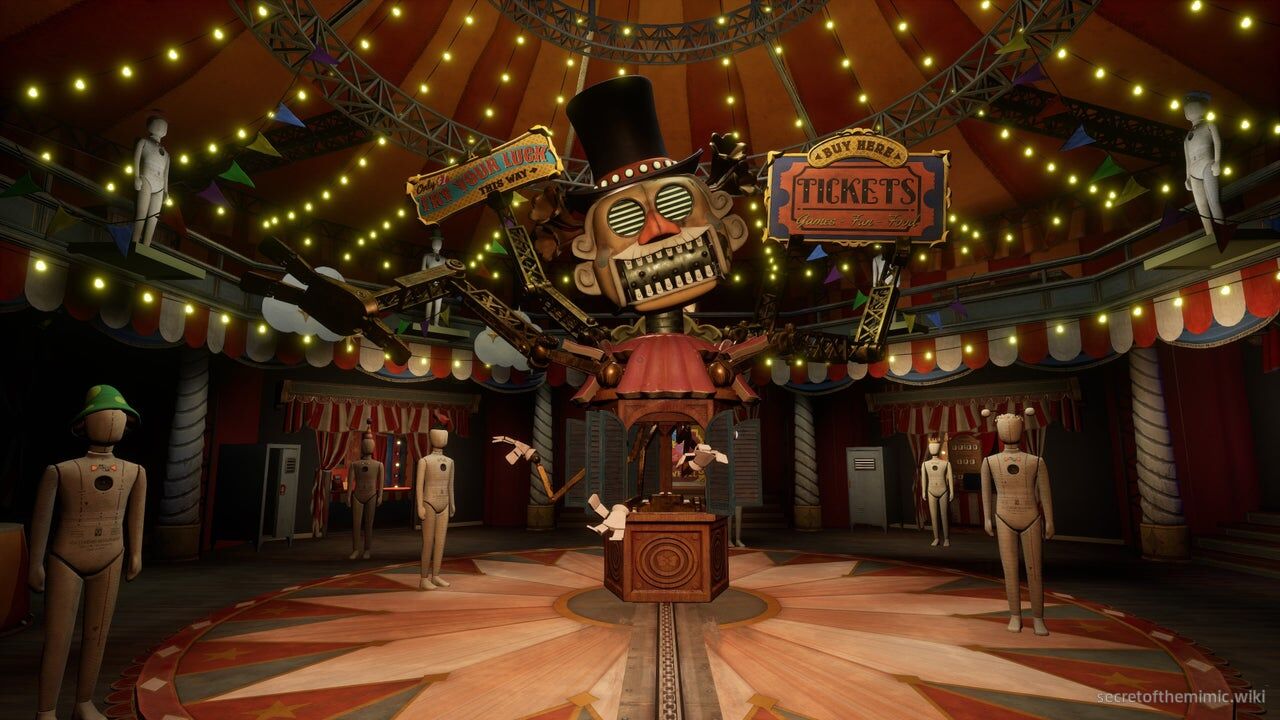
As we'll find out shortly, this dude is more interested in ripping our skeleton out than discovering what prize we can score from the lucky wheel, even if he's currently docile. In truth, this is actually a boss encounter, and our goal is to play the games surrounding Music Man's main chamber while fixing the power to escape. There are three games in total: The Space Gallery, the Shooting Gallery, and the Ball Toss. Each time we win a game, we get a spin on the wheel up the steps at the back of the chamber, with our ultimate goal being to win the grand prize by spinning it four times.
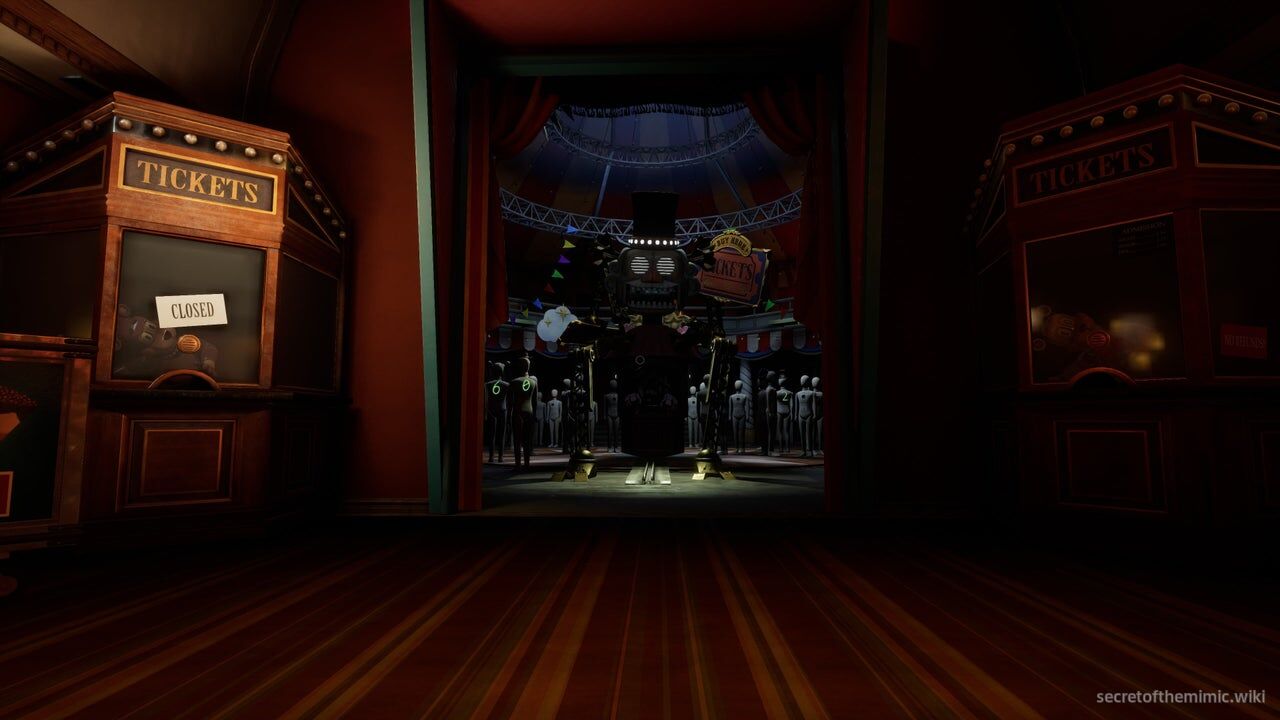
However, we aren't just going to be playing these games unhindered. Each time we play a game, we're going to cause a power overflow, and when the power dries out, Music Man will decide he's much less interested in wheel spins than he is in devouring us whole. When that happens, we'll need to re-route the power using the power puzzle terminal we just fixed to enter the Big Top. For a reminder, that's directly next to where we originally entered, behind the Showtimes screen.
Music Man Tips
When you're ready to get started, make your way over to one of the games. We'll be playing all three, so it doesn't really matter where you start.
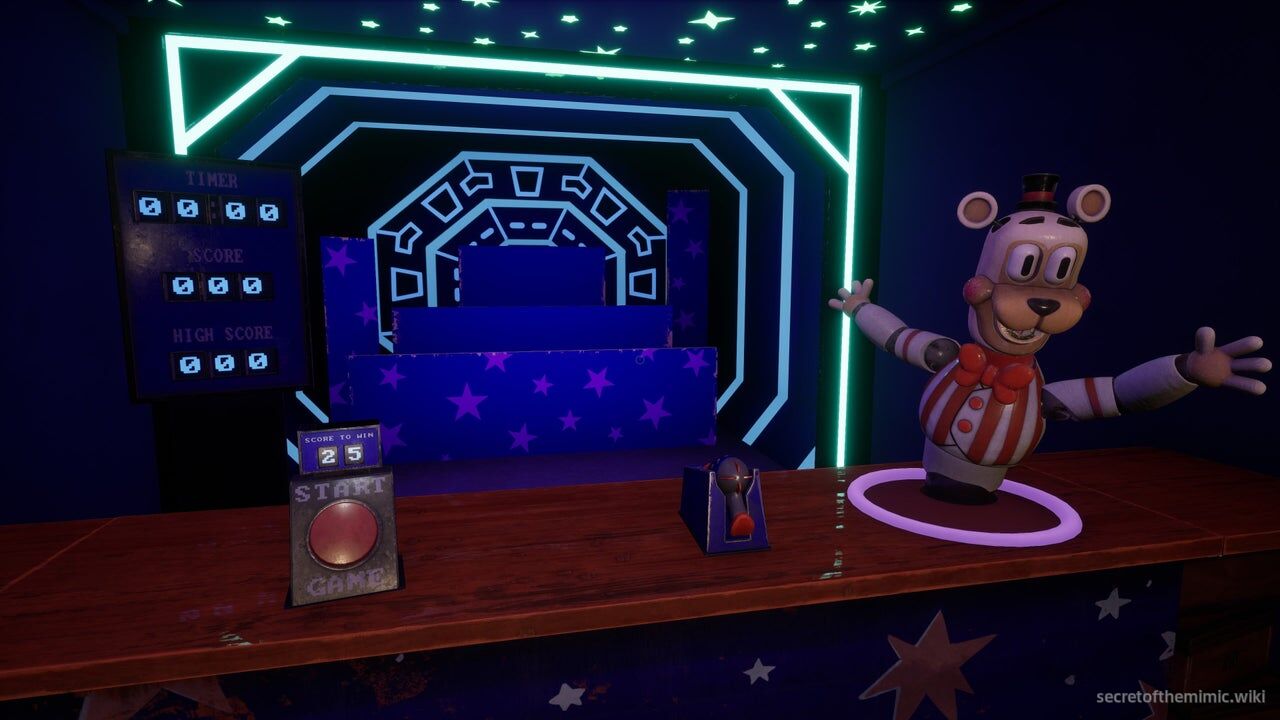
Get a quick lay of the land, and then get started on your chosen game. They're all simple target-based games, and Mr Helpful will guide you through how to play. As long as you get a score of 25 or over, you'll win the free spin. Once you've completed the game, the power will short-circuit, and the lights will cut out.
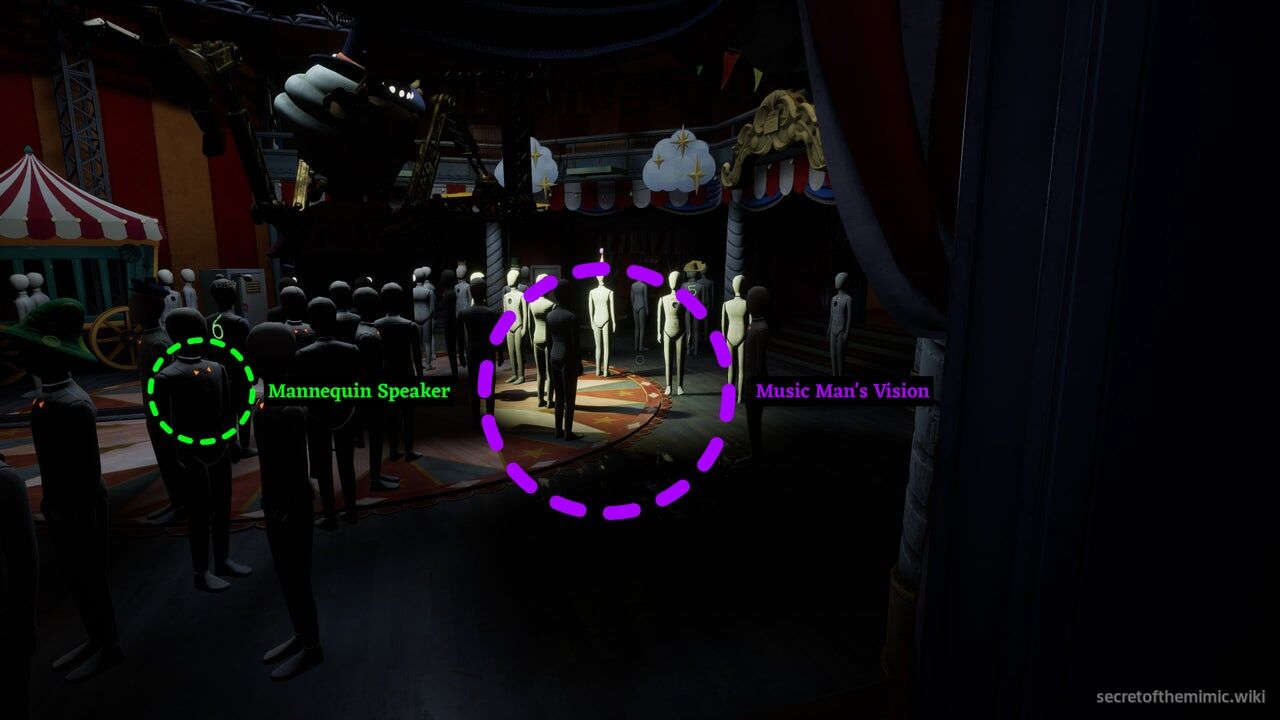
When you turn around, you'll now see the mannequins in the room have moved, creating a maze with Music Man spinning around in a circle at its centre. Until you reset the power, Music Man is now hostile. If he sees you, he'll grab you, killing you instantly. Before we get moving, let's cover the ground rules here.
-
Music Man's vision is represented by the light on the ground emanating from his eyes. As long as he's not looking at you, you can move past him.
-
Music Man is incredibly sensitive to sound. If you sprint, he'll instantly turn and search for you.
-
Any mannequin that's facing you will activate if you get close, saying its trigger phase and causing Music Man to investigate.
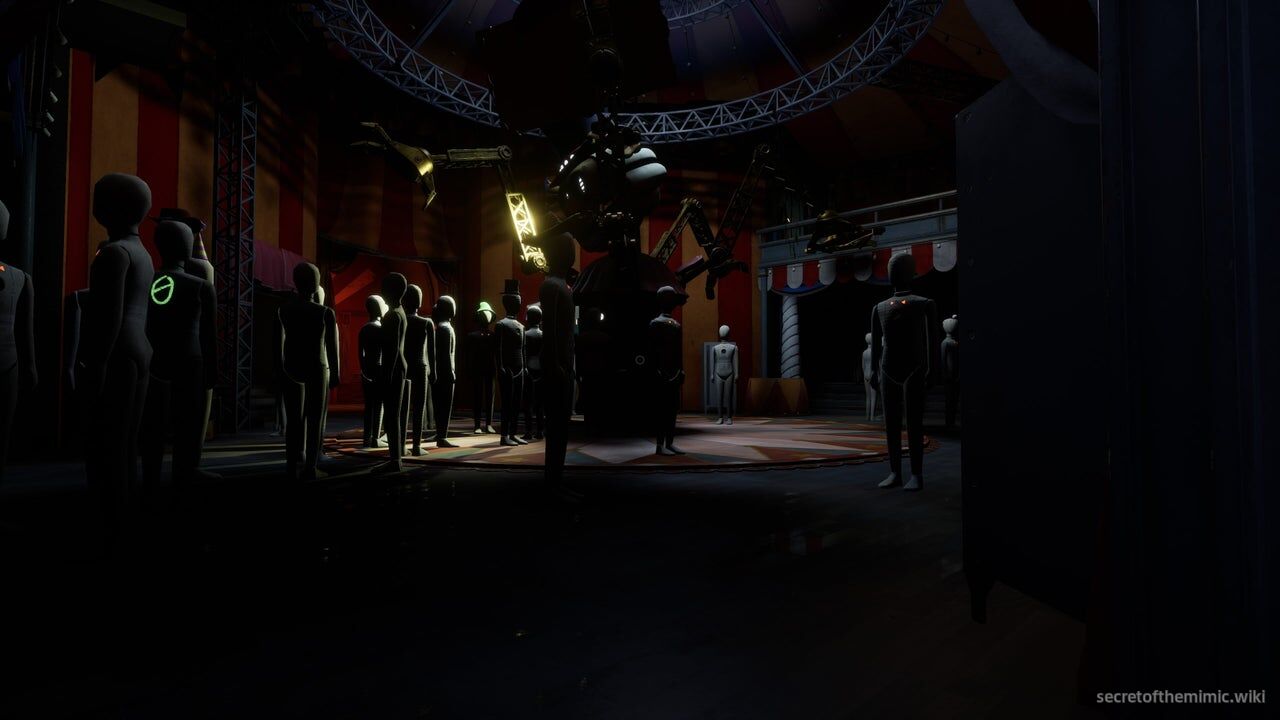
Really, you can play this one of two ways. You can play it out slow, crouch walking and trying your best to avoid both Music Man and the mannequins that are facing you. If Music Man's gaze is closing in, dip into the closest locker and wait for him to pass before emerging. If you're going to play it this way, keep an eye out for the mannequins with speakers in their chests. If it's facing you and you get too close, it'll start making noise, alerting Music Man. In truth, playing it slow can be a really tricky way of approaching this segment. The room is full of mannequins, and it's challenging to keep track of which ones are going to make noise while also keeping tabs on the big guy.
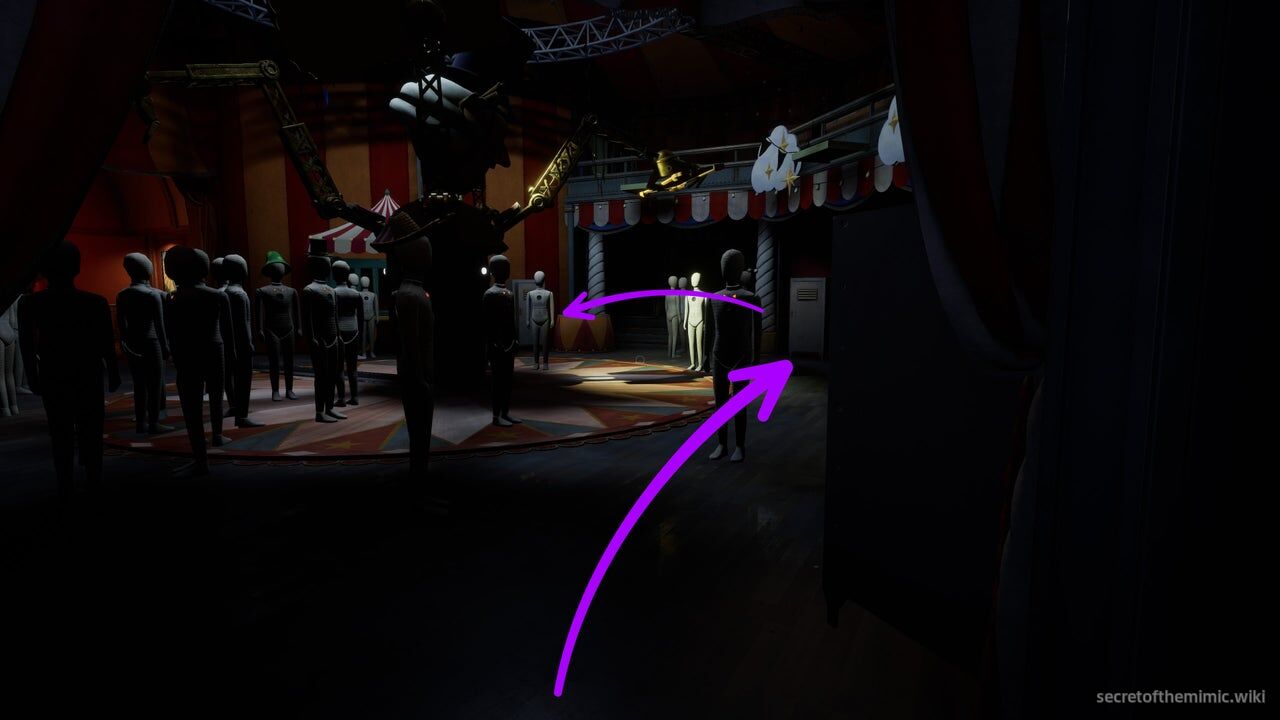
The more reliable tactic for this section is to throw caution to the wind and use the lockers to bypass and evade him. In each corner of the room, you'll find a locker you can hide in. While inside, Music Man can't touch you, even if he's seen you climb in. That means a great game plan is to move from corner to corner, walking normally until you set off a mannequin and then sprinting to the next locker. Music Man will always take a few seconds to grab you, so you can use this time to climb inside the locker, wait for him to reset and turn, and then leave and complete the process again.
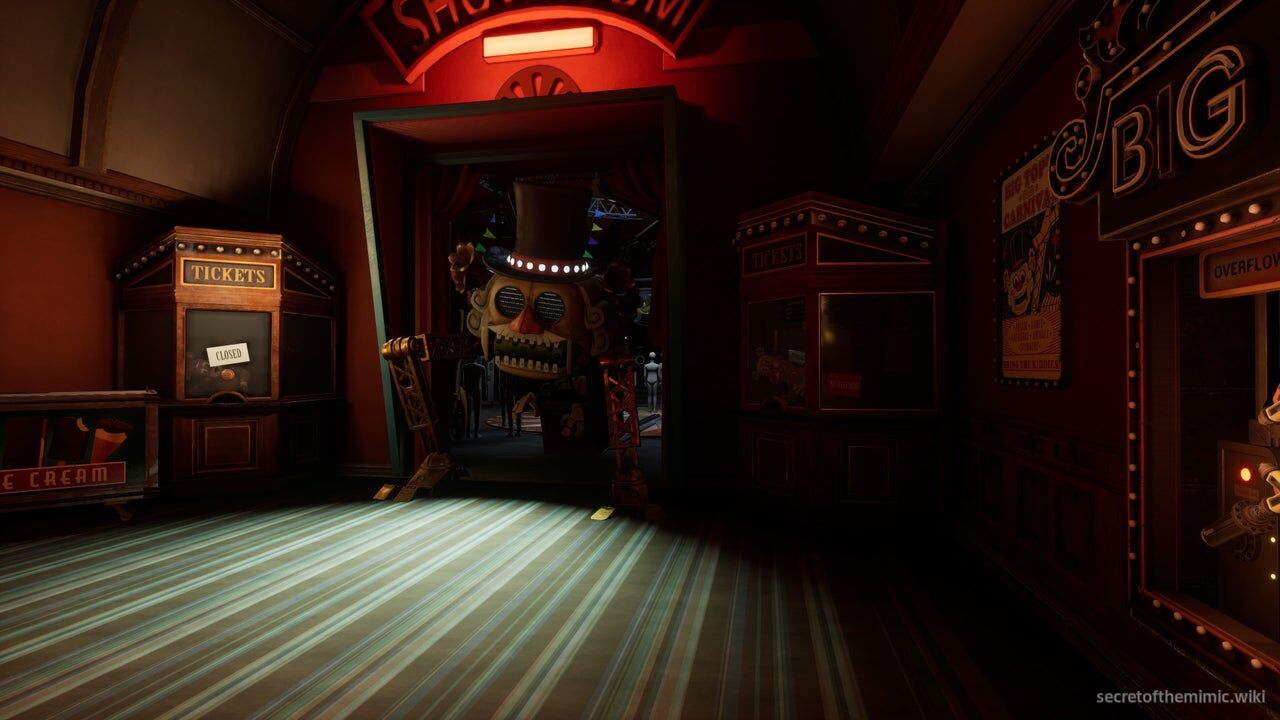
Regardless, your goal is to return to the entrance, but DO NOT make the mistake of thinking you're safe once you've arrived. Once you're out of the Big Top itself, you're essentially activating a timer. Music Man will see you move inside and start pulling himself towards the entrance, and once he's through the archway, he'll send you on an all-expenses-paid trip to the shadow realm.
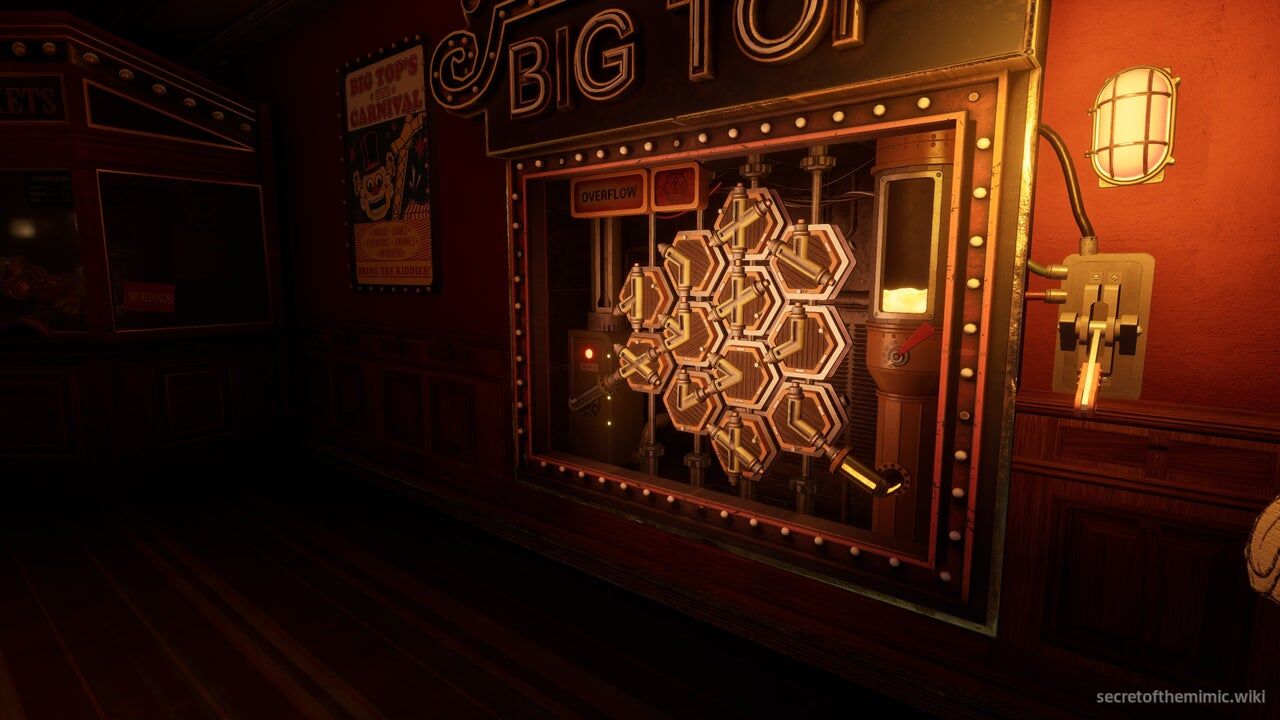
Once you're out of the Big Top, run to the showtimes board, pull the lever, and open the power puzzle. Immediately begin solving it. Luckily, these puzzles are much simpler than the last two and so you'll hopefully be able to plough through them relatively quickly. As soon as you've connected the two nozzles, look up at the molten liquid container in the top right-hand corner and pull the red lever beneath it. This will instantly activate the nozzle, allowing you to skip the wait time until the puzzle starts filling.
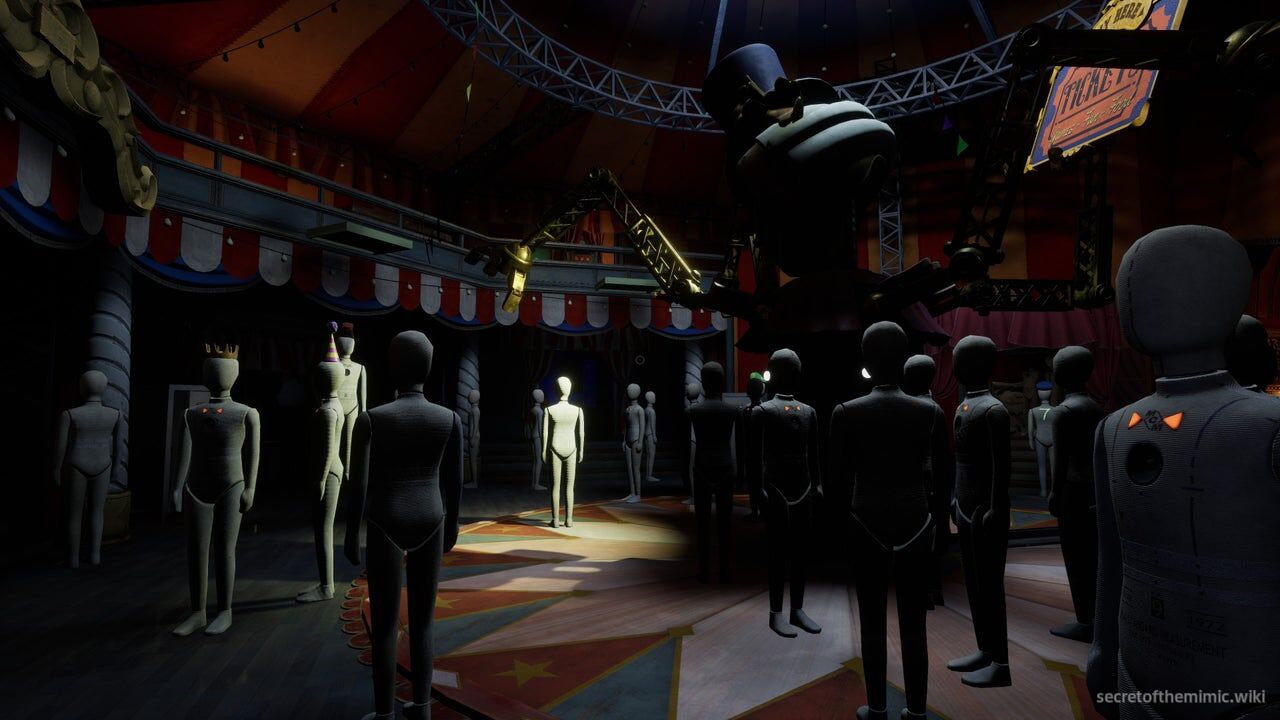
Once the puzzle's complete, Music Man will retract and become docile again. Now, we repeat the process. Pick a new game, get the passing score, evade Music Man, and complete a power puzzle. The third run is where things will become noticeably more difficult. Music Man's mannequins will appear in very annoying, unescapable places, such as outside the door of the game you're completing or directly facing lockers. A little trick here is to use the other game stations as safe spots.
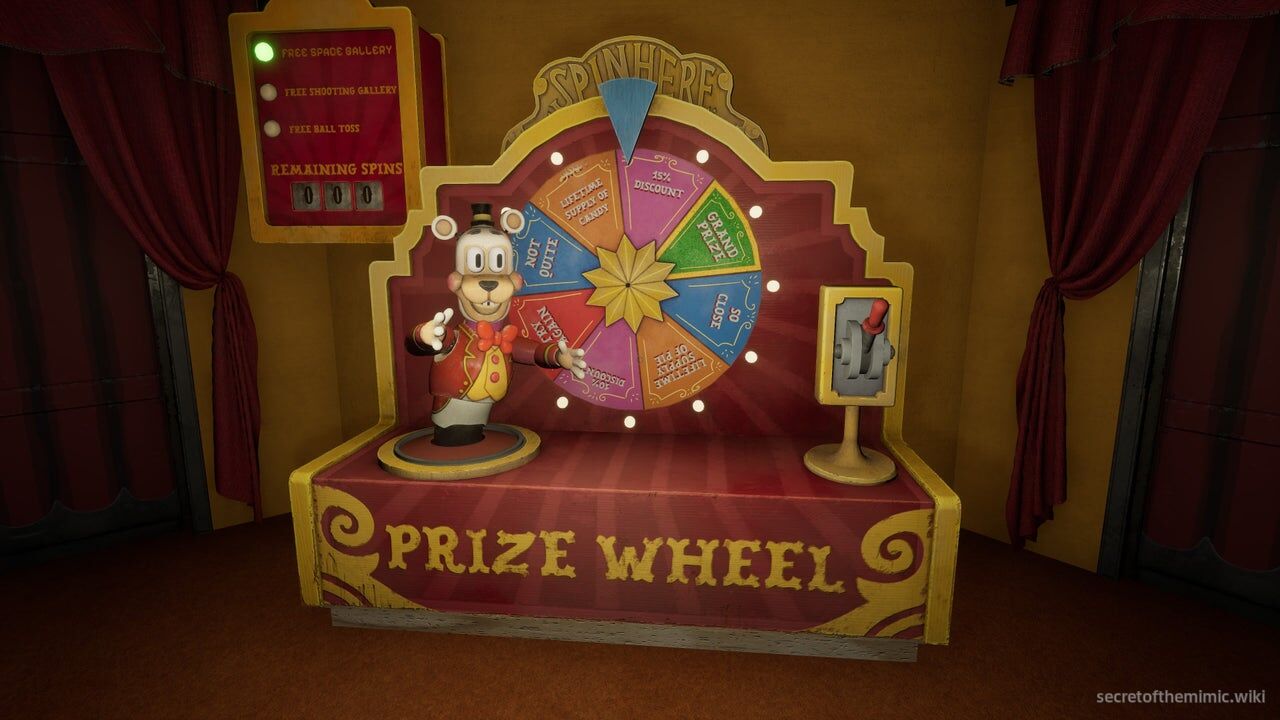
Once you're in front of the counter of any of the three games, you'll be safely outside of Music Man's reach, so move between them and any lockers that aren't guarded by mannequins. Once you've completed the third and final puzzle, Music Man will be unable to continue hunting you. Walk to the back of the chamber, and you'll see the Prize Wheel up some stairs. Pull the lever on the prize wheel to spin it, and then keep spinning it until you earn the grand prize.
Upgrading the Data Diver
Once you manage to earn the grand prize, the power will cut and the doors on the right and left-hand side of the prize wheel room will open. Take either staircase and it'll lead you up to the second floor of the Big Top.
It's hard to miss, but we'll find another collectible here. It's inside the gift directly in front of you as you walk down the corridor leading to the Big Top's second floor. Crank it open to get the Grand Prize Trophy.
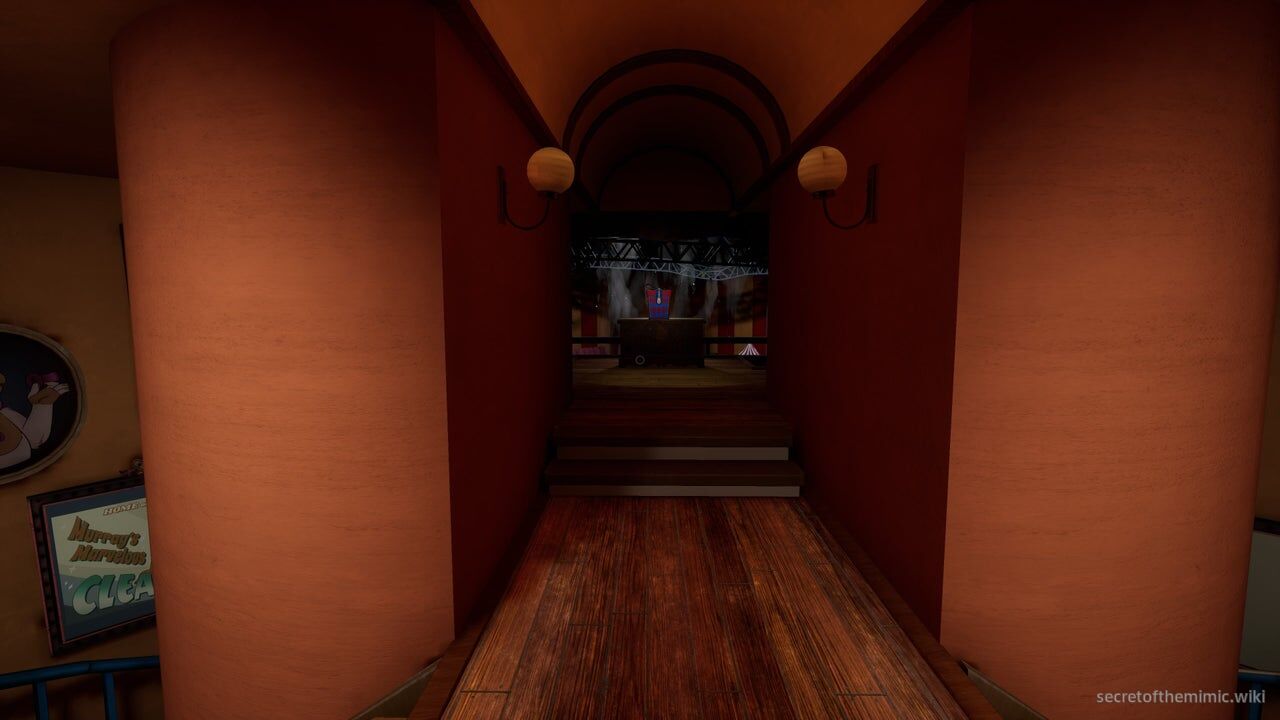
As you arrive, you'll witness Music Man deciding to take a break from his gruelling job of eating people in the Big Top, ripping his way through the roof. For now, I guess we'll just see him around.
Mannequin Puzzle
As you were facing off against Music Man, you'll have no doubt noticed that some of the mannequins in his arena had glow-in-the-dark numbers written on their backs. These numbers are the key to proceeding on to the Data Diver upgrade, and we'll need to organise them into a code. This code is randomised every playthrough, so let's run through how to figure out your specific code.
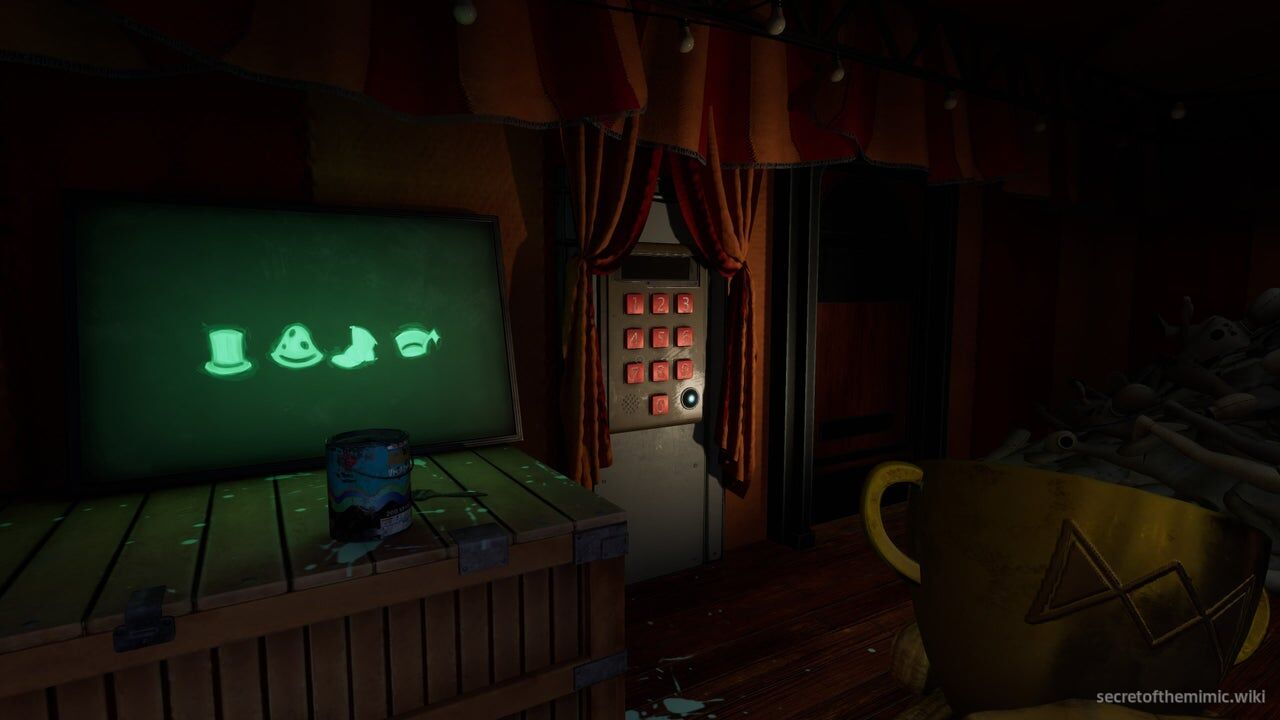
If you look at the keypad, you'll notice there's a board beside it. The board will show four symbols next to each other. The symbols on the board will change from game to game, so your board will look slightly different to the one I've shown above. If you look over the balcony, you'll see a group of mannequins standing in a circle on the floor below. Each has a different hat on and a number written on its back.
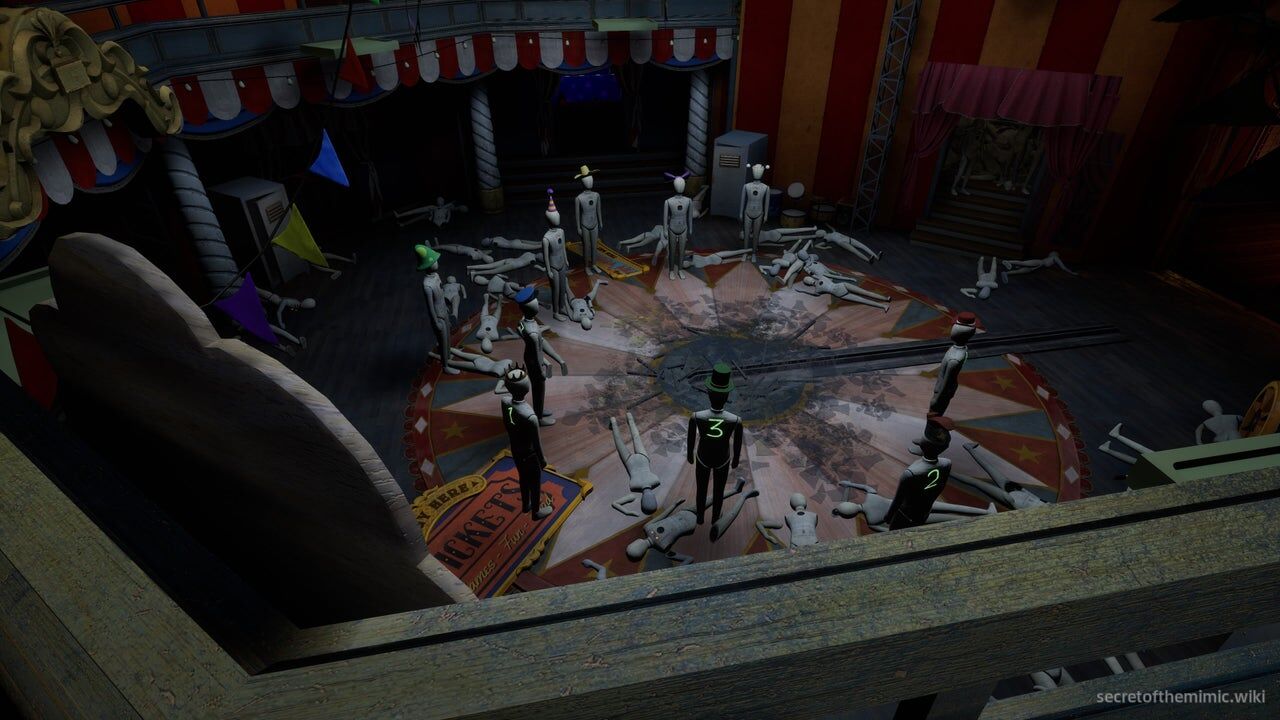
To find the code, search the crowd for the four mannequins wearing the hats indicated by the symbols on your board and then take note of the numbers on their backs. Once you have all four numbers, assemble them in the order of the symbols on the board. That sequence of numbers is your code.
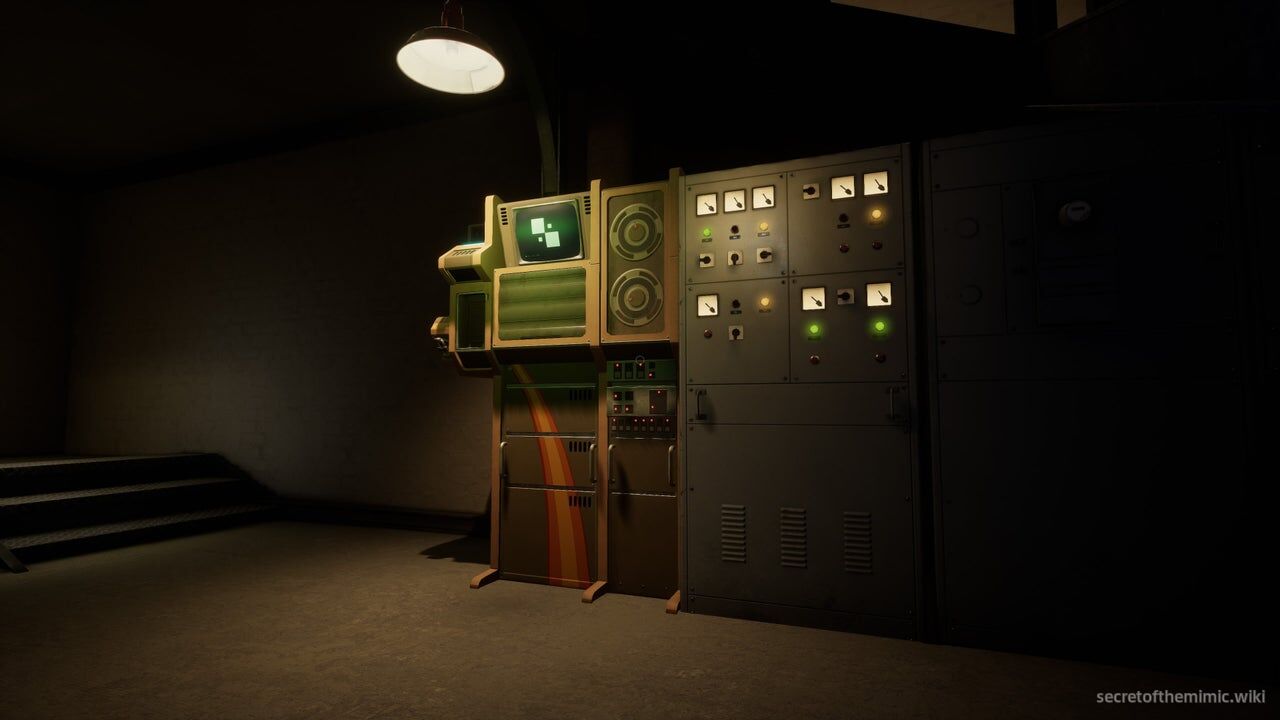
Punch the code into the keypad, and the door will unlock, providing access to an office you can reach through a Data Diver door. Head inside and you'll find the Data Diver Upgrade Machine on your right. If you need to, there's also an inventory machine and a terminal upstairs, as well as a lore tape if you want to catch up with the Murray household's story. When you're ready, head over to the Data Diver Upgrade machine.
Data Diver Creator Clearance Puzzle
Slot your Data Diver into the upgrade machine and select the option to upgrade to Creator Clearance. This time, the puzzle will introduce a new element: corrupted tiles. If you see a tile with an X through it, it means touching it will end the mini-game. In other words, we want to avoid these.
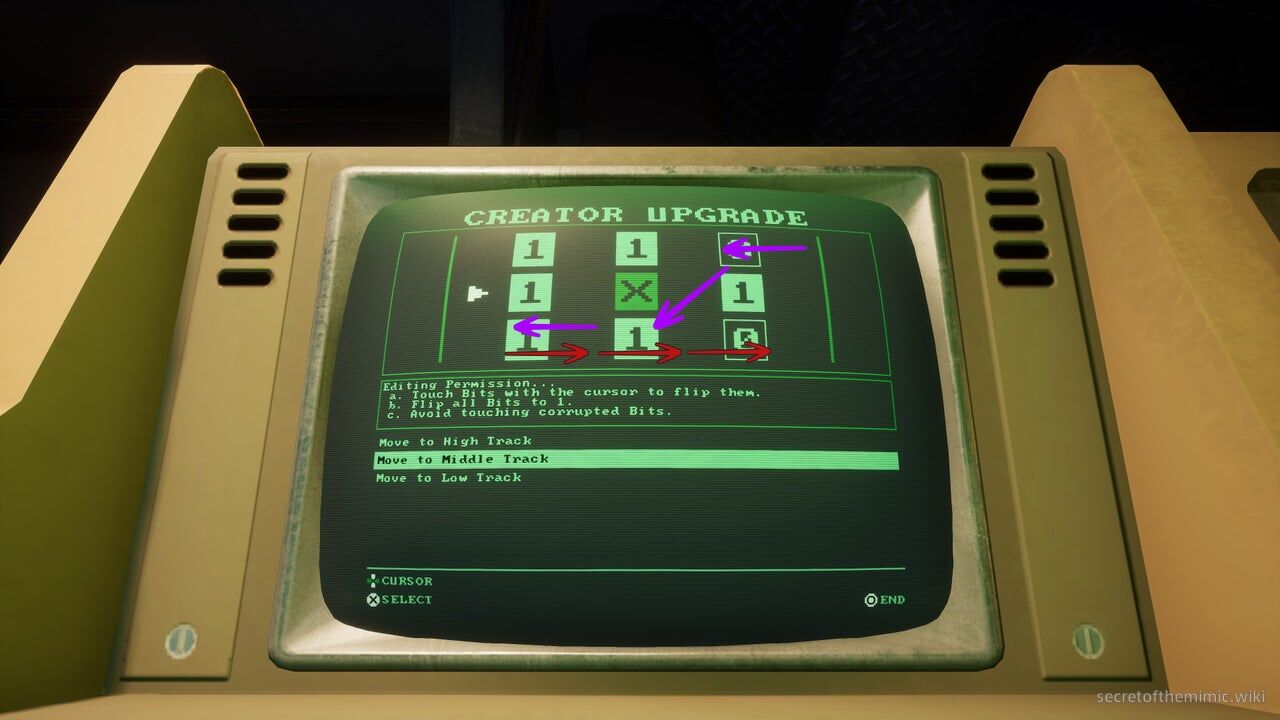
This time around, we'll see the puzzle has two 0 tiles in the bottom and top right-hand corners with a corrupted tile in the centre. To solve it, we're going to leave the cursor to run across the bottom row, then, when it turns, we'll send it to the top row so it hits the 0 tile in the top right-hand corner before bringing it back down to the bottom row so it changes the two 0s we created into 1s. The route is shown in the image above, with the red arrows representing the movements you need to make while the arrow moves right, and the purple arrows representing the moves you need to make when the arrow moves left.
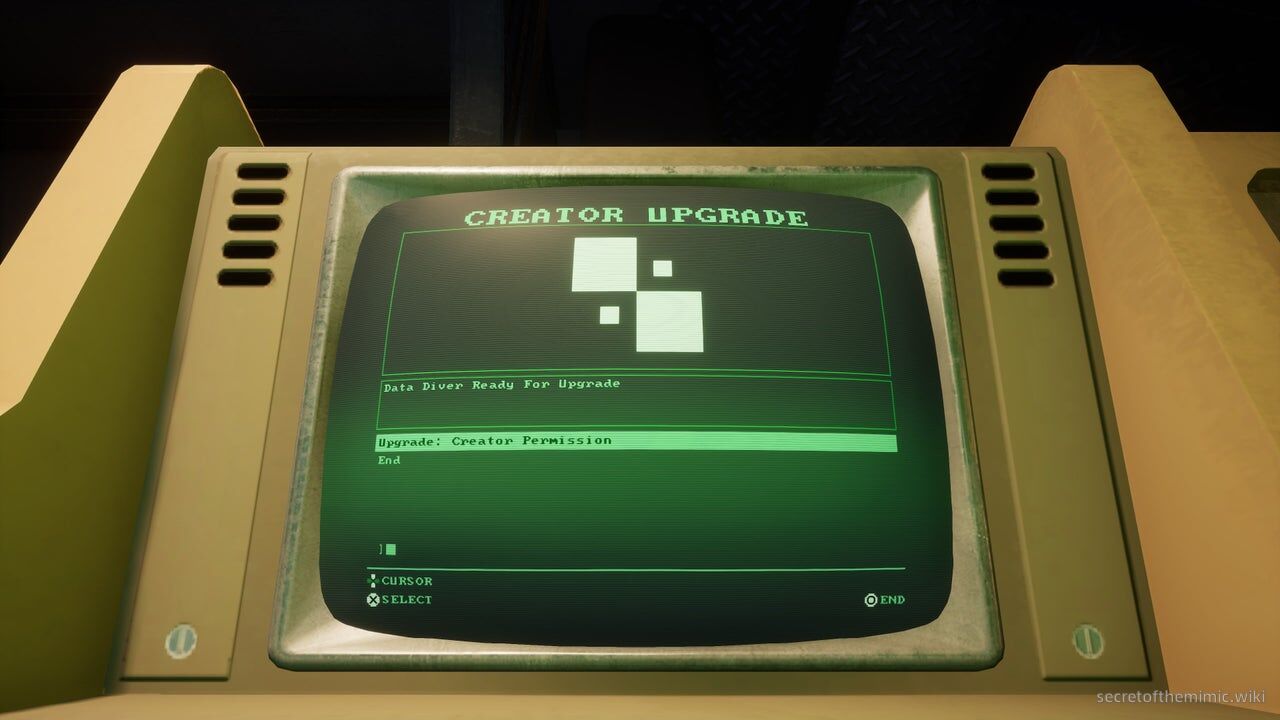
With that, the puzzle will be complete, and we'll have Creator Clearance. Now, we need to get back to the Security Office, and we'll do that by using our new clearance to reach the Rooftop and cue a rematch with our favourite colossal Maestro...