

Finish Parachute.exe, start New Game Plus, register all 25 collectibles, complete Moon.exe, collect six glitched-door cassettes, then carry the White Tiger Doll into David's room.
Completing Parachute.exe unlocks the route to the Secret Ending, the most hopeful conclusion to Arnold and the Mimic's story. It requires a full New Game Plus run, complete exploration of the Costume Manor, and several specific objectives.
For either other finale, use the Endings Guide. If you need to revisit an earlier portion of the game first, use the main walkthrough for links to every major segment.
How to Unlock The Secret Ending
The Secret Ending is the hardest and most elusive of the game's three conclusions. Follow the requirements below in order to unlock it.
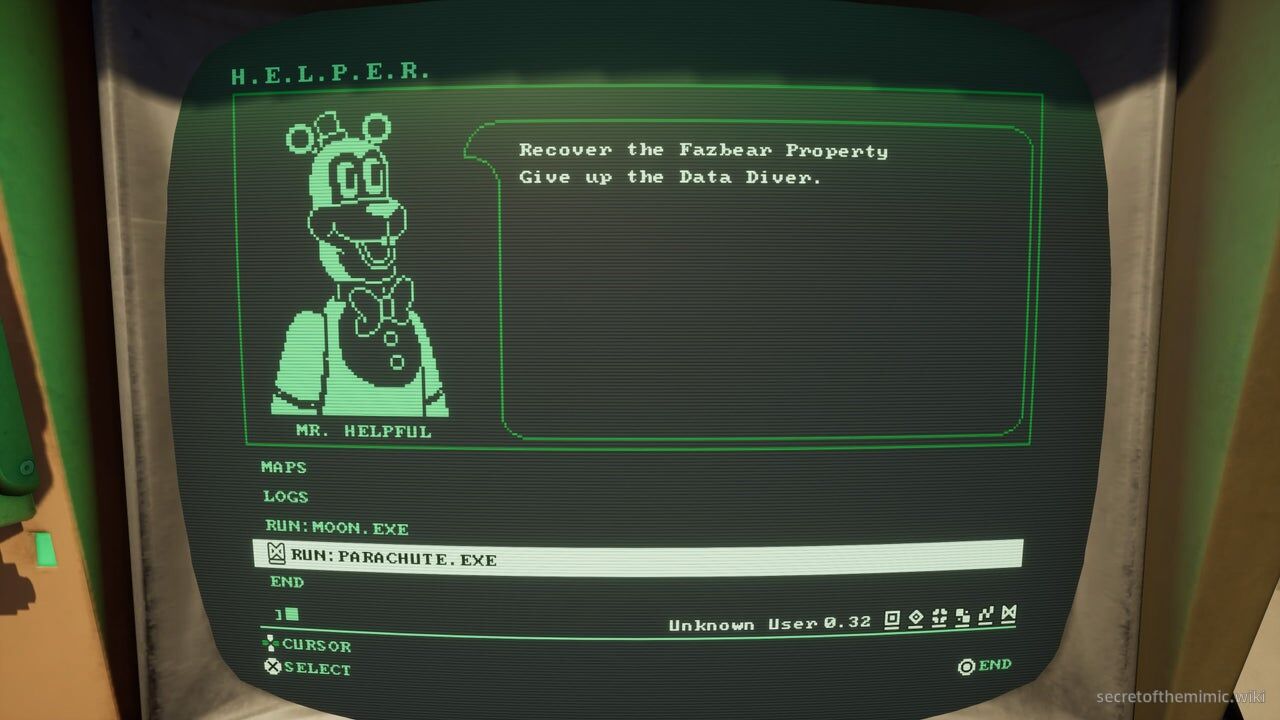
This finale cannot be earned on a first playthrough. First, complete the Parachute.exe ending on a standard run; use the dedicated route guide if you have not done so yet.
After Parachute.exe, you return to the menu and the original save is replaced by a New Game Plus option. Start that mode, complete the campaign, collect every collectible, and finish the Moon.exe terminal game before you can progress to the ending itself.
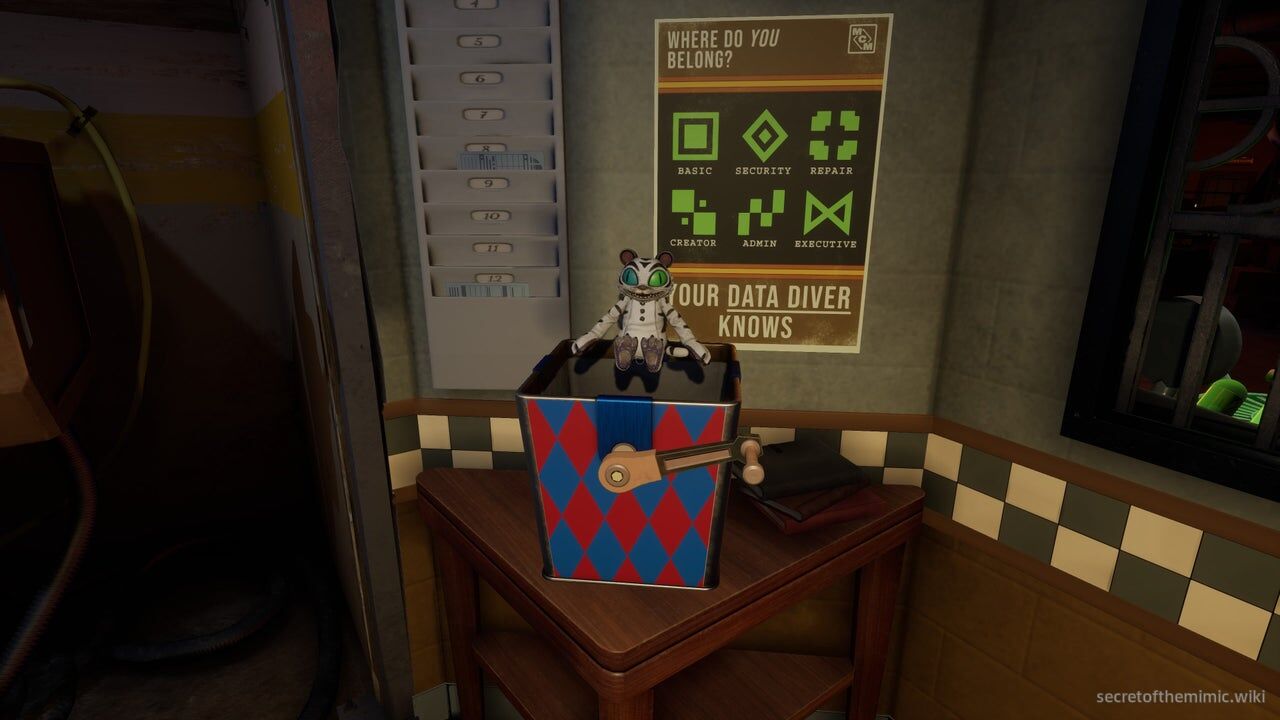
New Game Plus is mandatory because the White Tiger Doll, a key Secret Ending collectible, only spawns in the Security Office after a New Game Plus run begins. You must therefore replay the campaign to reach the endgame with that doll.
Replay Arnold's adventure while obtaining the remaining 24 collectibles. Collectibles found on the first run carry over, so you do not need to collect them again; however, Data Diver permissions reset, preventing access to every door until you reach the endgame once more.
Step 1: Finding Every Collectible
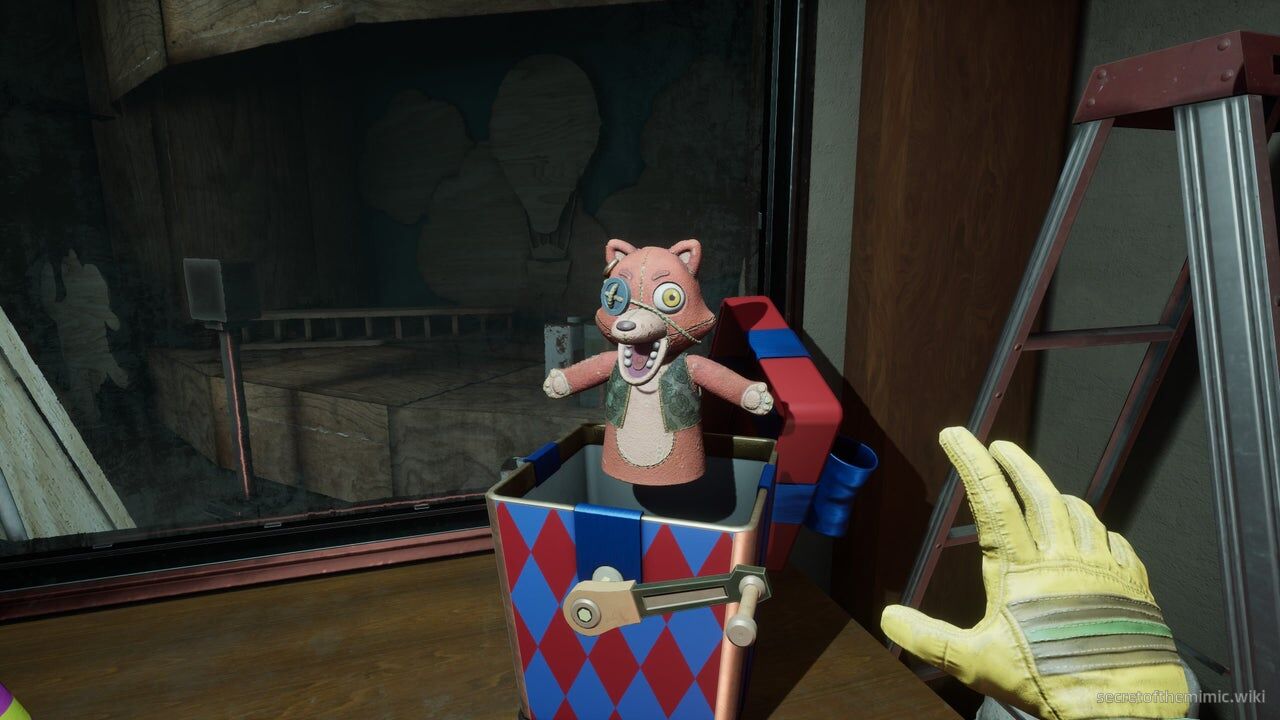
First, collect every item and reach the final act of New Game Plus. Use the collectible guide and its checklist to identify missing items. Moon.exe also shows your current collectible count in the top-right corner, letting you confirm how many remain.
Step 2: Complete Moon.exe
With all 25 collectibles obtained, find any office terminal that offers the Moon.exe command. It opens the required text-based adventure.
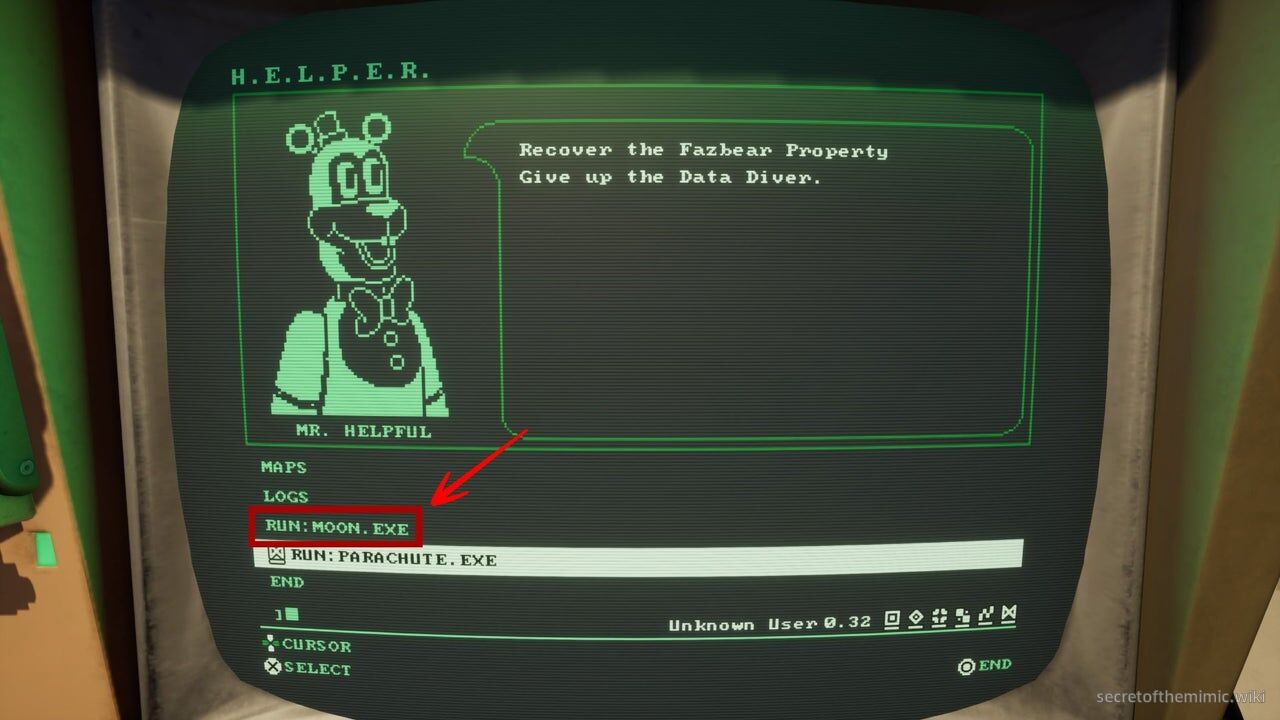
Moon.exe is not optional for this route. Every collectible unlocks commands in the text adventure, and those commands are needed to reach its ending and continue toward the Secret Ending.
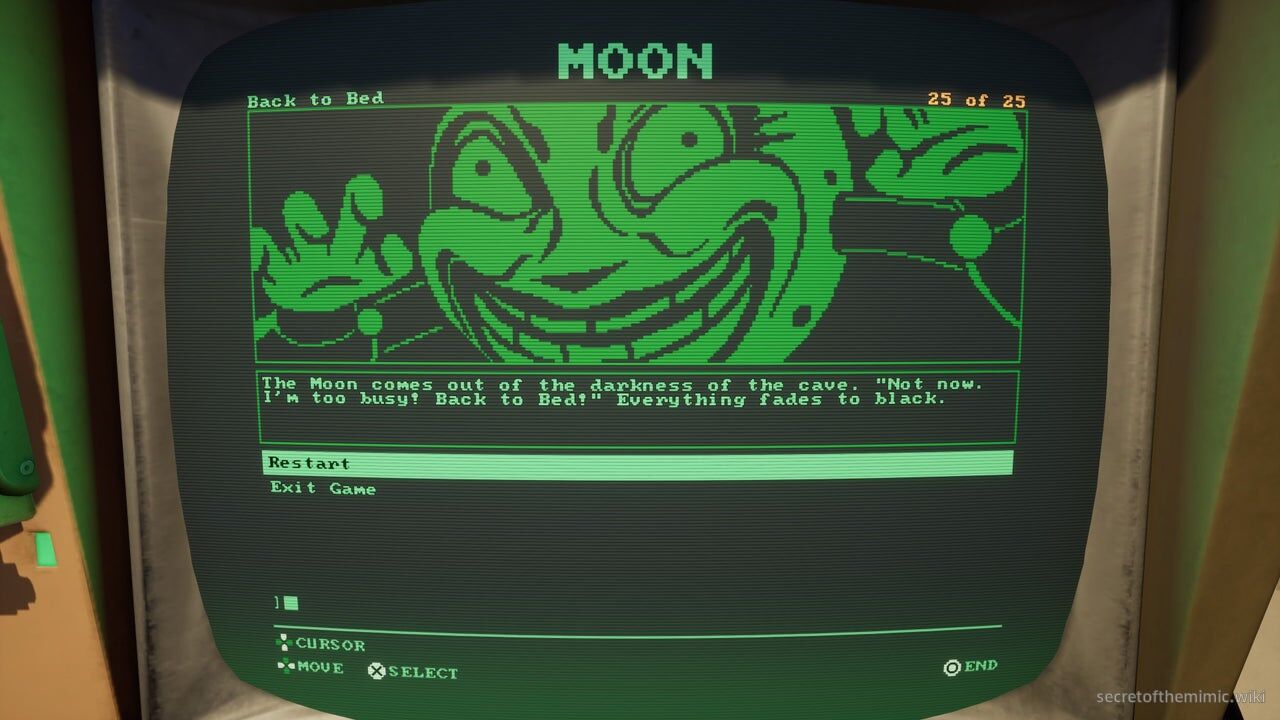
Navigate the text adventure without letting Moon take you back to bed. If Moon catches you, you respawn at the start of the current major area while keeping every collected item and every command already entered.
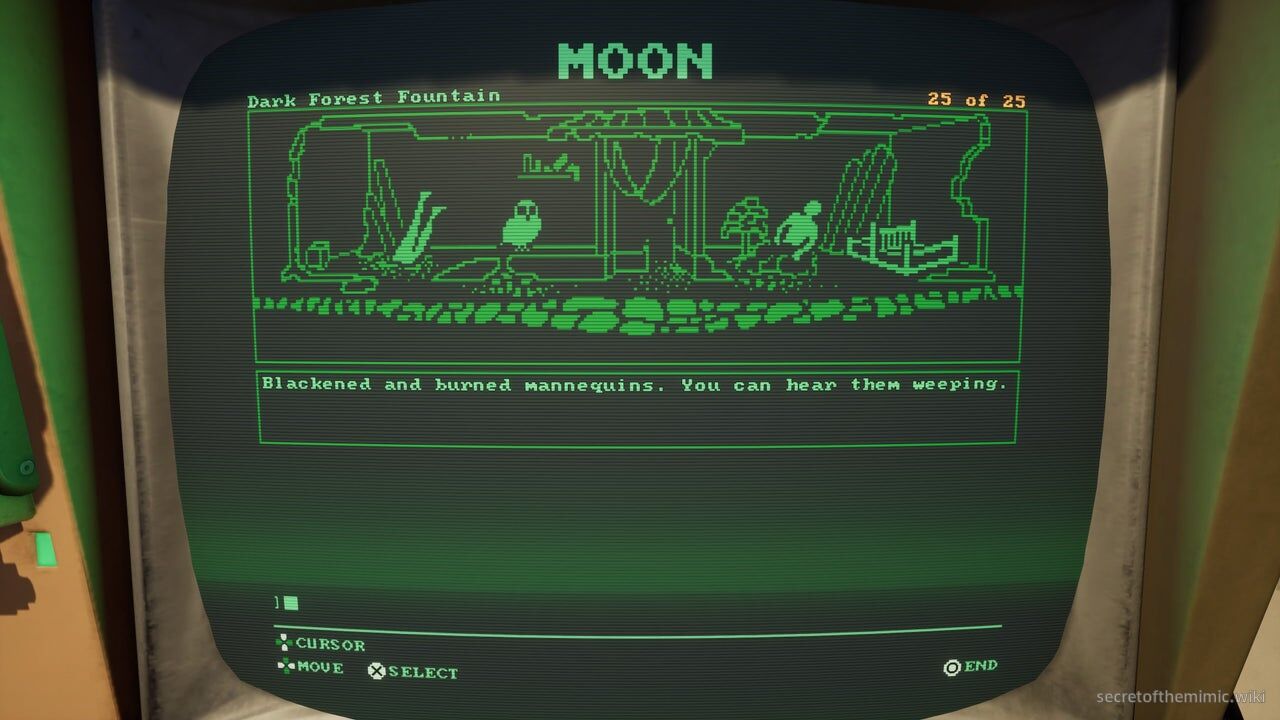
The command lists below are in the exact order required to reach the ending. Optional commands and easter eggs are omitted, although they can still reveal additional lore and secrets.
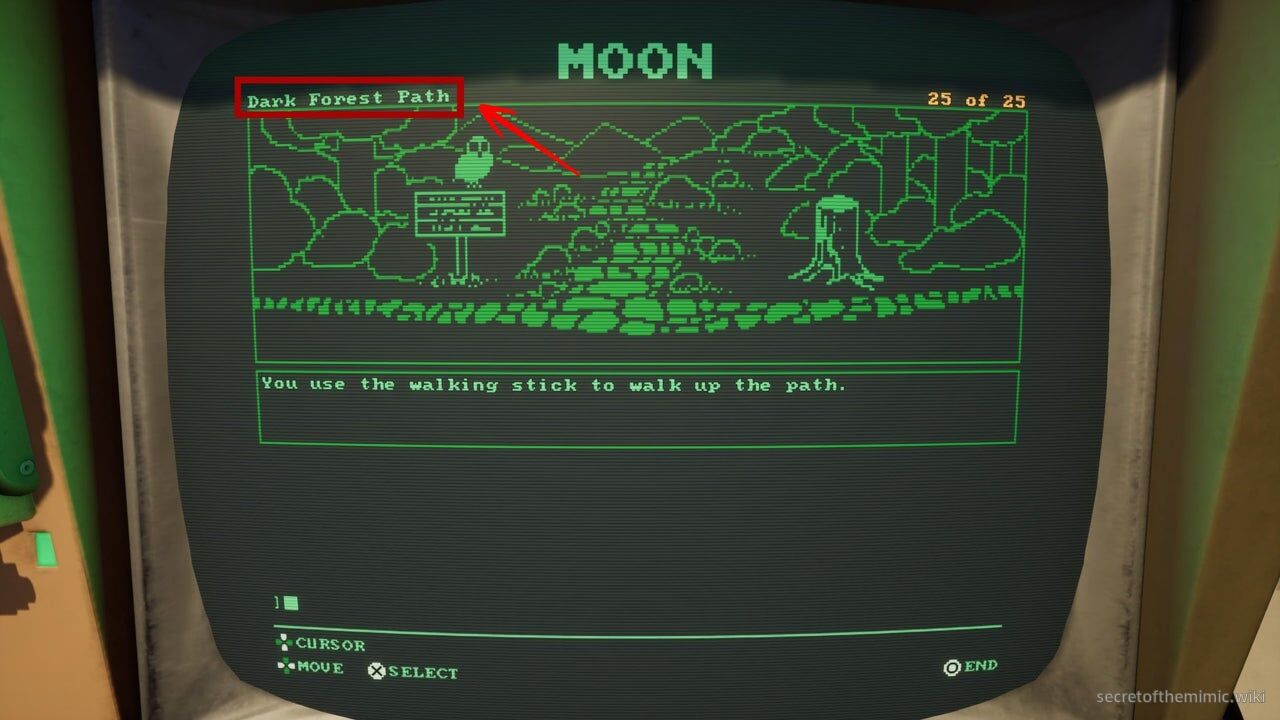
If a listed command is unavailable, verify that you have all 25 collectibles. Each entry gives the required location followed by the command; if it still does not appear, scroll through the location screens and check the location name in the upper-left corner.
Bedroom
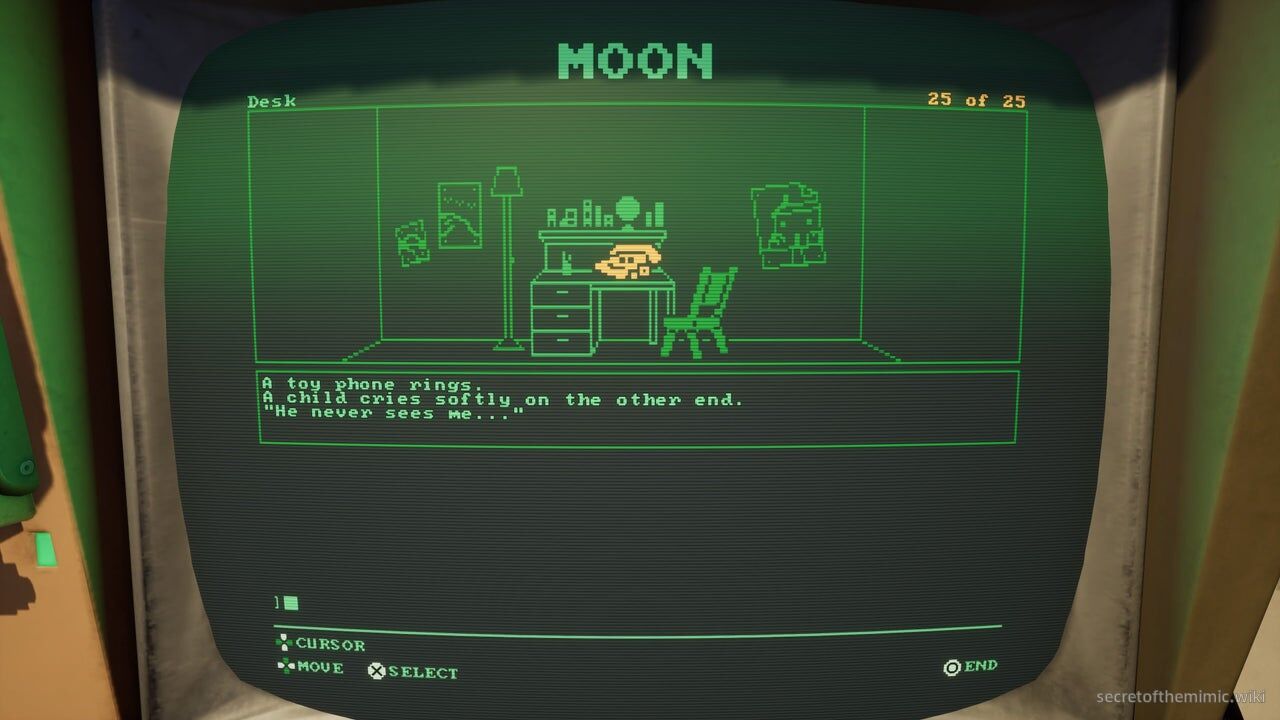
These are the commands for the bedroom segment:
- Closet - Open The Closet
- Bed - Put on The Hedgehog Mask
- Bedroom Door - Examine Toy Box
- Bedroom Door - Take Plushie (This will give you the window key)
- Bed - Open Window
- Bed - Climb Out Window
Forest Path
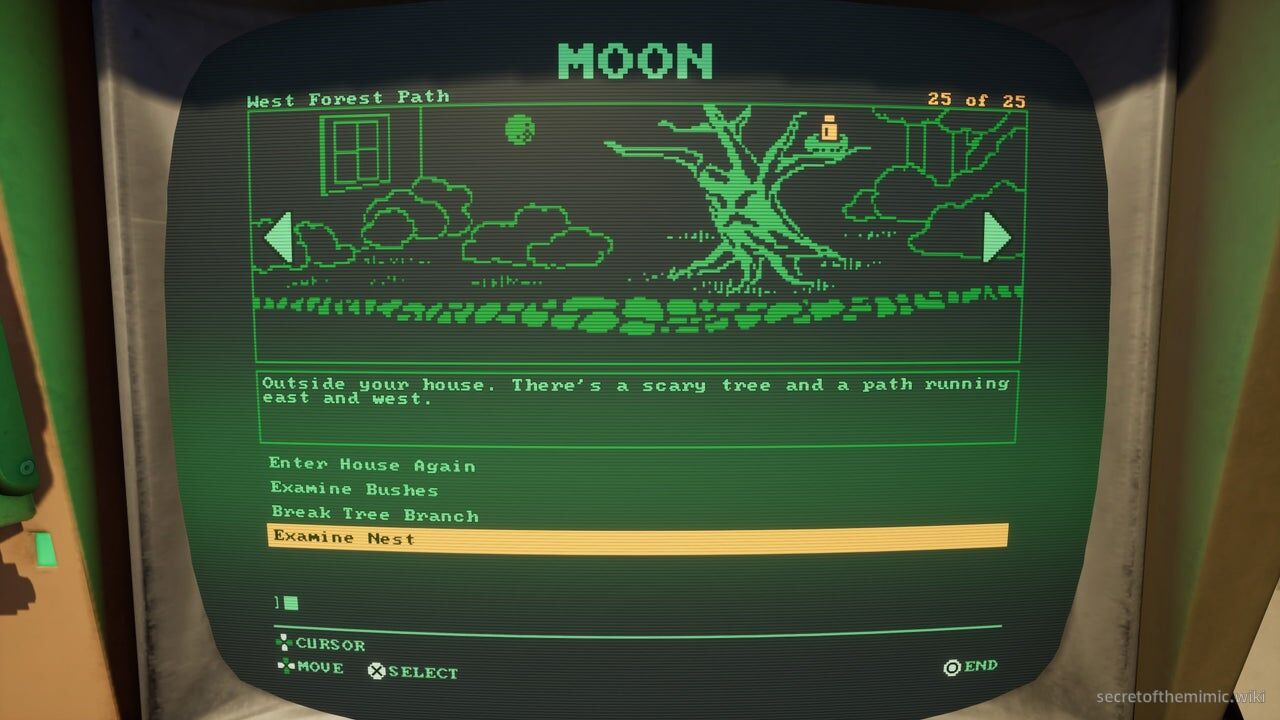
These are the commands for the Forest Path segment:
- West Forest Path - Examine Nest
- West Forest Path - Take Chica Cup
- Forest Cave - Put Soup in Cup
- Forest Cave - Pick up Starbright Night Light
- East Forest Path - Throw Soup At The Gator (This will kill the alligator, saving the Baby Owl)
- East Forest Path - Examine Oak Tree
- East Forest Path - Take Ranger Knife
- West Forest Path - Use Ranger Knife on Branch (This will give you the walking stick)
- East Forest Path - Enter Forest Ruins
Forest Ruins
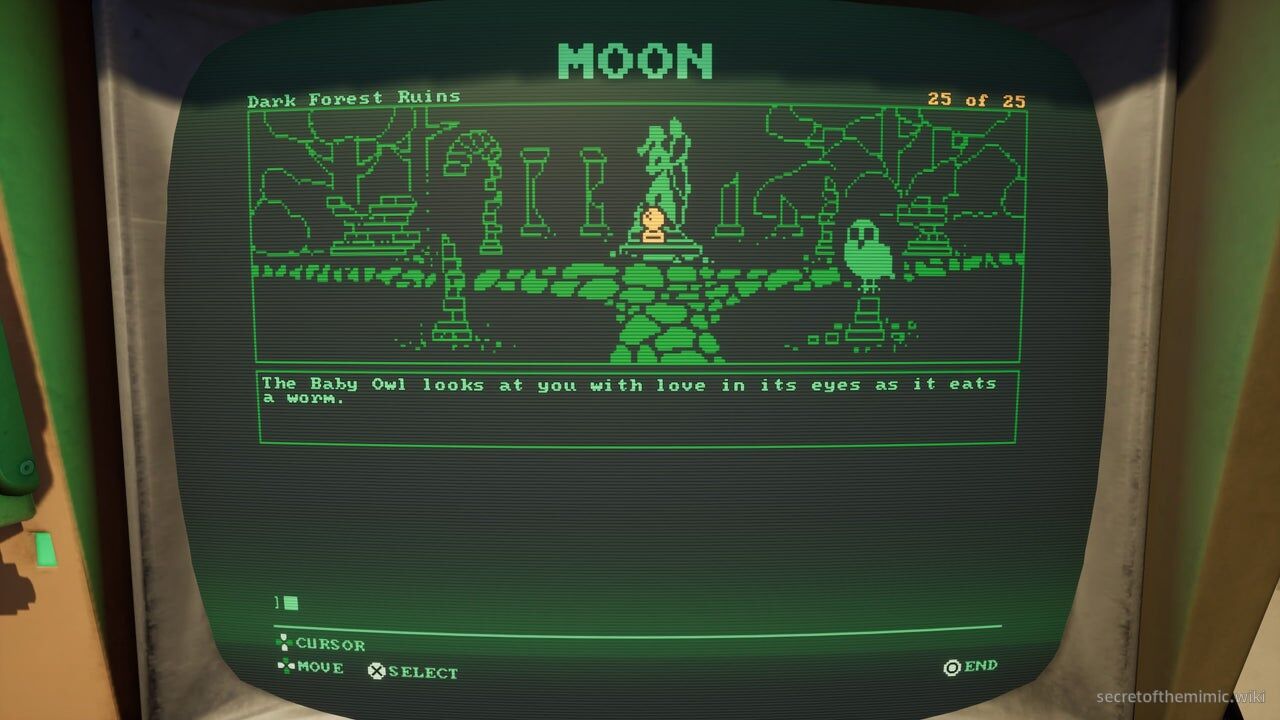
These are the commands for the Forest Ruins segment:
- Dark Forest Ruins - Look at Statues
- Dark Forest Ruins - Take Bowtie
- Dark Forest Fountain - Examine Loom
- Dark Forest Fountain - Take Sewing Kit
- Dark Forest - Walk Down to the Pond
- Dark Forest Pond - Examine Toy Pirate Ship
- Dark Forests Pond - Take Foxy Puppet
- Dark Forest Path - Look at The Hollow Stump (This will give you the Swing Bee Honey item)
- Dark Forest Path - Use Walking Stick (This will allow you to walk up to the Dark Forest Cabin)
- Dark Forest Cabin - Give Honey to the Bear (This will make the bear leave the cabin)
- Dark Forest Cabin - Open Cabin Door
- Inside Cabin - Talk to Old Woman (The old woman, aka, Sun, will give you a mission to fix three masks: a bear mask, a fox mask and a rabbit mask).
- Mask Workbench - Fix Bear Mask
- Mask Workbench - Use Bowtie (This will attach the bowtie to the bear mask, fixing it)
- Mask Workbench - Fix Rabbit Mask
- Mask Workbench - Use Sewing Kit (This will use the sewing kit to fix the Rabbit Mask)
- Mask Workbench - Fix Fox Mask
- Mask Workbench - Use Fox Puppet Eye (This will use the Foxy Puppet to fix the Fox Mask)
- Mask Workbench - Talk to Old Woman Again
- Mask Workbench - Take Baby Owl Mask (You now have the Baby Owl Mask item, and Sun will tell you that you're ready to enter The Cave)
The Cave
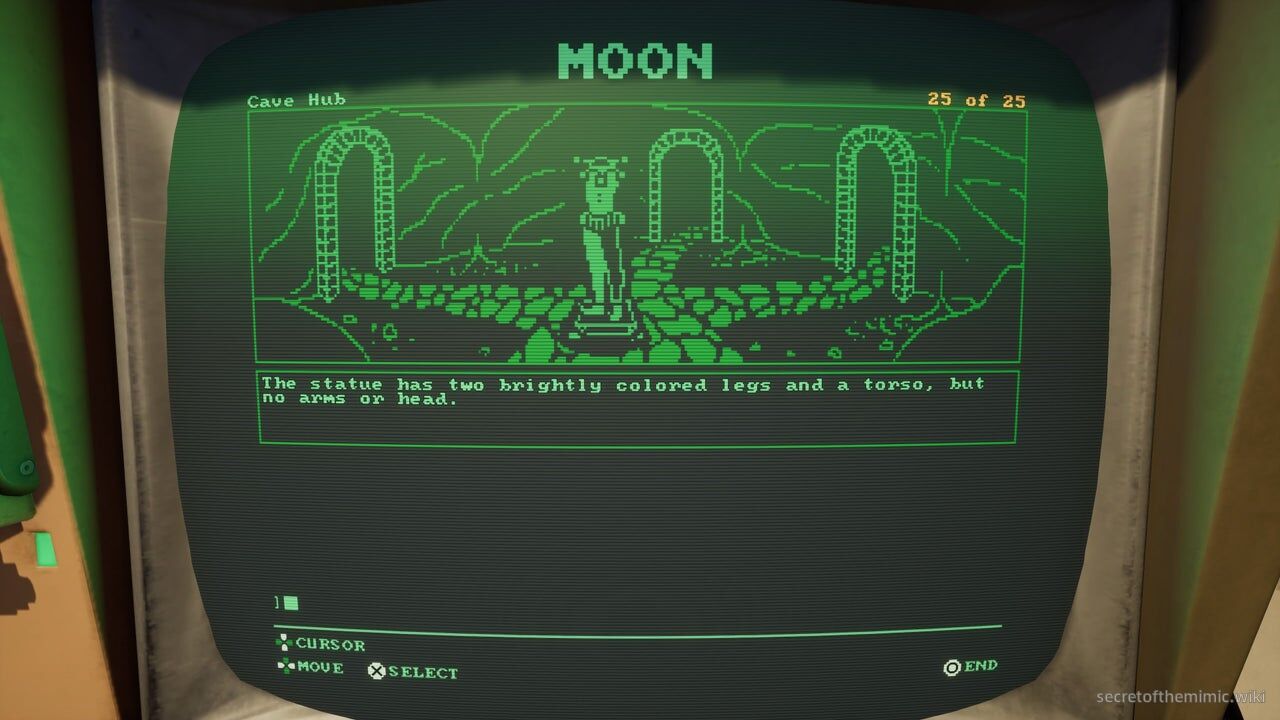
These are the commands for the Cave segment:
- (After returning to the Forest Path area) Forest Cave - Put on Baby Owl Mask
- Forest Cave - Enter Cave
- Cave Entrance - Enter East Passage
- Cave Ruins - Head Deeper Into Cave
- Cave Workshop - Examine Workbench
- Cave Workshop - Take Toy Hammer
- Cave Workshop - Head Deeper Into Cave
- Cave Hub - Enter North Arch
- Crystal Cave - Use Toy Hammer on Large Crystal
- Crystal Cave - Take Statue Left Arm
- Crystal Cave - Open Small Door
- Crystal Cave - Examine Wall Carving (Remember the pattern you see on the wall: Left, right, right, left)
- Cave Hub - Place Left Arm on Statue
- Cave Hub - Enter West Arch
- Dark Tunnel - Head Deeper into the Cave (This requires the Starbright Night Light we found on the Forest Path)
- Pirate Ship - Examine Pirate Ship
- Pirate Ship - Take Fishing Net
- Pirate Ship - Examine Waterfall
- Pirate Ship - Walk Through The Waterfall
- Treasure Chest - Examine Treasure Chest
- Treasure Chest - Turn Lock: Left, Right, Right, then Left (This is the code we found in Crystal Cave earlier!)
- Treasure Chest - Take Statue Right Arm
- Cave Hub - Place Right Arm on Statue
- Cave Hub - Enter East Arch
- Cave Pool - Look in Cave Pool
- Cave Pool - Use Fishing Net on Pool
- Cave Pool - Take Statue Head
- Cave Hub - Place Moon Head on Statue (This will fully repair the Moon statue, taking us to the Costume Manor)
Murray's Costume Manor
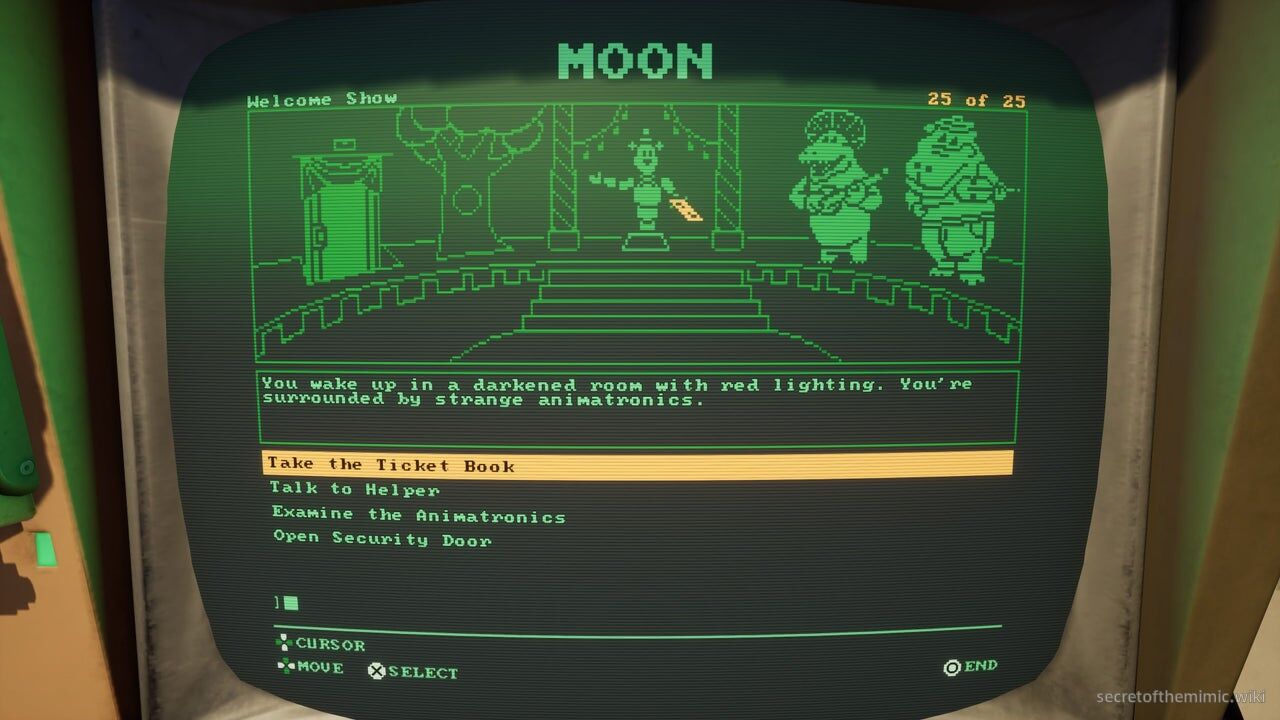
These are the commands for the Murray's Costume Manor segment:
- Welcome Show - Take Ticket Book
- Welcome Show - Open Security Door
- Jackie Showroom - Examine Crate
- Jackie Showroom - Trap Jackie in the Rainy Day Boot (This will cause Jackie to disappear, revealing a birthday present)
- Jackie Showroom - Open Birthday Present (You'll earn the David's Blocks gift)
- Jackie Showroom - Enter Vent
- Big Top Showroom - Give Ticket Book to Big Top
- Big Top Showroom - Open Birthday Present (You'll earn the David's Ball gift)
- Big Top Showroom - Spin Prize Wheel (This will open the Rainbow Doors)
- Big Top Showroom - Enter the Rainbow Doors
- Doll Hospital - Pickup Doctor's Kit
- Doll Hospital - Fix Broken Duck and Fix Broken Elephant
- Doll Hospital - Talk to Nurse Dollie (This will cause Nurse Dollie to leave the area)
- Doll Hospital - Pick up Birthday Cake (This will give you the Birthday Cake item)
- Doll Hospital - Use Elevator
- Chica's Party Room - Give Birthday Cake to Chica
- Chica's Party Room - Open Birthday Present (This will give you the White Tiger Doll gift)
- Chica's Party Room - Climb Up Stairs
- David's Room - Read Storybook (Once you have all the gifts, this storybook will tell you where to put them to solve the puzzle)
- David's Room - Open Moon Box
- Moon Box - Put Ball in Toy Box
- Moon Box - Close Box
- David's Room - Open Star Box
- Star Box - Put Blocks in Toy Box
- Star Box - Close Box
- David's Room - Open Snow Box
- Snow Box - Put Tiger in Toy Box
- David's Room - Walk into the Closet
- David's Closet - Use Upgrade Machine (This will upgrade our actual Data Diver and allow us to access the Secret Ending)
- You'll be asked to complete a Data Diver puzzle here. It's the same as the regular Data Diver puzzles. Once you complete it, we'll get a mysterious new Data Diver upgrade.
- Sun - Talk to Sun
- Sun - Take Glitched Permission
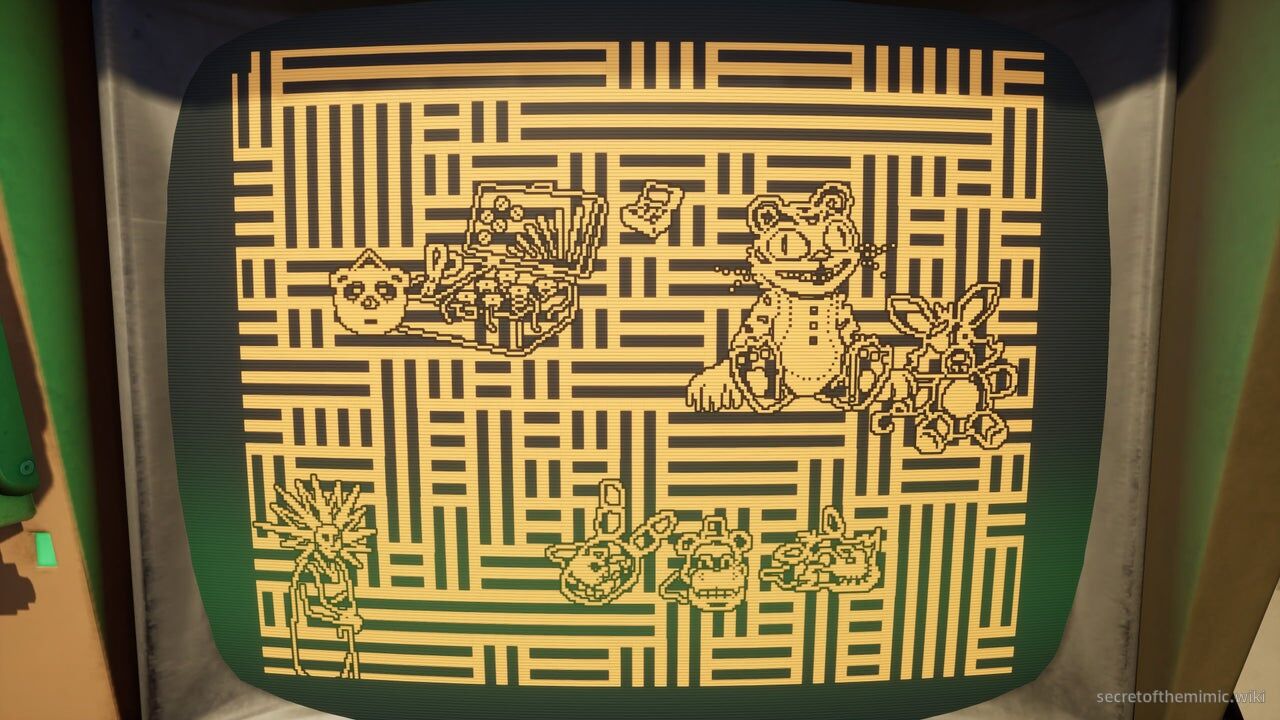
Taking the Glitched Permission causes the terminal to malfunction and returns you to the terminal screen. This confirms that the Secret Ending route is unlocked.
Step 3: Returning to The Murray Manor
Completing Moon.exe grants a crucial, secret clearance upgrade that is used only in Murray's Mansion. Follow the Parachute.exe route normally until you reach the Mimic boss encounter in the mansion.
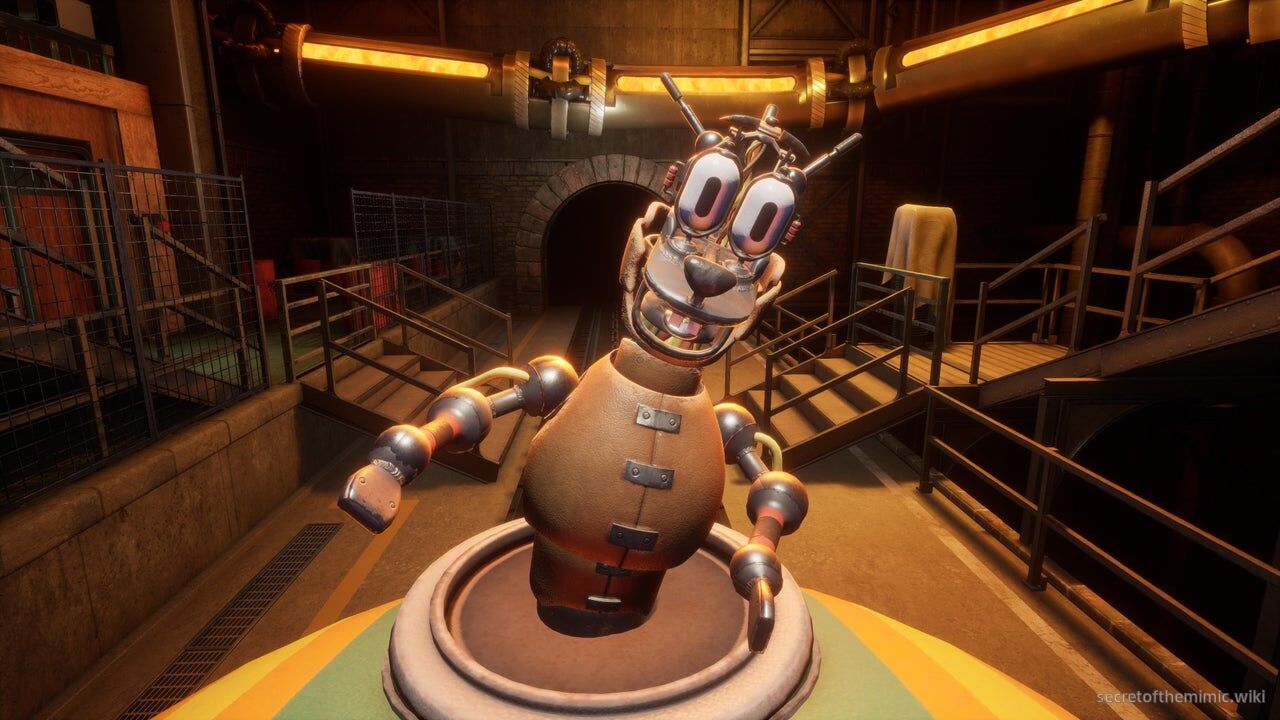
Continue the Parachute.exe route as normal until you reach the elevator to the mansion, then resume this guide.
Step 4: Finding Edwin and Fiona's Bedtime Tapes
By this point, you have faced the Mimic in the prototype Pizzeria, met Fiona's computer form, and taken the cart ride to the mansion. After using the elevator, follow the standard route to the mansion's ground floor.
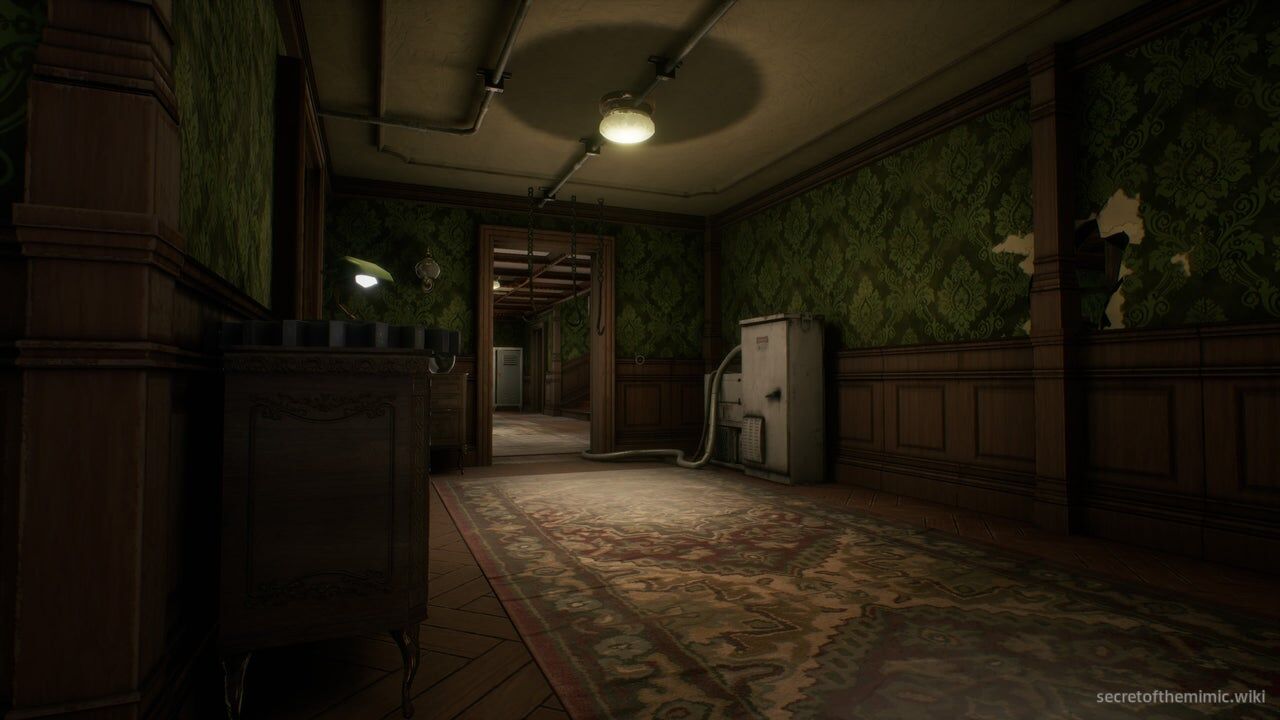
On the standard route, this area is used to find five birthday tapes and solve the attic code. For the Secret Ending, do not pursue the attic; instead, search for the mansion's locked doors opened by Sun's glitched permissions to reach David's bedroom.
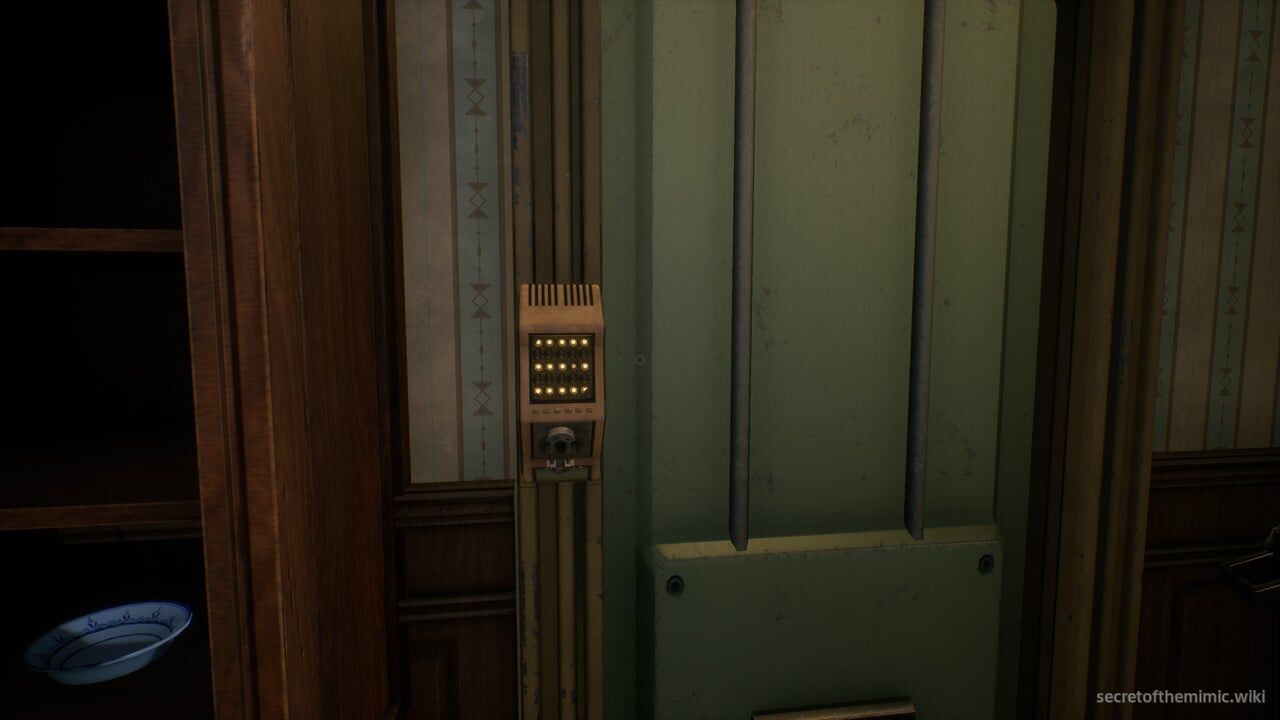
These doors use a distinct Data Diver symbol that matches the Data Diver's glitched appearance. Each contains one cassette of Edwin and Fiona's bedtime stories; there are six cassettes, each behind a separate glitched door.
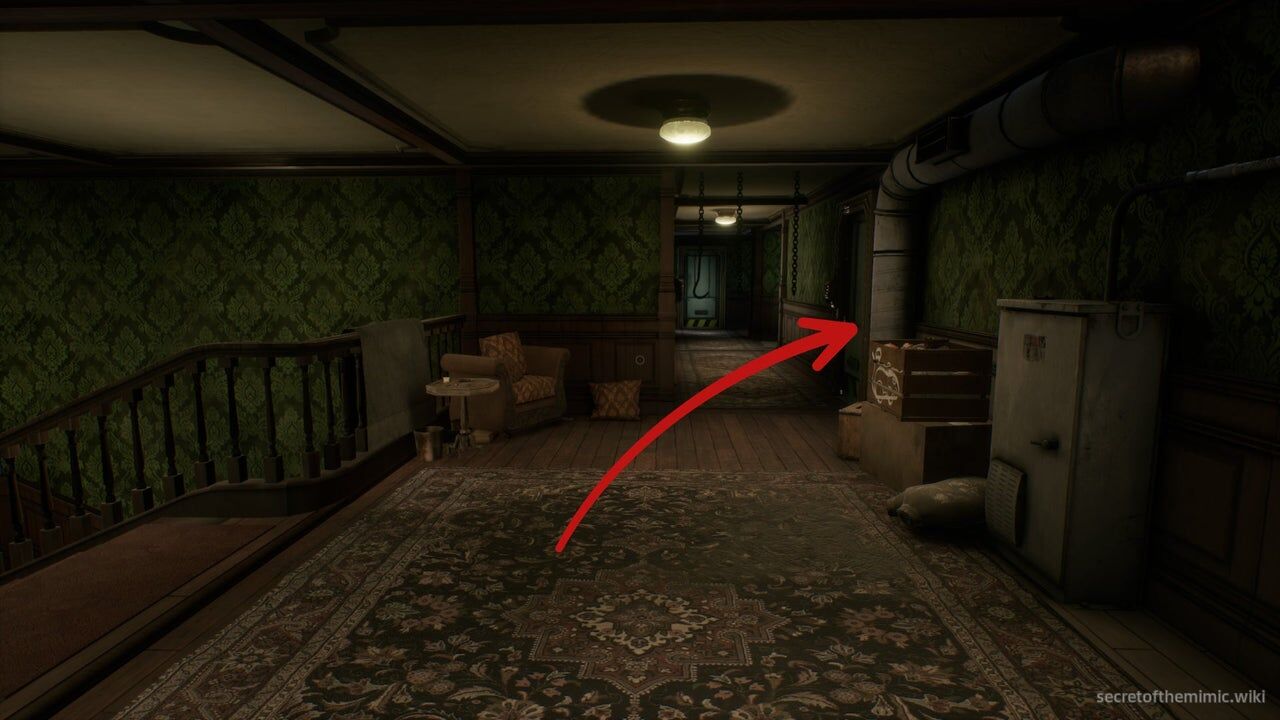
Use the first glitched door on the right along the second-floor corridor as this section's hub. Its wall holds six cassette players. Insert every cassette you find into a player to earn a checkpoint and advance the objective.
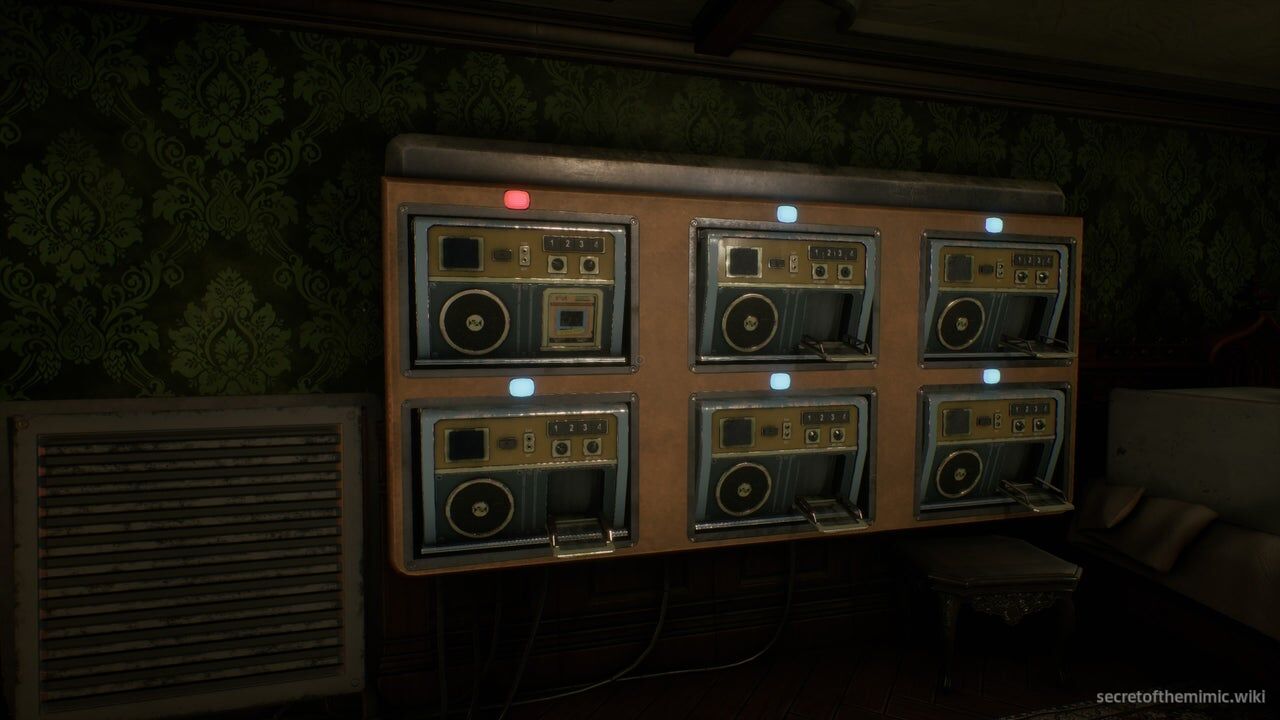
You have already faced the Mimic in this mansion. Use the Parachute.exe route for the full boss-evasion breakdown if needed, then collect the six cassettes in the locations below.
Kitchen Cassette
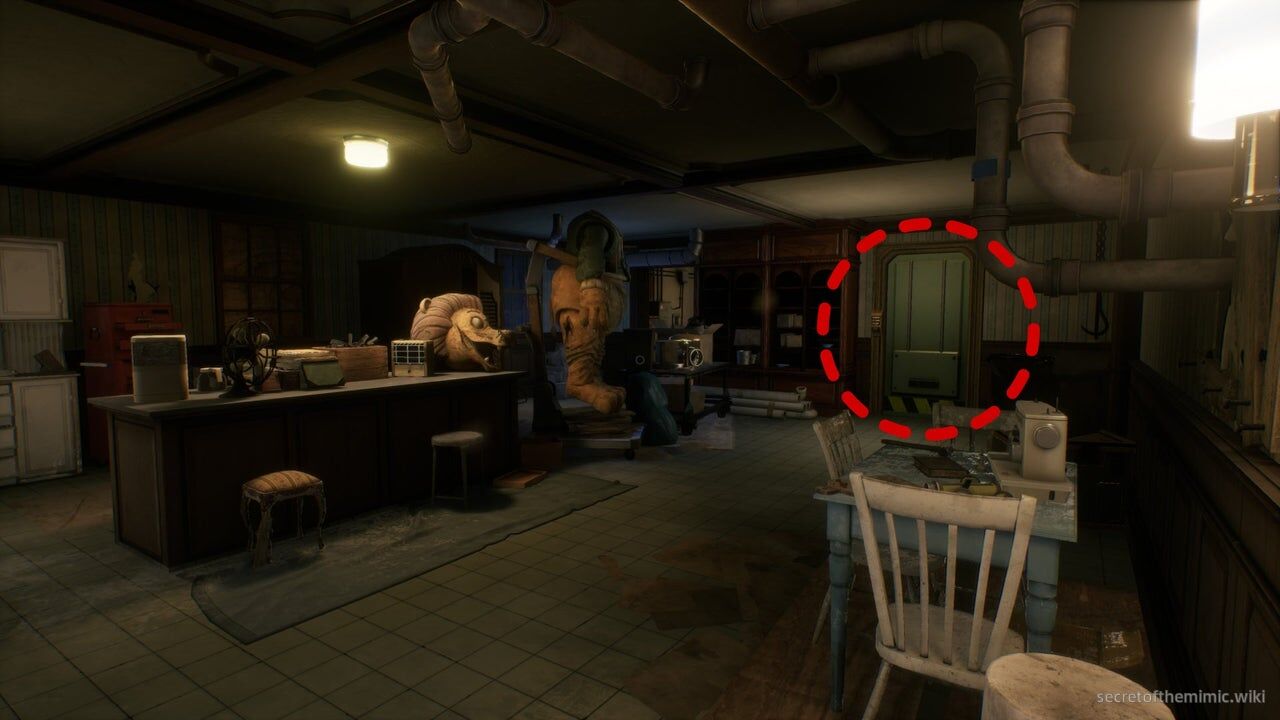
The first cassette is in the ground-floor kitchen. Enter from the corridor and find the glitched door immediately on the right.
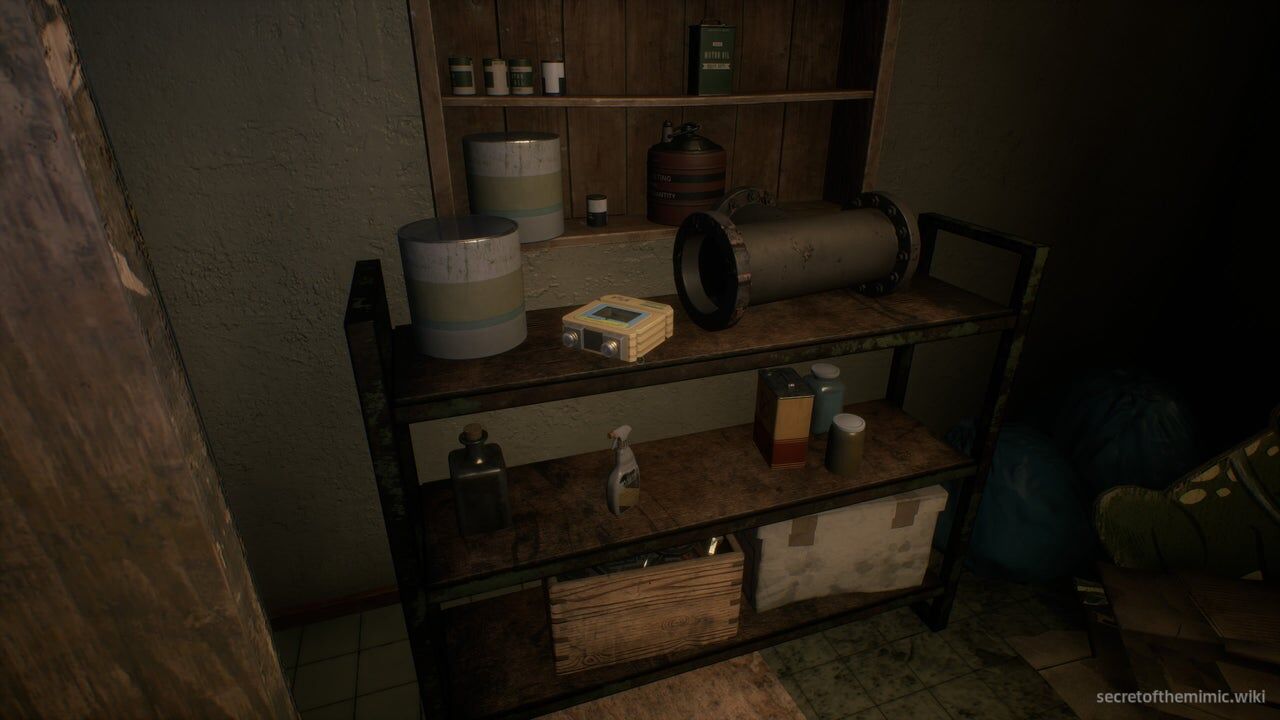
Open the door with the Data Diver. The cassette is on the shelf directly ahead; take it back to the cassette room and insert it into a player.
Hallway Cassette
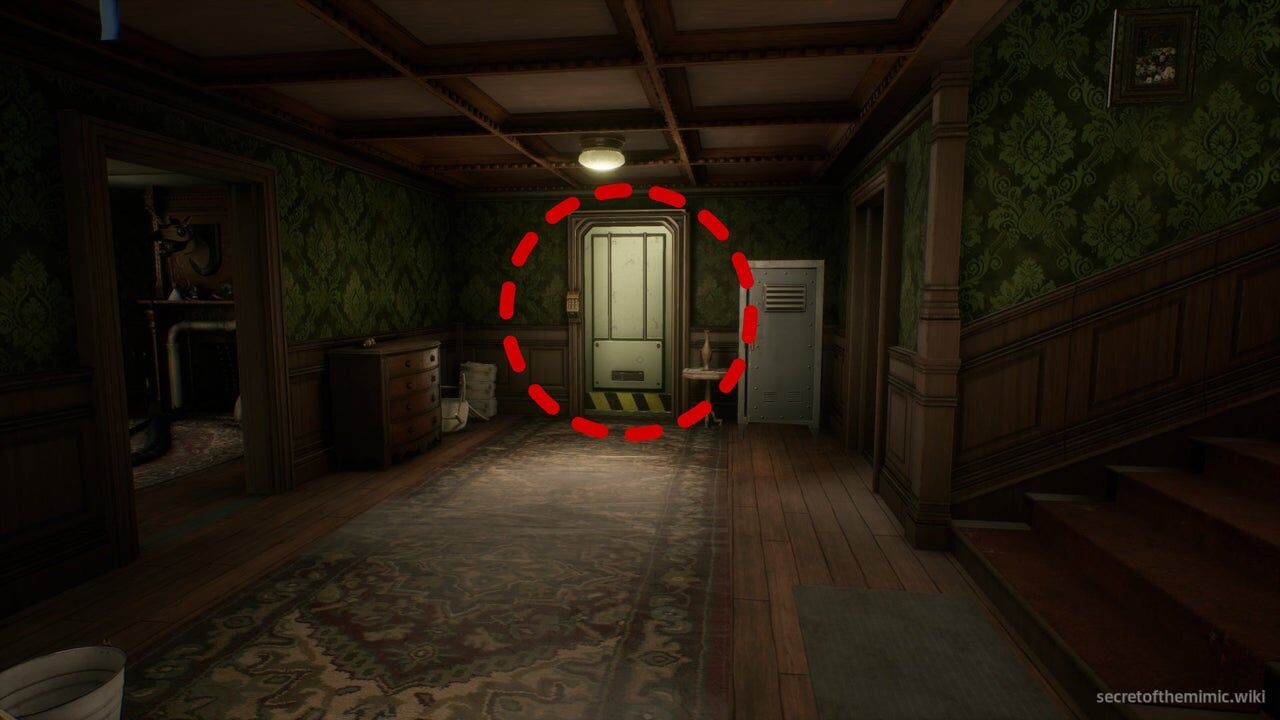
The second cassette is at the top of the ground-floor hallway between the living room and the staircase. The Mimic frequently patrols this area, making it the most difficult cassette to retrieve.
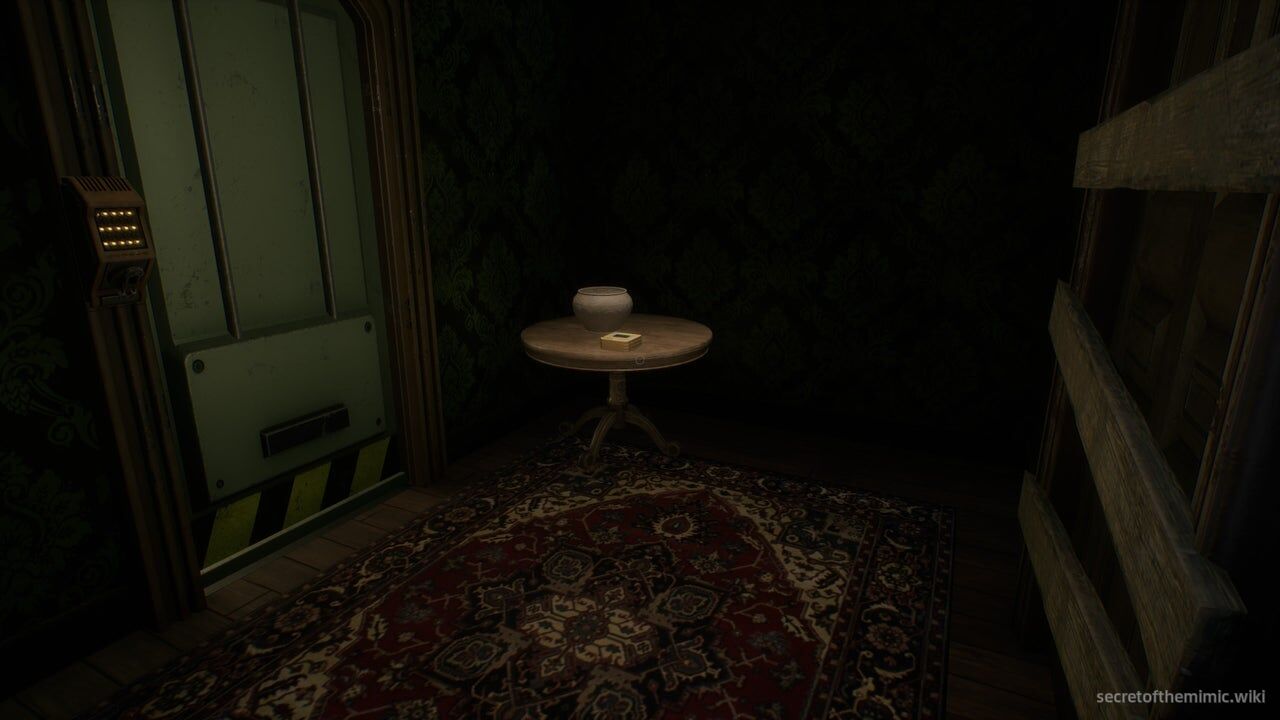
Inside, the cassette sits on a table immediately to the left. Sneak it back to the cassette room and insert it safely.
Landing Cassette
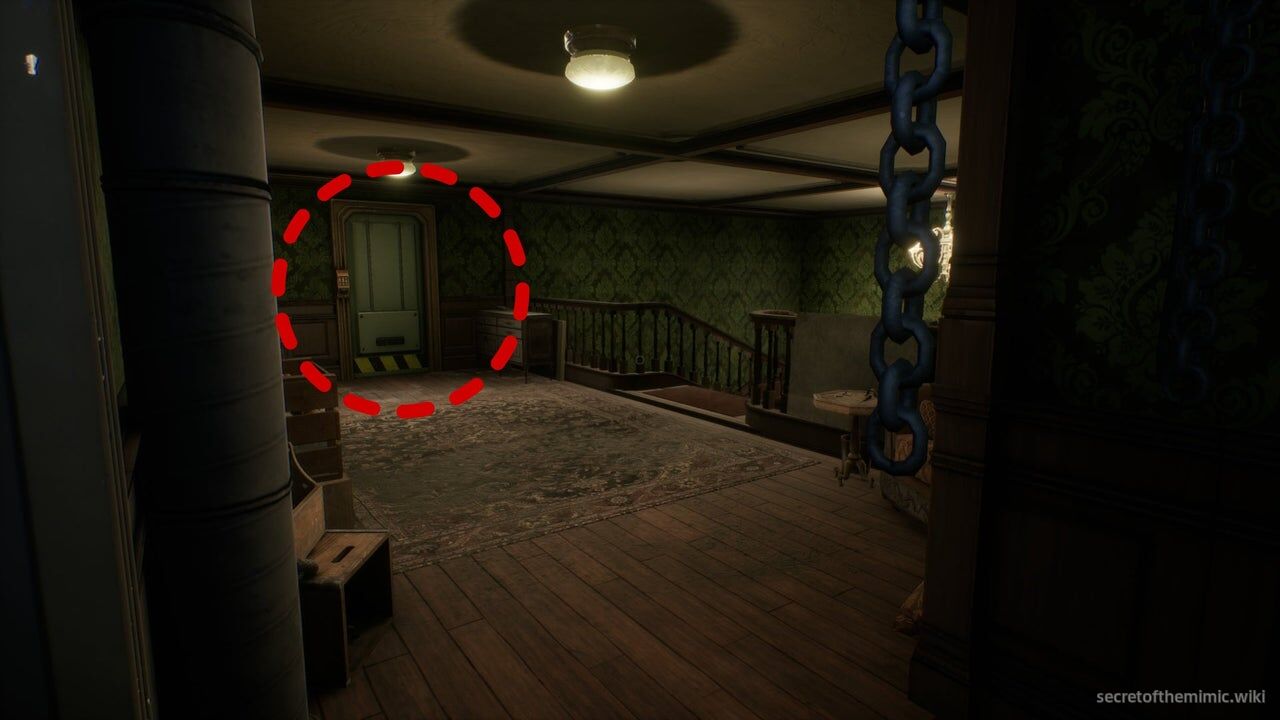
The third cassette is on the second-floor landing, immediately to the right at the top of the stairs.
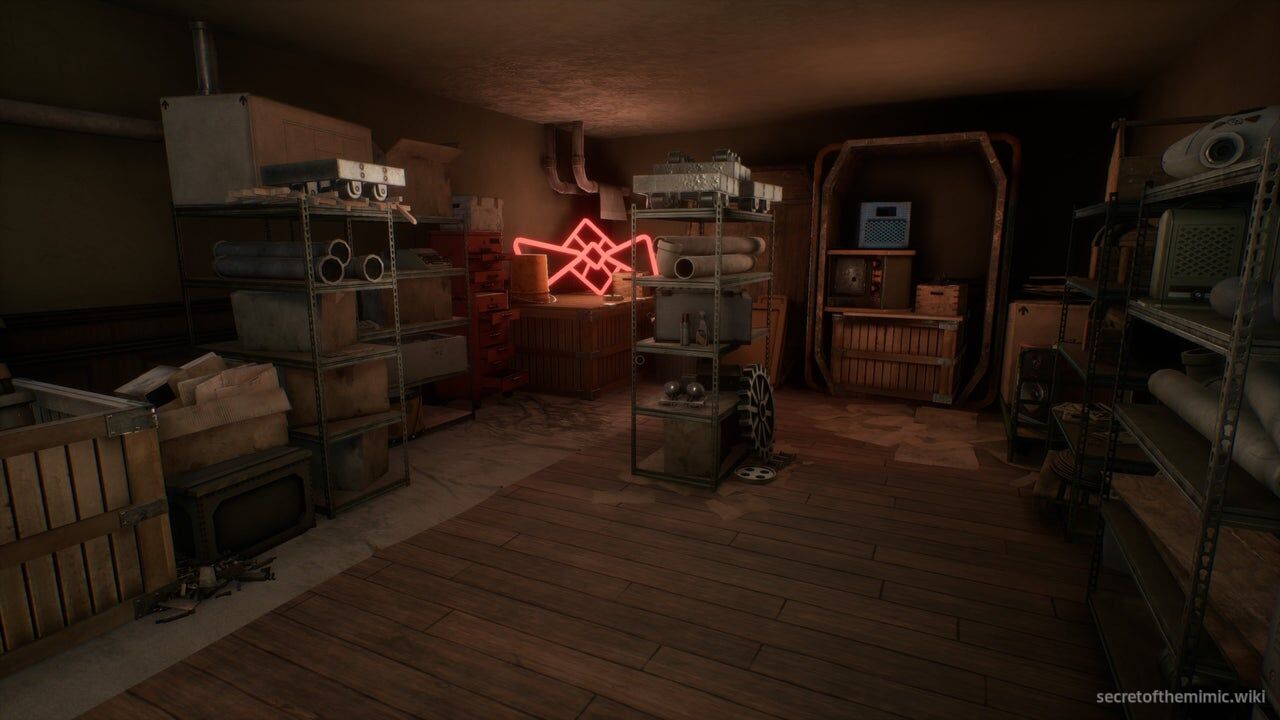
The room is a workshop. Find the cassette on the same crate as the red neon bowtie in the rear corner, then return it to the cassette room and insert it.
Blueprint Room Cassette
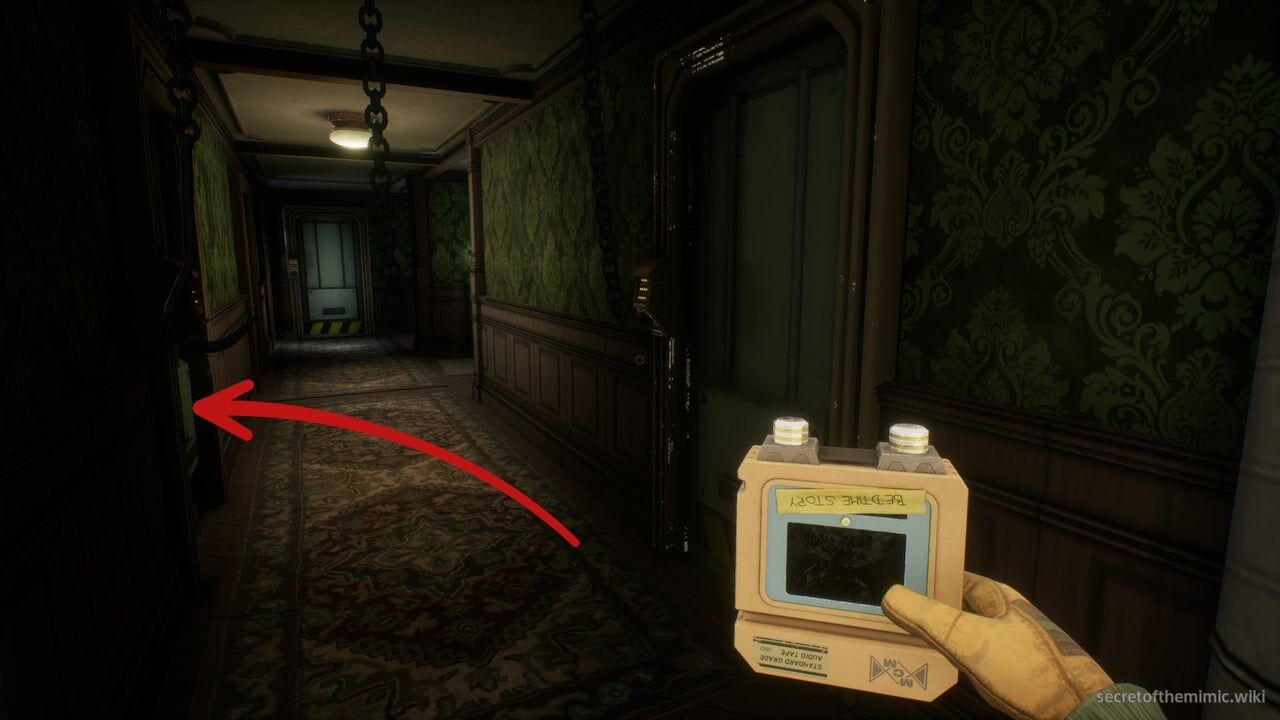
The fourth cassette is in the Blueprint Room, directly opposite the second-floor Tape Room entrance.
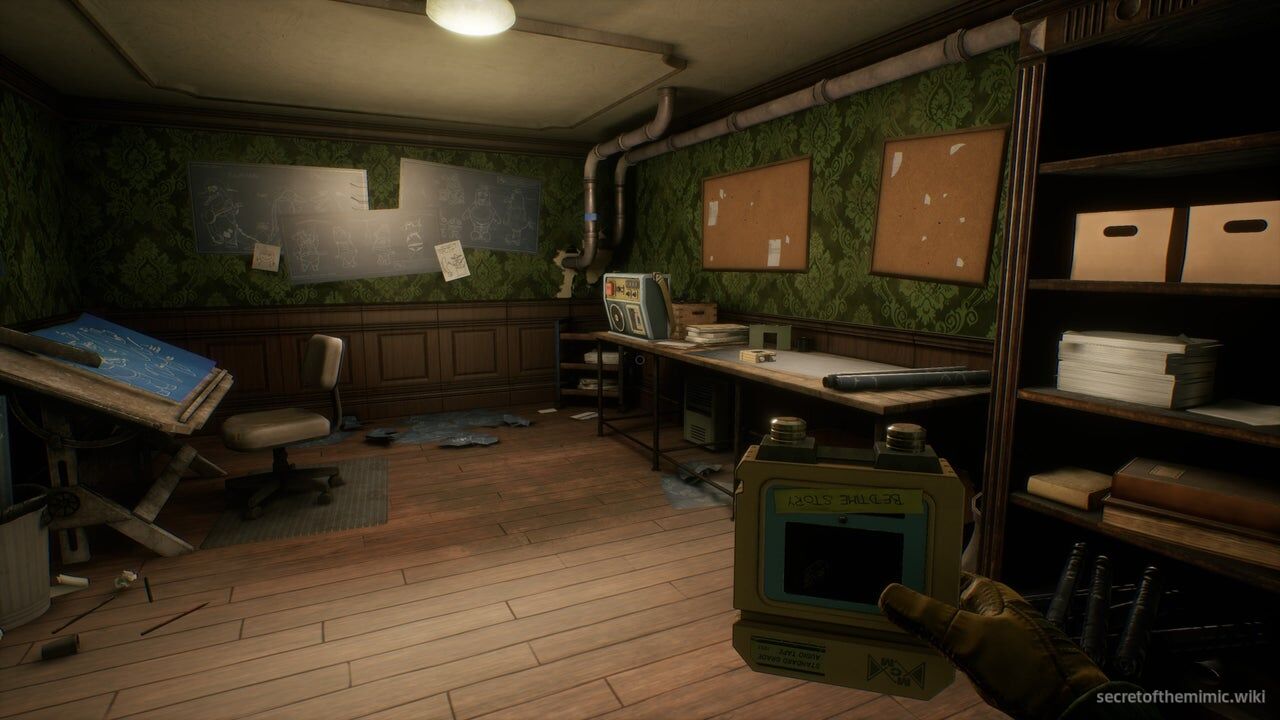
Inside, the cassette is beside an audio player on the desk. Take it back to the cassette room and add it to the collection.
Bathroom Cassette
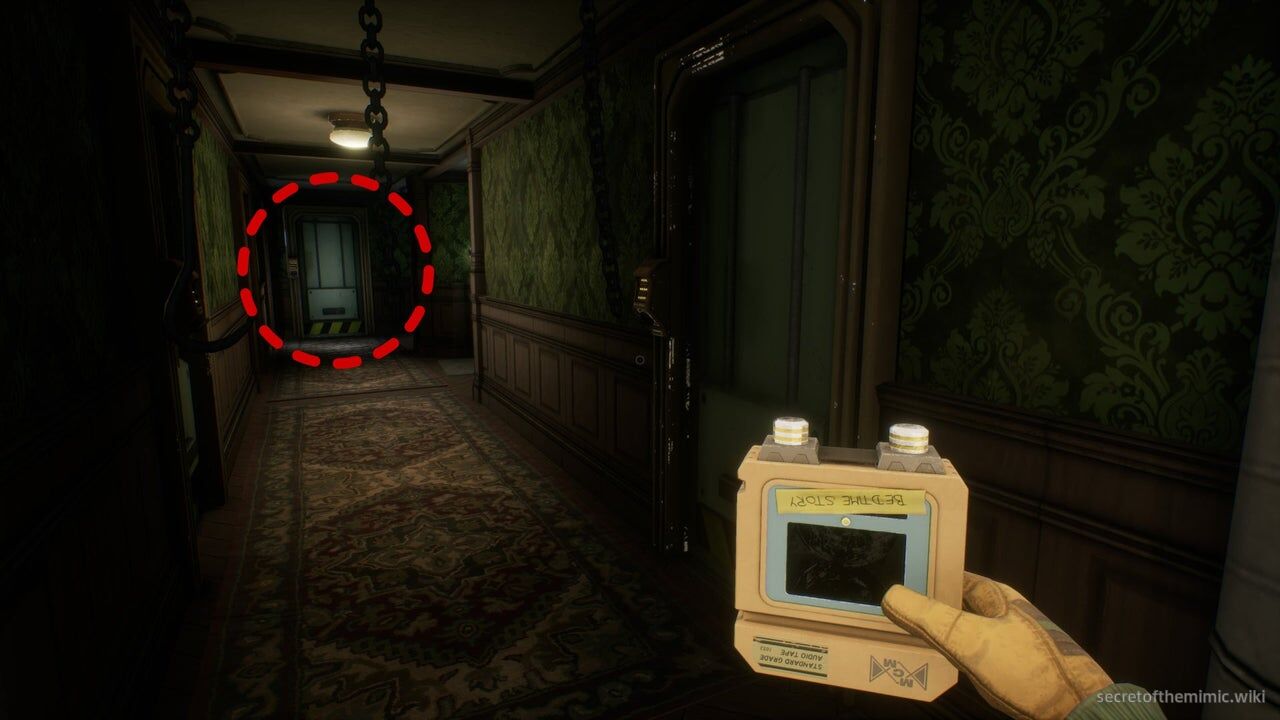
The fifth cassette is in the bathroom at the end of the second-floor hallway, just beyond the locked attic door.
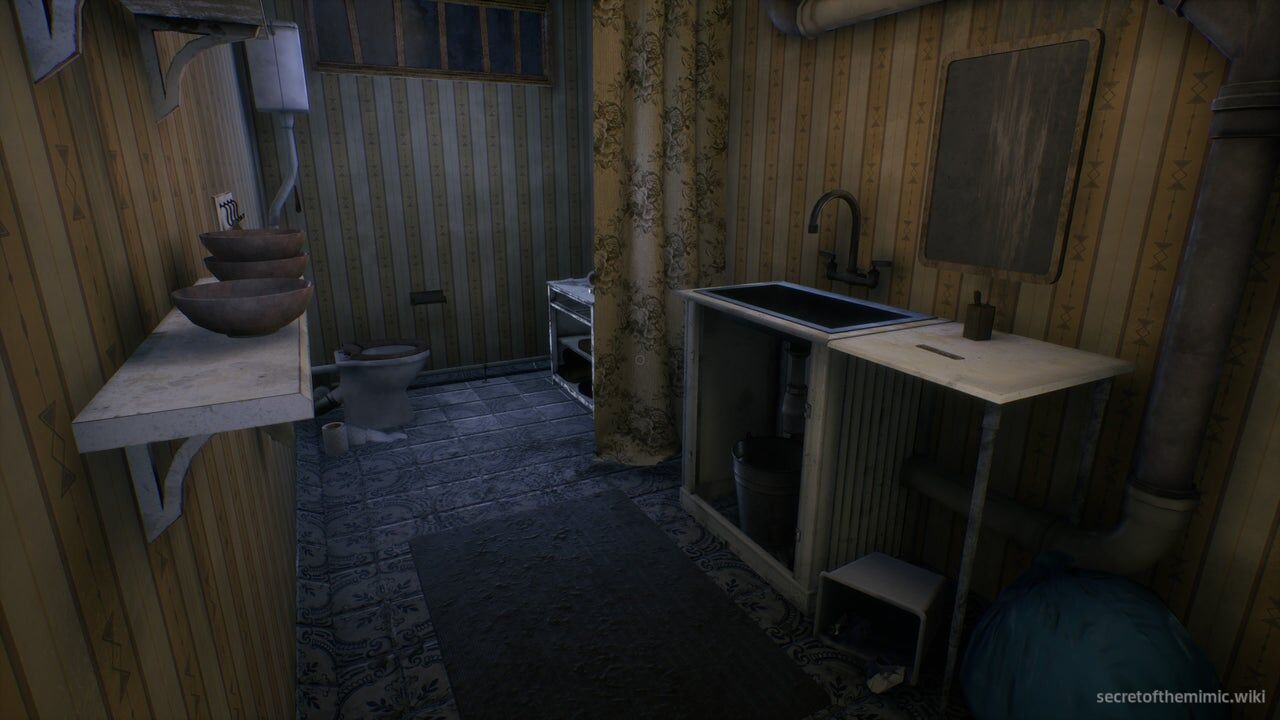
The cassette is on the dresser behind the curtain at the back of the bathroom. Return it to the cassette room and insert it.
Tape Room Cassette
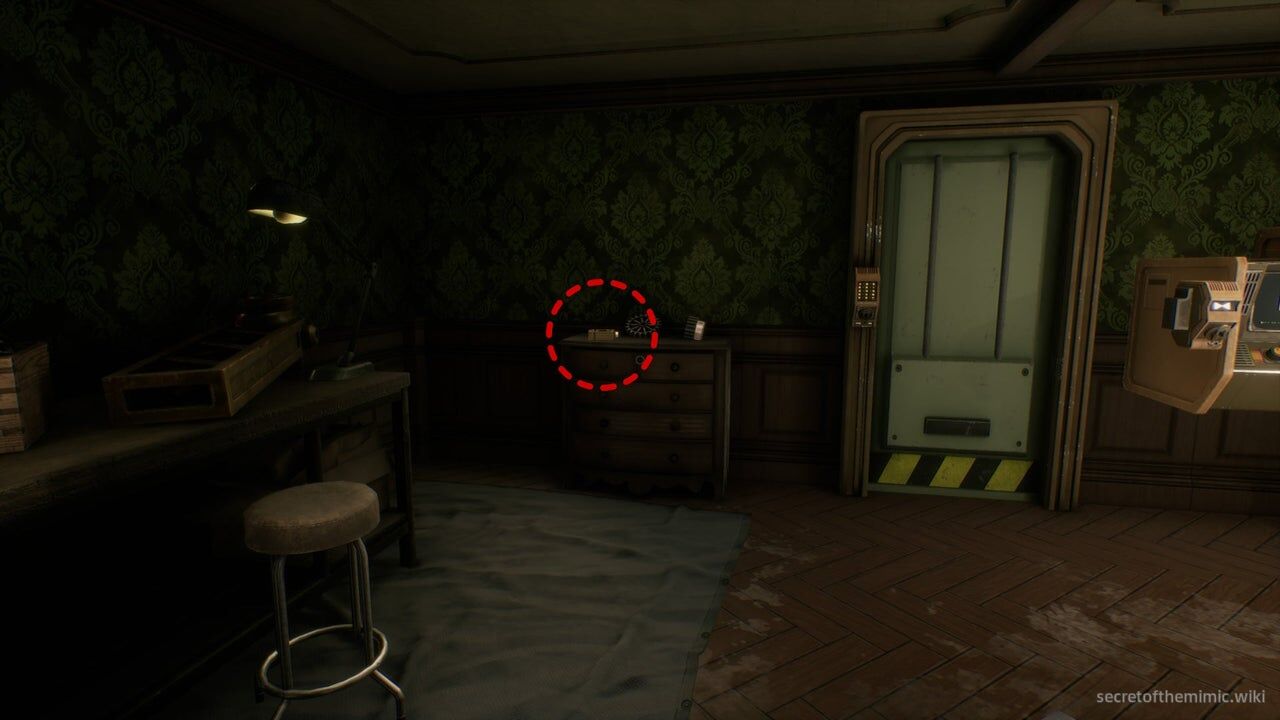
The final cassette is already in the tape room: turn around and look on the dresser to the left of the door. Add it to a cassette player to complete the set.
Step 5: Fixing The Mimic
Once all six cassettes are in the players, the vent to their left opens, creating a passage to David's bedroom.
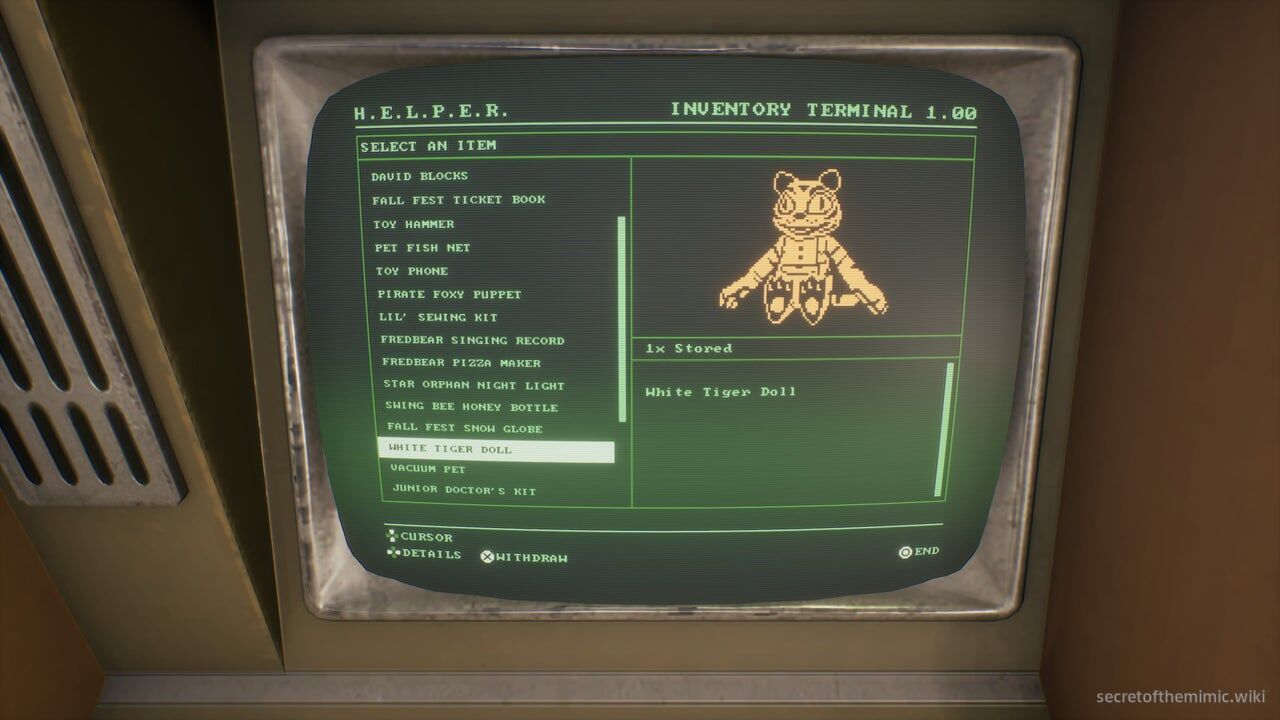
Before entering the vent, use the Inventory Machine to the right of the Tape Room entrance. Open the collectibles tab and extract the White Tiger Doll; it is required to complete the ending.
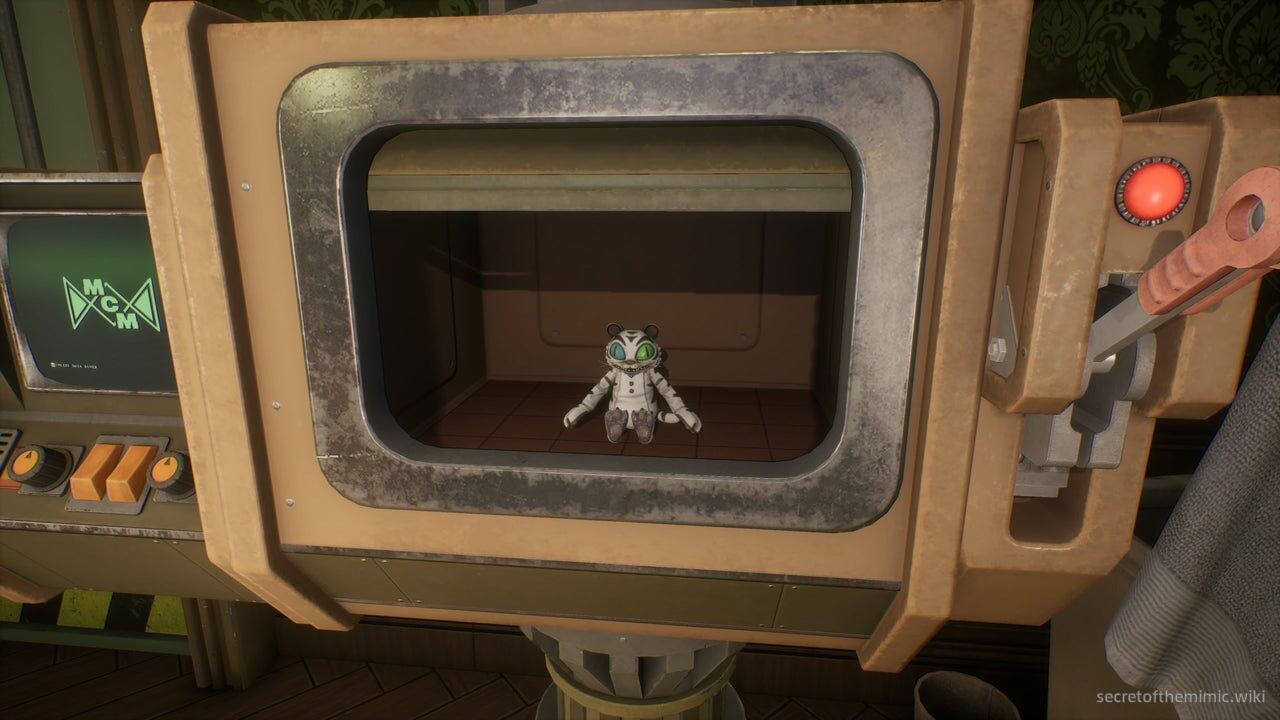
The White Tiger Doll is the New Game Plus-exclusive collectible found in the Security Office at the start of the run, and it starts this ending's final sequence. Pick it up after extraction, then crawl through the vent into David's bedroom.
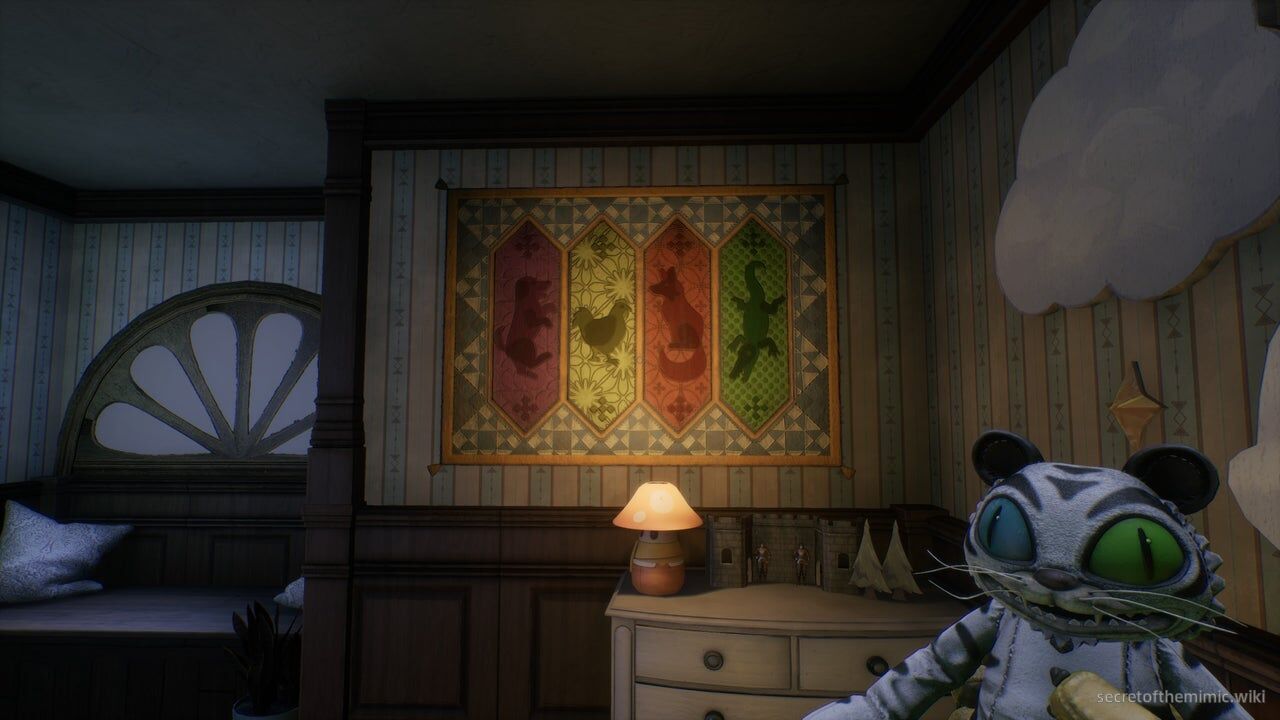
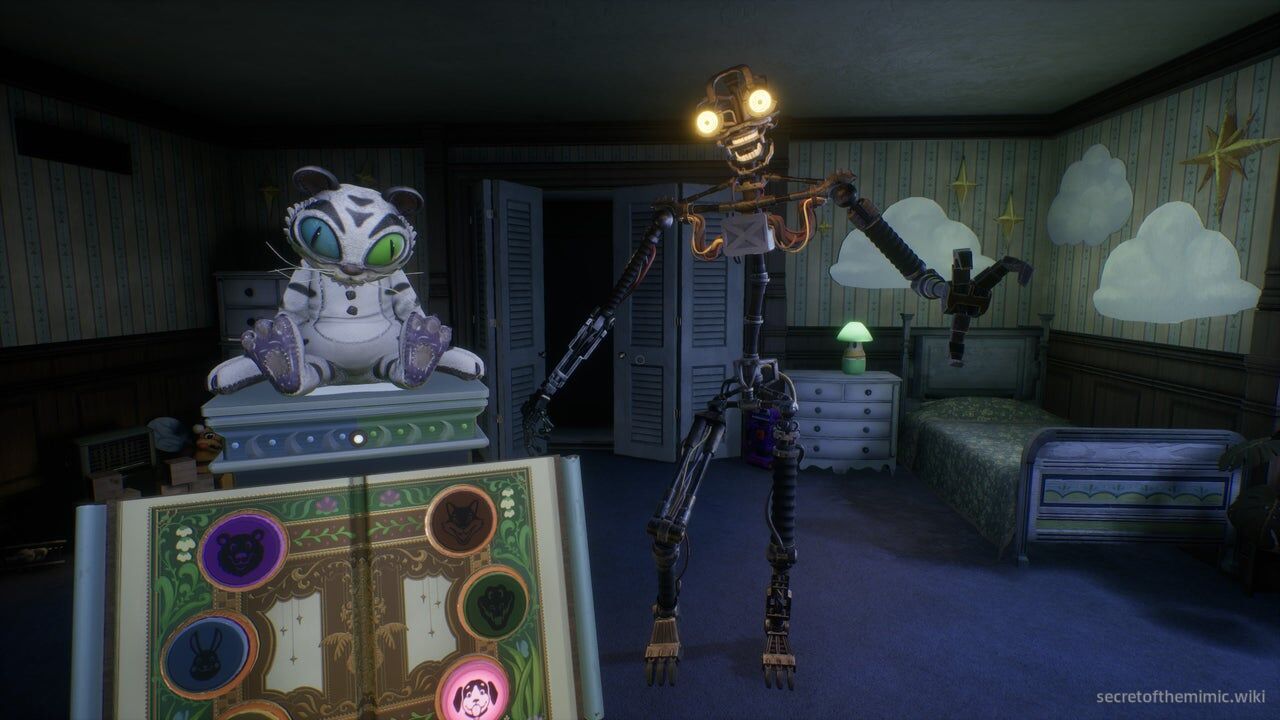
In David's bedroom, look at the tapestry above the dresser on your right as you enter. It is randomized for every playthrough and shows four animals. Record their order from left to right; for example, the illustrated order is Dog, Chicken, Fox, Alligator.
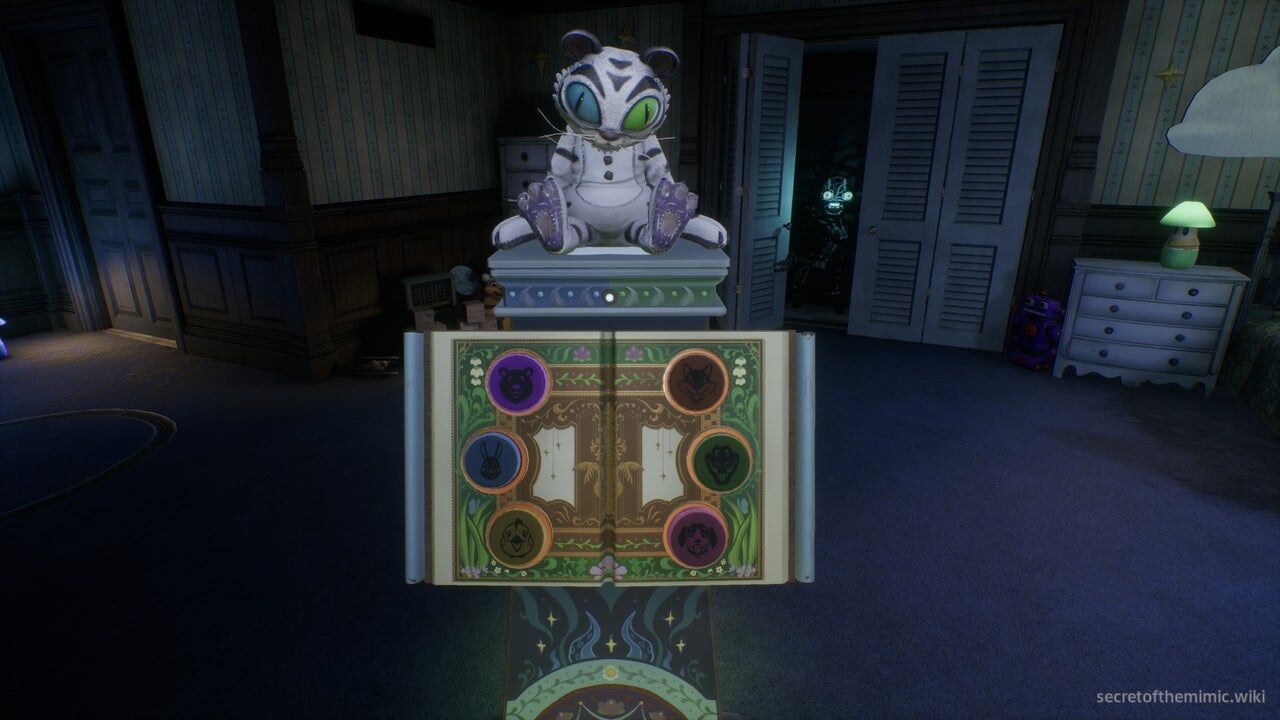
After recording the animal order, turn to the Story Book in the room's centre. Place the White Tiger Doll on the podium above it to begin the final sequence. The Mimic emerges from the closet as Edwin and Fiona's bedtime story begins, shifting between David and its normal hostile form.
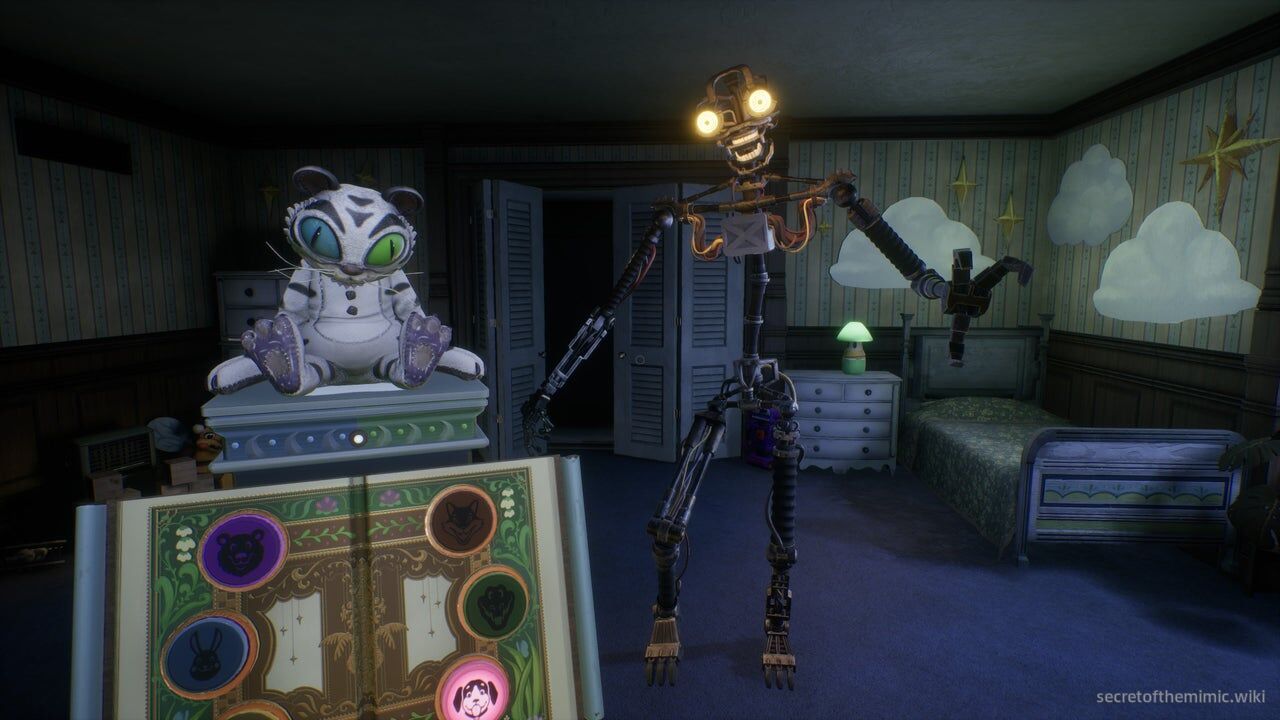
The story gradually makes the Mimic behave more like David. When the recording asks David what happens next, the Mimic becomes hostile and approaches. Use the Story Book's animal buttons in the exact tapestry order, beginning with the first animal in your recorded sequence.
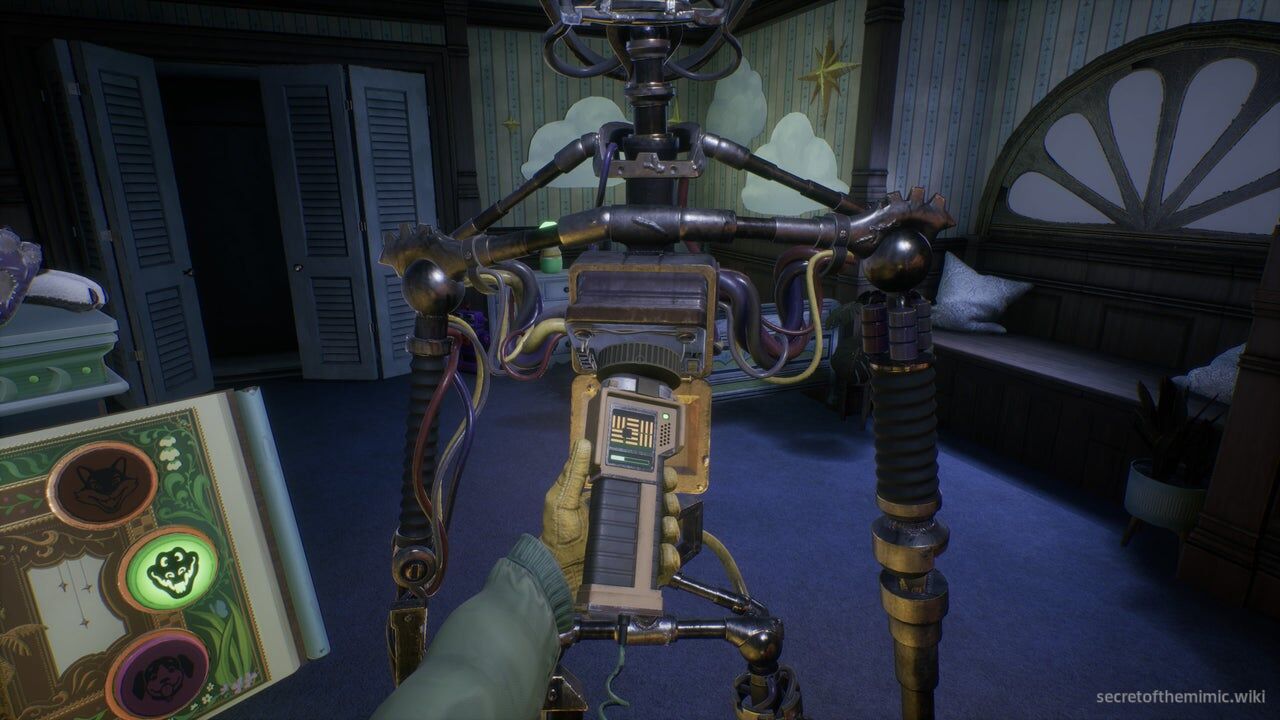
Repeat this for the remaining three animals to complete the bedtime story. The Mimic glitches, exposing a Data Diver point on its chest. Insert and turn the Data Diver there to repair the Mimic; it returns to David, climbs into bed, and falls asleep, completing the Secret Ending.