

The route follows Arnold's escape through the Tunnels, where the objective is to return to the Security Office after surviving the Tiger Rock encounter.
After managing to steal the Mimic blueprints in the Admin Wing, this next section of Secret of the Mimic follows Arnold's grand escape, as he descends into the eerie Tunnels below Murray's Costume Manor. This FNAF: Secret of the Mimic walkthrough provides all the tips and tricks you need to push onto the next step of your adventure, including evading the Mimic, completing puzzles and finding every key item you need to progress.
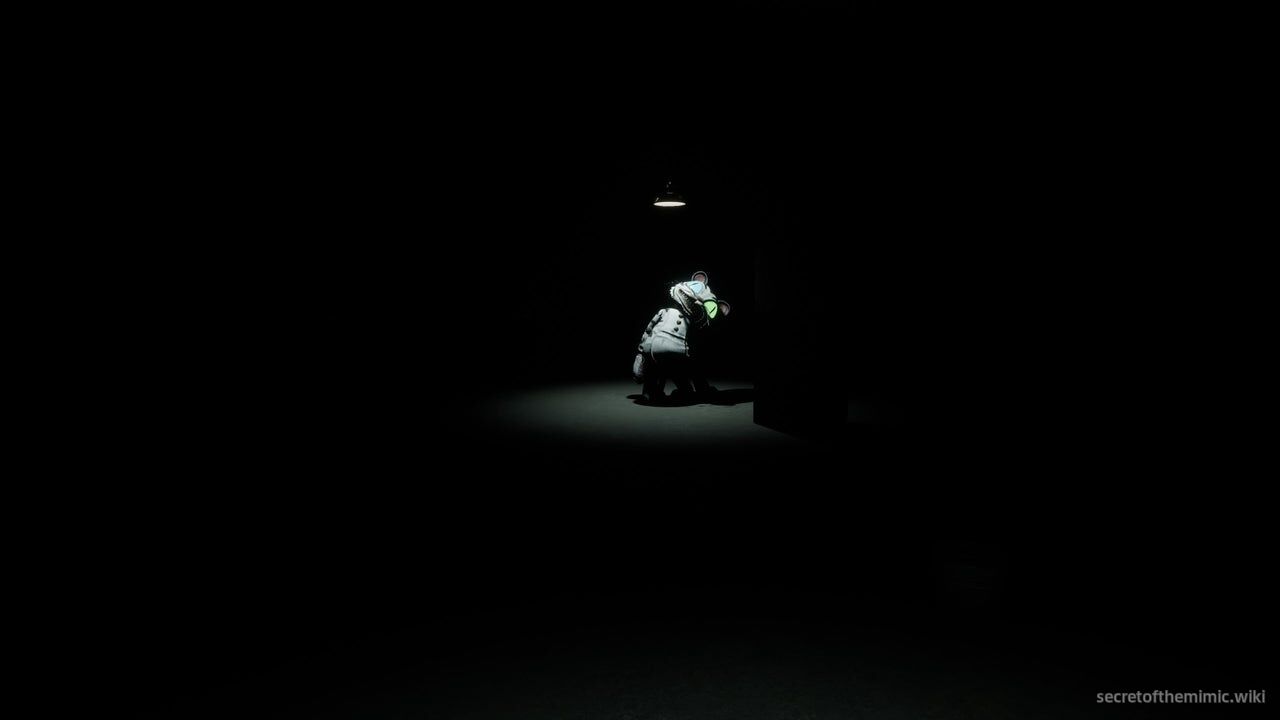
Our journey through this chapter will mostly revolve around Arnold's battle against a mysterious threat that has stalked us for the entire game, with our ultimate goal being to return to the Security Office. If you're looking for a specific segment of this chapter, use the links below to skip through each major section:
The Tunnels
At the end of the previous segment, we stole the Mimic blueprints and descended into the tunnels below Murray's Costume Manor. This section will begin as the elevator we made our escape in reaches its destination. Step out of the elevator and follow the path through the Tunnels until you reach a large area with a staircase in its centre.
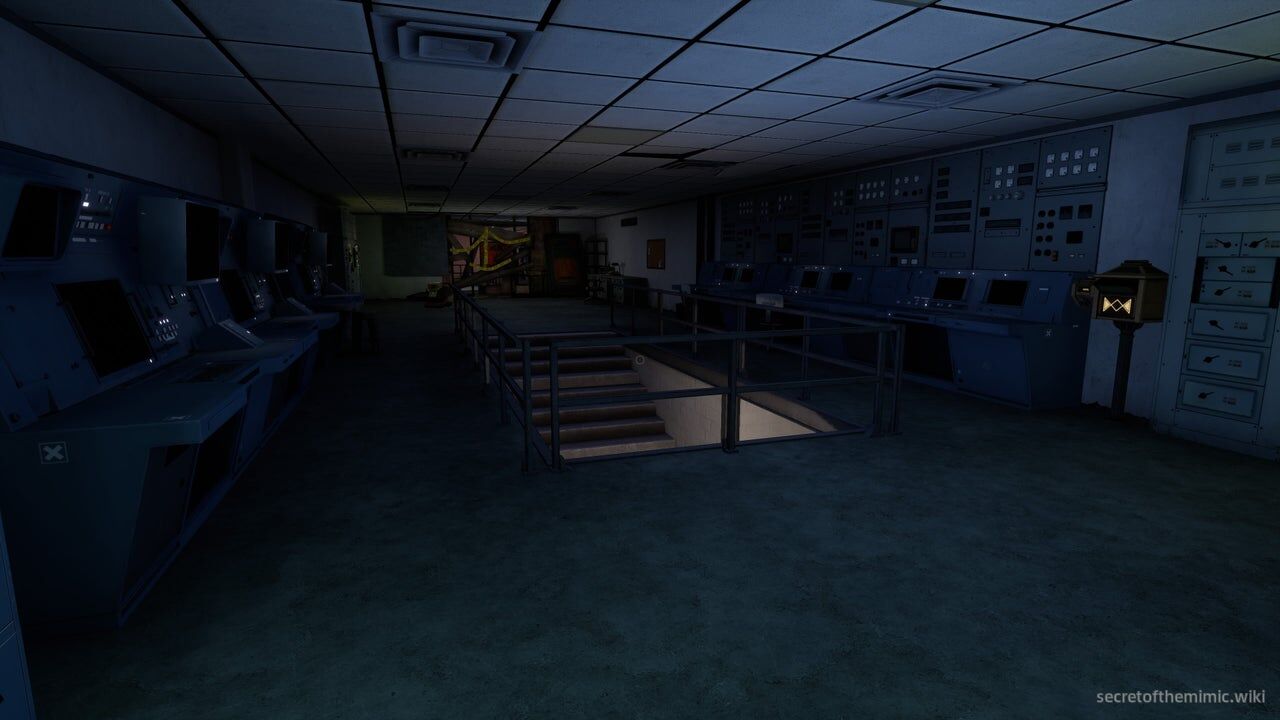
Take a quick look around the area to find an inventory machine, a very compelling cassette tape, and a terminal. You'll also notice there's a boarded-up archway covered in yellow tape. We need to reach the other side of this archway, which means making a detour through the passage down the steps in the centre of this room.
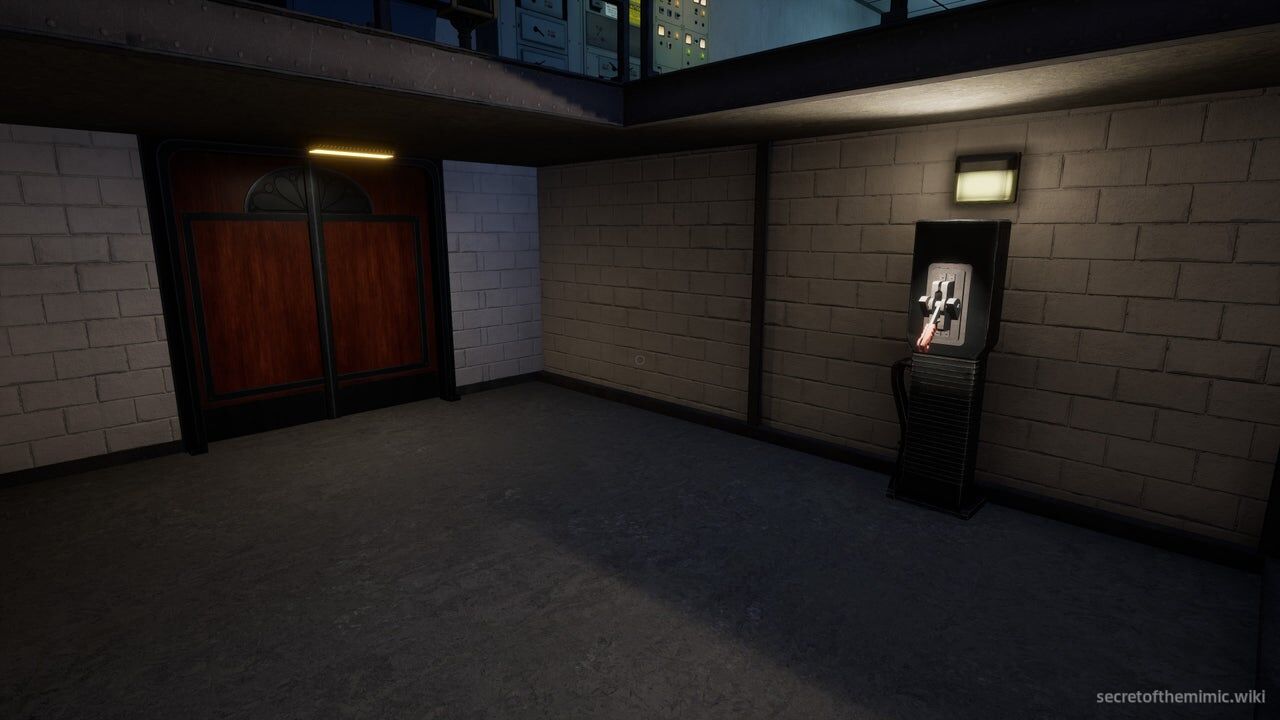
Head down the stairs and, at the bottom, you'll see a lever. Throw it, and the doors to your left will open, revealing the entrance to the pitch black passage beyond. Bolster your nerves, then step inside.
Tiger Rock Boss Fight
When we enter the room ahead, our ghostly, white-tiger-suited stalker, or as he's officially known, Tiger Rock, will appear directly in front of us, making his intentions crystal clear: he's done playing and he's ready for a scrap. As we've had a taste of during our chance encounters with this funky dude throughout the game, he loves to disappear and reappear at random while trying to make you feel thoroughly unsettled.
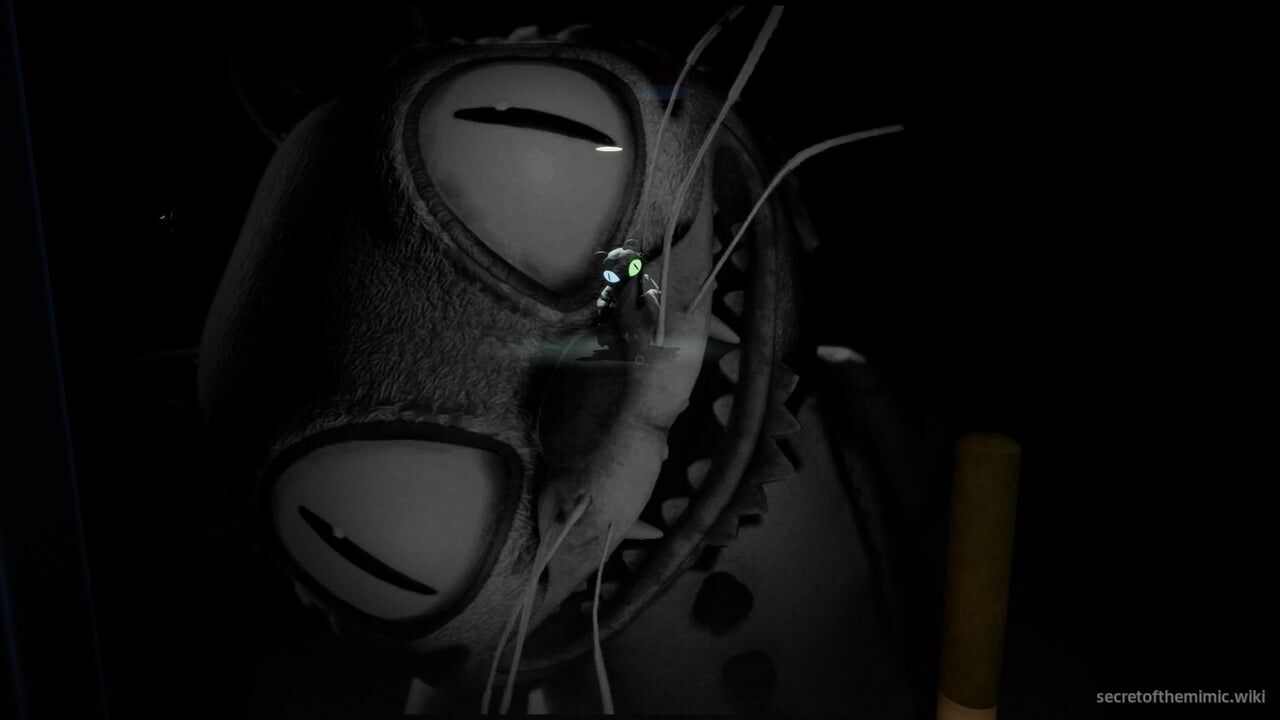
Right off the bat, this can be a very confusing boss fight. Tiger Rock's strange teleportation gimmick isn't explained, the objectives are initially unclear and, in general, it can be a little tough to figure out what the actual rules of the fight are. So, let me break down how Tiger Rock works. The simplest way to explain how this guy throws hands is to say that he entirely functions around a teleport timer. As we navigate this section, every few seconds you'll hear a distinct clanking sound that indicates Tiger Rock has entered what I'll call "teleport mode."
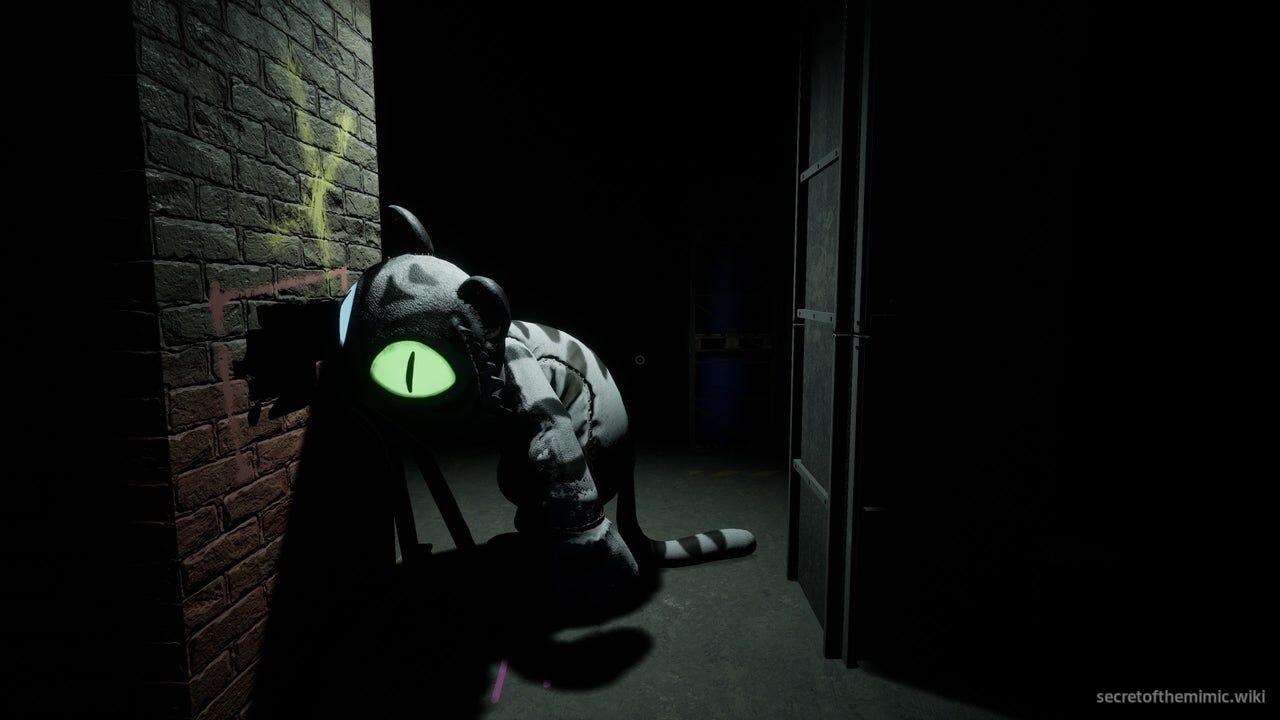
When he's in teleport mode, he'll be able to do one of two things:
- If you're currently standing under a light or holding a light-up toy, he will instantly teleport somewhere around you, attempting to block your path, force you down another route or merely catch you off guard as you're running between objectives.
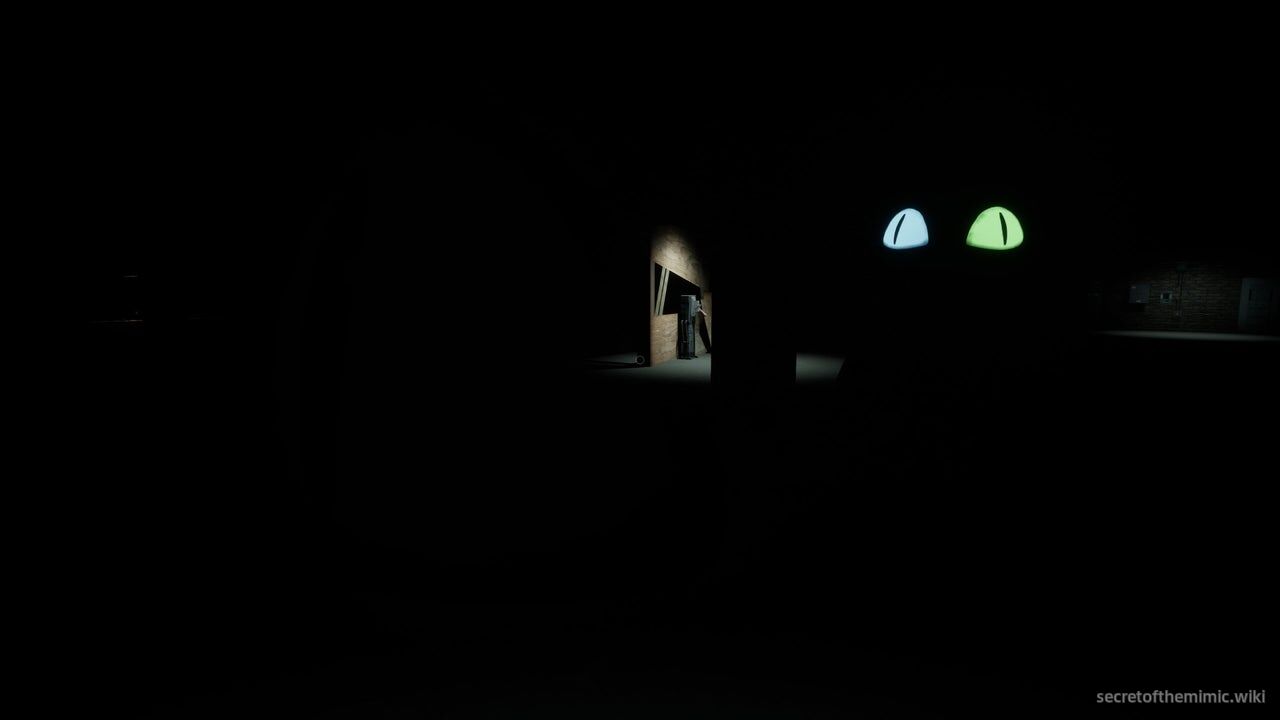
- If you're in the dark, he'll start a short timer, and after a few seconds, he'll grab and kill you. There's a distinct audio cue for this darkness death timer, as you'll hear a whooshing sound that gets faster and faster until you get jumpscared. It'll stop the moment you stand in the light, and Tiger Rock will teleport somewhere else.
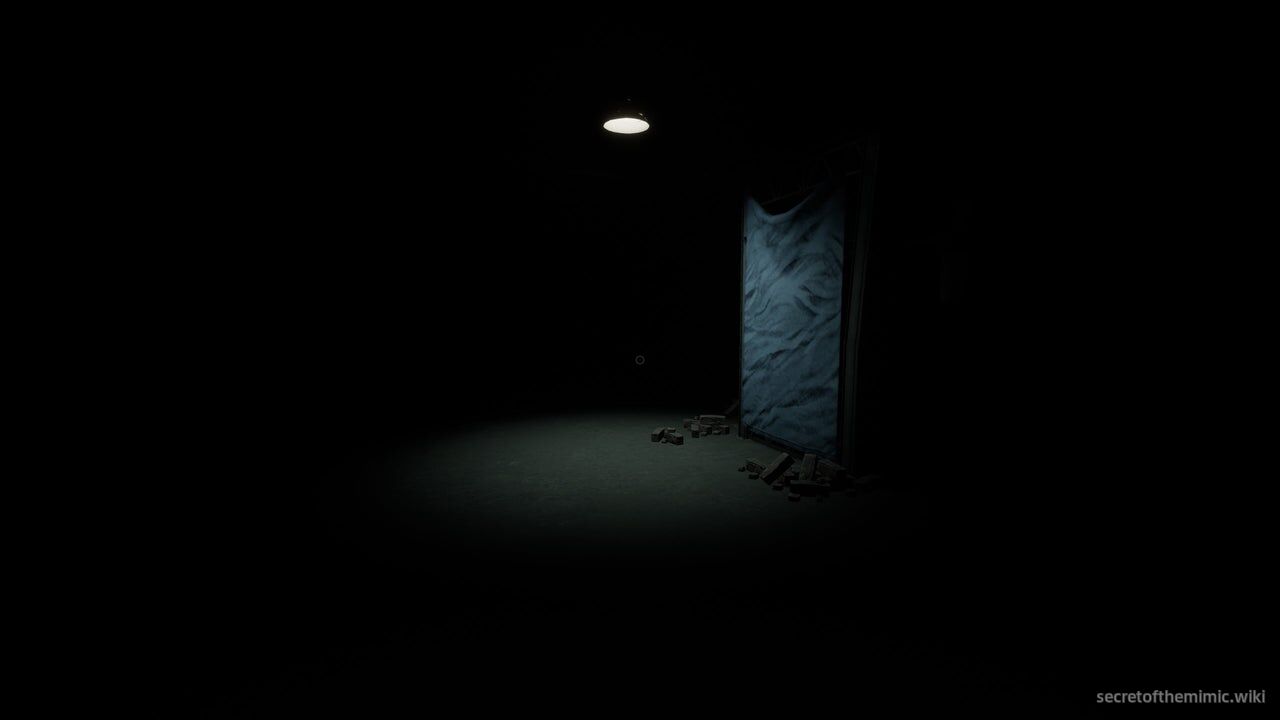
Your job is to just keep moving from light source to light source. Do not linger for any longer than is necessary. The lights won't stay on forever, and if they short out and you're in the same spot, he will attack fast. If you're always on the move, then the real challenge becomes not walking into Tiger Rock while you navigate between light sources, as touching Tiger Rock results in instant death. That sounds simple, but to give Tiger Rock props, he's way craftier than he seems.
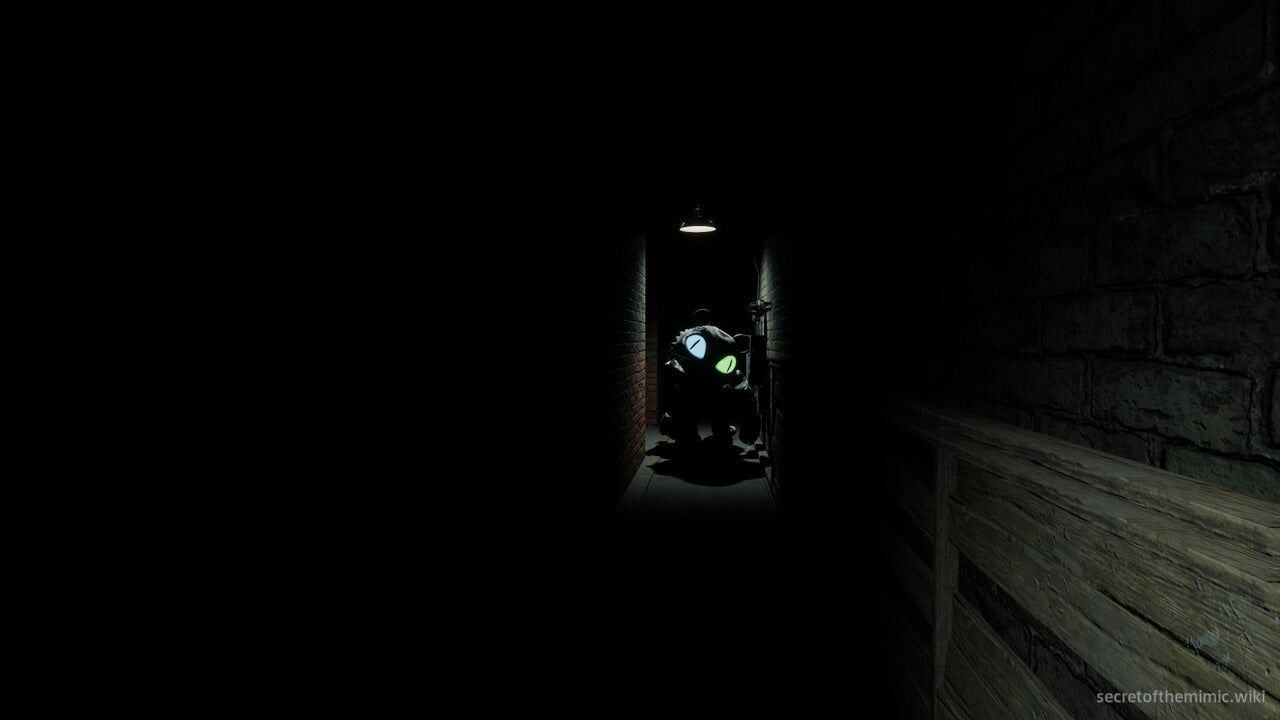
Our instant-transmission-loving adversary will do his best to cut off key routes and generally be a nuisance, teleporting directly next to you, behind you or sometimes under light sources themselves. That means you only want to sprint between dark zones.
If Tiger Rock is entering teleport mode and you hear him revving up to kill you, feel free to sprint to the safety of the light, but if you're manoeuvring between lights close together or navigating one of the two maze sections, try to avoid sprinting altogether so you don't accidentally run into his admittedly very cosy looking arms.
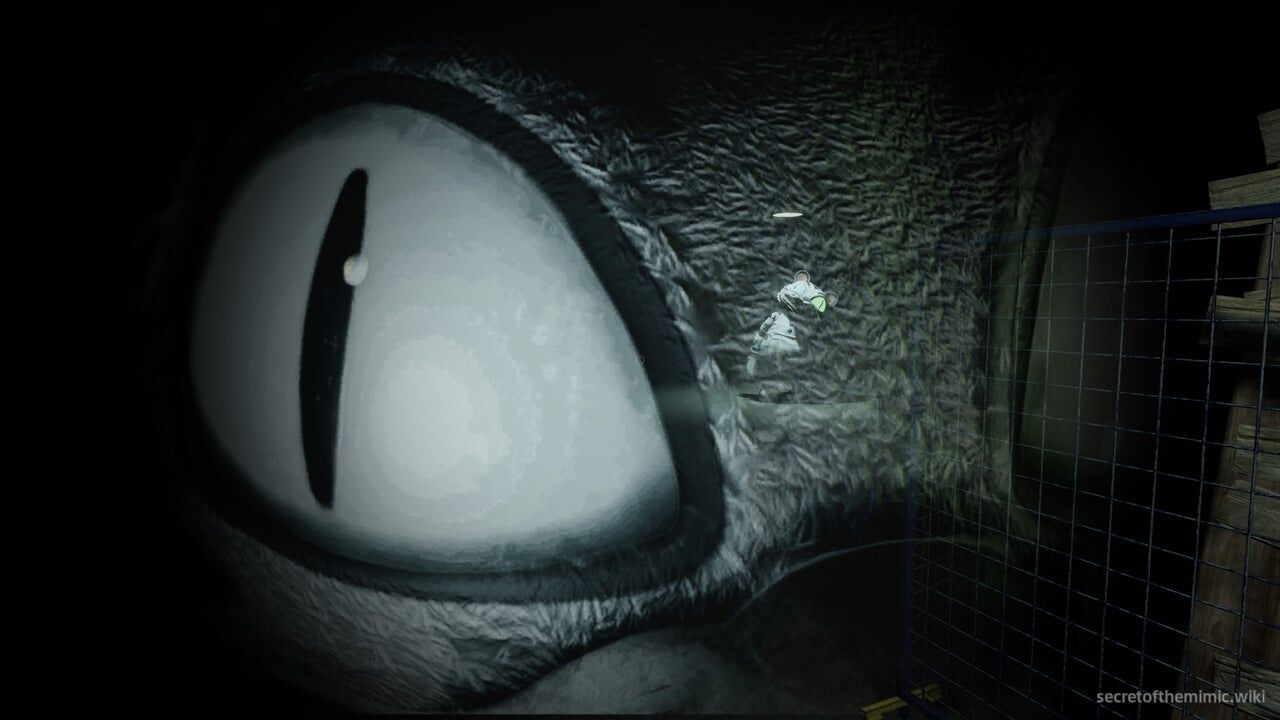
The general moment-to-moment of this fight should be looking for where Tiger Rock is, quickly figuring out a safe path forward and then making your move. On that note, it's also worth mentioning that, despite getting a disorienting screen effect when you lock eyes with Tiger Rock, you can look at him as much as you want. Go ahead and take as many glances at those big, beautiful, bulbous eyes as you need; he isn't camera-shy, and you won't get sent to the shadow realm for keeping eyes on him.
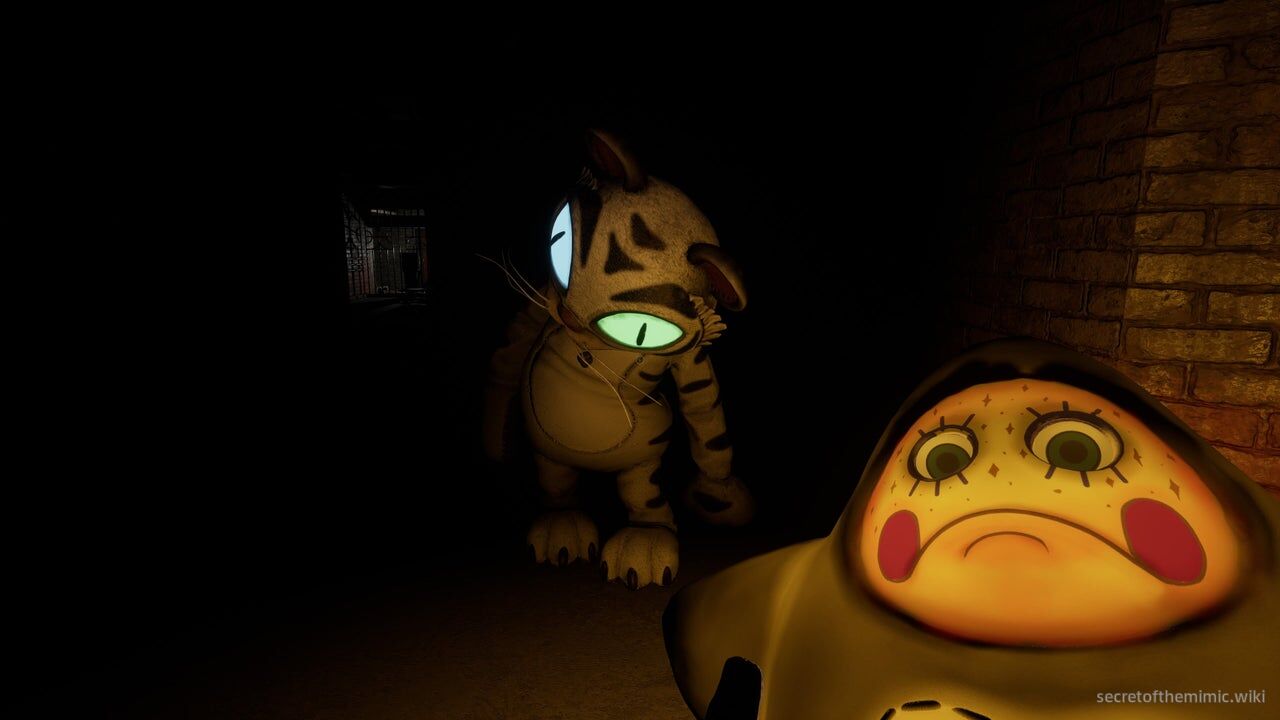
Finally, take it from a man who's tried to get a quick one over on this guy multiple times and failed, just completely avoid Tiger Rock instead of trying to squeeze your way around him. His hit box is much larger than you think, and if he grabs you, your run is over, so it's better to be patient or find a new route instead of taking your chances and trying to slip past him.
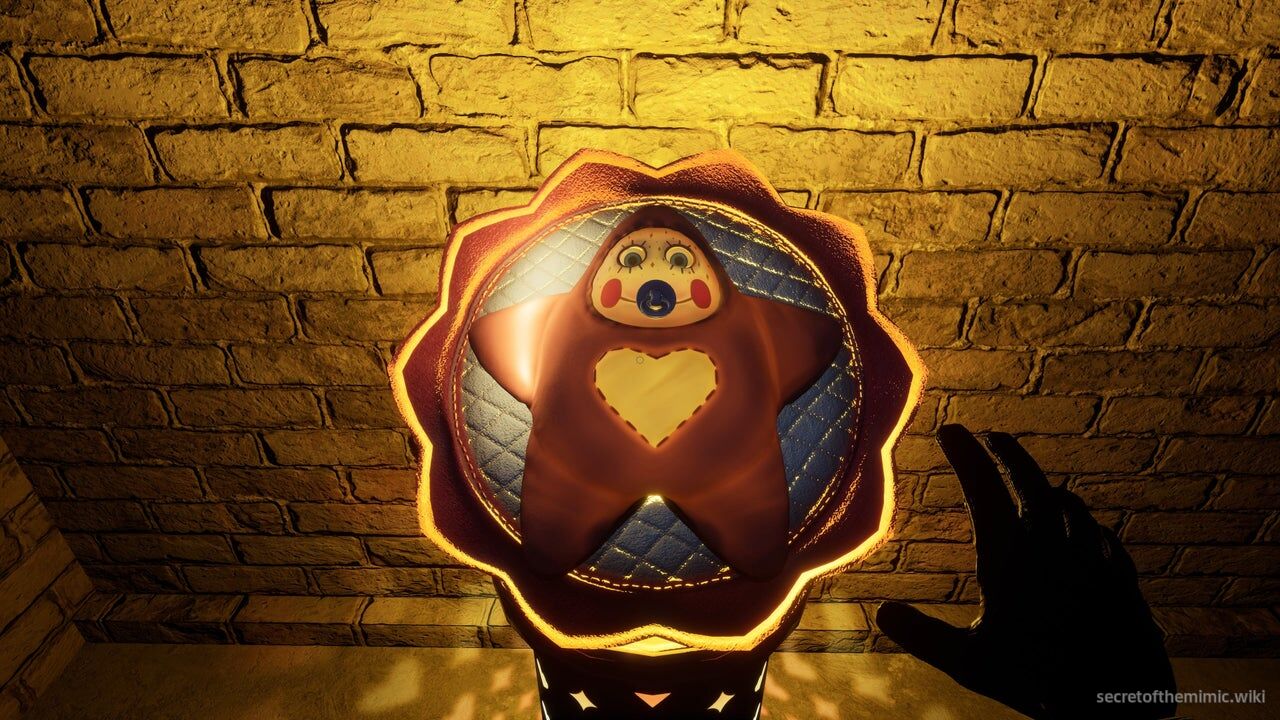
Once you've got the hang of how Tiger Rock does battle, we'll be ready to tackle what the actual objective of this segment is. This fight is split into several areas, with each essentially revolving around finding a light-up toy in a hidden compartment. Let's run through each individually.
The Lever Room
When you enter the first area, you'll find yourself in a wide open space with several lights that flicker on or off when Tiger Rock enters Teleport Mode. We're going to treat this like a tutorial area, so get used to how Tiger Rock teleports and the kind of locations he likes to appear. It doesn't matter if you die a few times. The knowledge will be helpful for the later rooms.
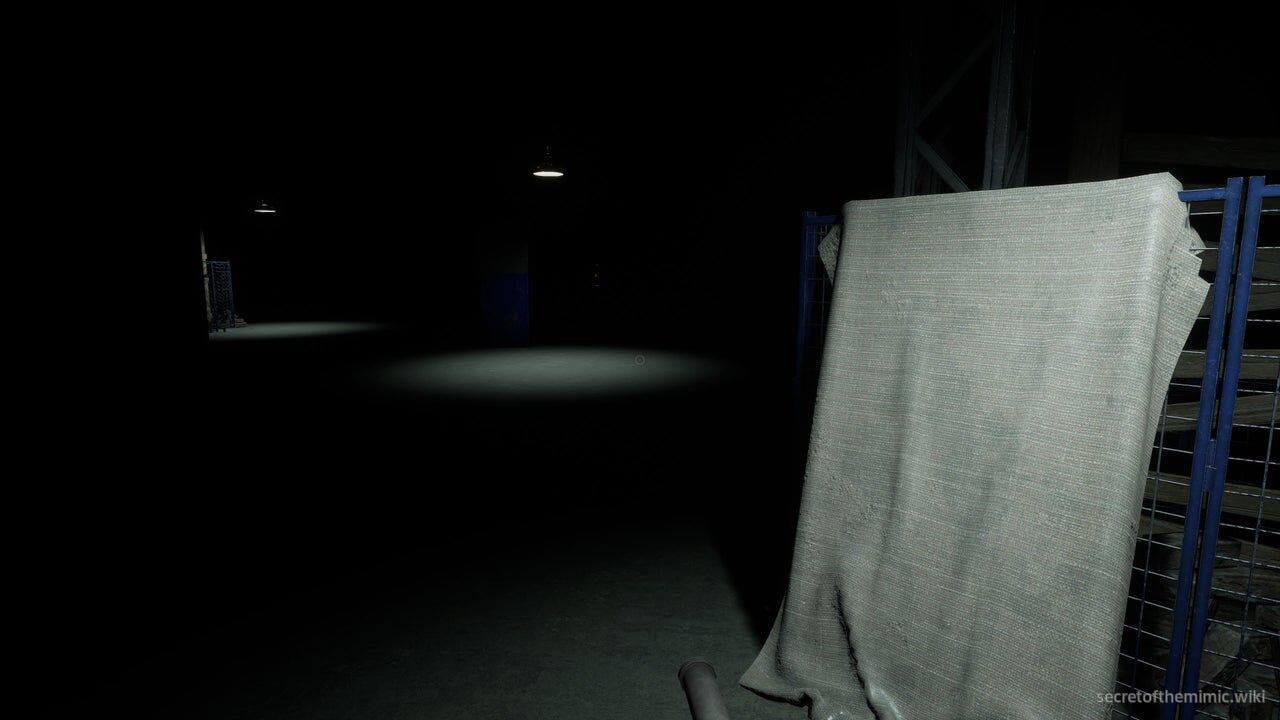
When you've got the idea, the goal here is to simply keep moving between the flickering lights. They'll lead you around the room, so just wait for Tiger Rock to teleport, then walk from light to light, changing position frequently to avoid them flickering off and leaving us in darkness. As you do, Tiger Rock will try to block your path, either by standing under certain lights you need to reach or hovering right next to you and hoping you run into him accidentally. Keep tabs on him and keep moving as the lights flicker.
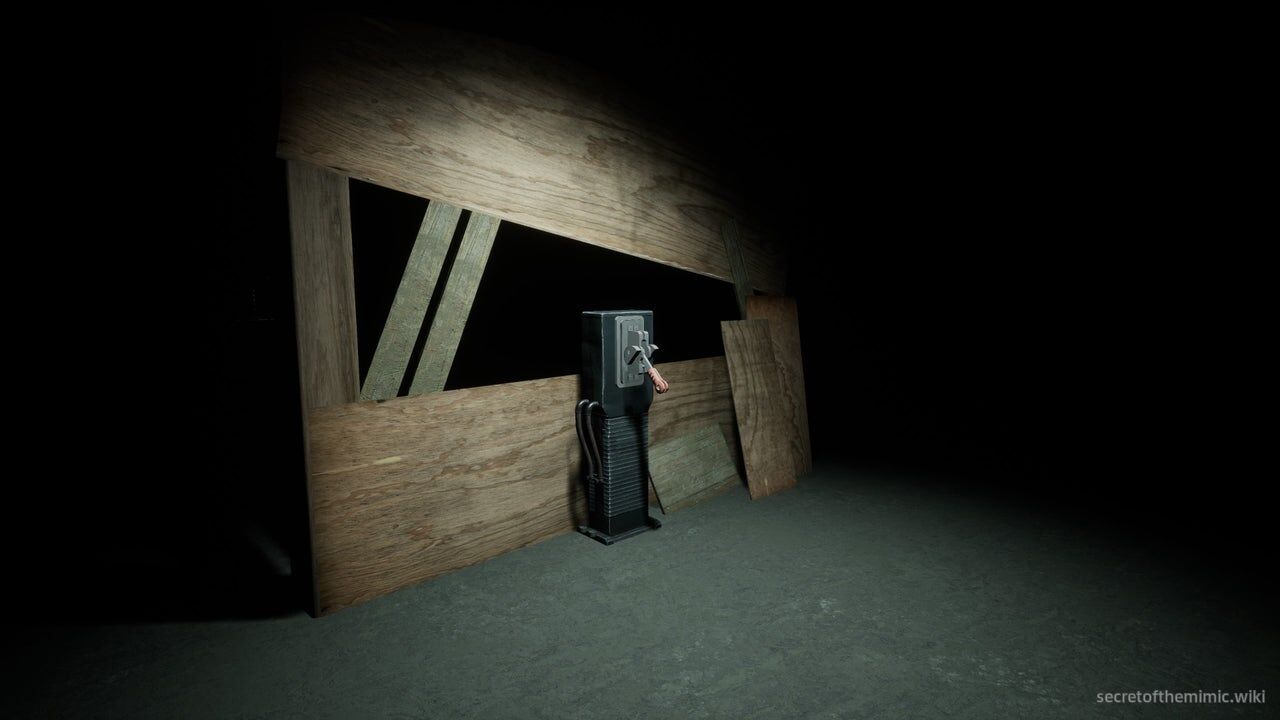
You'll start to notice scenery in the room is being illuminated by these lights, whether that's pieces of wall or crates covered in tarps. You want to search these illuminated scenes for a light containing a lever in front of a wooden structure, shown in the screenshot above.
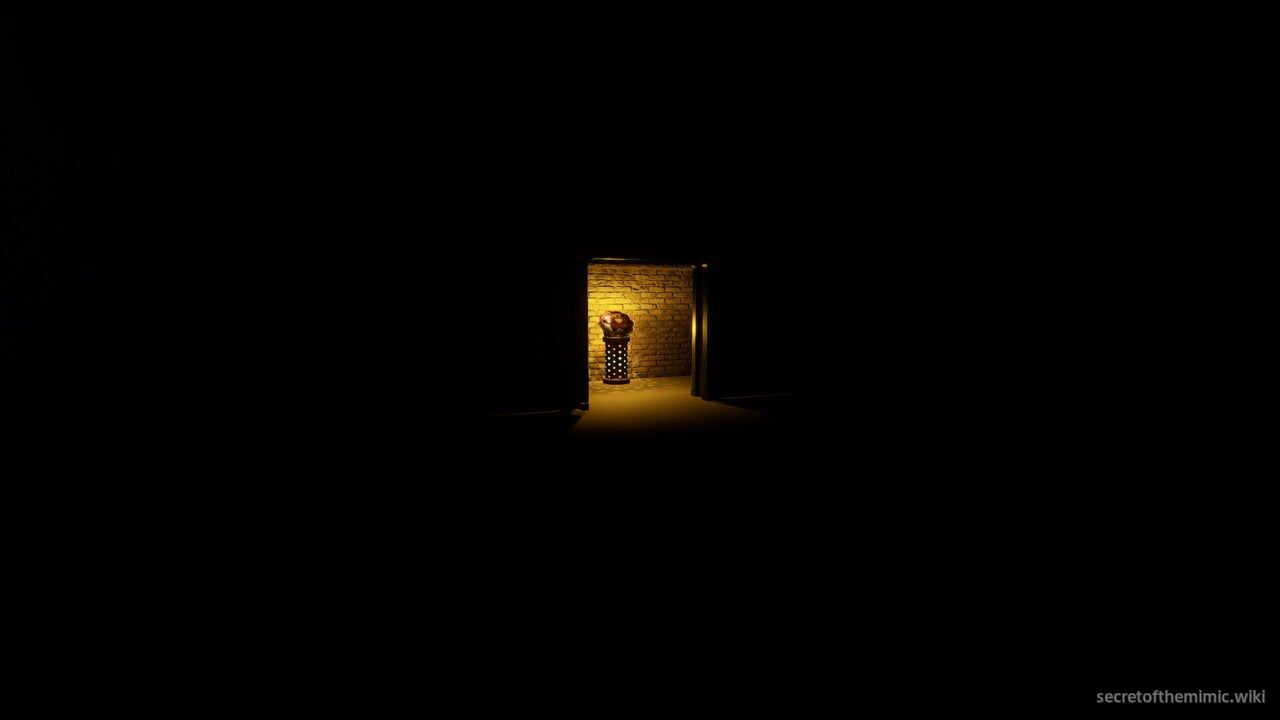
When you see this, you've found the route out of the first room. Make your way over to it, throw the lever, and ahead, you'll see a door open, revealing a glowing object on a podium. Carefully make your way over to this door, avoiding Tiger Rock, and enter it.
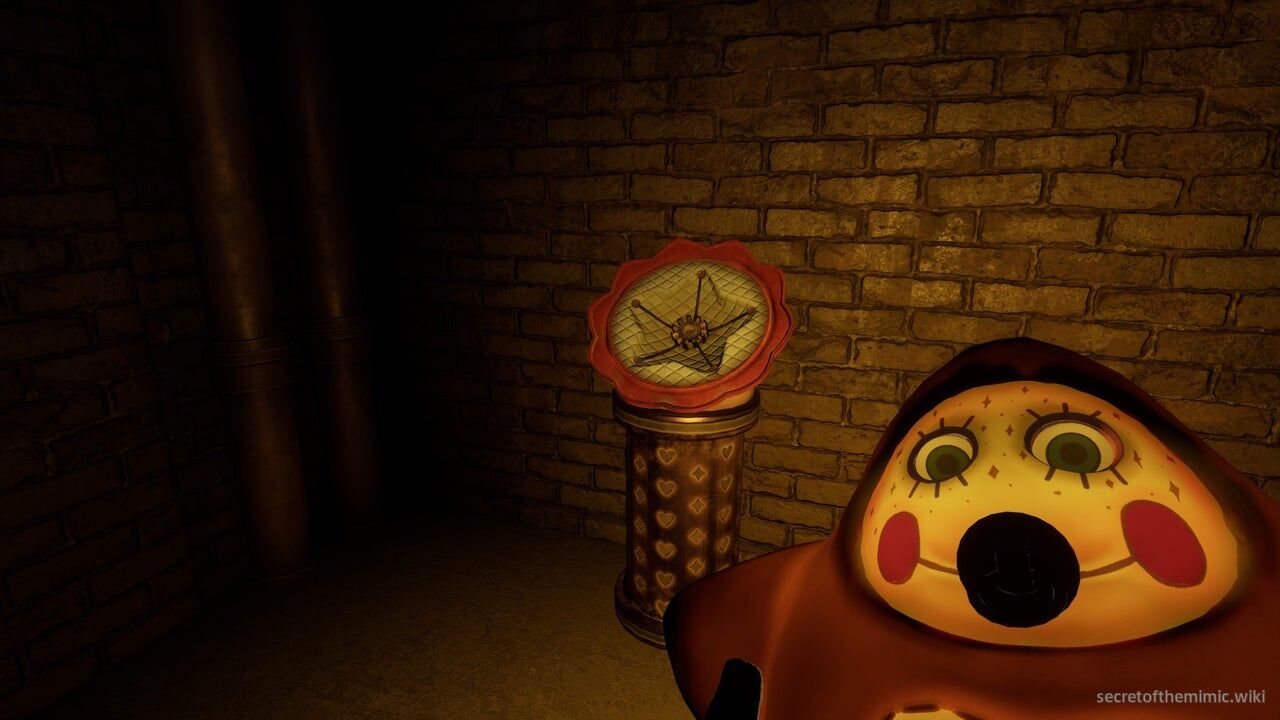
You'll discover this glowing object is a light-up baby toy. Pick it up and use the light it emits to guide yourself down the corridor to the left of it. At the end, you'll come across a second podium you can slot the toy into, opening the door opposite it and bringing you to the second room.
The Maze Room
When you enter the second room, you'll see a lever ahead. Pull it and, like last time, a hatch will open at the back of the room, revealing a second light-up toy. You can see it through the fence behind the lever.
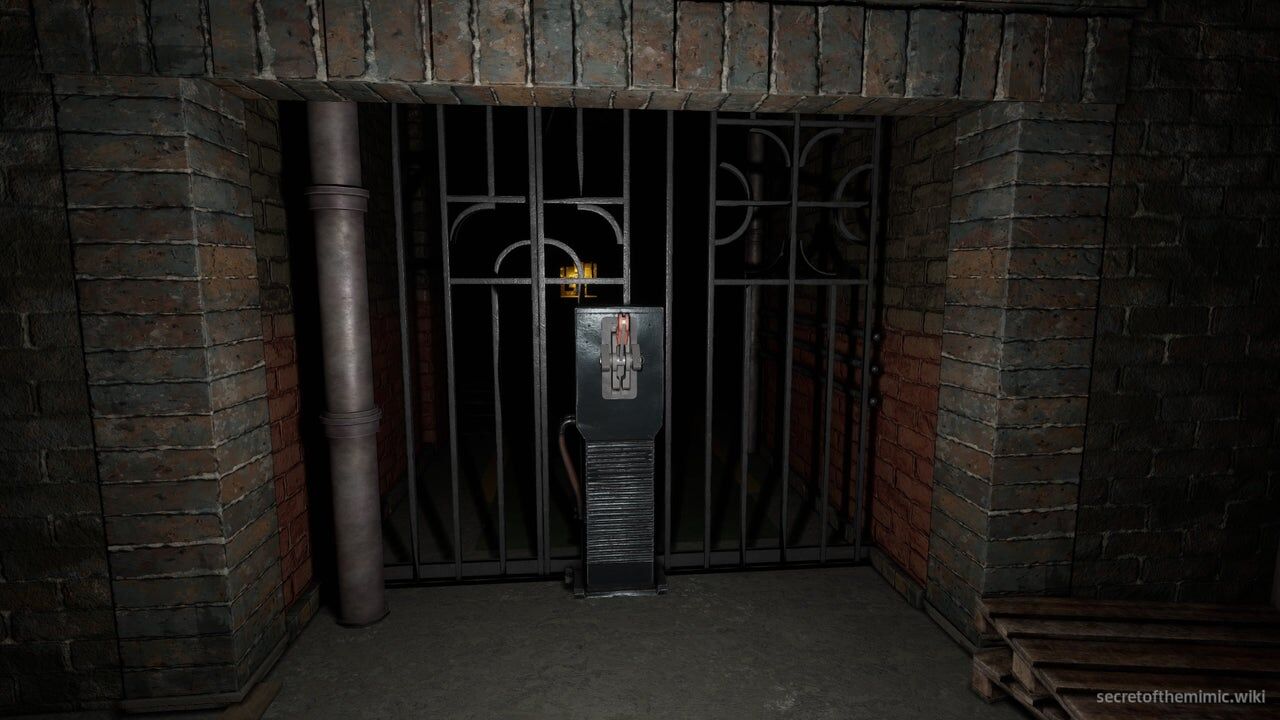
Our goal now is to reach it. Use the pathways on the right or left-hand side of the lever and walk carefully between the lights in your chosen corridor, using them to reach the long passage in the centre of the area.
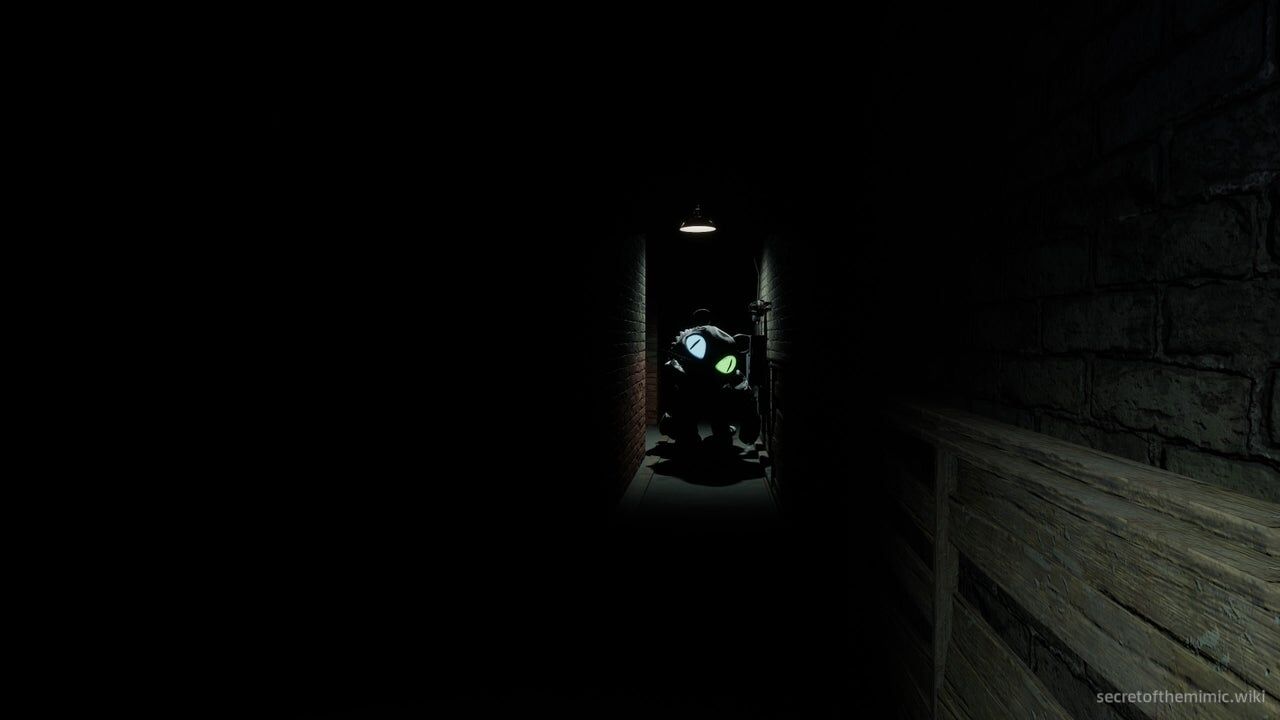
Tiger Rock will likely try to block one of the passages to the centre, filling the entire corridor with his big ol' head, but luckily, there are several routes to the middle, so pick a new path and follow that one instead. Be careful once you reach the centre. Tiger Rock can very easily send you packing here, as this is a large area with plenty of teleporting spots to jump to. Be patient, dip between lights while making sure to not run into him, and make your way to the toy at the back of the room.
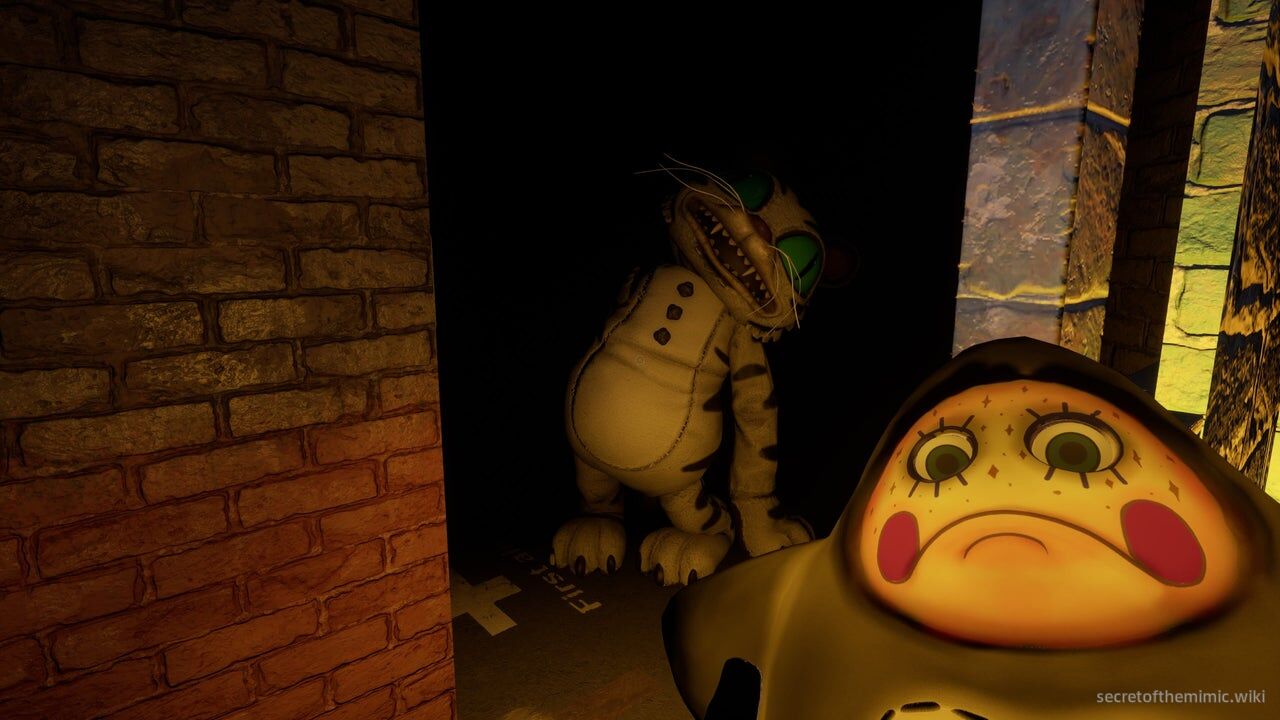
Now you have the toy, we are invulnerable to Tiger Rock's ability to insta-kill us in the dark. He'll only be able to grab us if we walk into him for the remainder of this room. However, the trade-off is that there are no other lights in the area, and we have to escape through a maze of corridors. This can be tricky, as it's all tight corners, and we have a teleporting tiger after us that loves to set up ambushes.
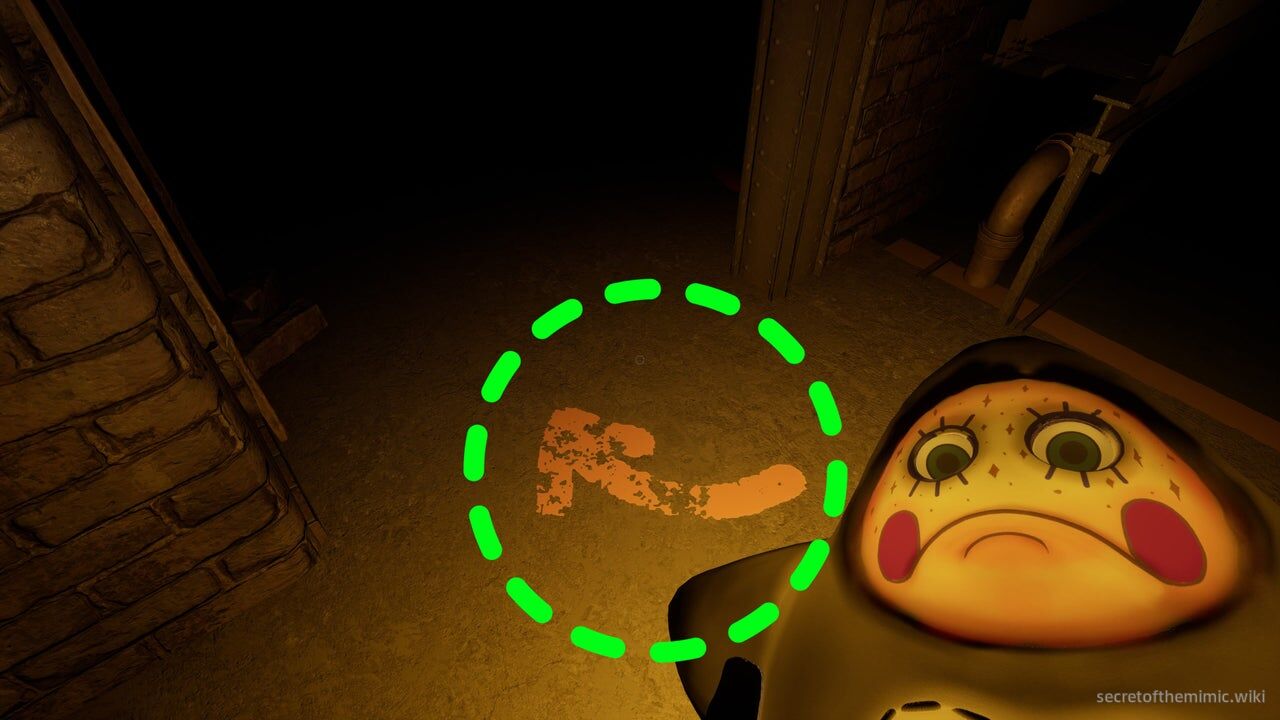
To help guide us, look down at the floor to the left of the podium with the toy. You'll see yellow arrows on the floor. I've circled one in the image above. We'll need to follow the yellow arrows to escape, so very slowly start following them. Inch your way through the tight passages ahead, making sure to stop every so often to let Tiger Rock teleport before continuing.
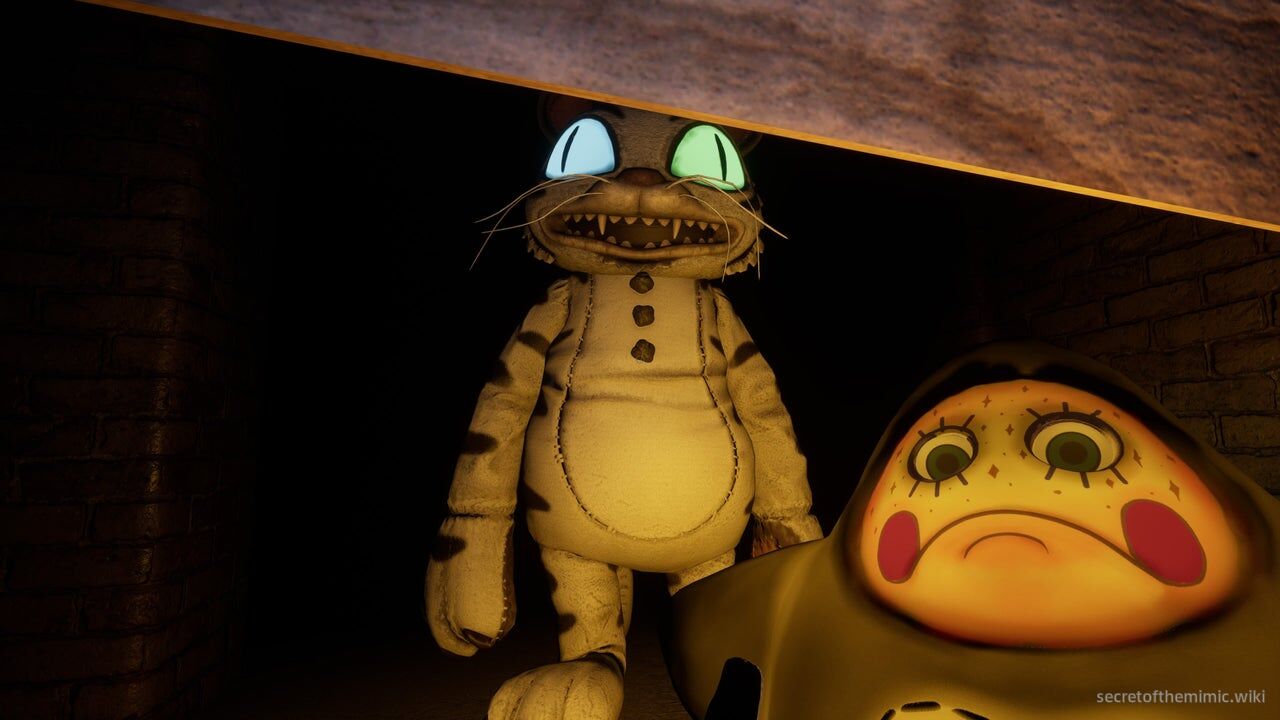
While following the yellow arrows, remember that, with the light-up toy in our hands, Tiger Rock can no longer push the pace of the fight as darkness is now our ally, so you're free to stop, think, plan, and adjust before continuing. If he's in your way, you can retreat a short distance, then return, and he'll likely have teleported somewhere new.
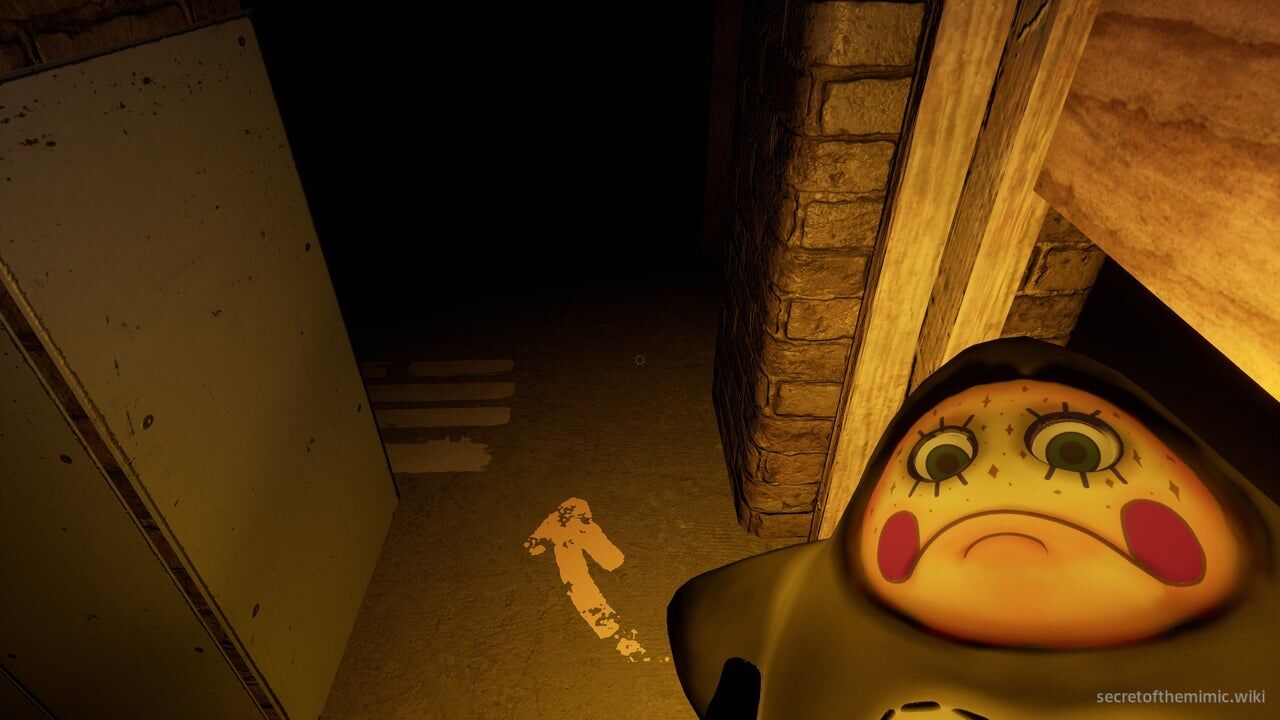
Keep following the arrows, and eventually, you'll reach a second podium to slot the second light-up toy into. Shove it into the podium to open the door to the third room.
Final Lever Room
This third room essentially acts as a supercharged version of the first room. As with before, there are lights flickering on in various places, and we need to move between them until we find a lever and reveal another light-up toy.
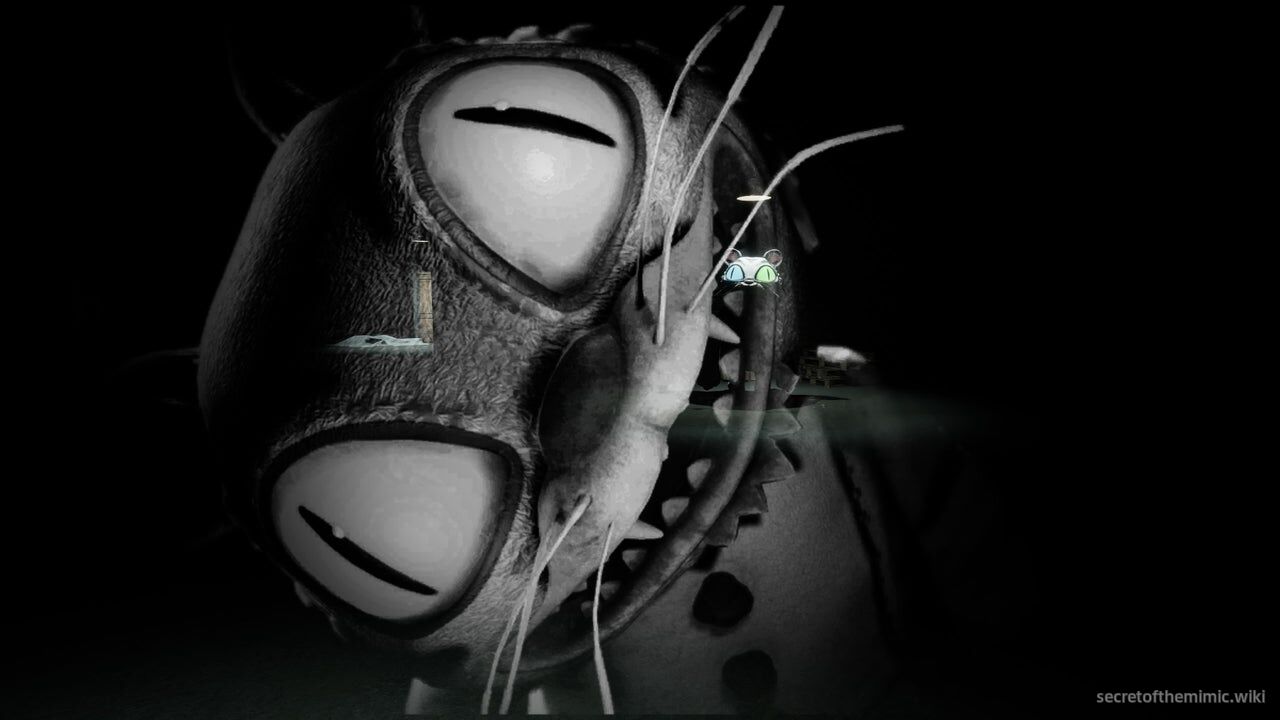
However, the gaps between the lights are much larger, and Tiger Rock is significantly more aggressive as a result. The best way to combat that is to move as soon as you see or hear him teleport. Tiger Rock can grab you in the dark very quickly, but he has to enter teleport mode to begin the countdown to grab you while you're out of the light. Use the time right after he exits teleport mode to begin your sprint and get longer in the darkness.
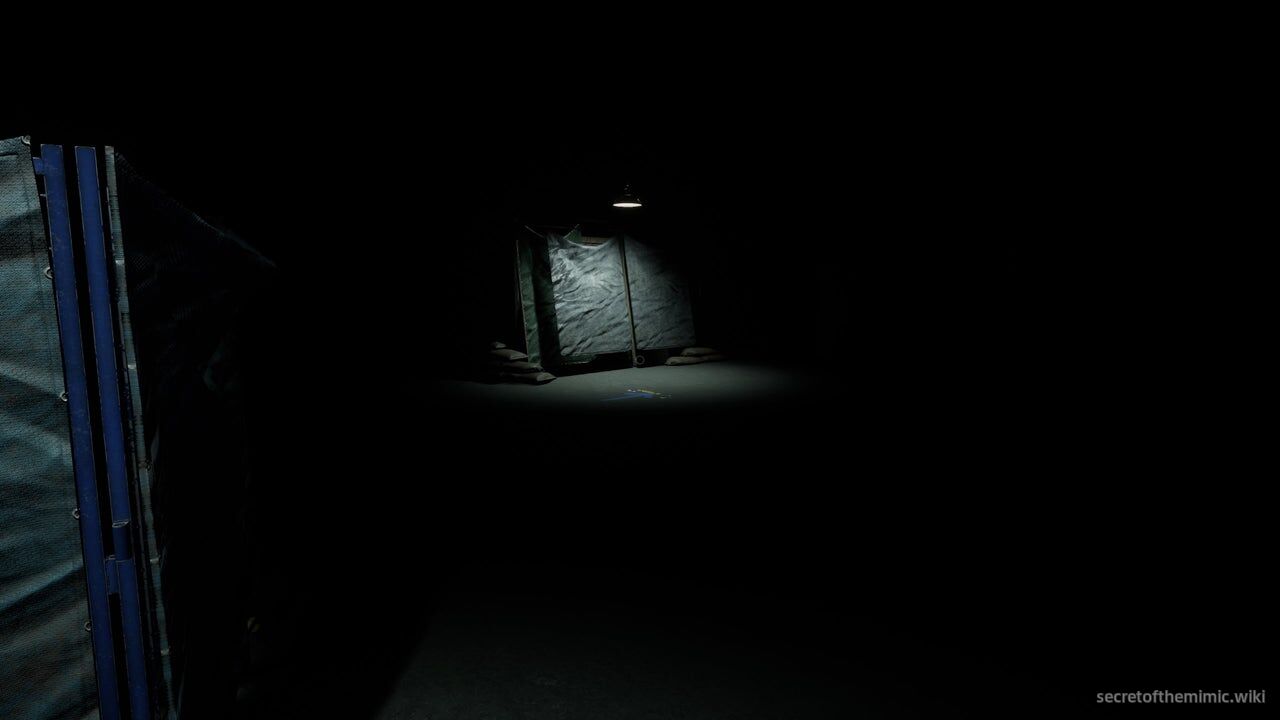
It may take a few runs to get into the motion of waiting for his teleport, running to the next light and then rinsing and repeating, but you have a checkpoint and the room is probably the shortest yet, so be patient and wait for the timing to click.
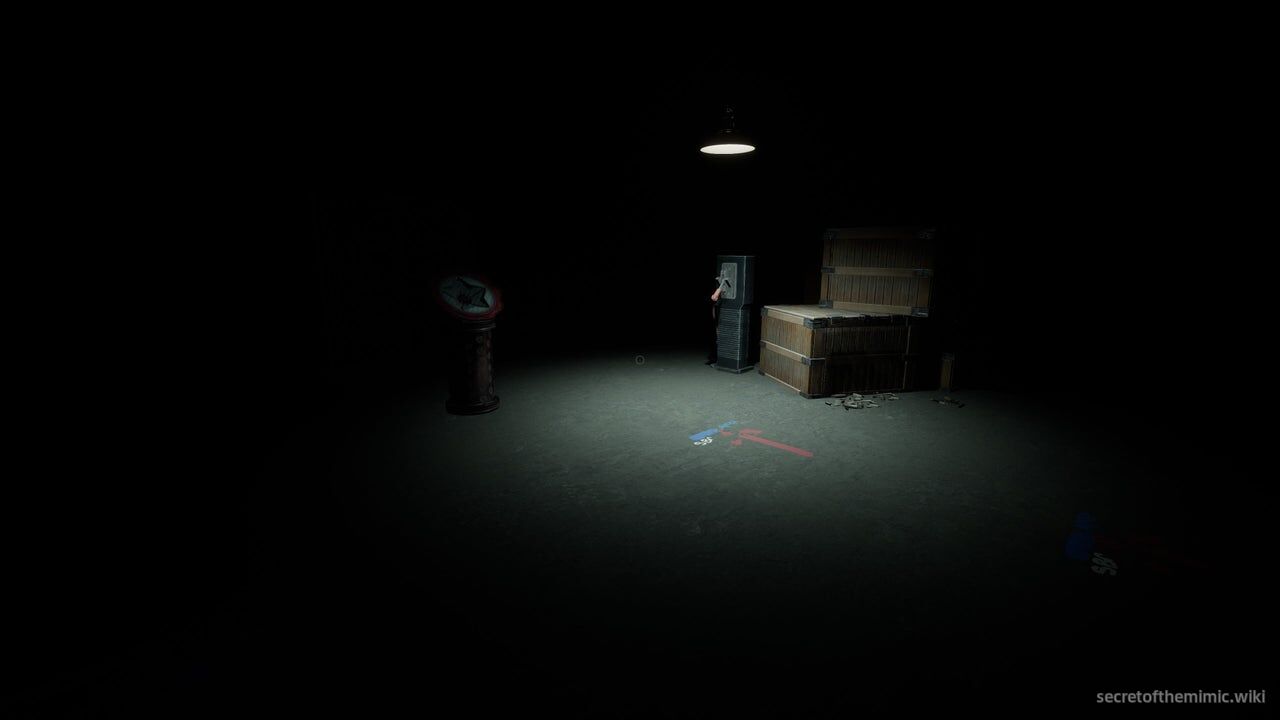
Eventually, you'll find the lever you need to activate to open the hatch leading to the next light-up toy. When you find and turn it on, use the light sources to reach the toy, pick it up and then we'll be ready to traverse our final room.
Final Maze Room
As we enter the fourth and final room, we'll realise we're in a second maze, once again holding a light-up toy that prevents Tiger Rock from using the dark to insta-kill us. This time, though, the passages are significantly tighter and offer much less wiggle room.
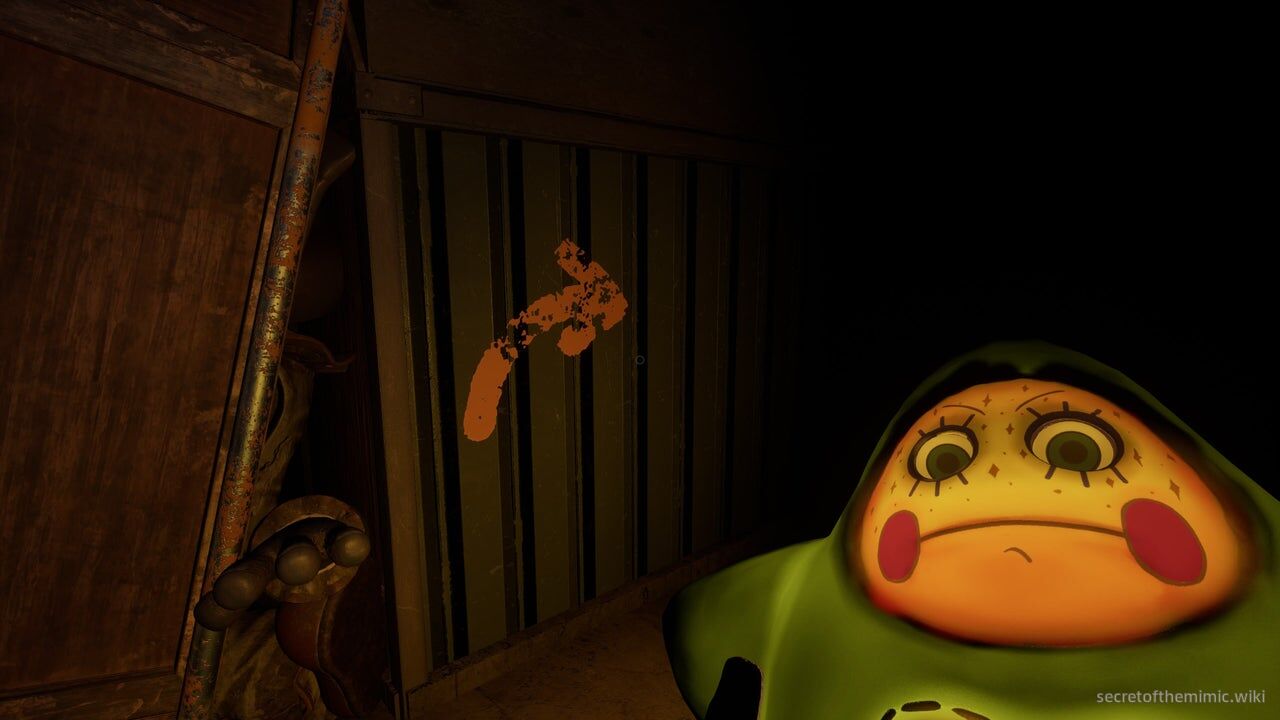
As you push ahead, you'll find yourself squeezing through claustrophobic passages as Tiger Rock uses his teleport to fully block them and prevent your progress. Much like last time, you'll want to inch forward slowly, following the yellow arrows on the walls.
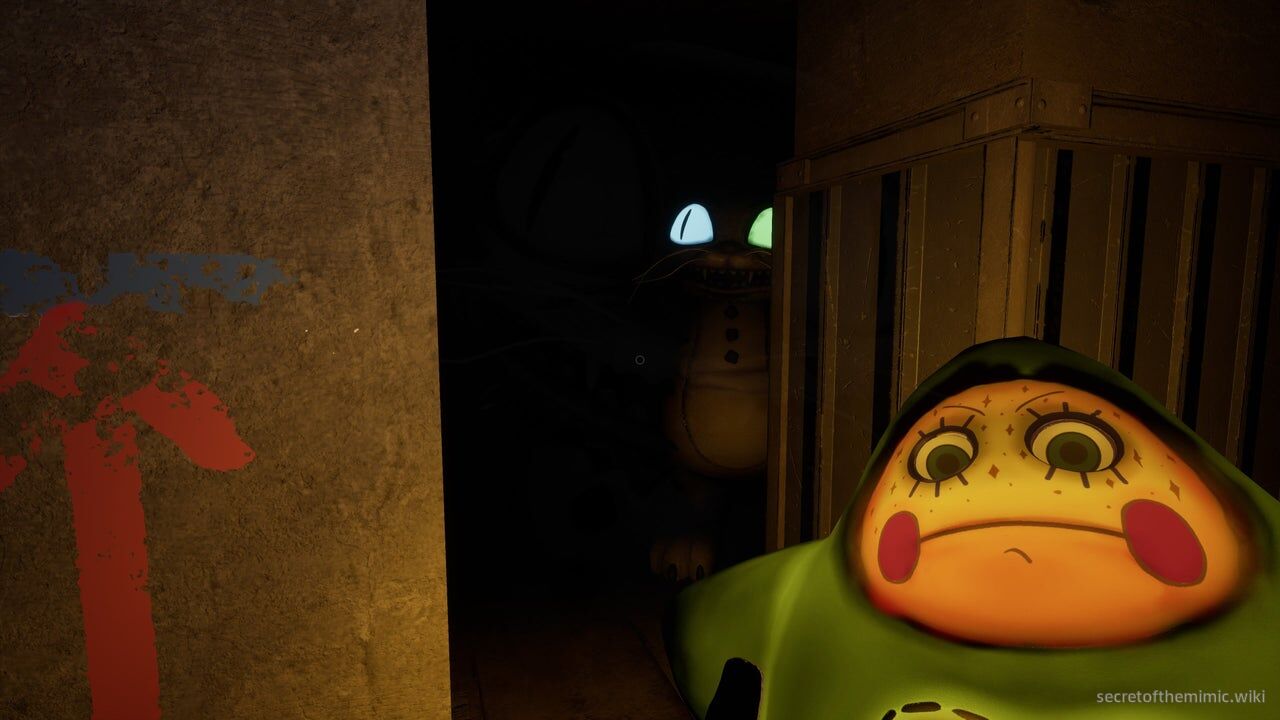
If Tiger Rock gets in your way, retreat back, wait for him to teleport, then return to the path he was blocking and continue forward. Eventually, you'll be able to crawl out of the maze and into the large passage we were just crossing using the flickering lights.
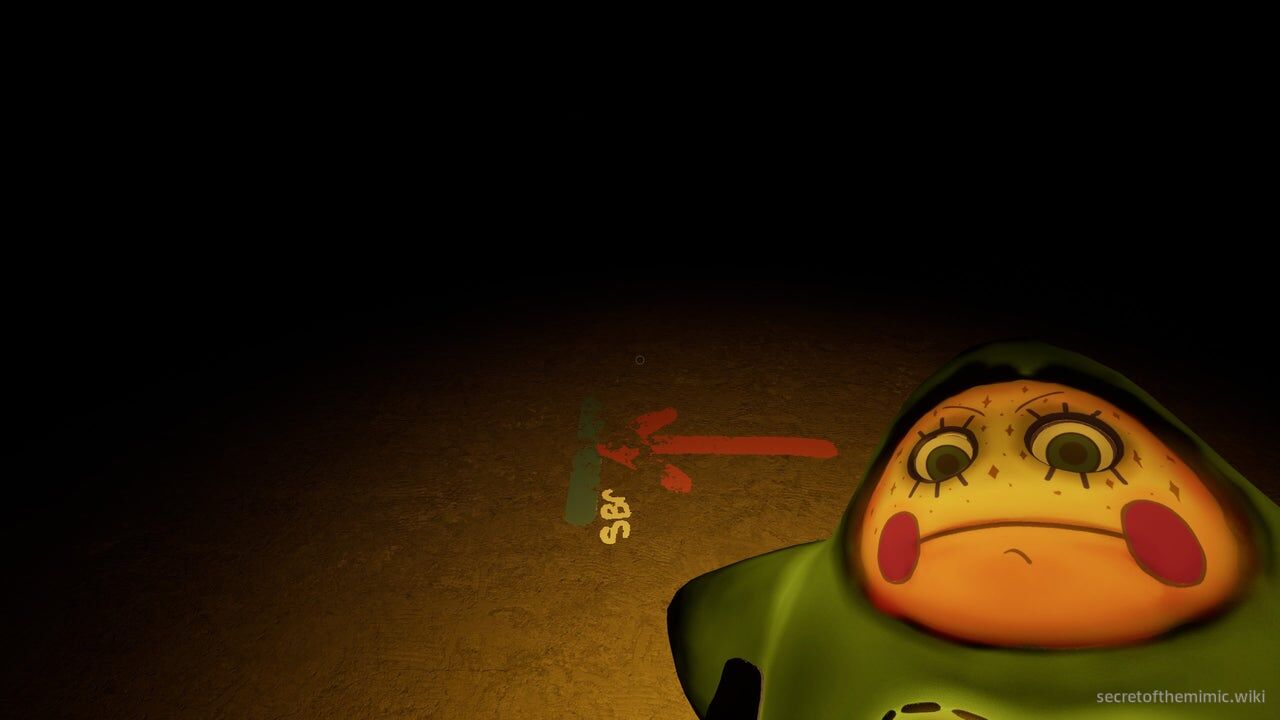
Switch to using the red arrows on the floor from here, but be extra cautious. There are no walls surrounding us here, and that makes Tiger Rock even more of a risk. He can and will try to cut you off as you walk forward, spawning in front of your face, to your side, and pretty much anywhere that he can catch you off guard.
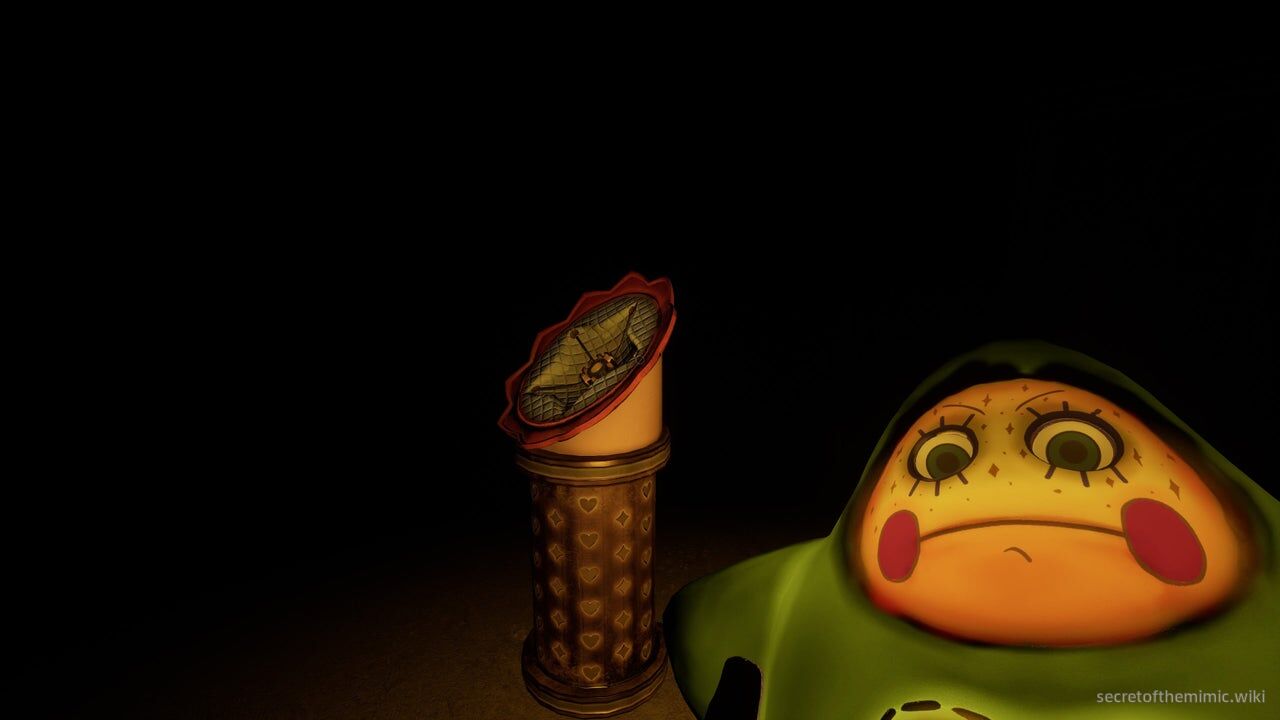
Move slowly and evade him until you reach the final podium. Slot the light-up toy into it and, congrats, the doors ahead will open, leading you back into the safety of glorious, glorious light. Honestly, after all that, I'd go upstairs and grab a drink with the Mimic now. He really doesn't seem like that bad a dude...
We're In The Endgame Now
When you've shaken off your stressful encounter, head upstairs and follow the path to an elevator. Step inside, and it'll take you all the way up to a corridor leading back to the Security Office. As you get closer to the office, you'll hear the Dispatcher's voice congratulate you on a job well done. You found the Mimic blueprints, and you're good to get yourself home (and earn that sweet, sweet coupon he mentioned earlier).
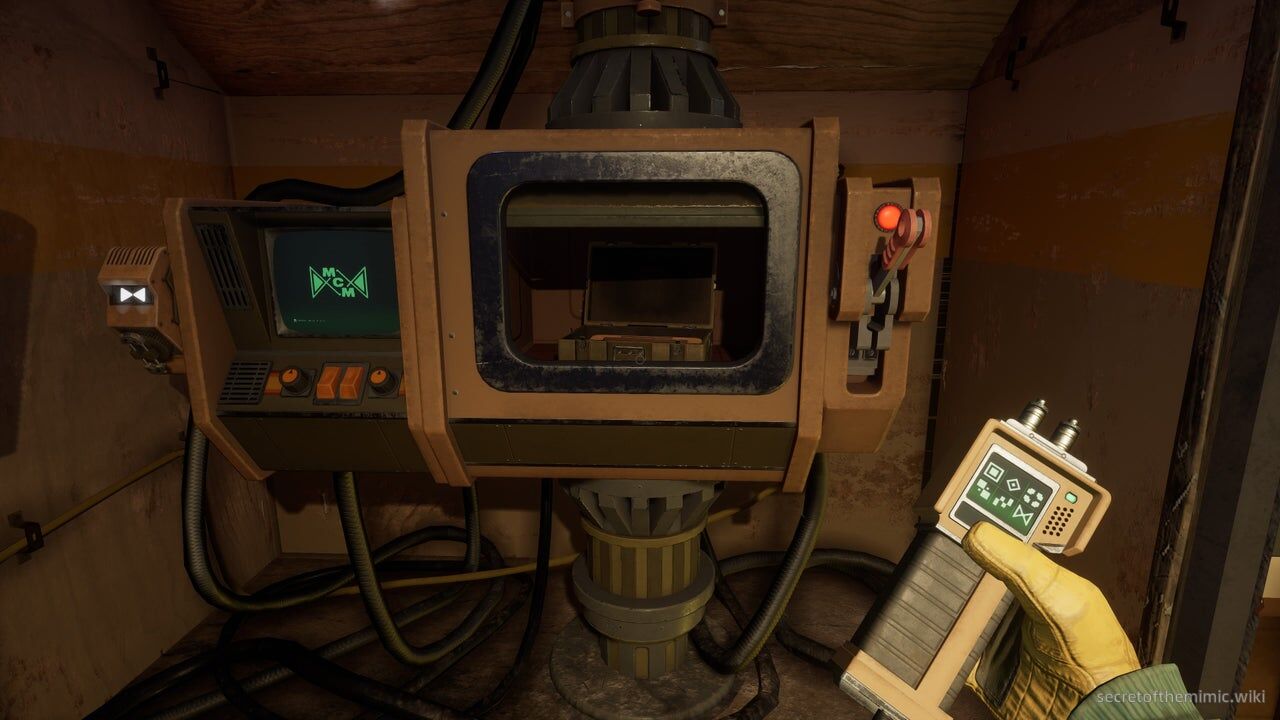
However, this is actually a major fork in the road that will dictate what ending we receive. So don't do anything just yet. Instead, head over to our Endings hub for a breakdown of the game's endgame content and how to achieve each of its three finales.