

Collect three missing generator tiles while avoiding Party Chica, solve the Loading Bay float path, cross Admin using lockers, earn Executive clearance, then open Edwin's surveillance room and take the Mimic blueprints.
With Arnold's detour through the Doll Hospital complete, we're ready to continue our adventure and get back to hunting for the Mimic blueprints. This FNAF walkthrough provides you with all the tips and tricks you need to push onto the next step of your adventure, including evading the Mimic, completing puzzles, and finding every key item you need to progress.
Now we're free from Dollie's clutches, this next segment will take us to the Admin Wing, where we'll face off against a familiar foe and close in on the final stretch of our journey. If you're looking for a specific segment of this chapter, use the links below to skip through each major section:
The Admin Wing
At the end of the previous chapter, we finished Dollie off once and for all, squishing her in the elevator shaft. Once you've taken a minute to catch your breath after Dollie's frequent resurrections, crawl out of the elevator.
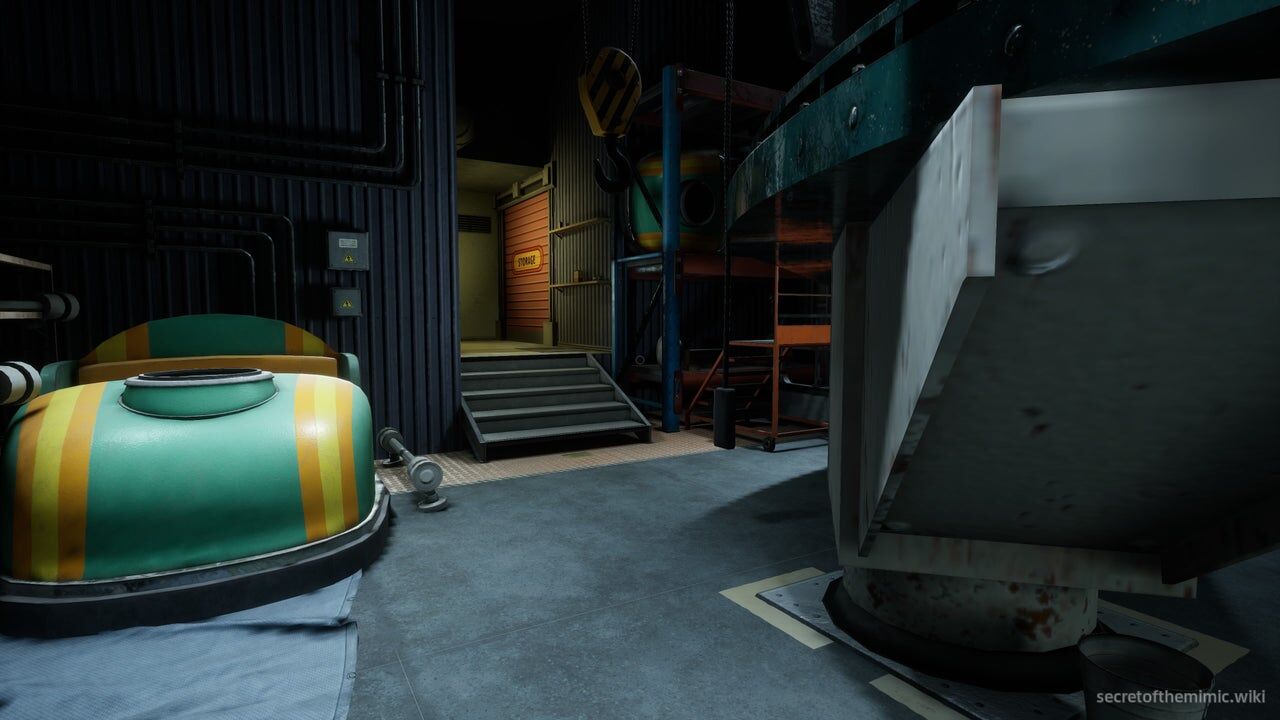
When you drop out, you'll be in a warehouse full of bumper cars. Take a left and follow the path until you see a red shutter labelled "storage." Pass through to find a staircase blocked by a cover, preventing you from reaching the top. You'll hear some more ghostly echoes here, but don't worry. You aren't in any danger.
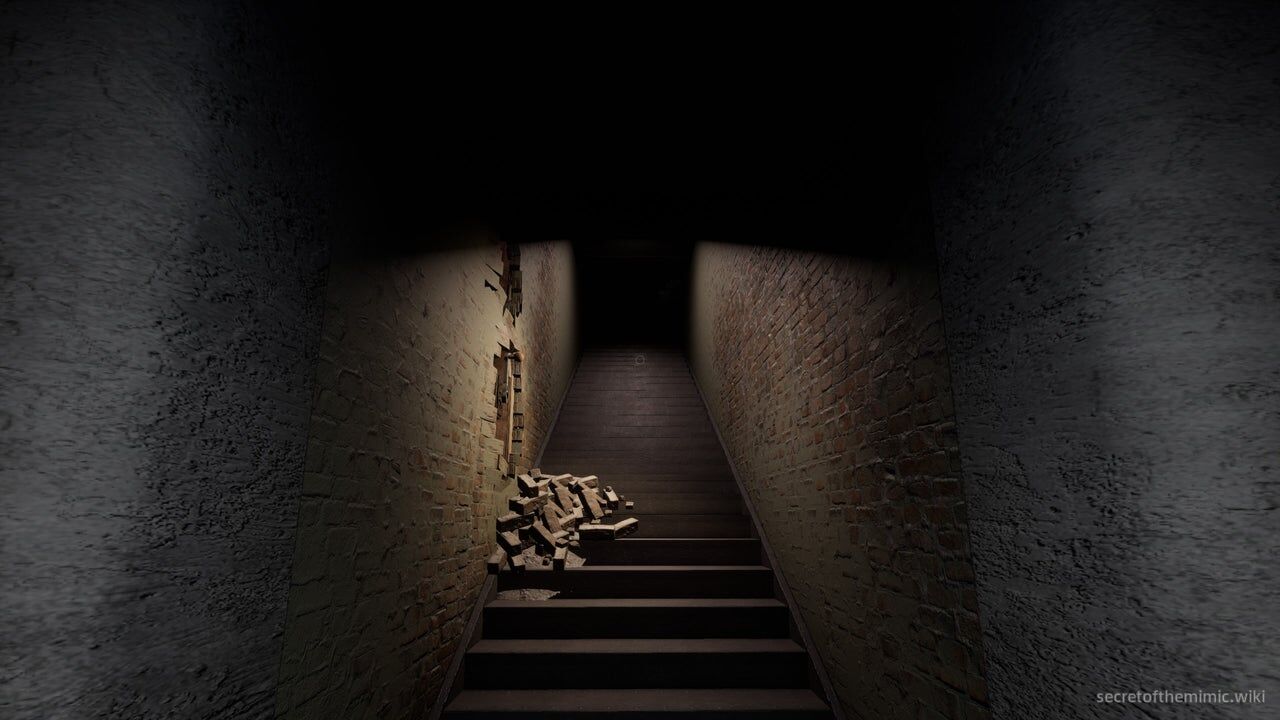
Proceed up the stairs and use the crank on the wall to move the cover blocking the top of the staircase, opening a path that leads up to the Security Office. As expected, you'll hear the Dispatcher's charismatic tones eminating from the office, so head inside and press the receiver.
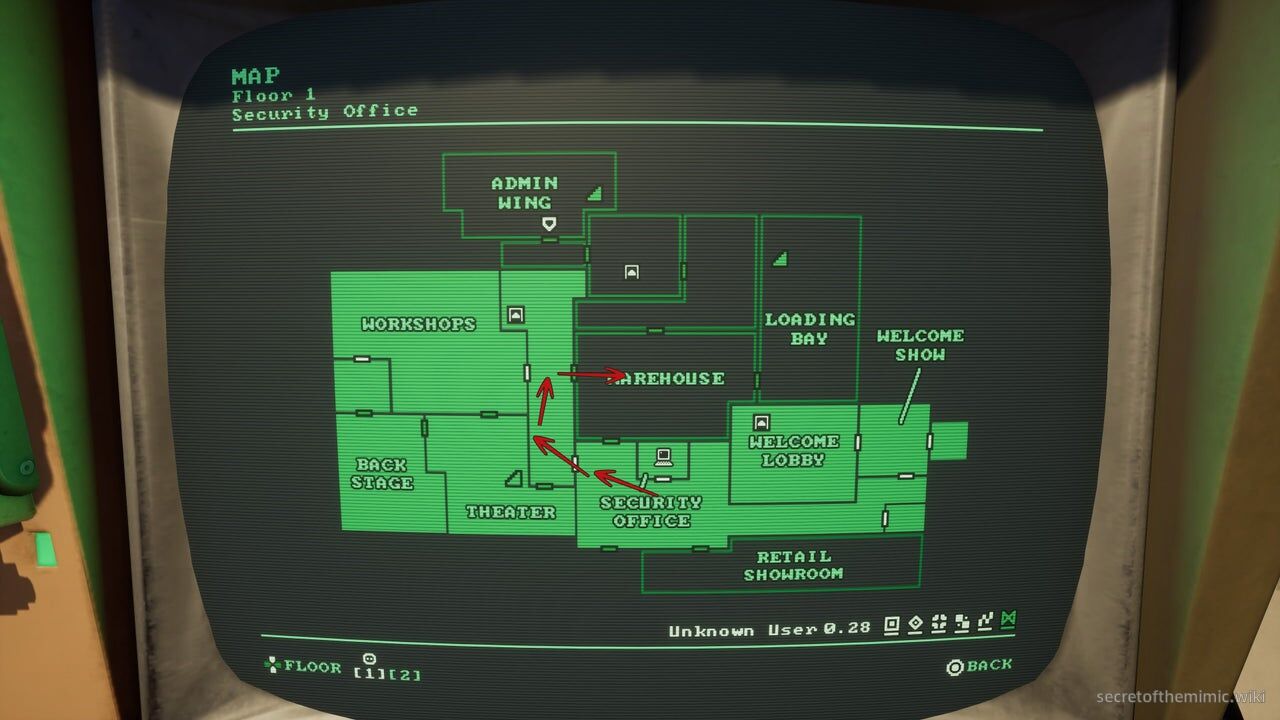
The Dispatcher will tell us that our next objective is to head for the Admin Wing, which we can reach via the Warehouse. There, we'll finally get our hands on the Mimic blueprints and can blow this joint once and for all. I'll show the path to the Warehouse on the map above.
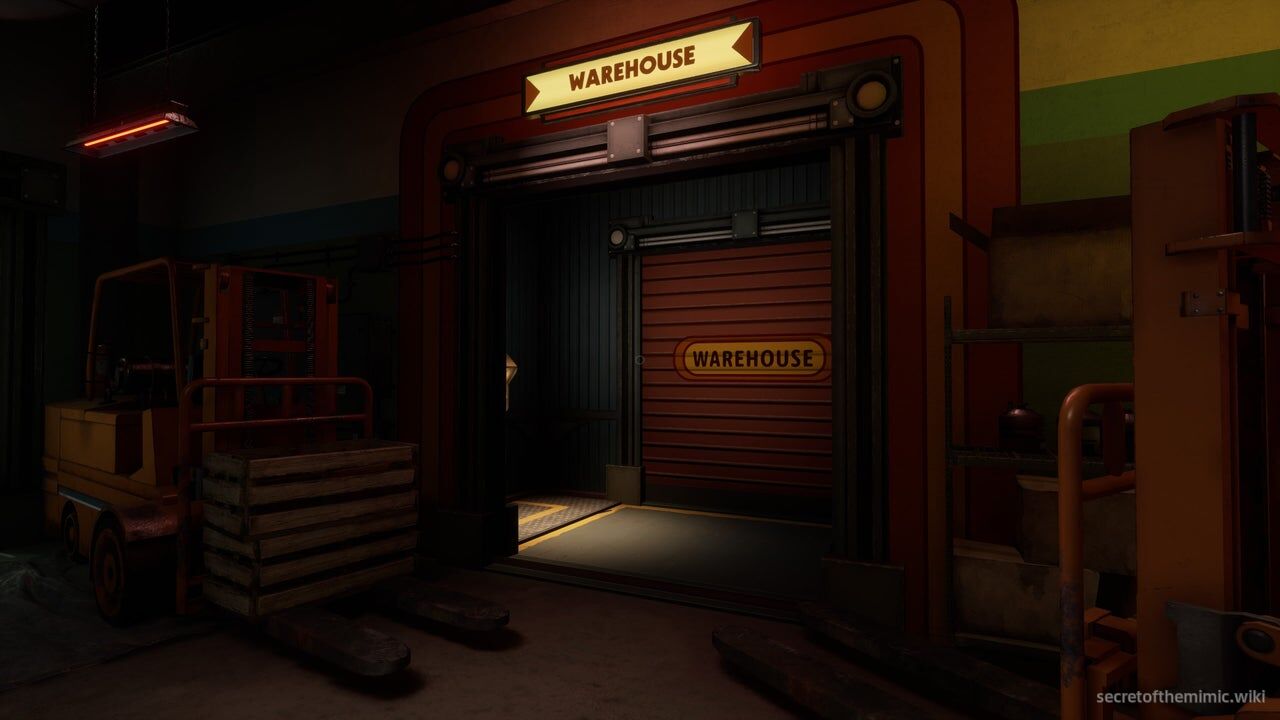
When you're ready to move on, exit the Security Office and follow the path shown on the map, taking a right and heading into the Main Hallway. Once you're inside, make your way to the centre of the Main Hallway and, on the opposite side of the corridor to the Workshops, you'll see the entrance to the Warehouse. Use your Data Diver to crack the shutter open and head inside.
Party Chica Warehouse Boss Encounter
Once you're through the shutter, you'll find yourself inside the room we've been gazing at through the window of the Security Office all game.
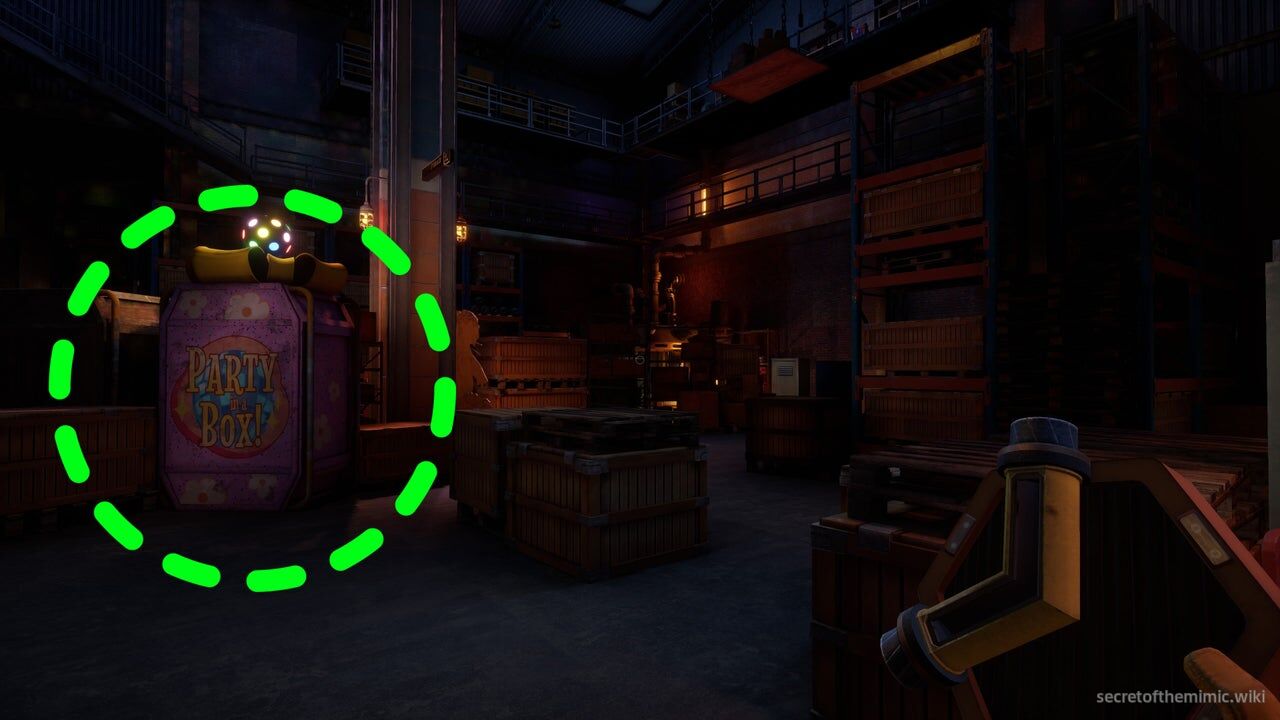
If you need the inventory machine or the terminal, you can find them by crawling beneath the shelf to your left when entering. Otherwise, take a look at the pink "Party in a Box" prop down the path ahead. It's circled in the image above. Don't approach this box just yet. We'll cue the beginning of the boss battle in this room once we go near it, but there's something we can grab to kick off this encounter with an advantage.
Getting The First Power Tile Piece
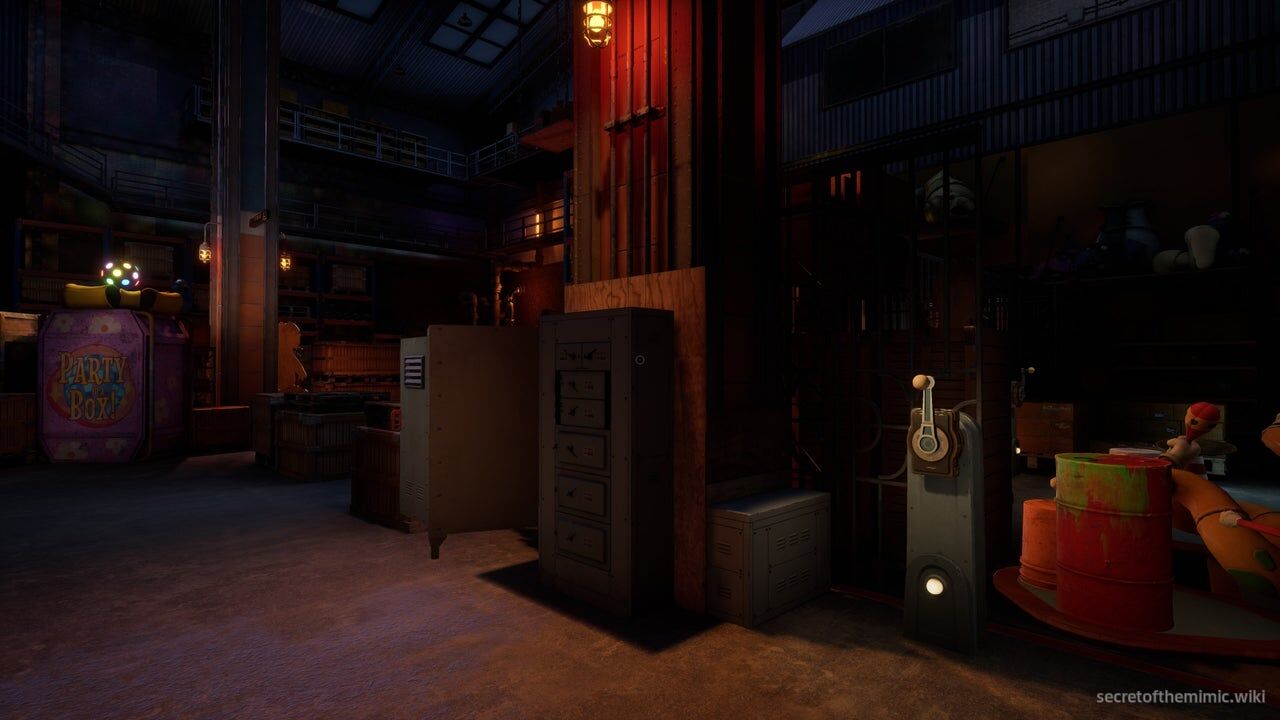
Look at the crank between the pillar and the Rocktopus statue on your right. Turn this crank to cause the Rocktopus animatronic beside you to move. If you walk past it, you'll spot a tile for a power puzzle on a blue barrel illuminated by a flickering light. We'll explain what this does in just a second. For now, go ahead and grab it.
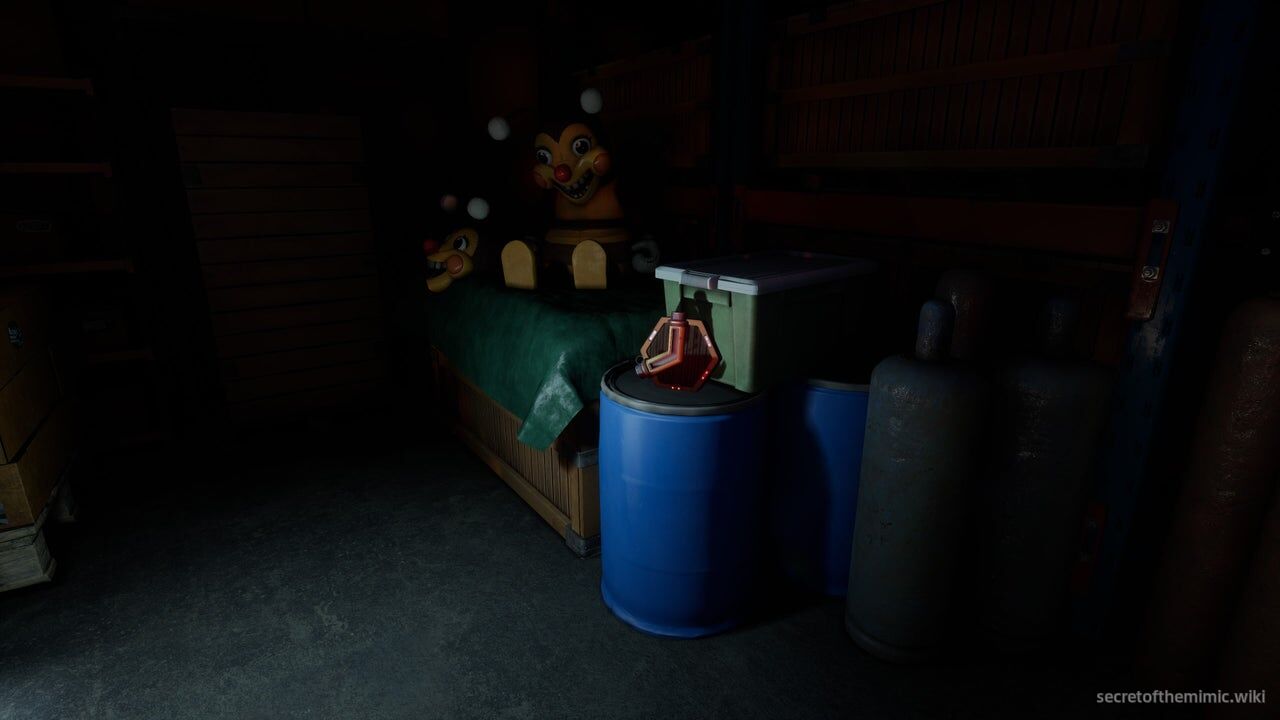
Once you have the piece of the tile puzzle, do a 180 and you'll see another crank. Turn it to open the gate next to the crank. Now, pass on through and head into the centre of the Warehouse.
Fixing the Generator
As you proceed into the vicinity of the pink box I pointed out earlier, it will burst open, revealing a rollerskating Party Chica. It's time for another of Secret of the Mimic's stalker puzzle sections, so let's cover how this one works.
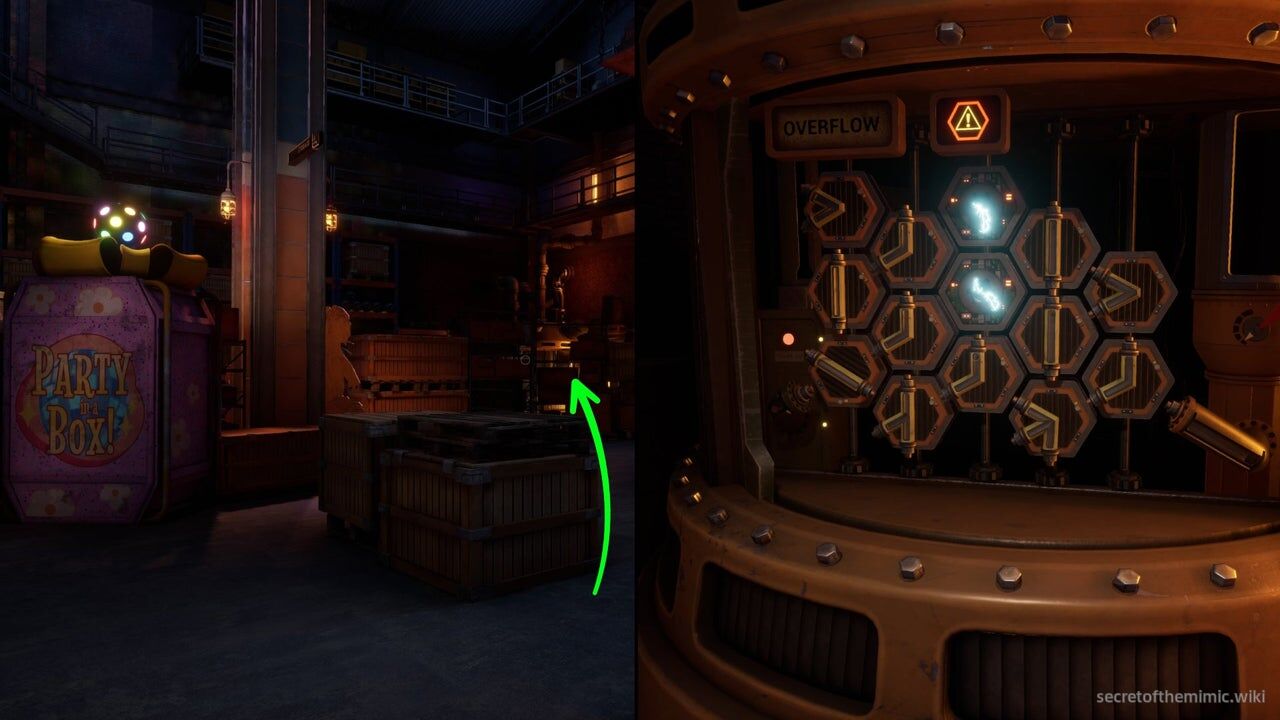
The ultimate goal of this section is to complete a power puzzle in the back right-hand corner of the room so we can unlock a gate leading to the Loading Bay. The gate is at the back of the room, on the opposite side of the Warehouse from where we entered. However, the puzzle is missing three separate tiles that need to be added to complete it.
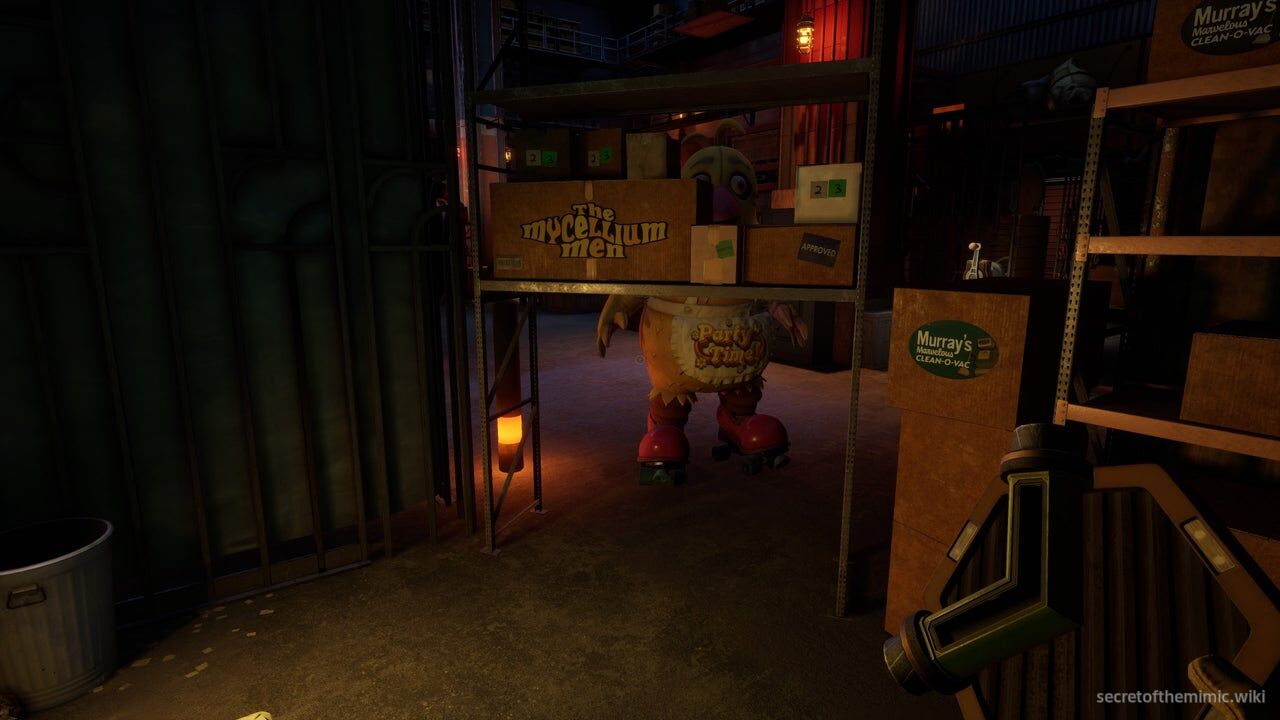
That means we need to source them out, all the while, Party Chica will zoom around the area on her sick skates. Unlike most other Mimic costumes, Chica is quick and can roam vast areas in a short amount of time. That means we need to be extra careful and use sound lures to keep her busy. A good technique for this section can be to manoeuvre between hiding spots, especially as there's a decent amount of nearby lockers to rush between. You can also take full advantage of the office area accessed by crawling beneath the shelves near the entrance to the Warehouse. This is the one safe spot where Chica can't touch you, so make sure to use it if you can't seem to shake her.
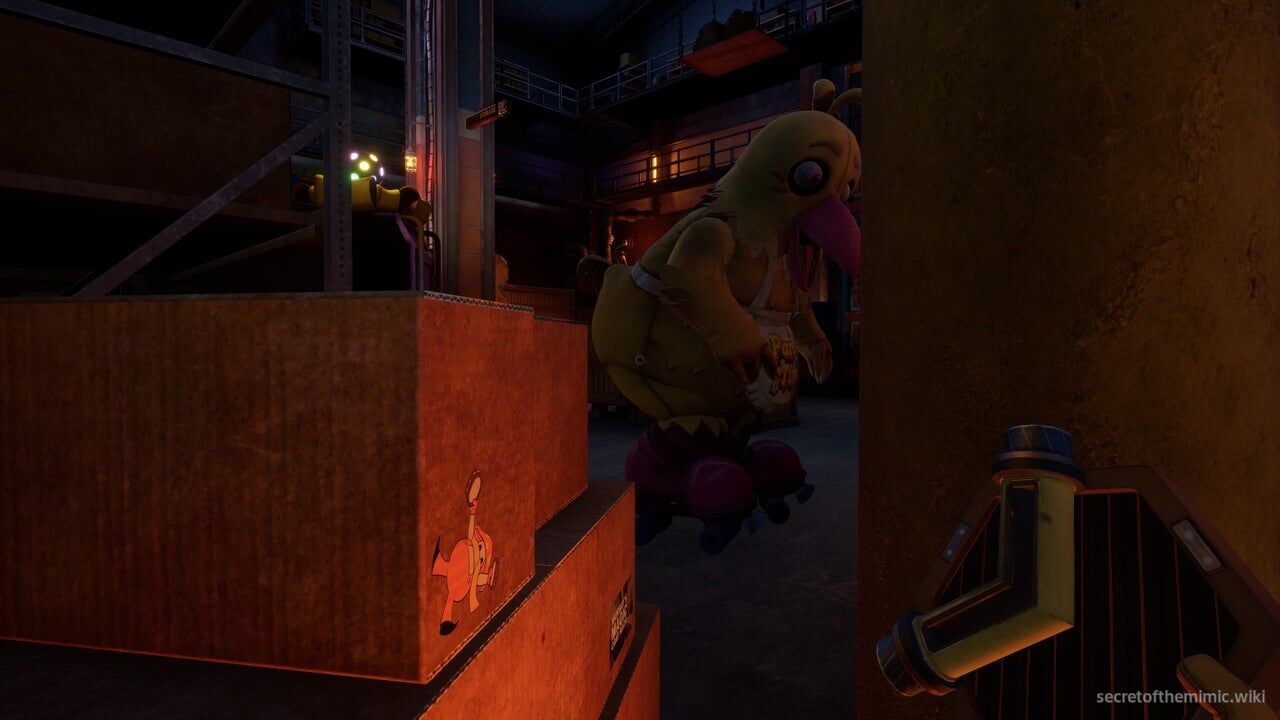
If Chica is getting close when you're out in the open, crouch down and use the crates and boxes dotted around the Warehouse floor for cover. That being said, sneaking here rather than walking can be somewhat detrimental, because if Chica rounds a corner and spots you while you're crouched waiting for her to go away, she'll snap you up in seconds. To combat this, try to stay upright whenever Chica is out of sight, increasing your speed so you can quickly move between objectives.
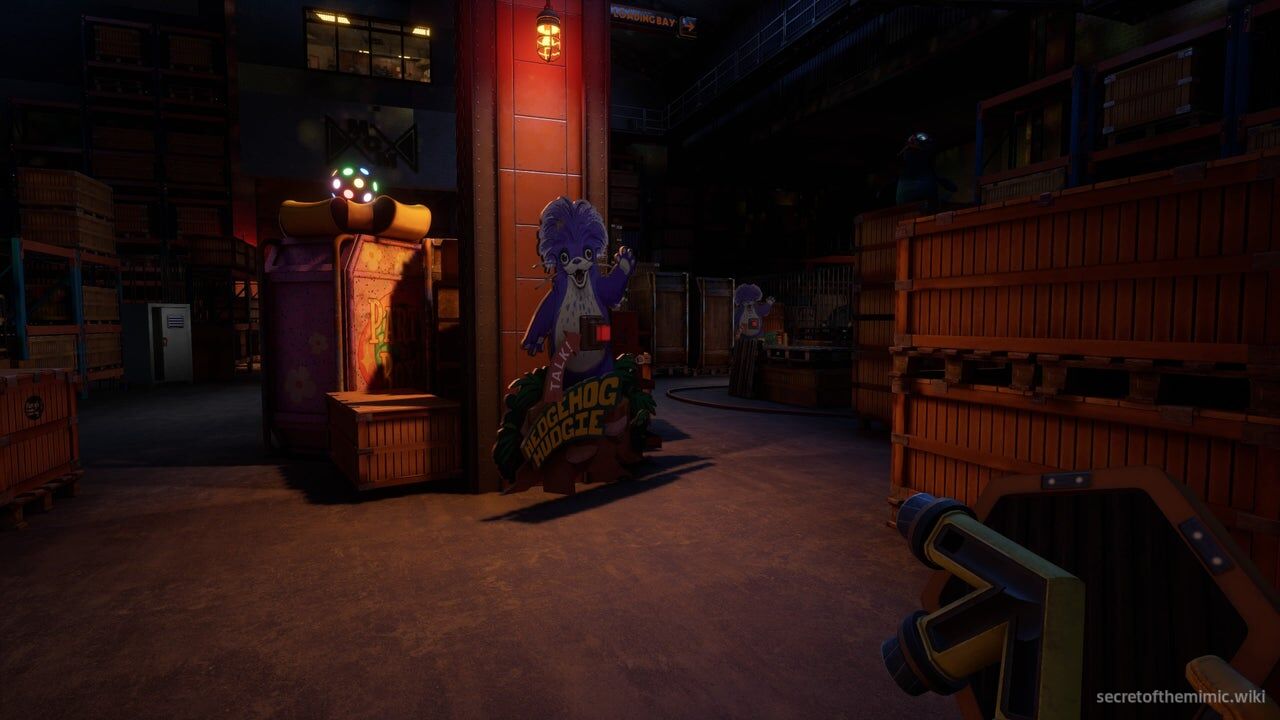
One method to ensure you don't have much contact with Chica is to use sound lures. Not only are there wind-up mice around the warehouse that can bail you out if she's closing in, but there are also Hedgehog Hudgie cardboard cutouts you can press to play songs. If you feel you can confidently circle around Chica while she investigates a sound lure, use the cutouts to bait her to one side of the warehouse, allowing you to freely explore the other and find tile pieces.
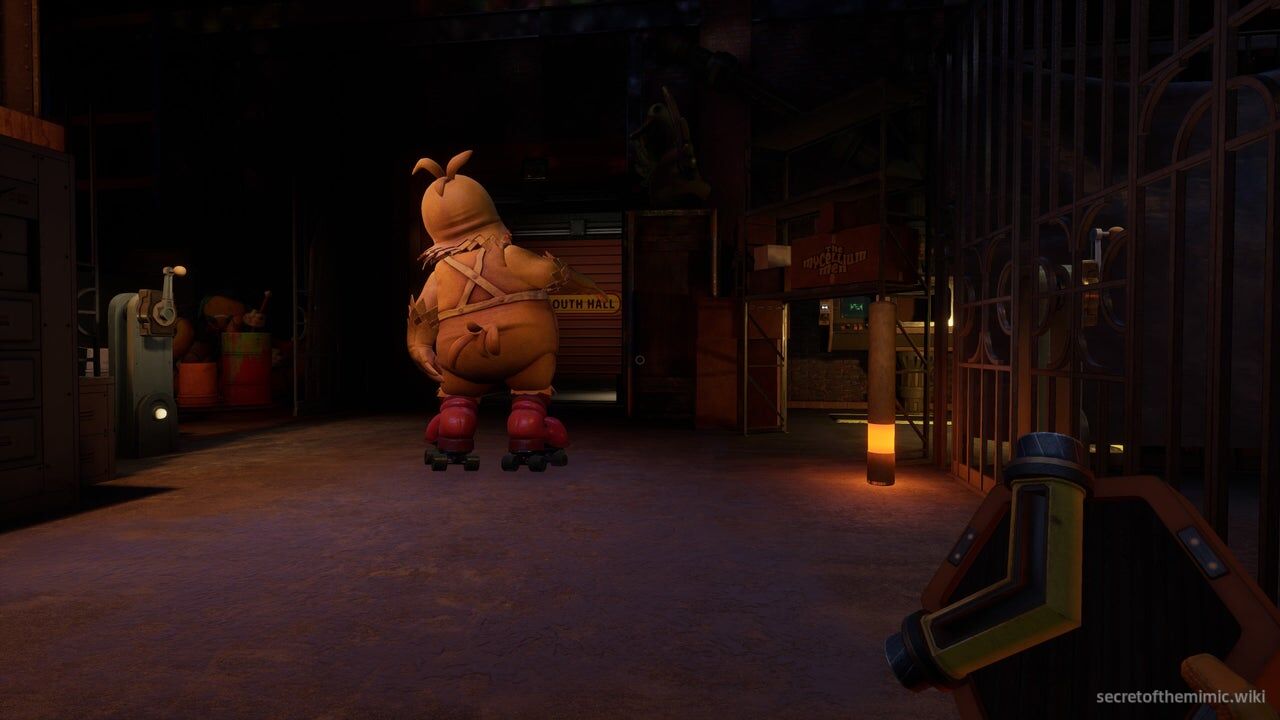
Finally, it's worth mentioning that each tile piece you slot into the generator triggers a checkpoint. In other words, once it's in the generator, you won't be forced to find it again if you die, so don't worry too much about experimenting with your routes to retrieve the tile pieces.
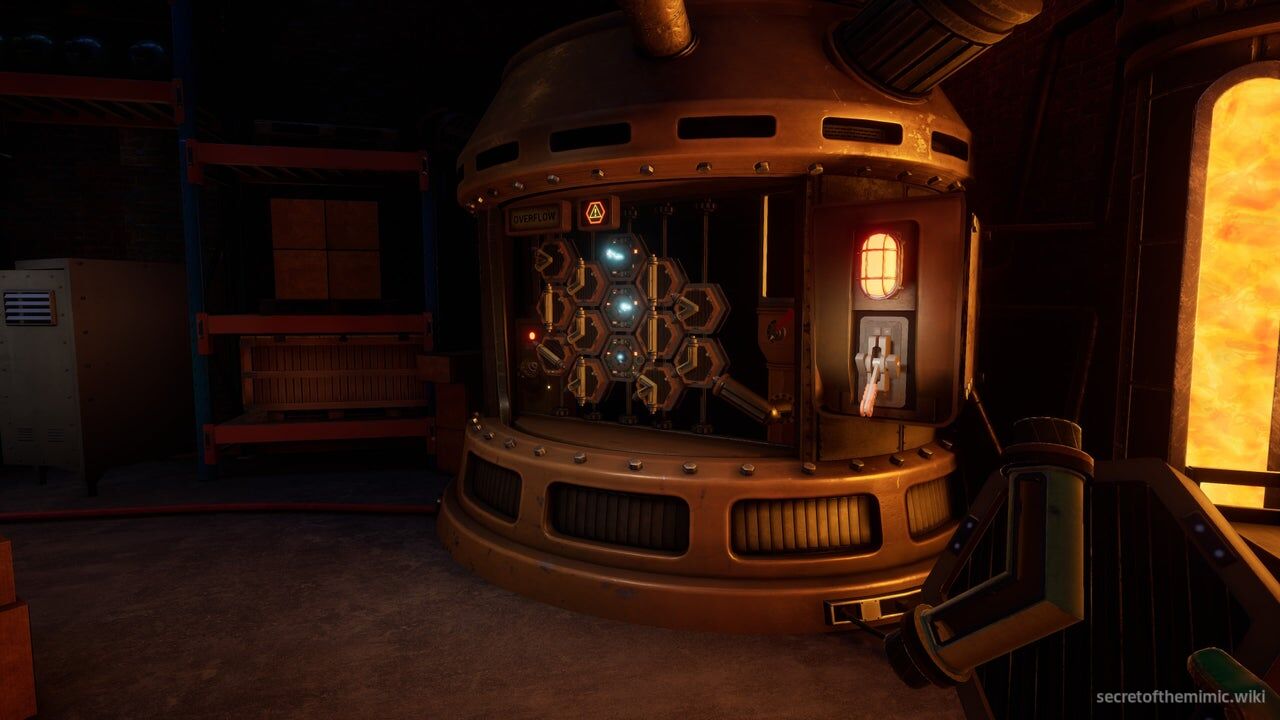
So, where can you find all the tile pieces for the puzzle? Well, if you grabbed the one behind Rocktopus when we first entered the Warehouse, you should already have your first piece, so head to the back right-hand corner and slot it into the generator.
Getting The Second Power Tile Piece
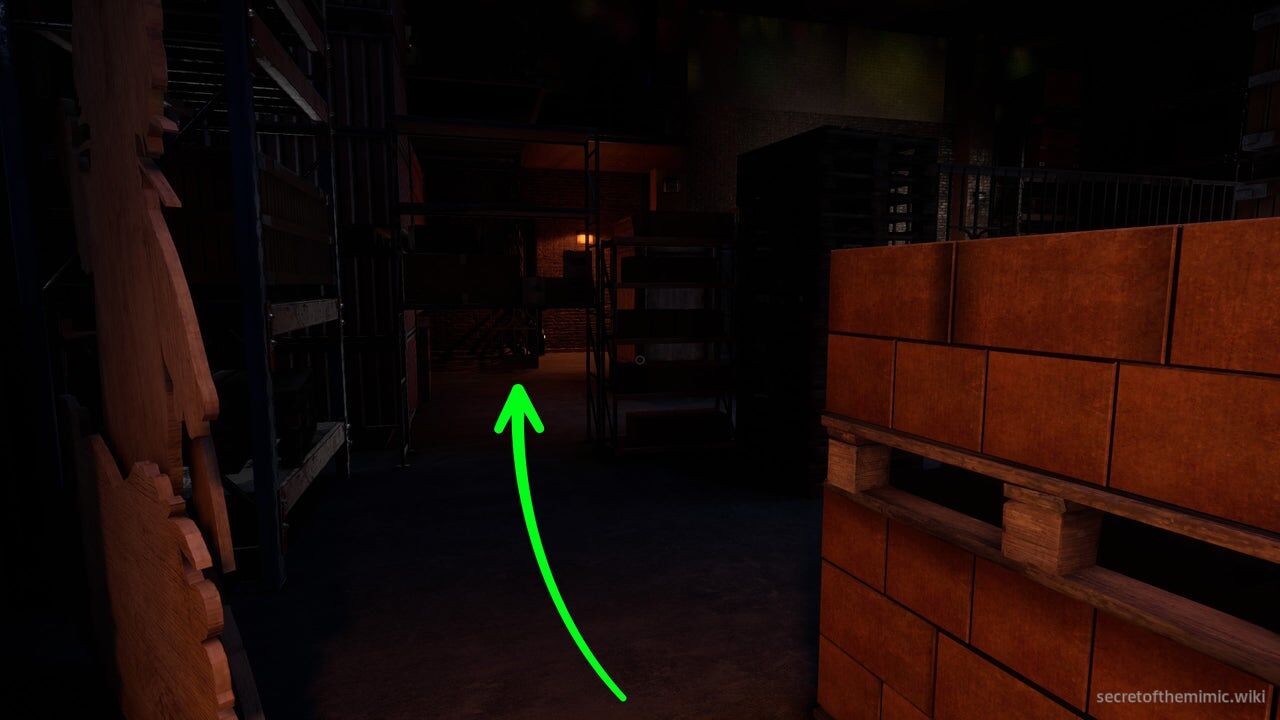
You'll find the second piece in the back left-hand corner of the warehouse. It's inside of an elevator, just to the left of the locked gate leading to the loading bay. After circling around some boxes and shelves, you'll spot the elevator, so approach it and use the crank on the right-hand side of it.
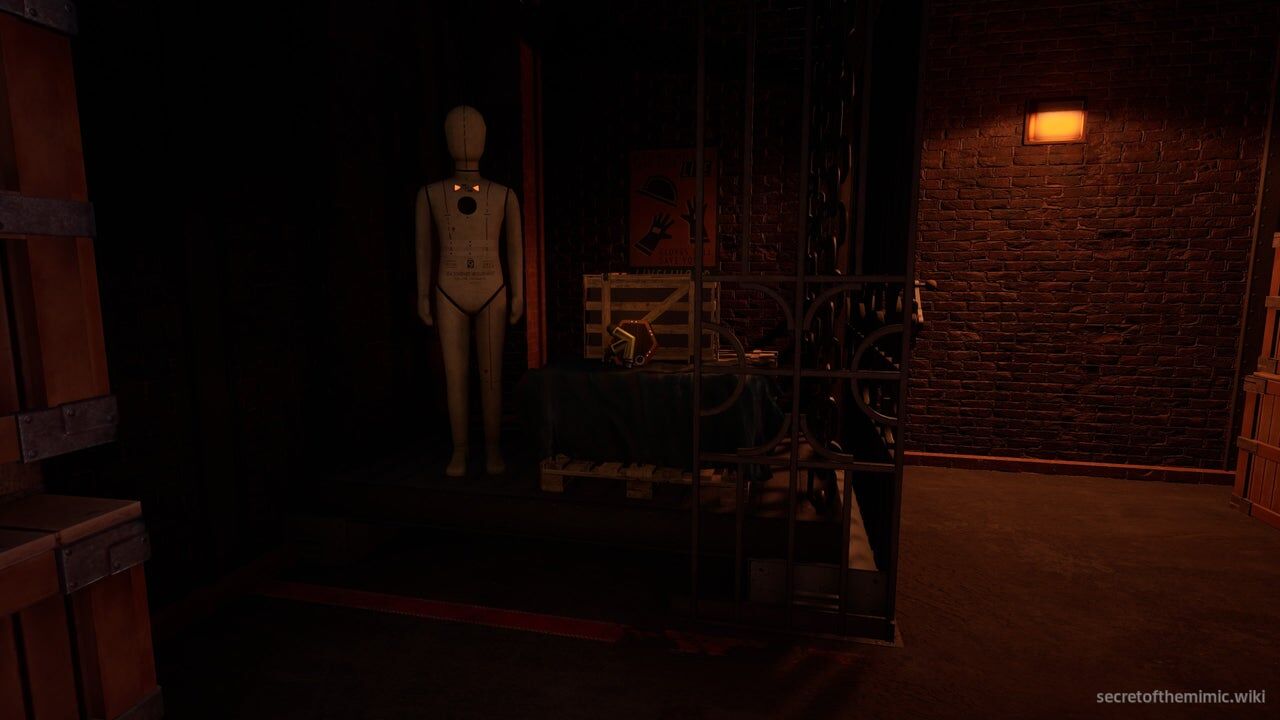
Turning the crank will lower some pallets and crates in the elevator shaft, with the second tile piece leaning against them. Grab it, return to the generator and slot it in.
Getting The Third Power Tile Piece
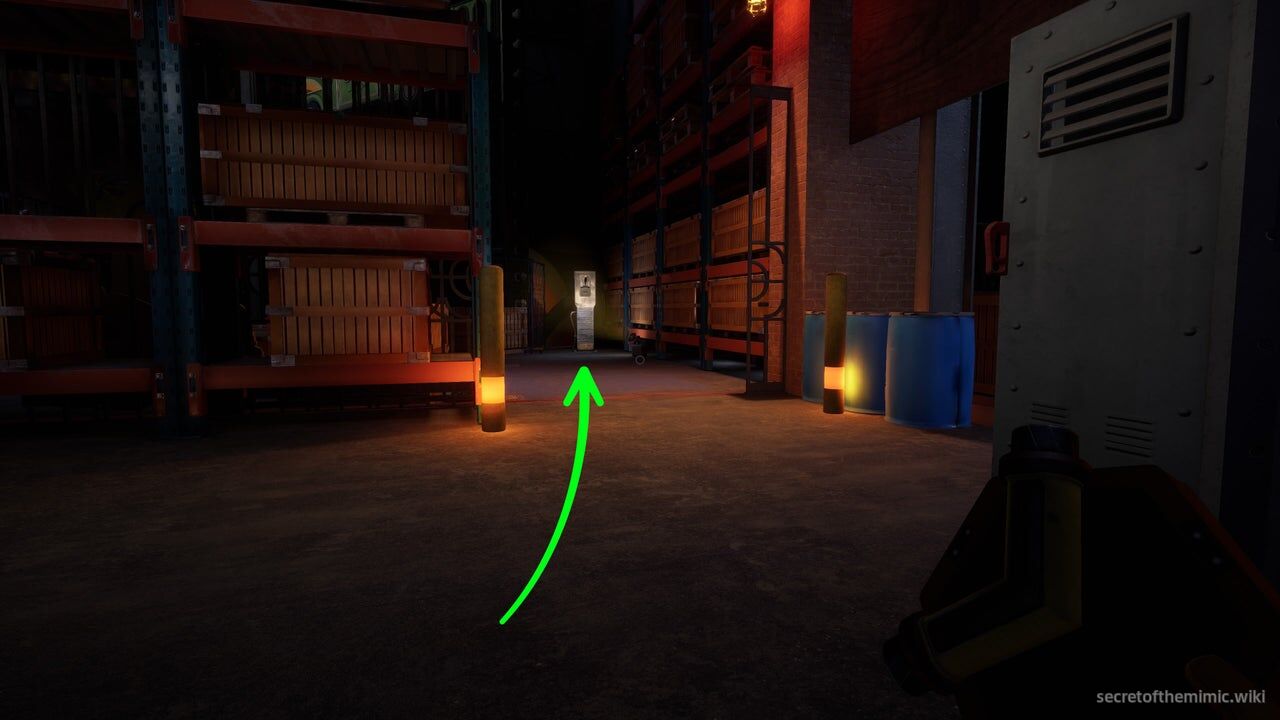
The third tile piece can be found behind the gate directly to your left when entering the Warehouse, however, the gate is locked. To get inside, you'll need to circle around to an alternate entrance, which is between the shelves on the opposite side of the Warehouse from the elevator containing the second tile piece.
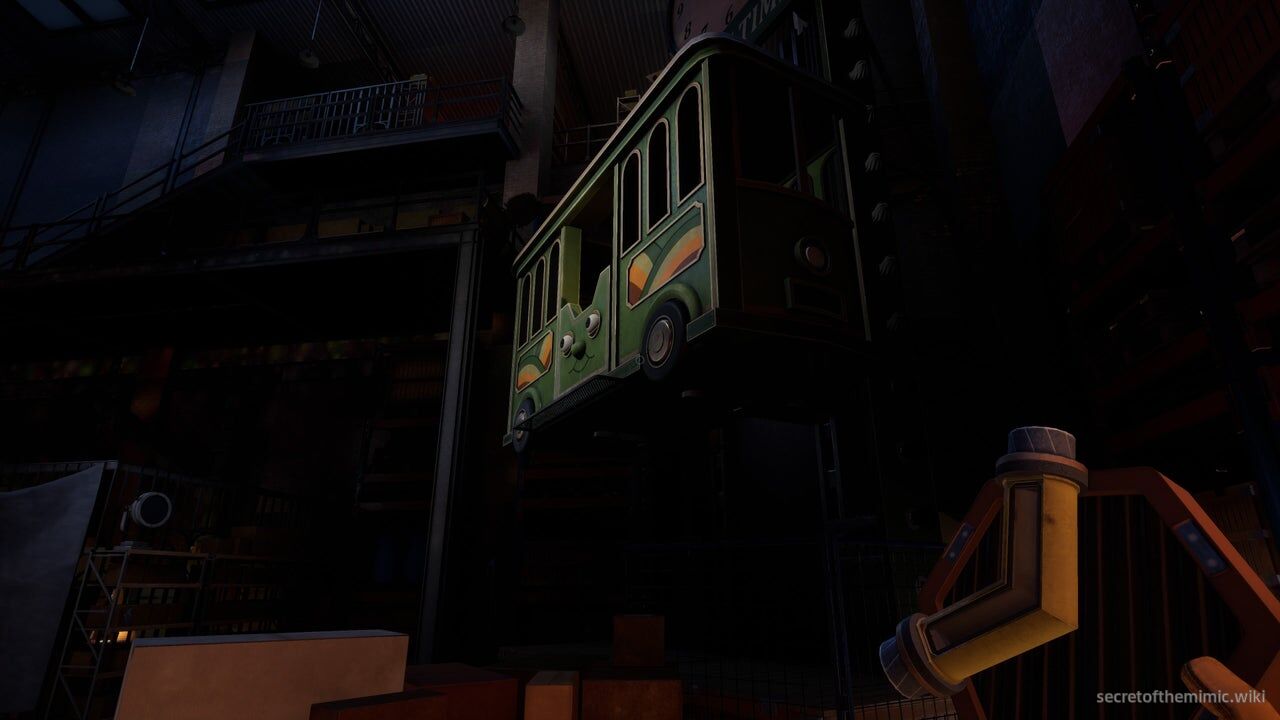
Once you're inside, you'll see a lever directly ahead of you. Pull it and you'll lower the giant bus directly to the left of the lever. When the bus reaches the ground, the side door will open, revealing the third and final tile piece.
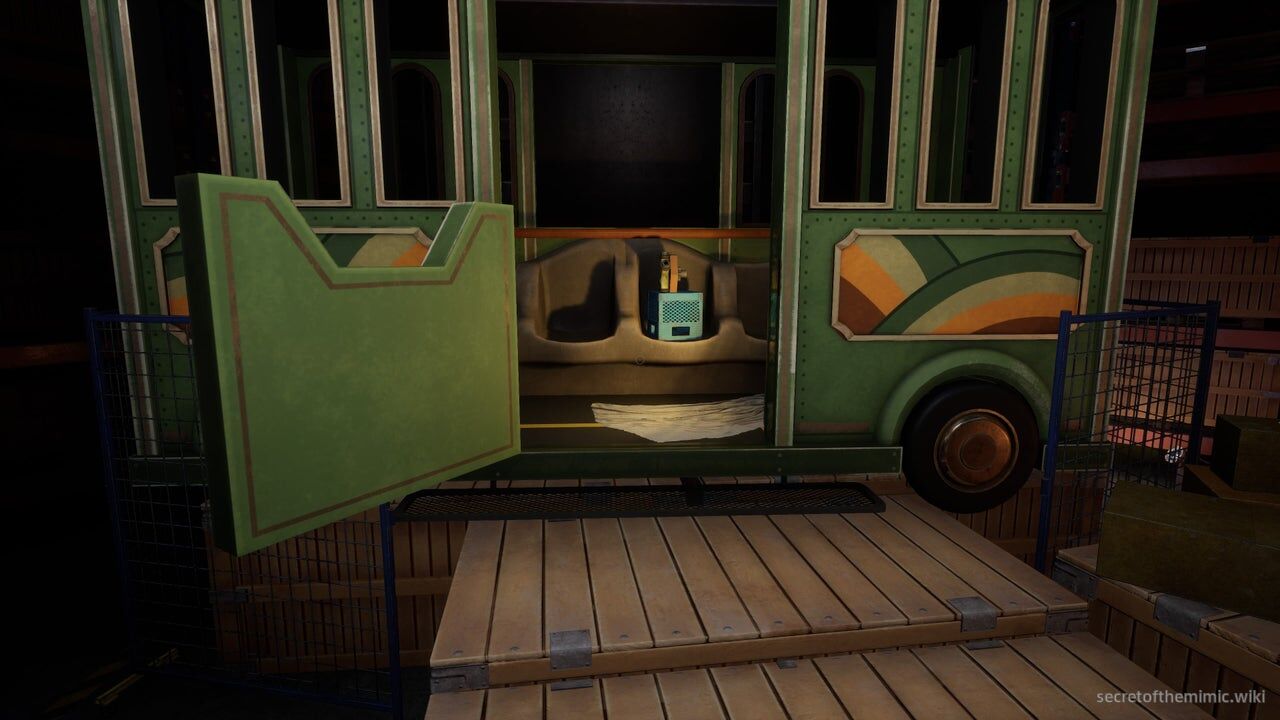
Grab it from the seat inside and turn around. Directly ahead is the locked gate back to the entrance with a crank beside it. Turn the crank to unlock the gate, allowing you quick access back to the generator. Slot in the tile piece and you'll officially get the generator up and running.
Activating The Generator and Escaping
When the generator is ready to go, you'll need to carve out a decent chunk of time to solve the puzzle, so hide and wait for Chica to skate off to the other side of the warehouse. When she's out of the way, get cracking on the power puzzle.
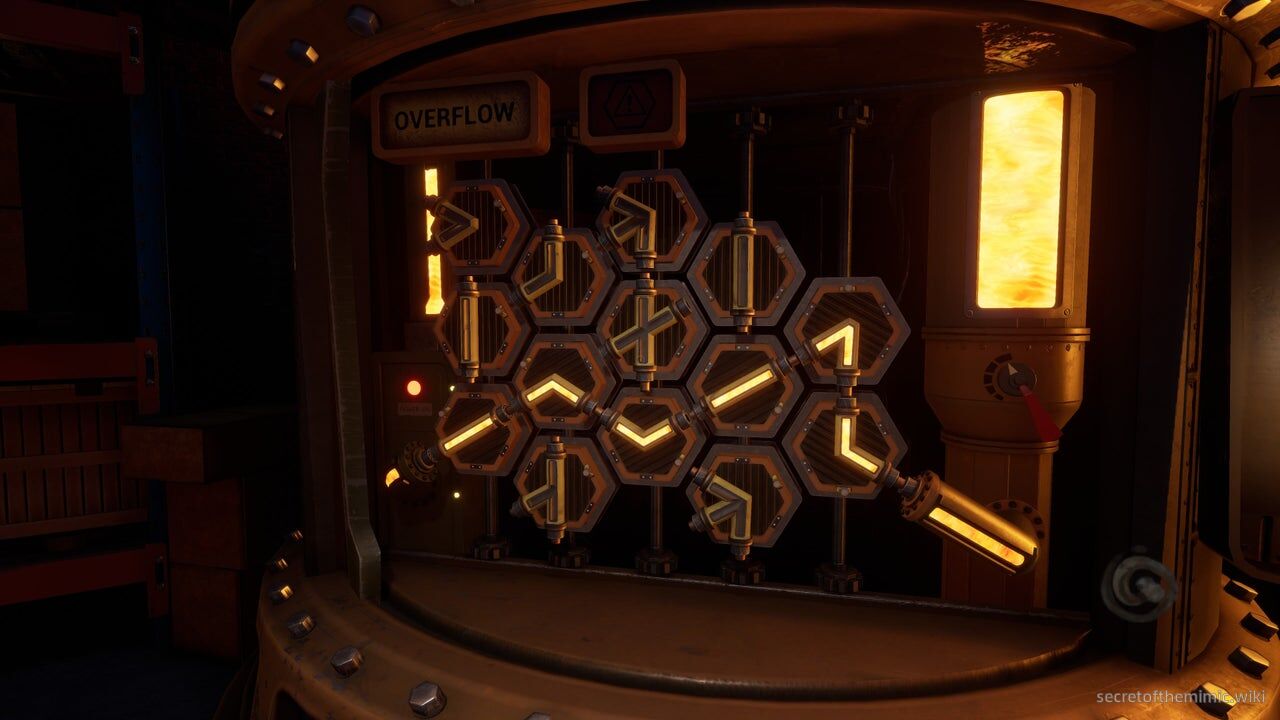
As always, tilt the tiles, transfer the molten liquid between the nozzles and you'll power up the gate to the Loading Bay at the back of the Warehouse. If you need the solution to the tile puzzle, the correct route is shown in the image above.
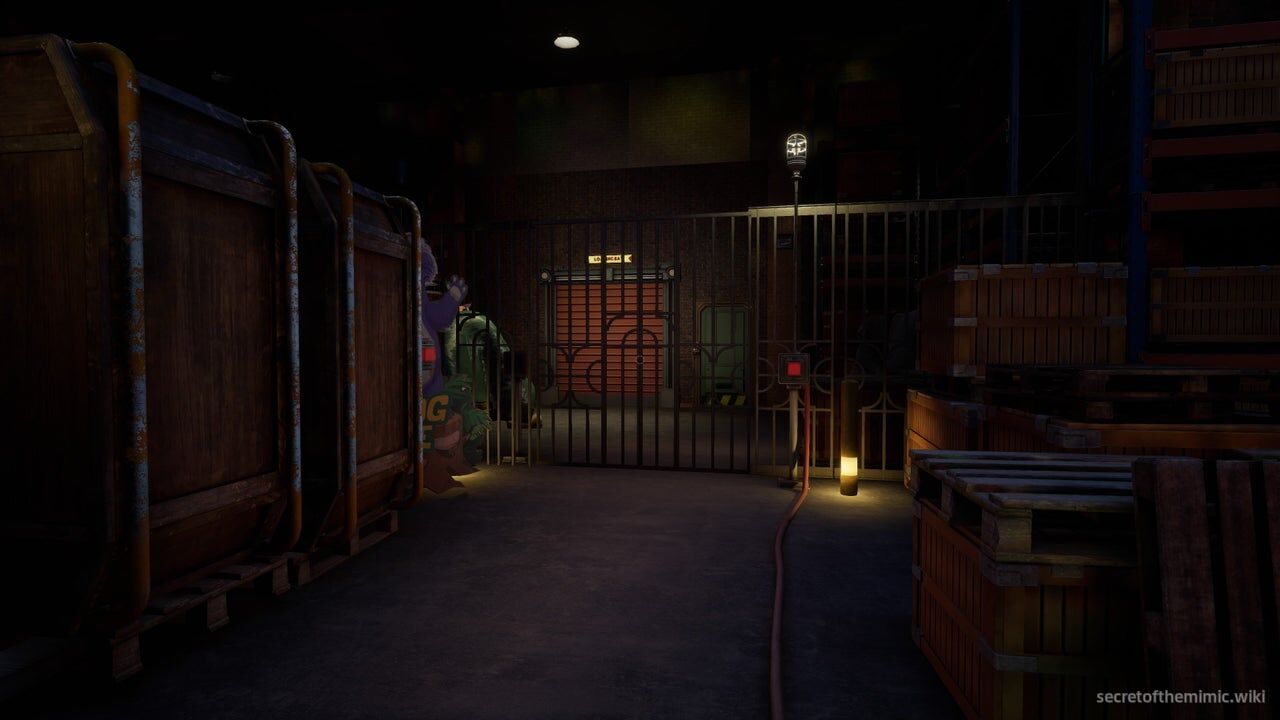
Once it's done, make sure Chica is out of the way, then head over to the gate to the Loading Bay, push the red button to open it and use the Data Diver door ahead to proceed to safety on the other side.
Loading Bay Crane Puzzle
Once you've arrived in The Loading Bay, head up the stairs in front of you and, when you reach the top, head up a second set of stairs to your right.
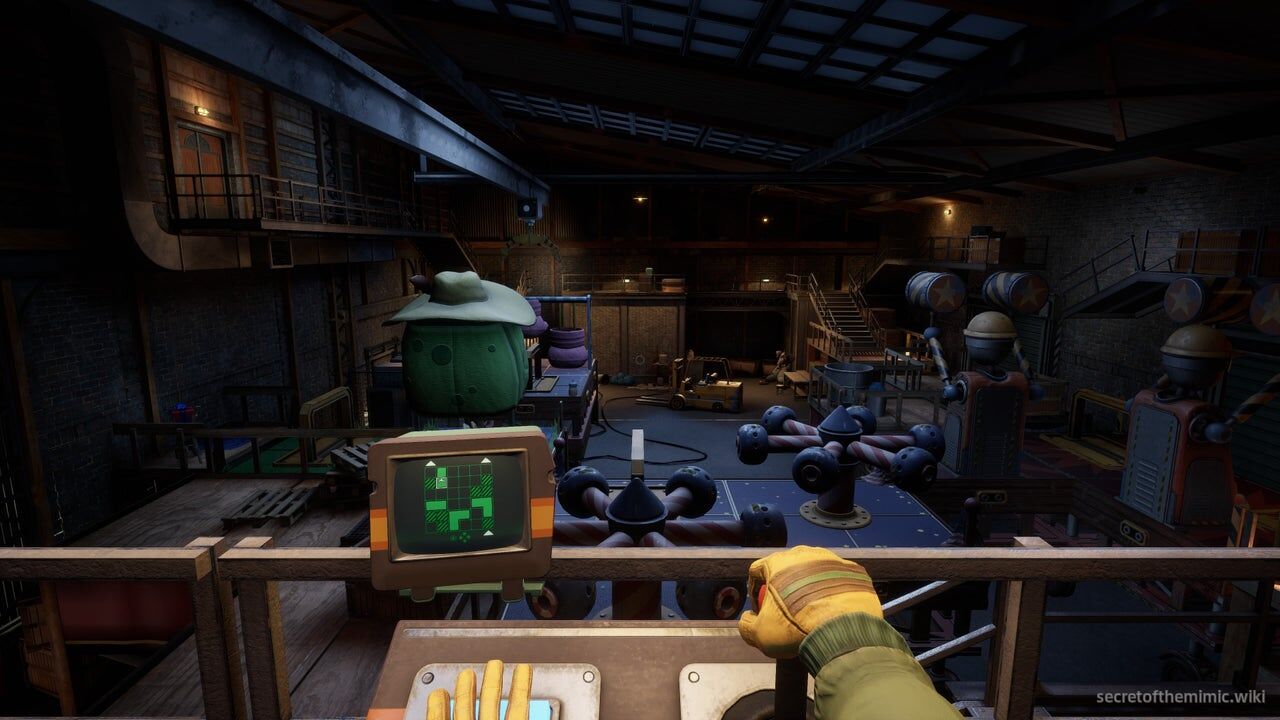
You'll find another crane puzzle similar to the one we completed during the catwalk section of the Theater chapter. As with before, the idea here is to use the crane to move the parade floats around the Loading Bay, creating a path to the walkway in the top right-hand corner of the room. We can align this path with the 6x6 grid shown on the crane terminal. Essentially, that means we need to start from the bottom right-hand corner of the grid and create a path that wraps around to the top right-hand corner of the grid.
Before you get stuck into the actual crane puzzle, we can snag a collectible here. Use the crane to assemble the floats into the positions shown on the terminal in the image above.
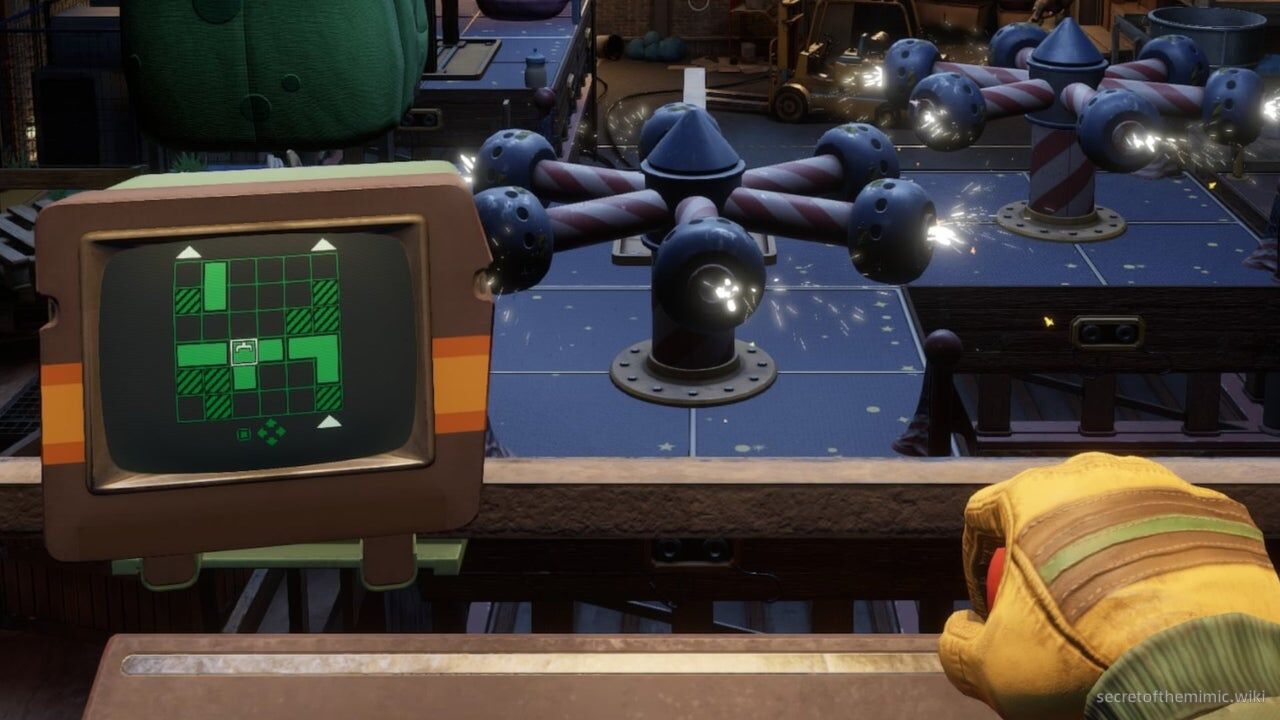
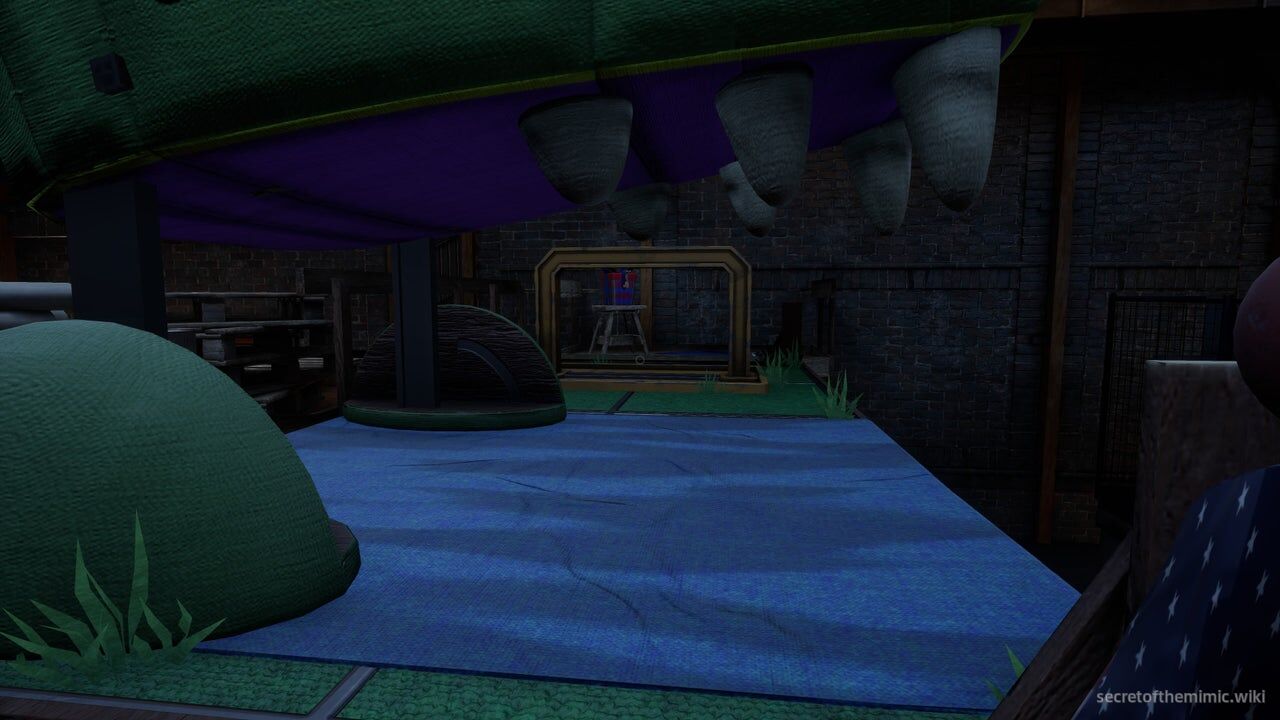
When it's in place, head down to the floats. You'll need to run beneath the hammers, duck beneath the sparklers and then crawl through Monty Gator's mouth to reach the gift on the other side. Once you arrive, crank the gift open to get the Junior Doctor's Kit.
This crane game is slightly trickier than the catwalk, especially considering each float is a different shape. However, off the bat, we can make an observation that will instantly reveal where two of the four pieces are meant to go. With there being a pair of blocks on the right-hand side of the grid that are inaccessible but blocking our path, we need to wrap the floats around them, which we can only do with the two L-shaped floats.
One of the L-shape floats veers left (the hammer robot float) and one veers right (the sparkler float), so slot the hammer robot float so it attaches to the inaccessible block in the bottom right-hand corner and then mirror it on the opposite side of the pair of inaccessible blocks with the sparkler float.
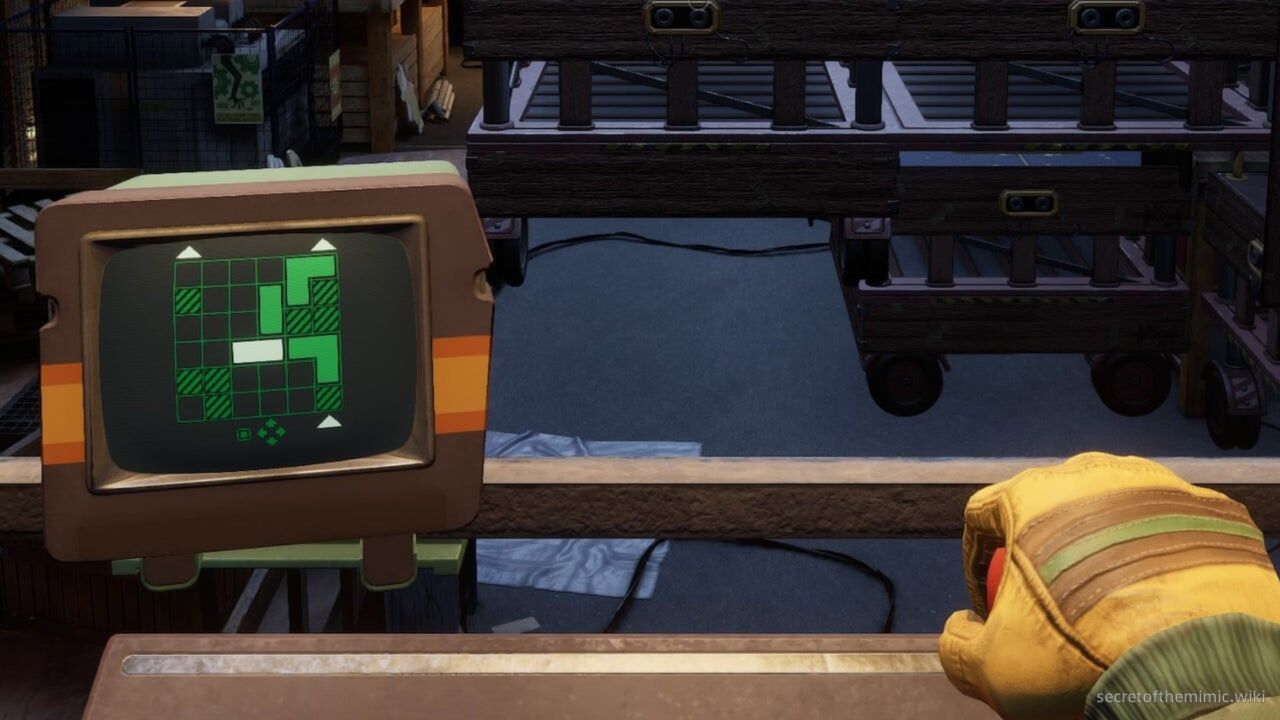
Now we have the beginning of our path, we just need to connect the two L-shape blocks together. In other words, we need to fill the three empty blocks to the left of our current path. The Monty Gator float is two blocks long horizontally, but it can only be accessed from the side, as we have to cross through Monty's Mouth to navigate across it, so that'll have to be connected to the end of the hammer robot float. We can finish the path then with the stomping foot float, which is two blocks long vertically, making it the perfect size to slot in front of Monty's Mouth and connect the path to the sparkler float. In the end, your grid should look like the one in the screenshot above.
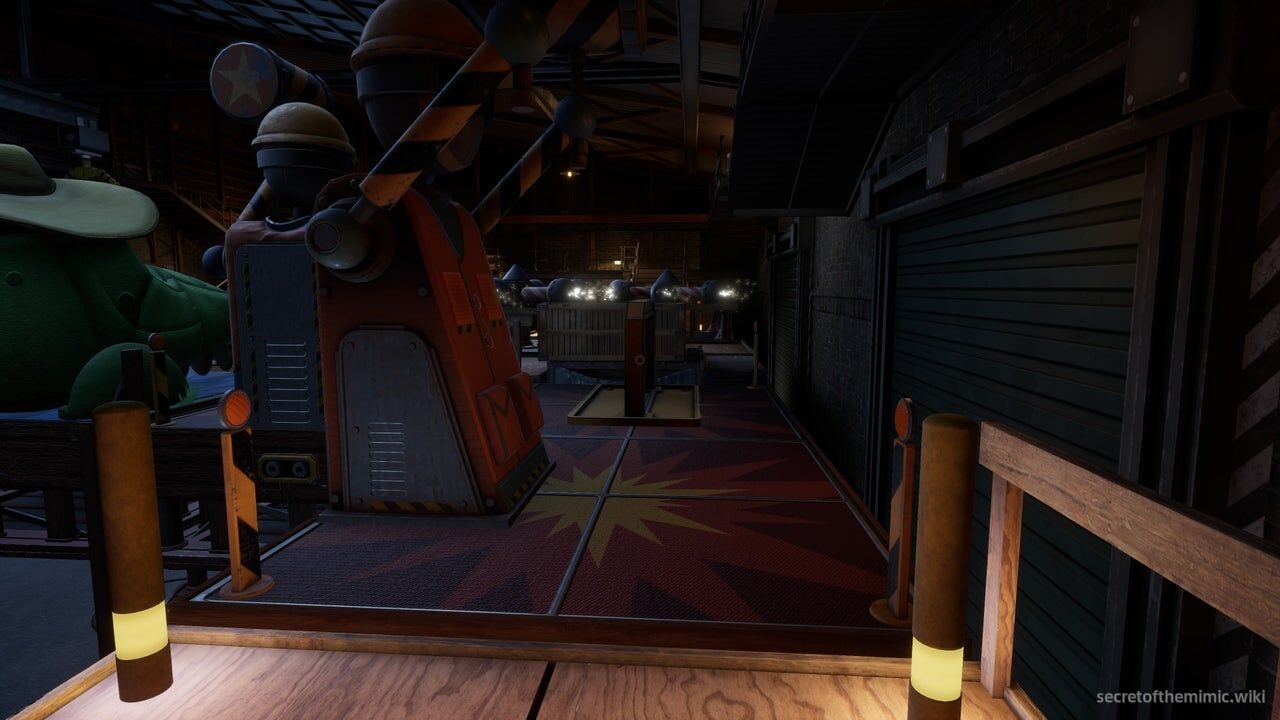
Now, we have to cross over this beautiful monstrosity we've created. Head down the stairs and towards the hammer robot float. For this first section, you'll see two robots with pairs of hammers that they will swing down at you. As you approach the first robot, wait for its hammers to rise up, then sprint beneath them before they come down. When you're through, turn to your left and you'll see a second hammer robot and Monty's mouth beyond it.
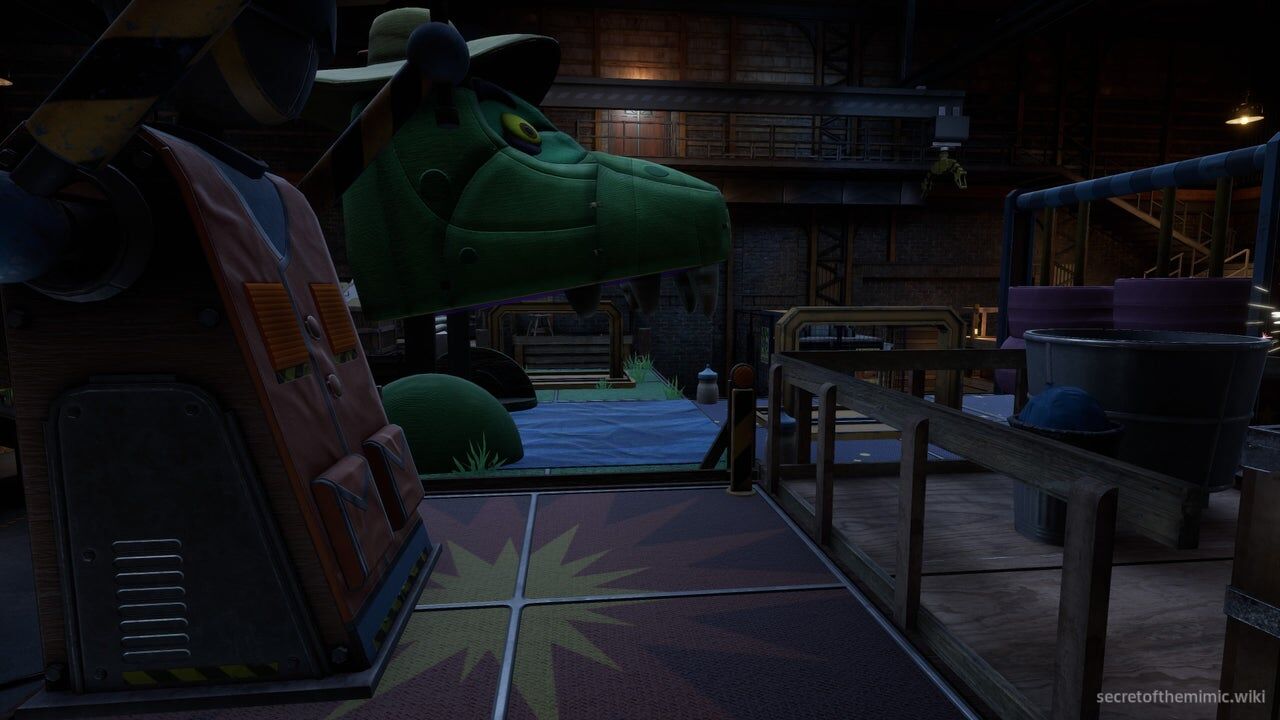
We need to time this so the robot lifts its hammers while Monty is opening his mouth. When you find the right window, run under the hammers and crawl into Monty's mouth, then quickly take a right so you're on the float with the stomping feet.
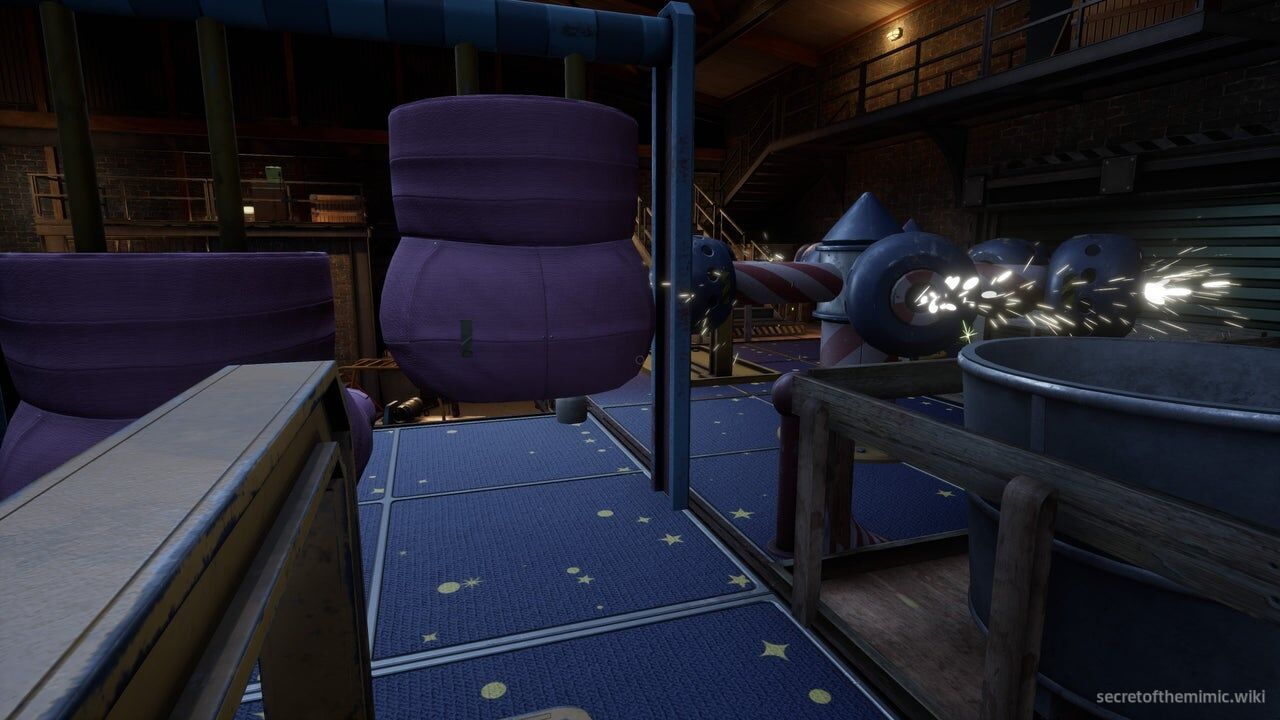
Wait for the right stomping foot to lift up and then crawl under it and move onto the spinning sparklers float while remaining crouched. You can simply crawl under the sparklers, so move past them and up the stairs they connect to.
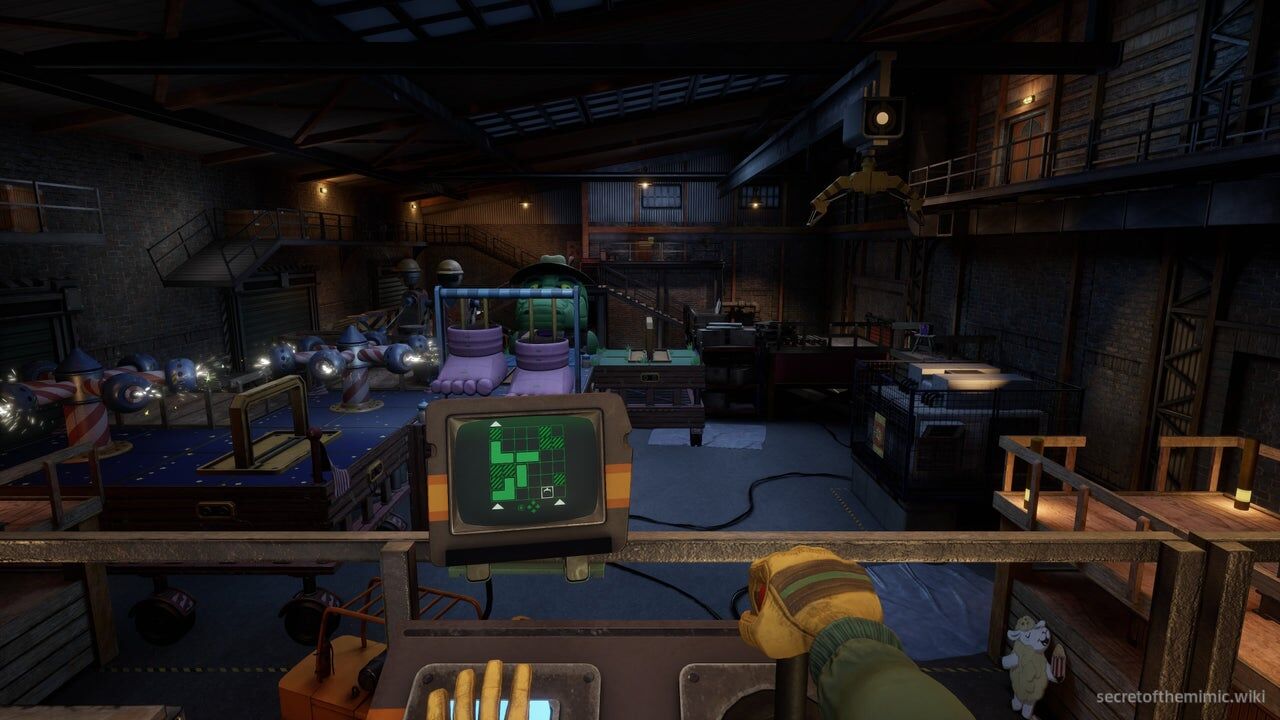
When you reach the top of the stairs, you'll find a locker with the Jest Cereal tape inside it to your right. Crack it open, grab the tape, and keep hold of it for later. On your left, you'll find a second crane terminal. To reach the next section of the walkway, we have to move all the floats again to create a path leading to the walkway on our right. As the puzzle has flipped, that means we need to create a path between the bottom left-hand corner and the bottom right-hand corner of the grid.
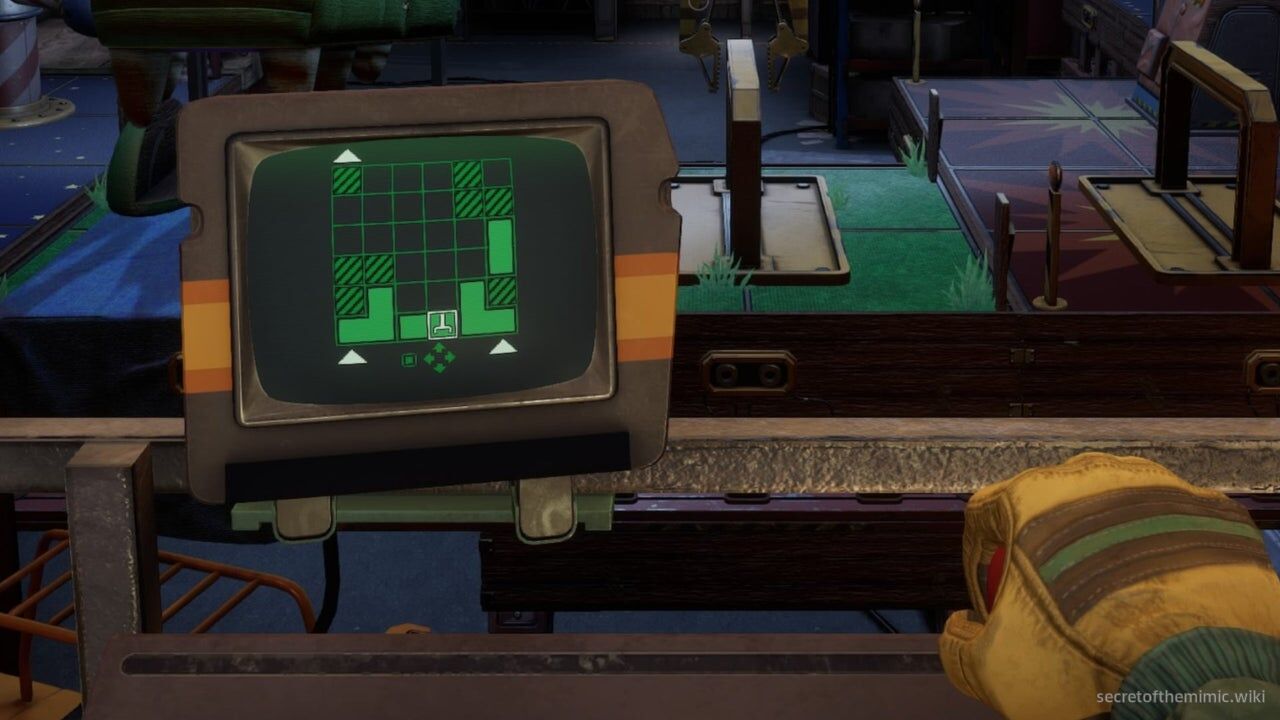
If you look in the bottom right-hand corner, you'll see there's an inaccessible block right above the walkway we need to reach. That looks like a perfect fit for the L-shape float with the hammer robots, so let's wedge it into place. Pick up and move the stomping feet and Monty Gator floats to the top and side of the grid to make space, then pick up the Hammer Robots float and angle it into the gap in the bottom right-hand corner. When that's in place, you'll see there's only a two-block vertical gap between both L-shaped floats, so pick up the Monty Gator float and slot it in the space between both at the bottom of the grid. In the end, it should look like the grid in the image above.
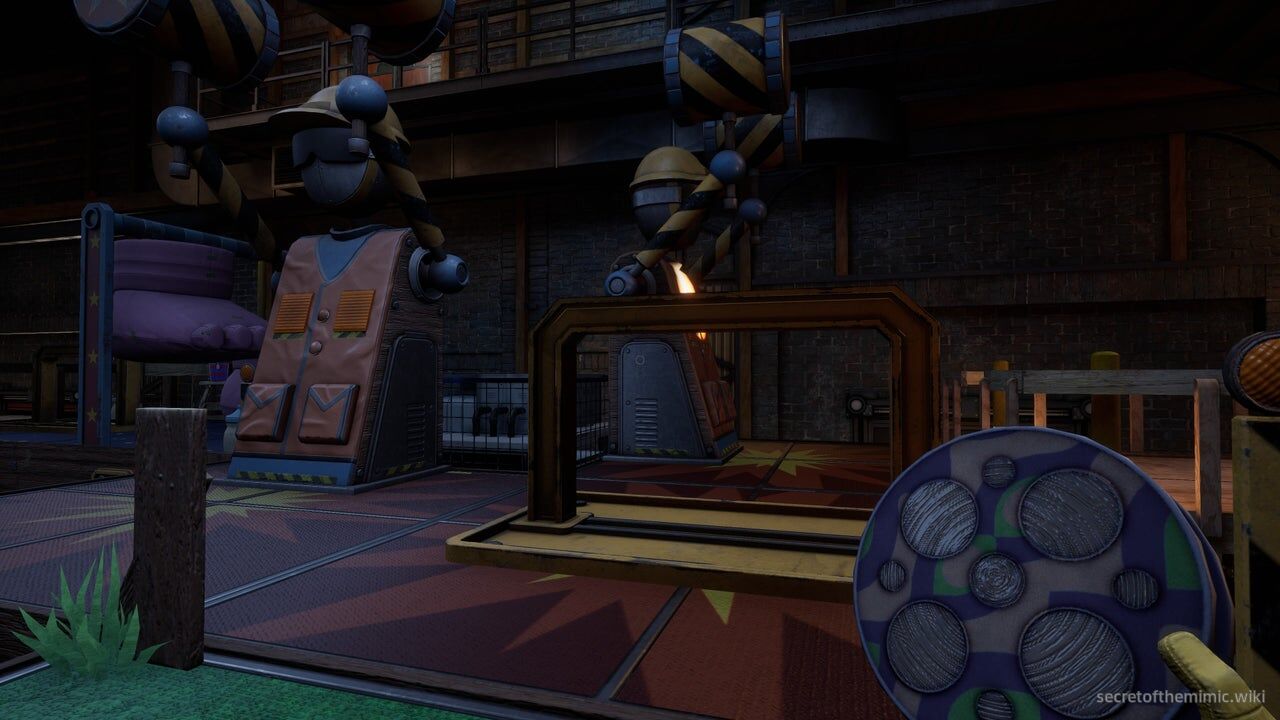
When that's done, head down to the path, duck under the sparklers, quickly crawl through Monty's mouth, slip beneath the crane grip ahead, make your way under the Hammer robot and then hop onto the walkway. And just like that, the crane puzzle is complete.
Reaching The Admin Wing
Proceed up the stairs on this walkway and head through the door at the top. It'll lead you into a long, dark corridor. If you look to your right, you'll see a sign pointing to the Admin Wing. Walk towards it and, surprise, the white tiger character that's been haunting us will reappear briefly before disappearing as usual. After he's gone, you'll begin hearing the haunting echoes once more.
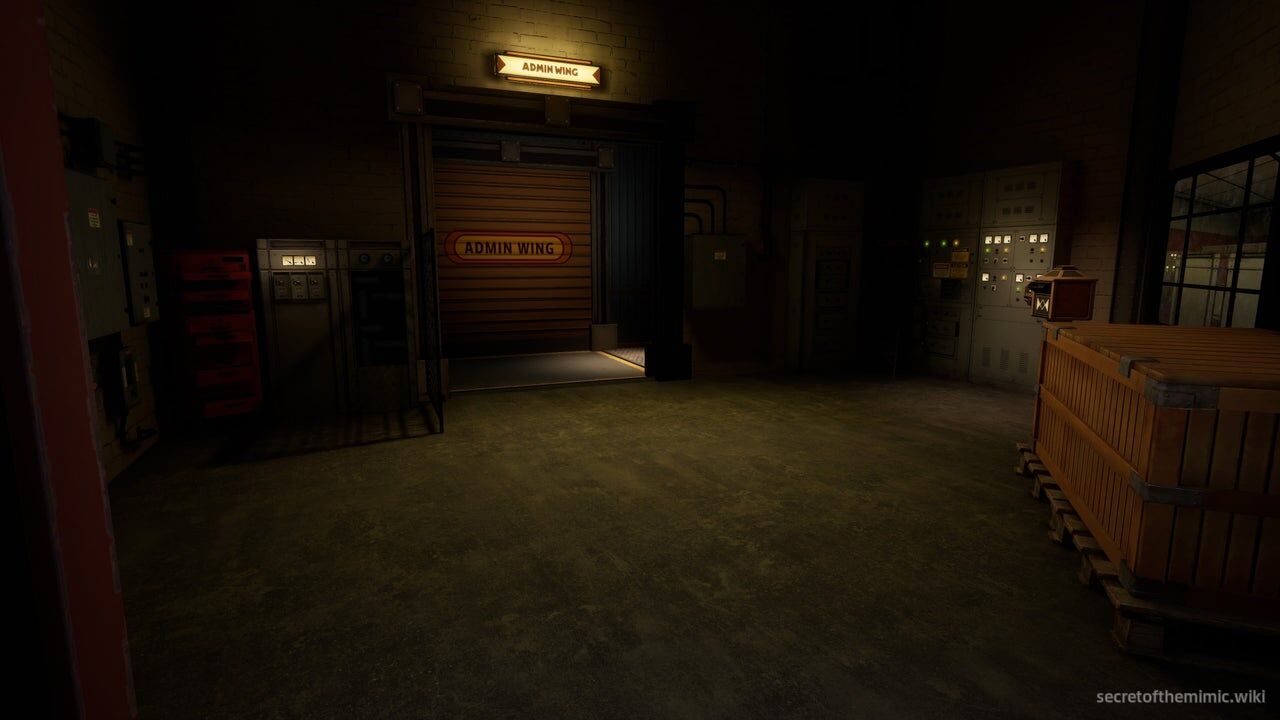
Ignore them for now. There's an office ahead, so pop in and take a look around, then exit and head into the door indicated by the Admin Wing sign. On the other side, you'll find an elevator. Use it to descend, and then follow the path towards the Admin Wing shutter.
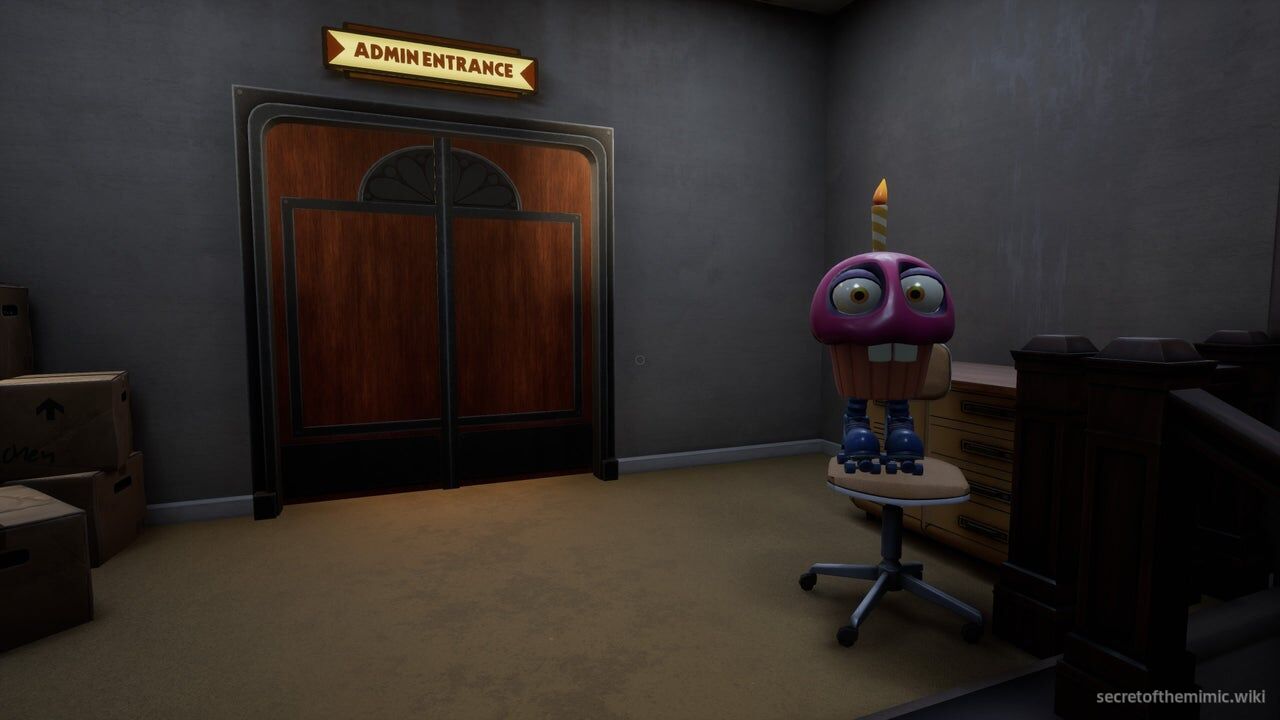
On the other side of the shutter, you'll see a cupcake standing on a chair next to a door. When you approach this cupcake, it'll begin jumping incessantly and making a ton of noise. Heed my words: This little geezer is not our friend, no matter how quirky he seems. When you're ready, proceed through the door.
Party Chica Admin Wing Boss Encounter
On the other side of the doors is the Admin Wing, which is a sterile lobby full of desks and plenty more copies of our new cupcake friend. As you begin to push into the area, Party Chica will reappear.
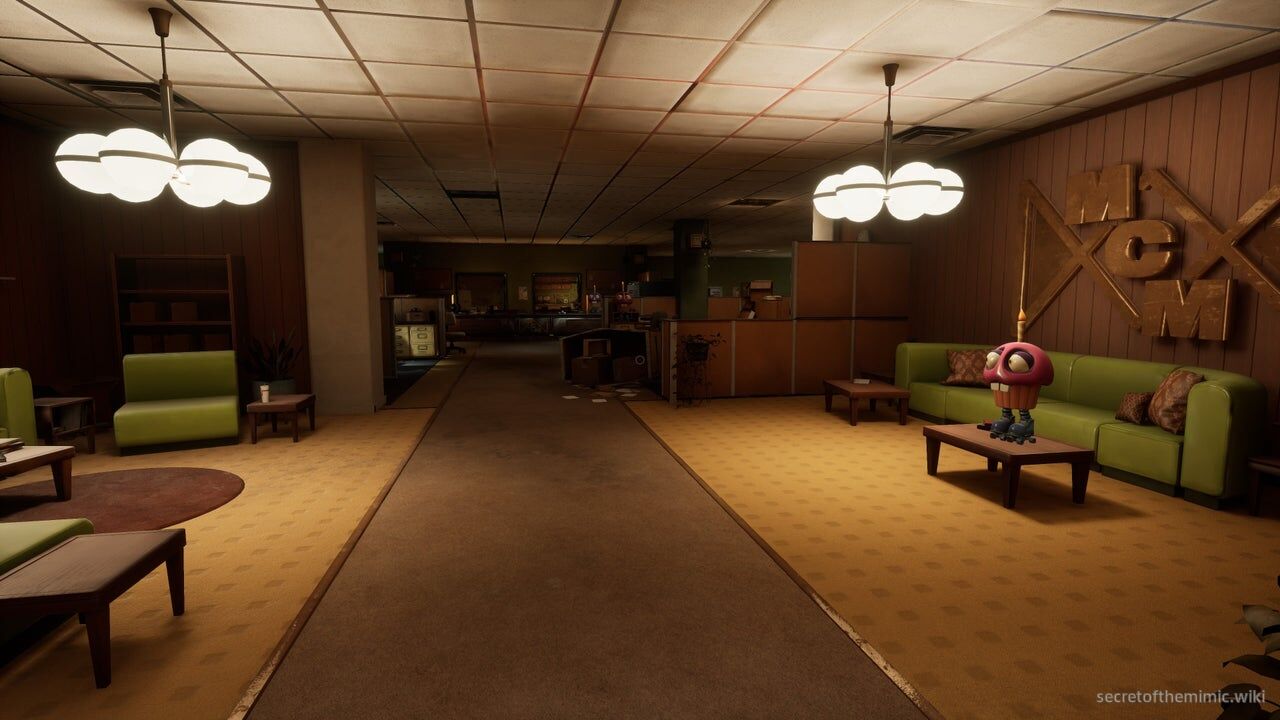
You might've guessed by now, but these cupcakes are Chica's watchful eyes, and if one catches us, they'll sound an alarm that prompts Chica to come investigate. This room can, at first, seem more confusing than it is, because initially, you'll see a ton of mailboxes that offer puzzle pieces for putting together a code. However, this is just for a secret we can come back and search for when Chica isn't hot on our tail.
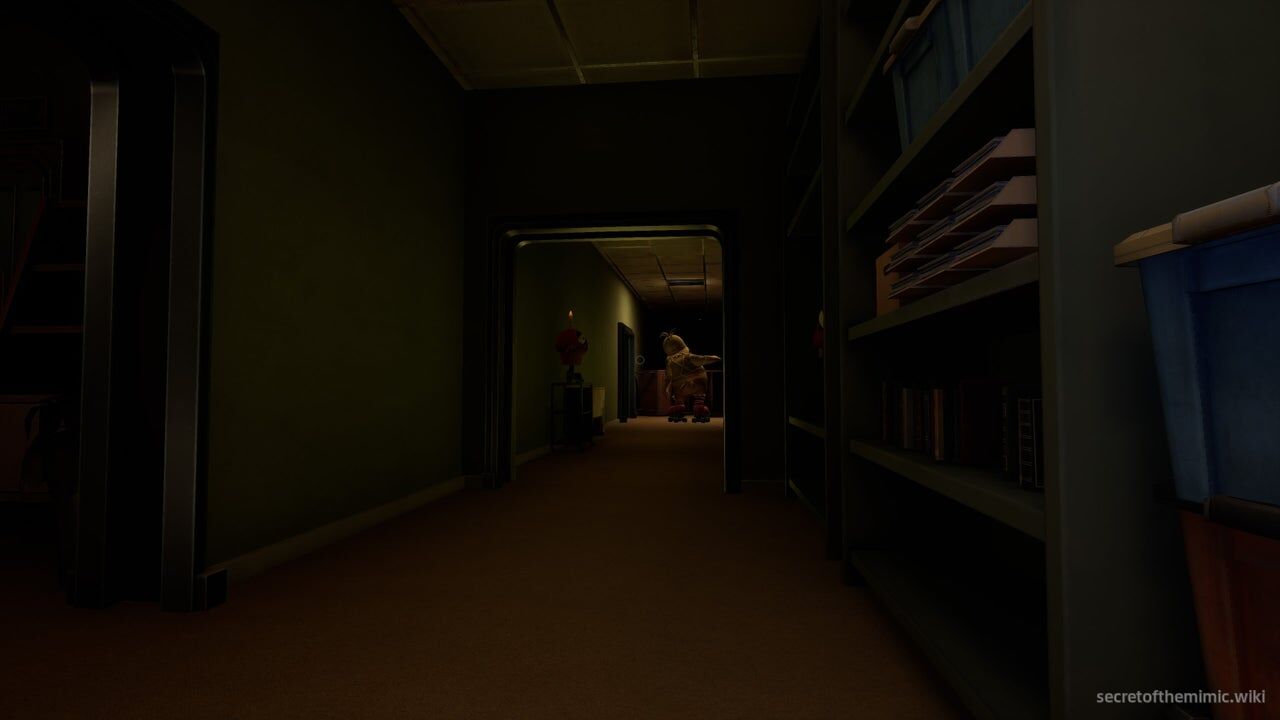
Instead, what we need to do is follow the path around the room, past the cafeteria, through the corridor behind the cafeteria and then up the flight of stairs on the left when you exit that corridor. That's a lot to remember, but the path is almost entirely linear, so it's tricky to get lost. The real issue is that we'll have to contend with the cupcakes and Chica. Chica will mostly patrol the route you need to follow, only diverting from it if she spots you or the cupcakes alert her to your presence.
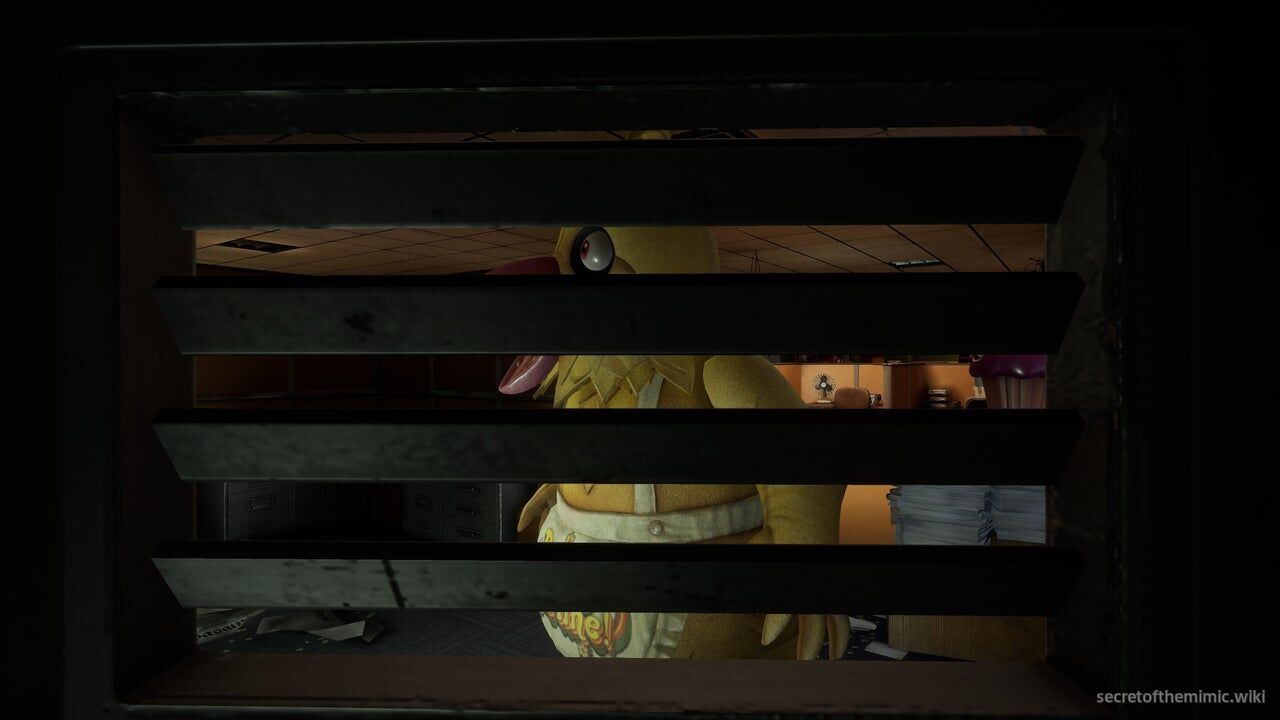
The easiest way to get around the room is to sneak between lockers while giving the cupcakes a wide berth. Considering Chica will patrol back and forth up the same route, you can dip into the numerous lockers lining the path, wait for her to skate by you, then continue along the route to the next locker and begin the process again. Every time you trigger a cupcake, merely backtrack to the closest locker or sprint ahead to the next one and dip inside. When Chica's done searching for you, emerge and continue.
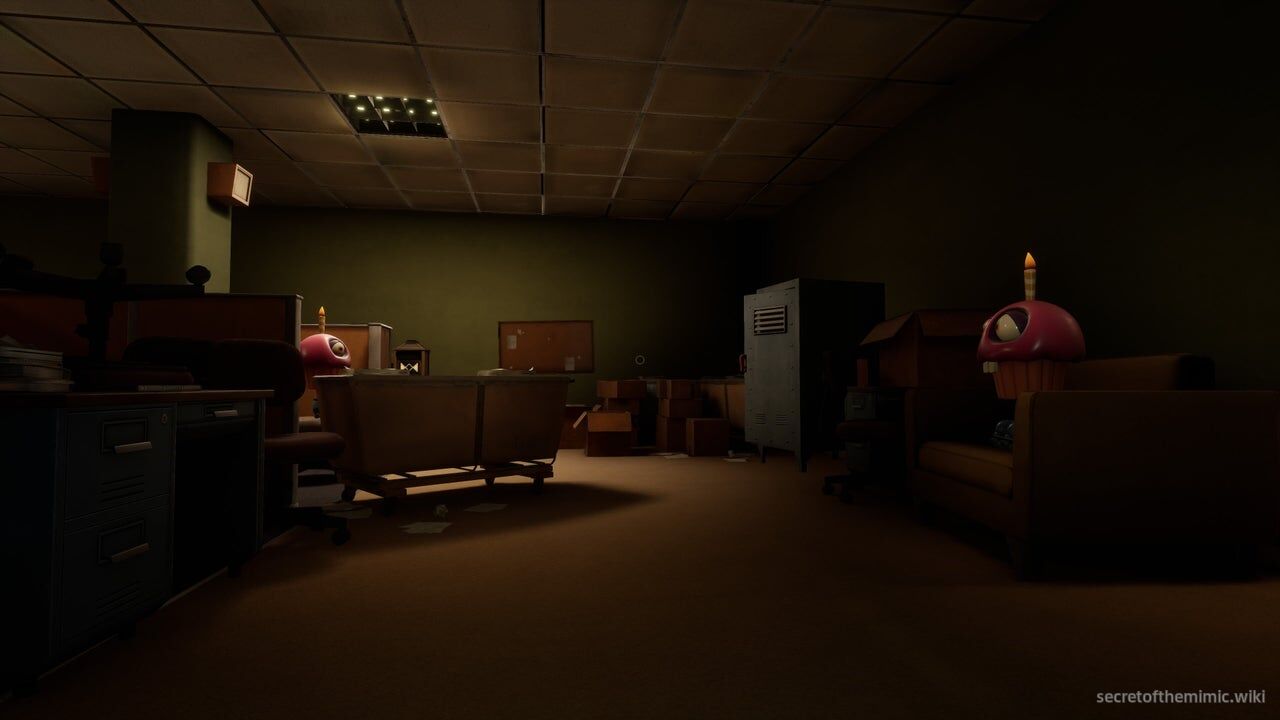
The main thing to remember is to stay crouched for the majority of the encounter. If you need to run to reach a locker, then by all means, get sprinting. However, the cupcakes will spot you quicker while standing, and Chica will be able to see your head over the dividers, so it's best to keep things low-key while you make your way along the route.
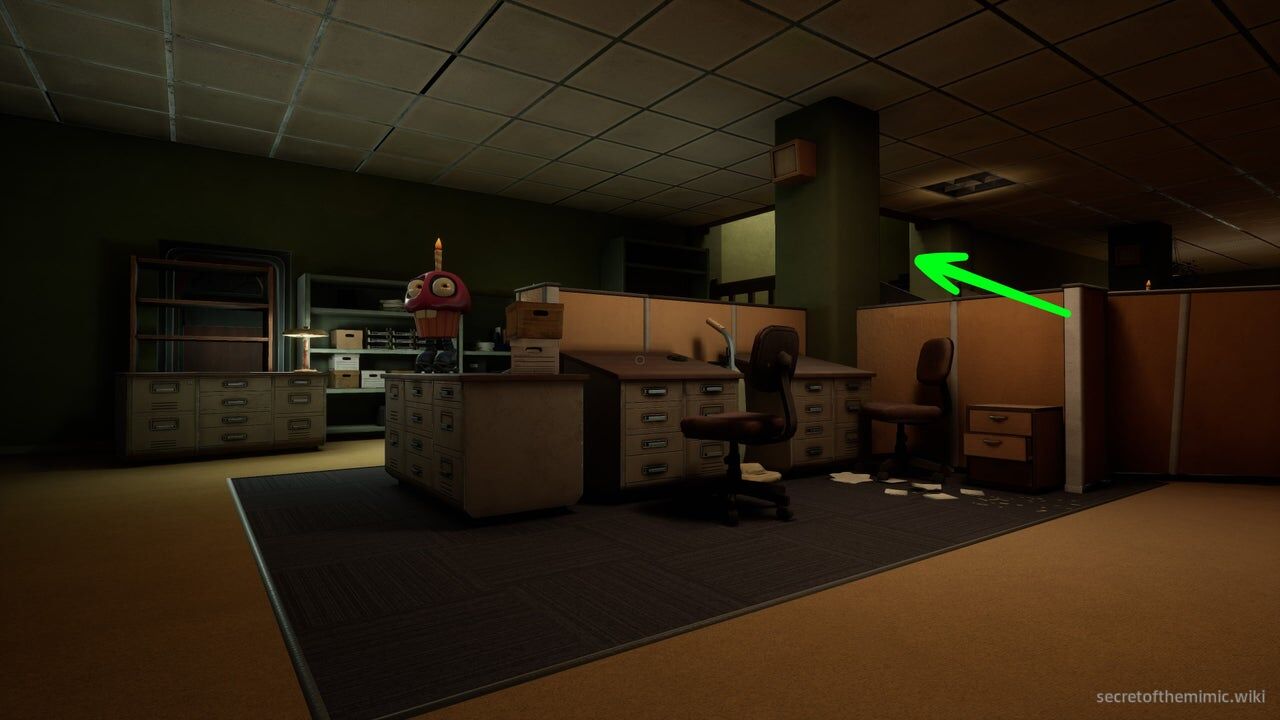
Eventually, you'll head through the long corridor behind the cafeteria and arrive on the blocked-off side of the room. Head up the staircase on your left here. The arrow in the image above points out the path. Once you reach the top of the stairs, the shutter behind you will close, ending the encounter.
Upgrading to Executive Clearance
You'll now enter the Executive Suite above the Admin Wing. As soon as you arrive, you'll see the Executive clearance upgrade machine behind a window ahead.
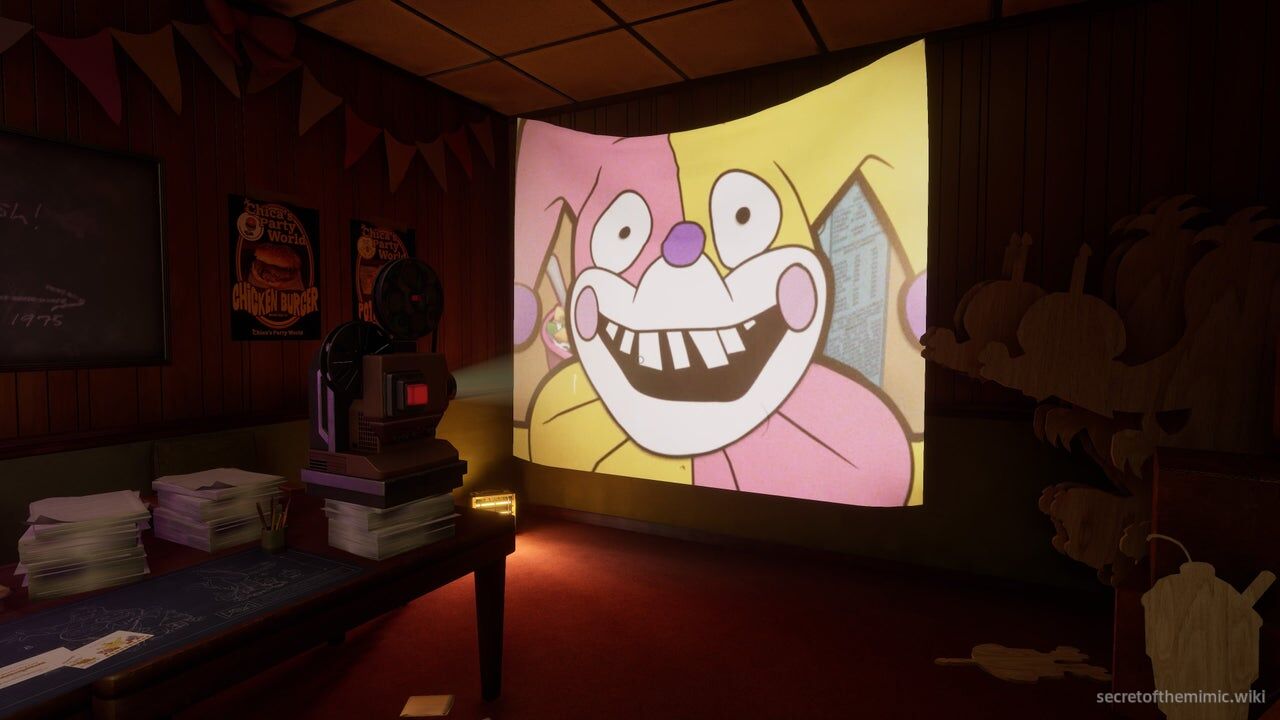
Before we go to grab it, take a look around. There are a few mailboxes to open and, through the door on the right, a projector where we can play the tapes we've found throughout the building. When you're ready to move on, approach the window and head into the office to the left of it.
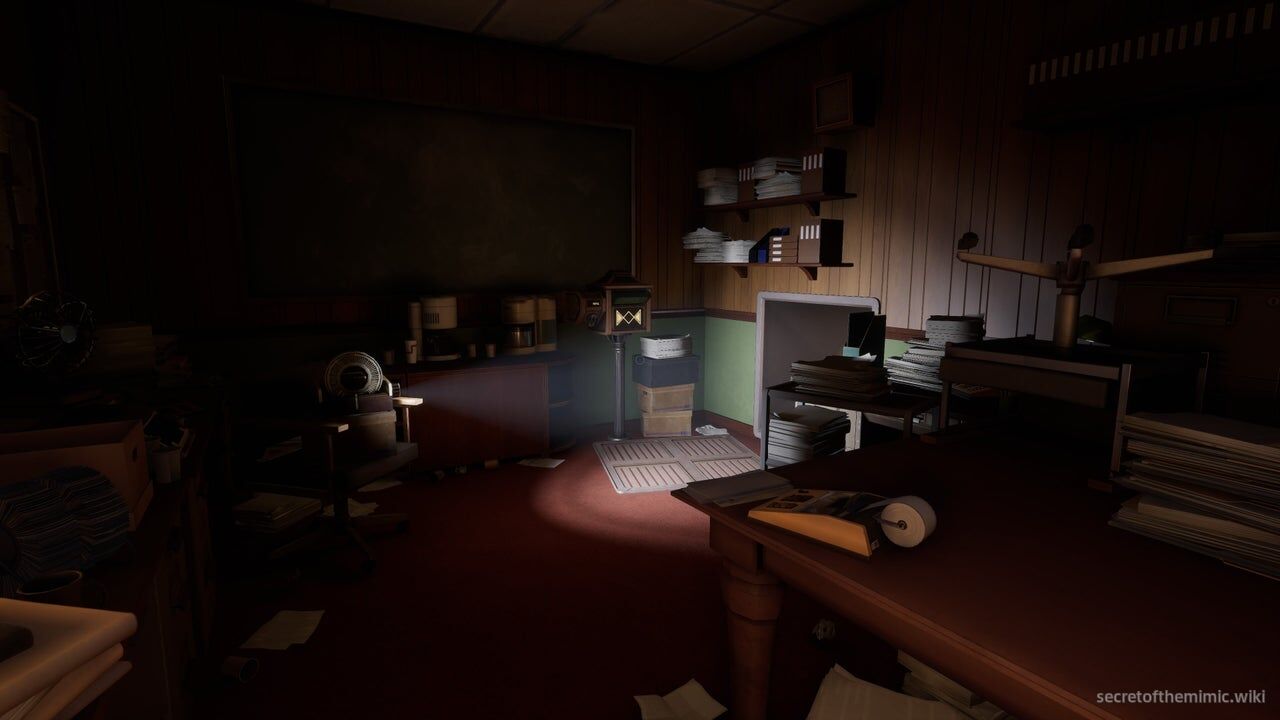
Inside, you'll spot an open vent next to a desk. Crawl through it and you'll arrive inside the office with the Executive clearance upgrade machine. Slot into it and let's net our final clearance upgrade.
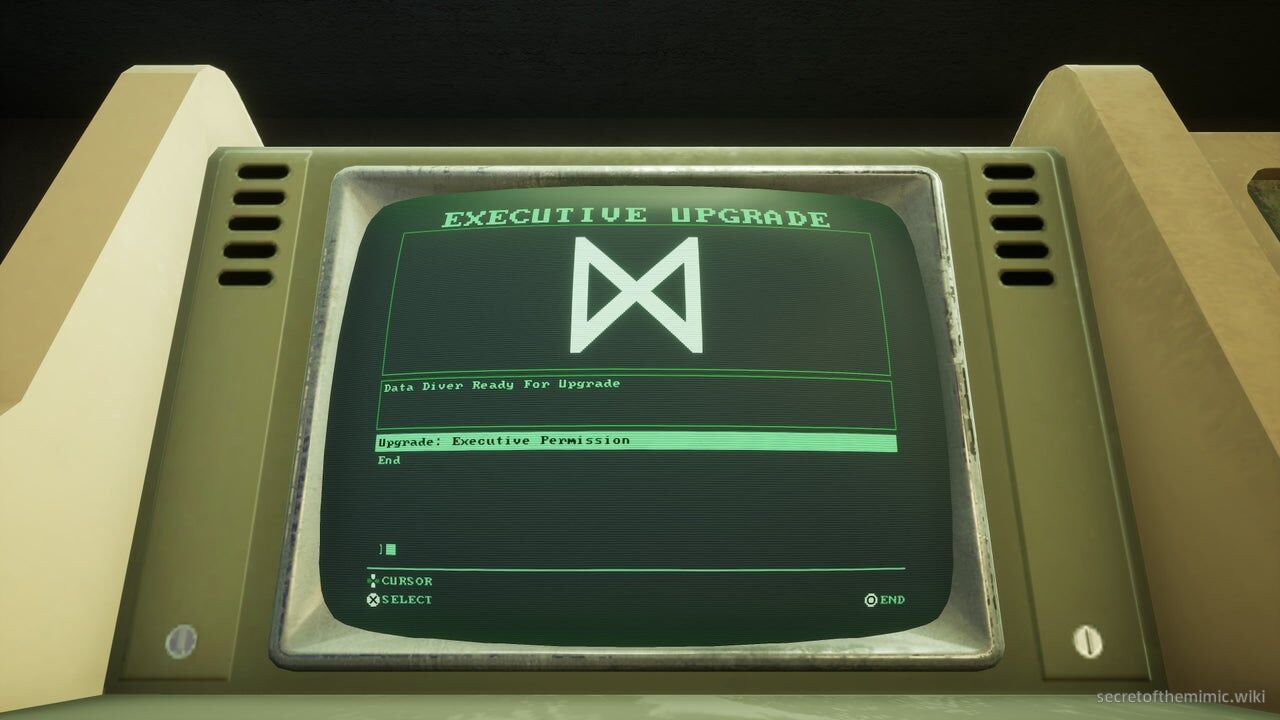
When you pull the puzzle up, you'll see it has one corrupt tile in the bottom left-hand corner and a second corrupt tile in the centre. Meanwhile, the middle tile on the left is a 1 and every other tile is a 0. To solve this one, when the cursor starts moving right, let it touch the middle left tile. Then, while it's moving through this tile, bump it up to the top row so it turns the upper left tile into a 1. From here, let it move all the way to the right.
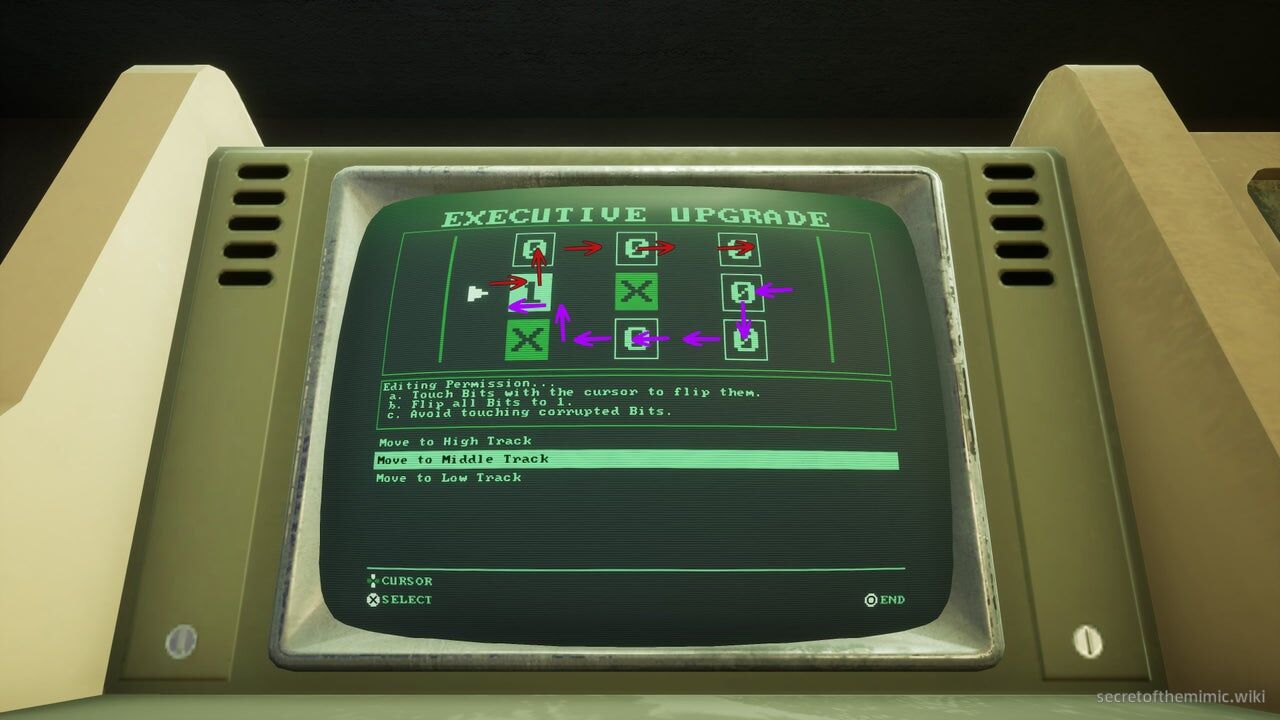
When the cursor flips around, quickly switch it to the middle row so it turns the middle tile on the right-hand side to a 1, then shift it to the low track while it's still on the right-hand side to turn the bottom right-hand tile to a 1 as well. Let it move through the low track central tile, then, while the cursor is midway through its journey between the centre and the left-hand side of the grid, switch it to the middle track so it turns the middle tile on the left back into a 1. I've drawn another diagram above to make this clearer. The red arrows indicate where you should move when the cursor is moving right, and the purple arrows indicate where you should move when the cursor is moving left.
Getting the Mimic Blueprints
Now we're officially an executive of Murray's Manor (well, clearance-wise, anyway), meaning we can go literally anywhere and unlock all the secrets contained in this hellish factory. Use the ramp to leave the office and head over to Mrs Helpful. Switch her to Executive mode and you'll hear Edwin's voice emerge from the machine.
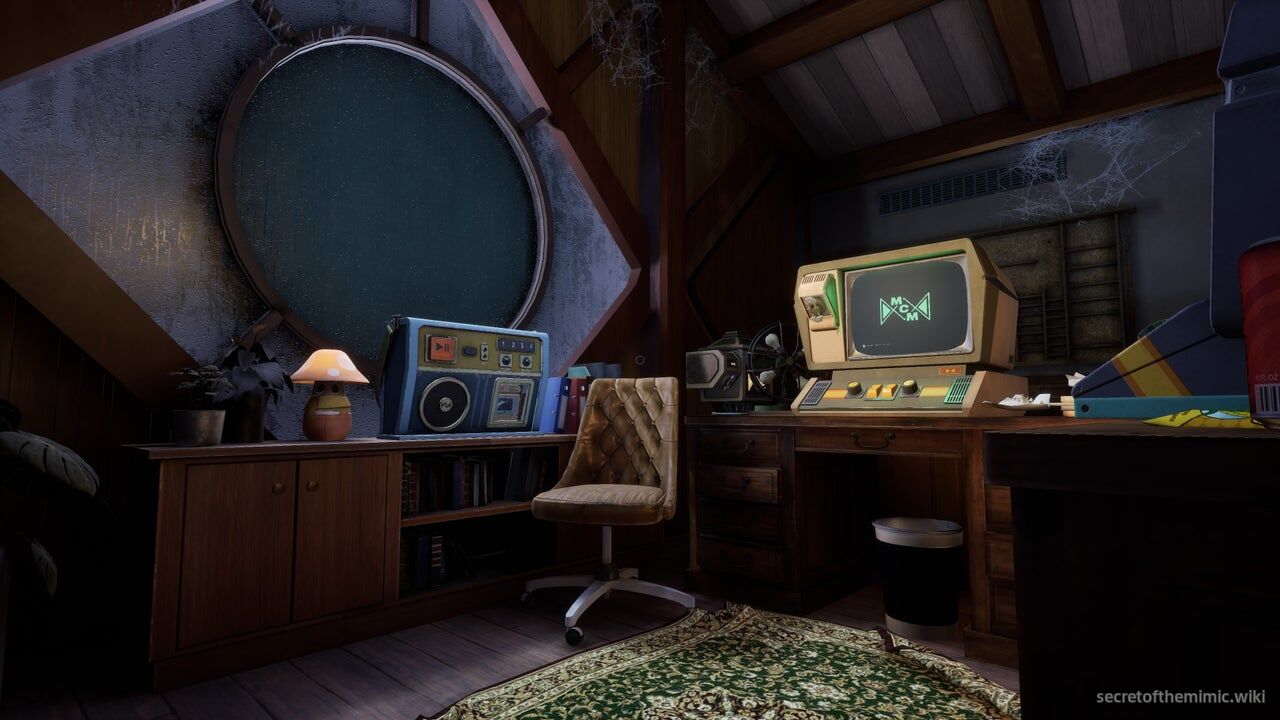
When he's done talking, take a left and head through the Executive door beside the desk. It'll lead to a long flight of stairs up to Edwin's office. Feel free to take a little look around here and snoop through Edwin's things. Specifically, there's a particularly interesting pair of mail entries you can access via the mailbox beside his desk.
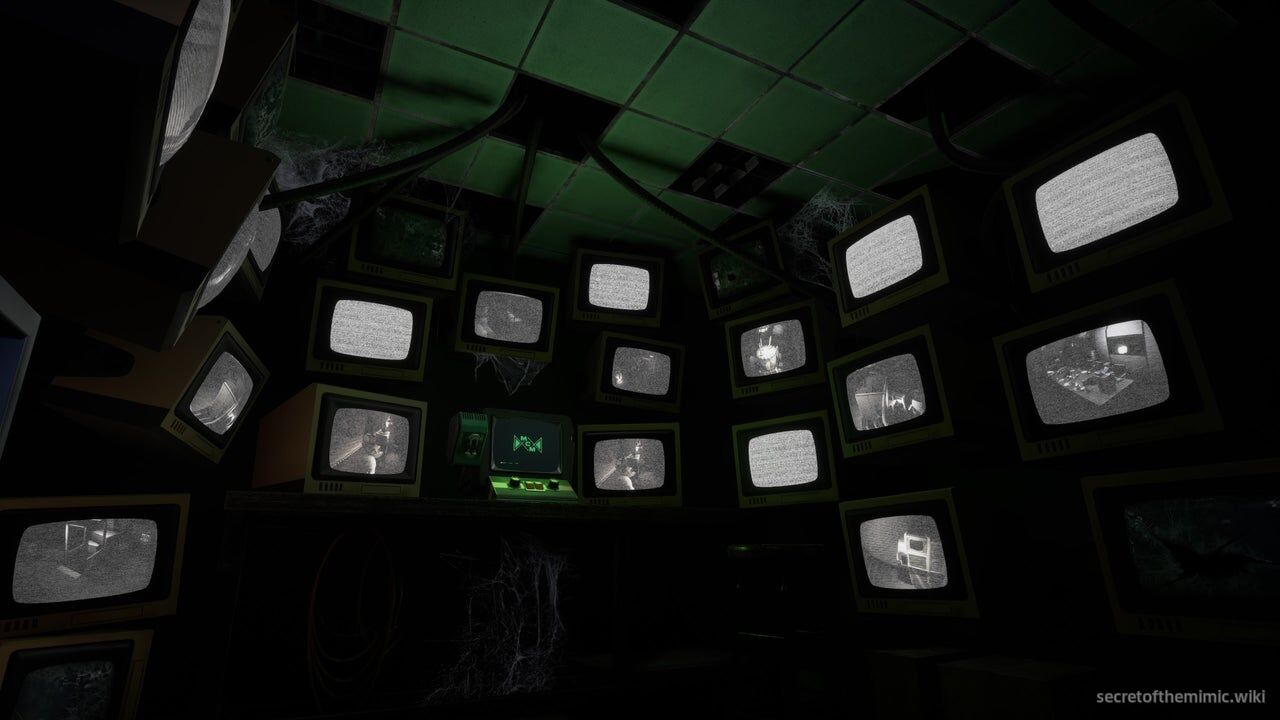
When you're ready, access the grey and yellow monitor on Edwin's desk. There are two options on the monitor. Select: "Access Surveillance Room." It'll cause a bookshelf to your right to crack open, exposing a long passage down to a shadowy surveillance room. Follow the corridor and head into the surveillance room, then use the terminal in the centre of the mess of screens.
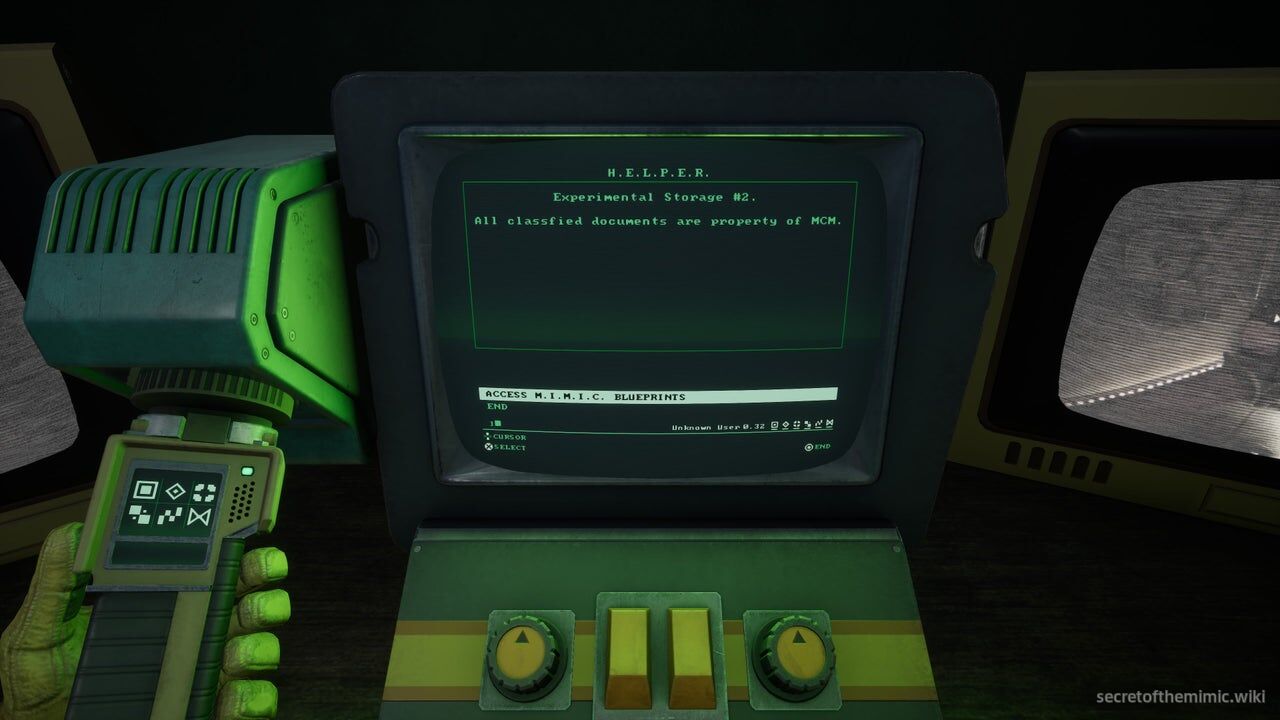
On the terminal, you'll see the option to "Access M.I.M.I.C. Blueprints." It's finally happening. After all this time, the schematics are ours. Grab the blueprints and, as you turn around, you'll see Party Chica enter Edwin's office and skate down the hallway towards us. Grab the lever behind the door and pull it to seal us in.
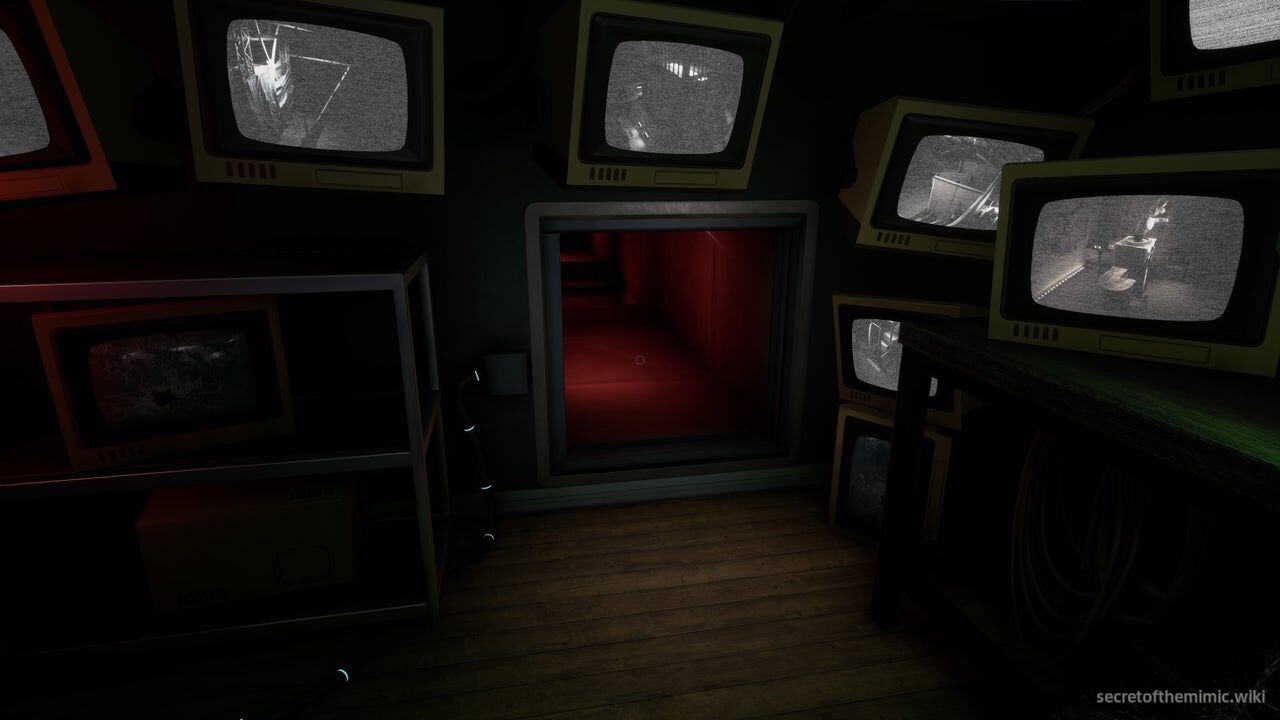
As Chica bangs on the door, you'll notice an exposed vent to our right. Crawl inside and follow the path. It'll drop you down into a room with an elevator. Open the elevator, step inside and press the button within. The elevator will descend, bringing you down to the tunnels below the Manor. We'll pick this back up in the next section, where we'll delve into the Tunnels.